Table of Content
Overview
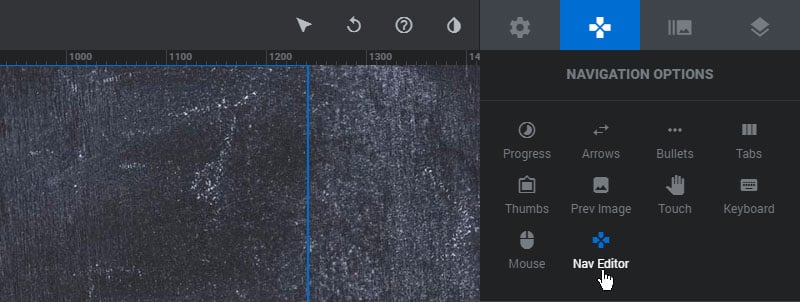
To get started, click the “Nav Editor” menu item to open the Navigation Editor (see image above).
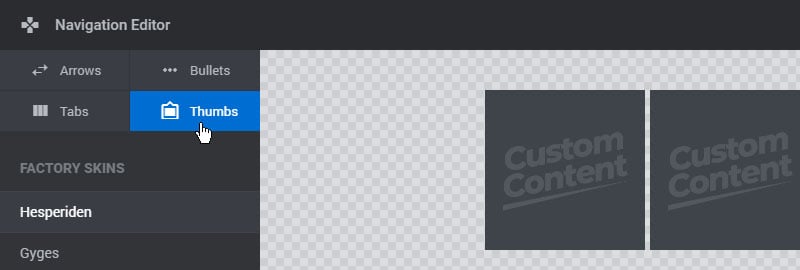
Next, choose which type of Navigation you wish to edit/create.
Edit Default Navigation Styles
Select a default Navigation Style you wish to modify.
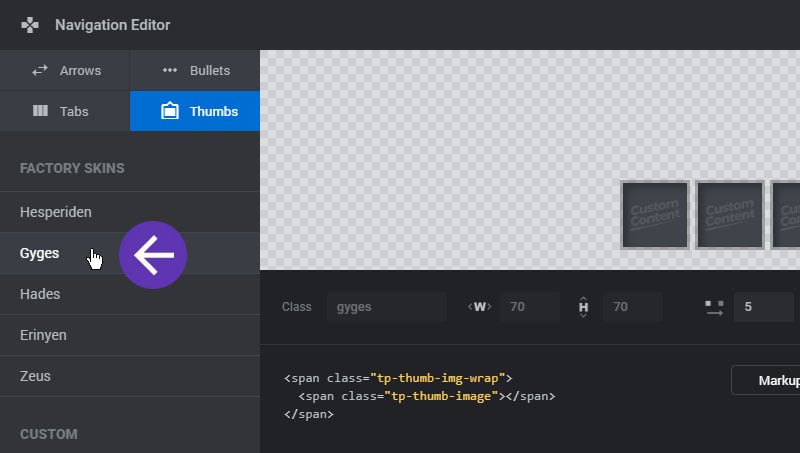
And then edit the navigation’s settings
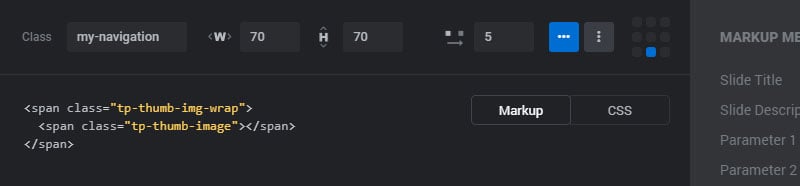
Settings options will vary based on the navigation type and style. The options edited here will then become the default settings for the style when applied to a Module, which can then be edited further per Module and per Slide.
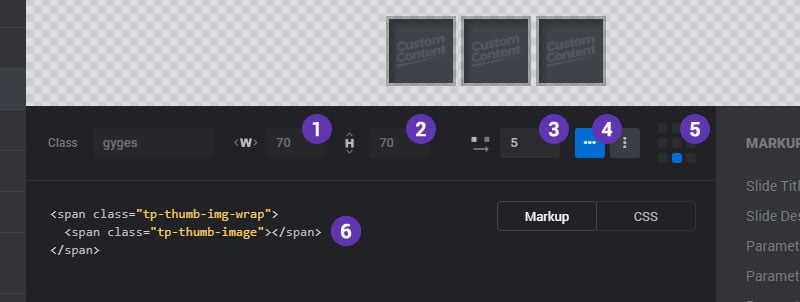
1. Width
The default width of each thumbnail.
3. Spacing
The spacing between each thumbnail in pixels.
5. Alignment
Choose which set of keys should be used for the navigation.
2. Height
The default height of each thumbnail.
4. Orientation
Choose if the thumbnails should sit side by side or on top of one another.
6. Markup
The Markup and CSS for the default navigation styles is “Read Only” (not editable). If you wish to create custom markup, follow the Create New instructions below.
Create Custom Navigation Styles
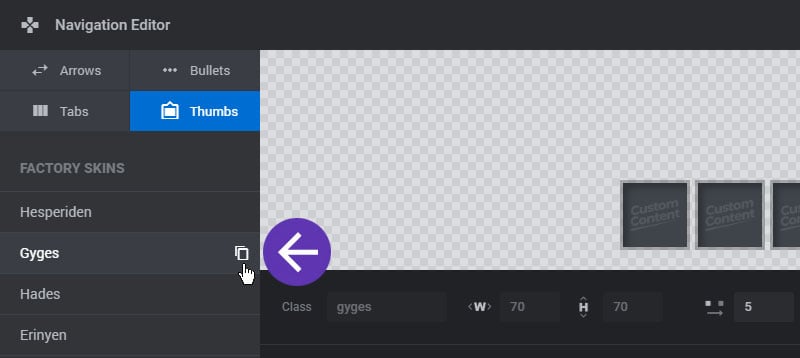
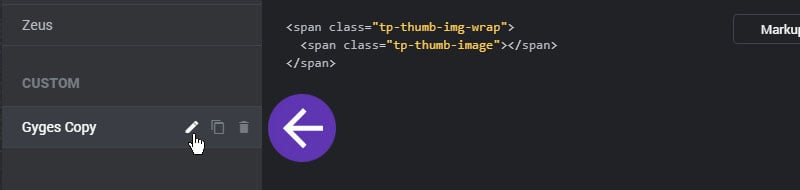
The best way to create a Custom Navigation Style is to duplicate an existing one.
The new navigation will then be listed in the “Custom” section
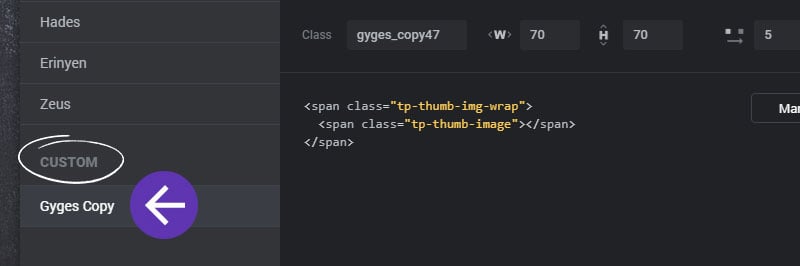
Custom navigation can then be renamed, duplicated or deleted.
Then adjust the settings and markup for the new navigation.
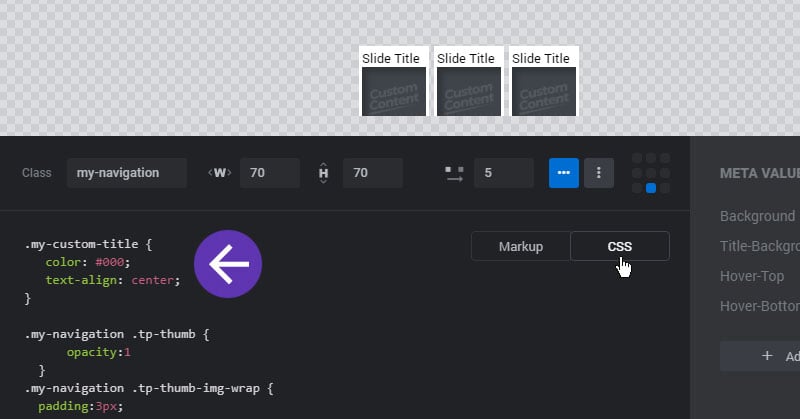
In the following example, a “Slide Title” with a class name of “my-custom-title” has been added to the markup.
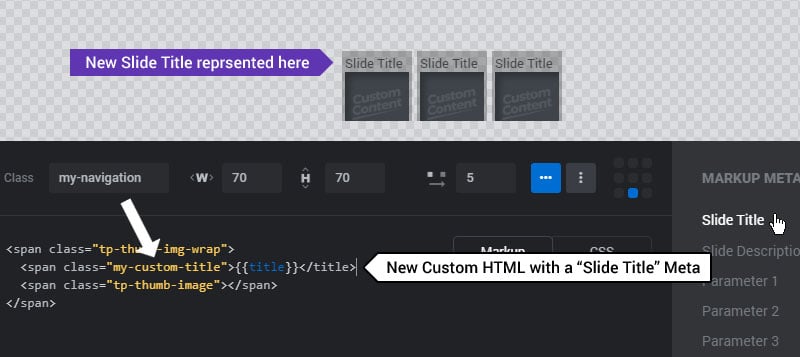
Now we can add some CSS for the new markup