Table of Content
Manual Changes
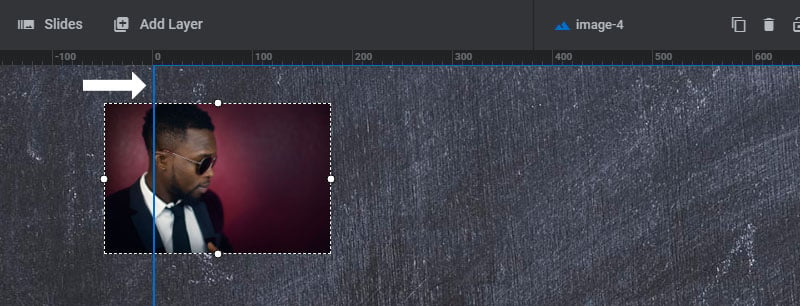
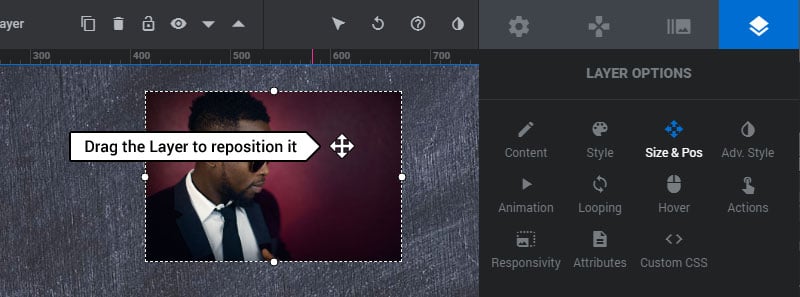
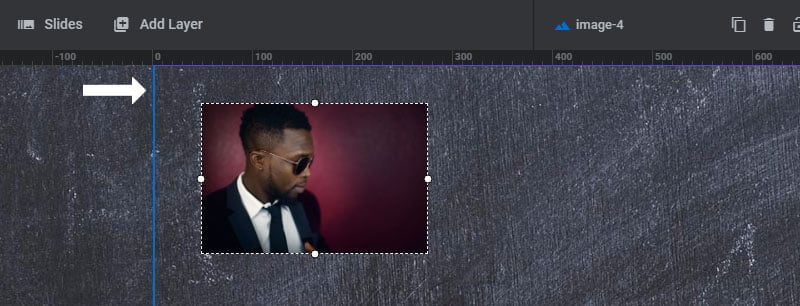
Layers can be positioned manually by dragging the Layer with your mouse around the editing stage.
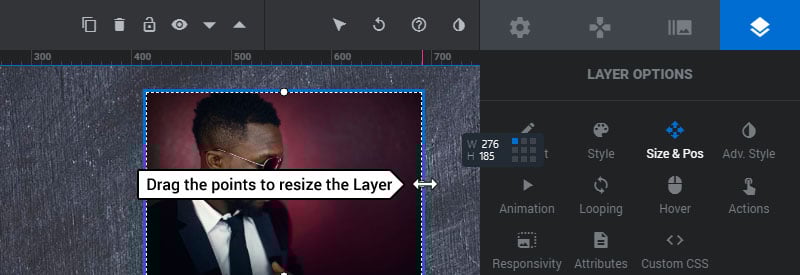
Layers can also be resized manually by dragging the four sizing points.
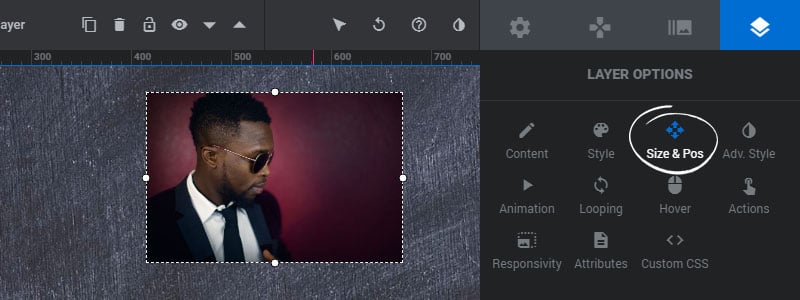
Settings Options
Adds a CSS Transform to the Layer when the user hovers their mouse over the Layer.
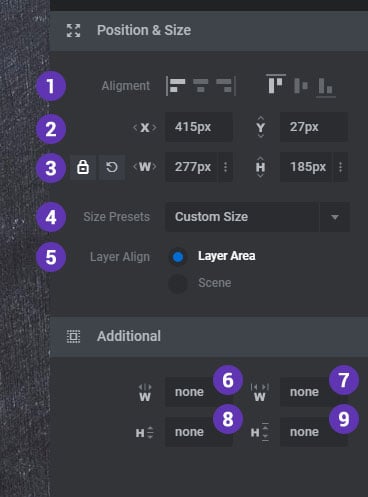
1. Alignment
Align the Layer vertically and horizontally inside the Slide.
2. X/Y Offsets
The spacing between the Layer and its alignment position. For example if the Layer has a “right” Alignment, a 30px Offset “X” would place the Layer 30px from the right side of the Module.
3. Width/Height
Select the option’s burger menu and choose “Auto” for text-based Layers, or enter a custom width and height.
4. Size Presets
Sizing options for Images and Video. Choose “Cover” if you’d like the Layer to always fill the entire Module completely while maintaining its aspect ratio.
5. Layer Align
Choose “Layer Area” to align the Layer the Layers Grid, or “Scene” to align the Layer to the entire Module (“Scene” is recommended).
6/7. Min/Max Width
Add an optional minimum or maximum width for the Layer. (Layer will never be sized below or above these numbers.
8/9. Min/Max Height
Add an optional minimum or maximum height for the Layer. (Layer will never be sized below or above these numbers.
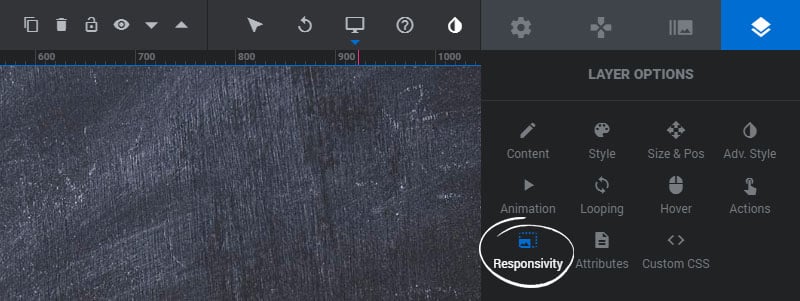
Responsive Considerations
Adjust the Layer’s Responsive Behavior rules for its size and positioning.
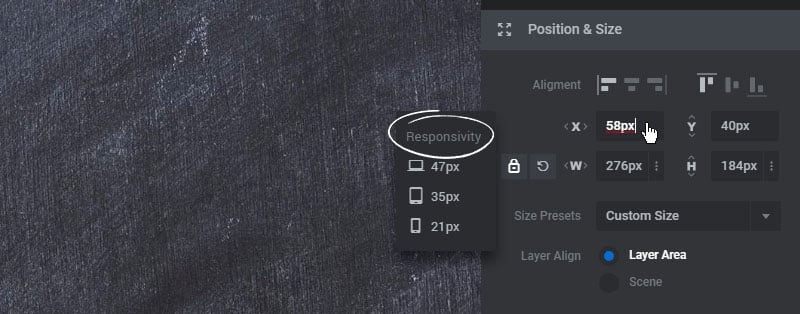
Then switch between the Responsive Views to resize and reposition your Layers for the different viewports.

And preview the responsive settings when editing the options.
Correct:
Incorrect: