Quick Note
The WooCommerce Slider Template used in this article is available free to Direct Customers
Table of Content
- Step 1 : Getting Started
- Step 2 : Configuring the source
- Step 3 : Editing the Slide
- Step 4 : Additional Product Information
Step 1
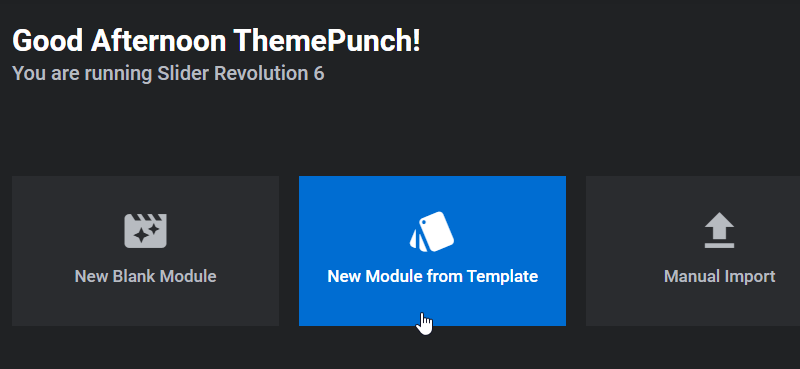
Getting Started
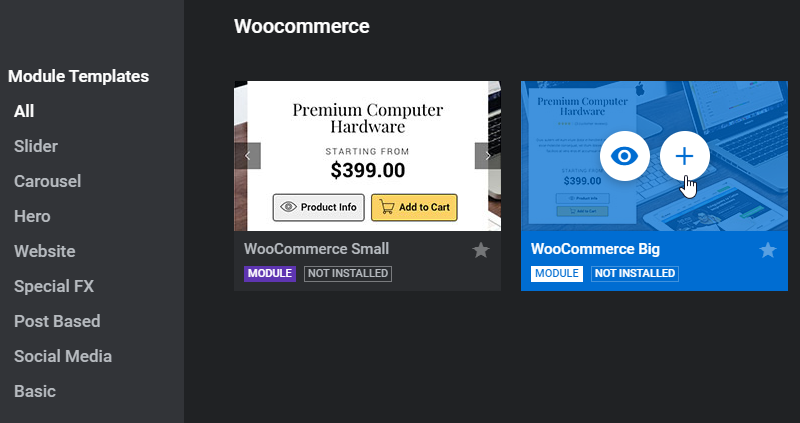
Downloading the Woocommerce Slider Template

Step 2
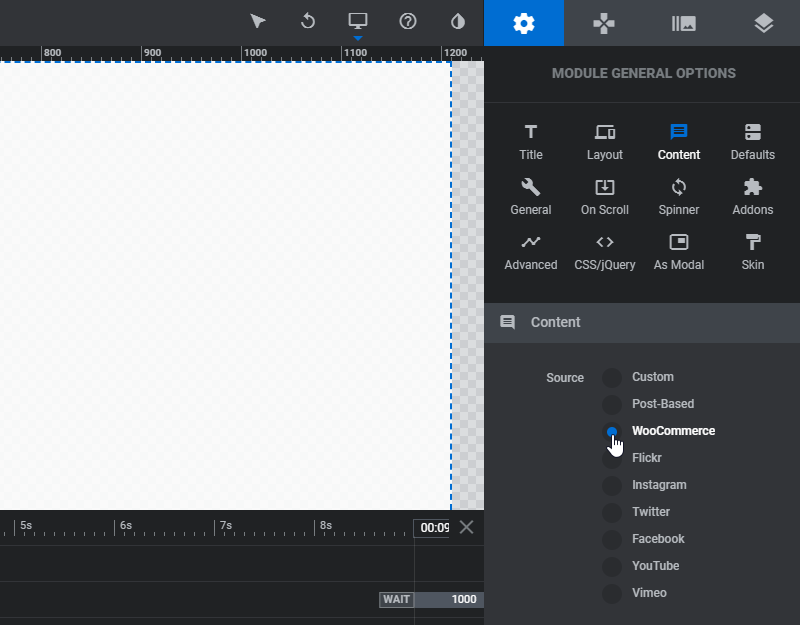
Configuring the Source
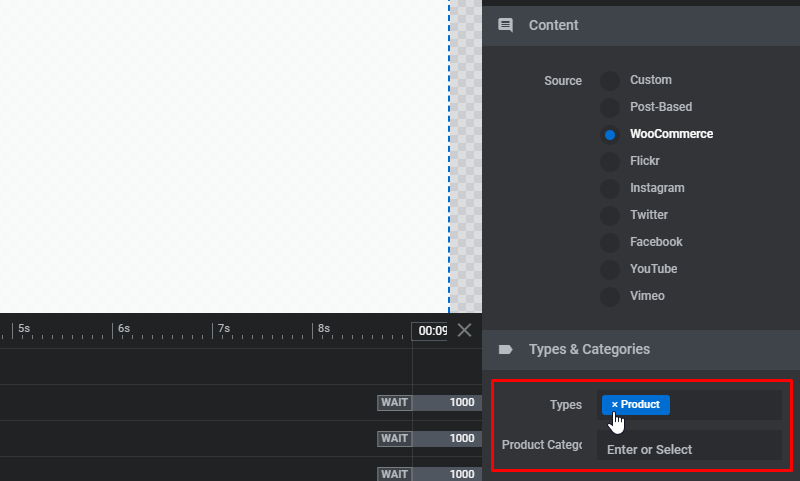
Selecting Woocommerce as Slider Source
Configuring Woocommerce Slider Source
Step 3
Editing the Slide
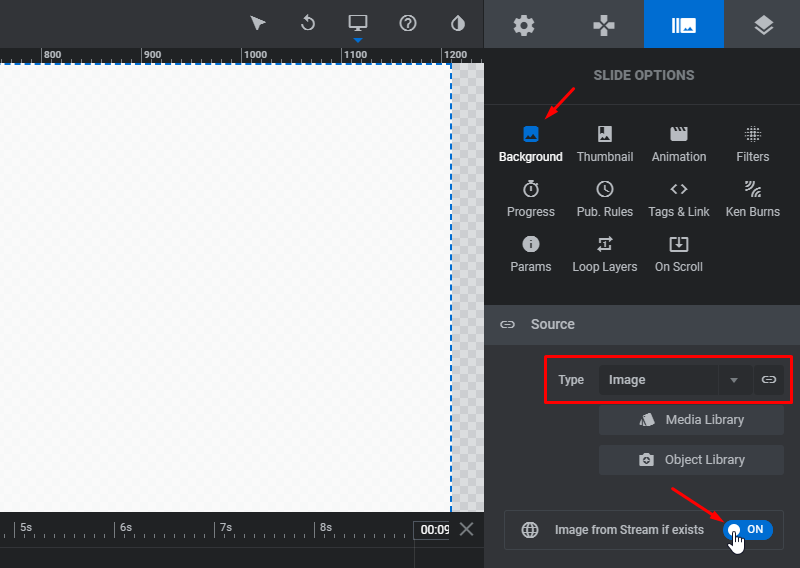
Show the product image as the slide’s Main Background Image
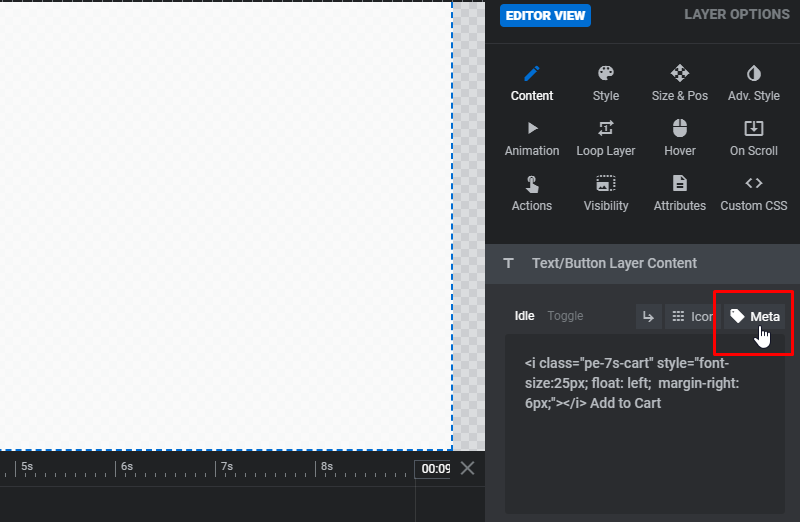
Creating “Add to Cart” and “Product Link” buttons
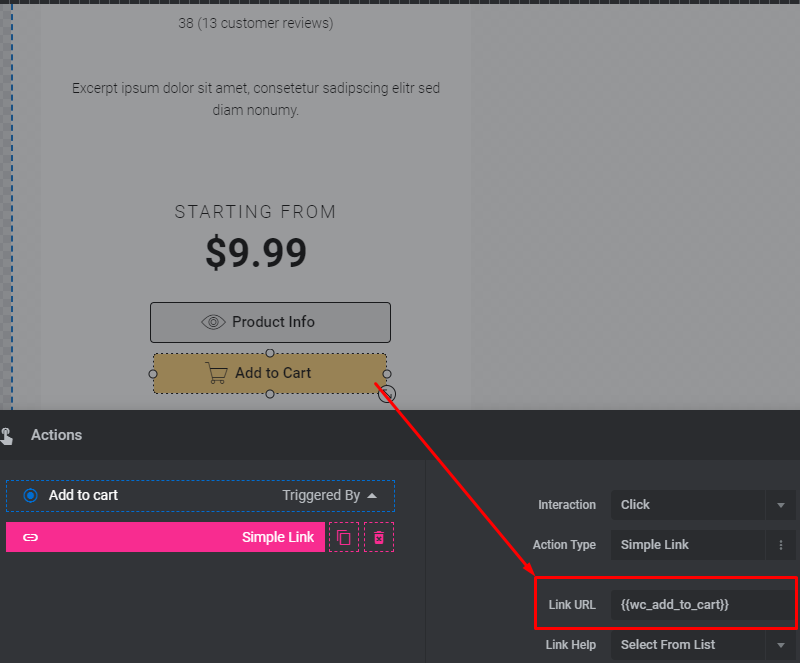
The “Add to Cart” and “Product link” buttons are created using Button Layers and it’s hyperlinked using Layer Actions. Click on the Meta button shown below to open the list of Meta Data
Select “WooCommerce” tab and copy the “Add to Cart URL” Meta Data shortcode.
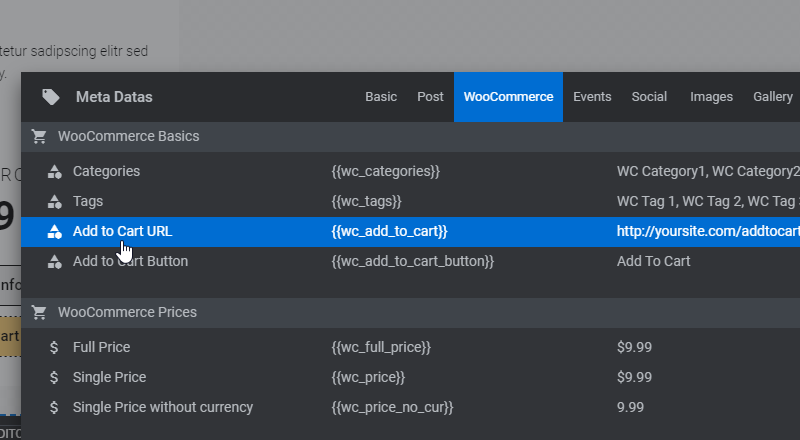
Open the Button Layer > Layer Actions and insert the “Add to Cart URL” Meta Data shortcode into a “Simple Link” action.
Displaying Product Ratings
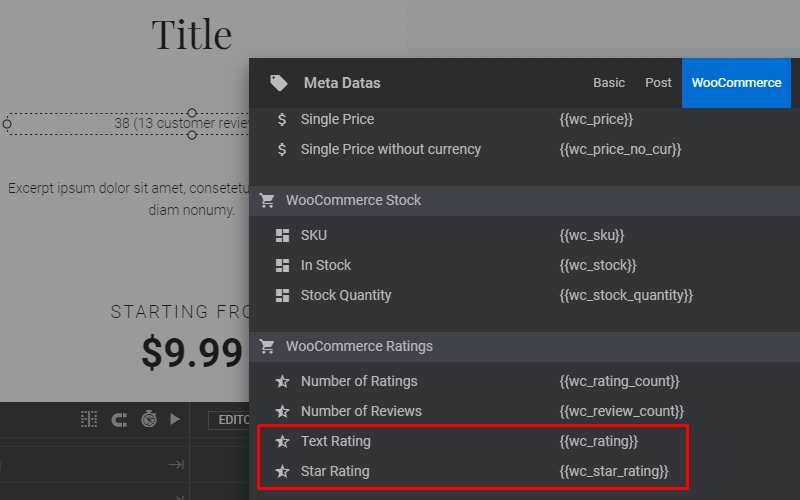
Rating and review count is created using Text Layers and will be displayed directly on the front end. Click on the Meta button shown below to open the list of Meta Data
Select a “Text Layer” and insert the “Text/Star Rating” Meta Data Shortcode into the Layer Contents.
Step 4
Display Additional Product Information
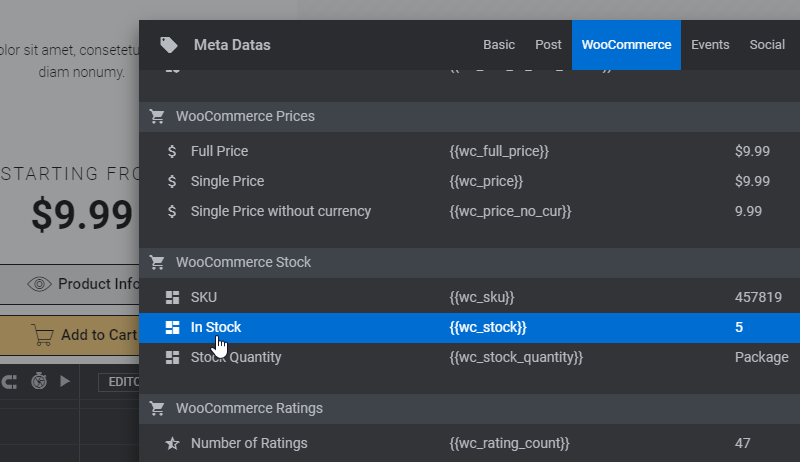
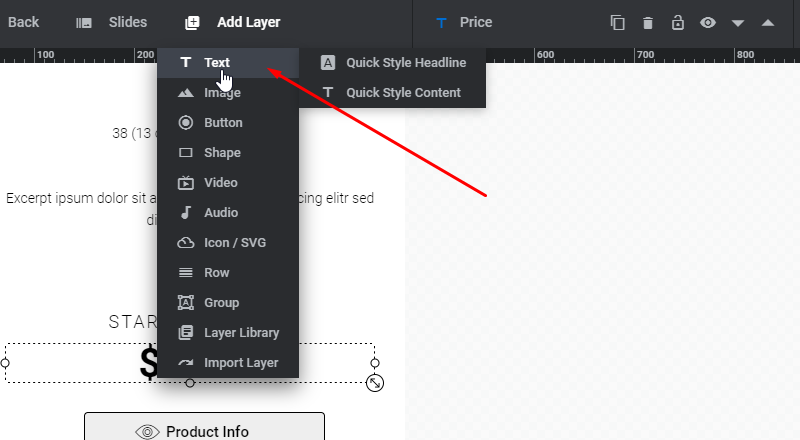
To display additional product information such as “Stock” and “Price”. Add a new Text/HTML Layer.
Click on the Meta button shown below to open the list of Meta Data
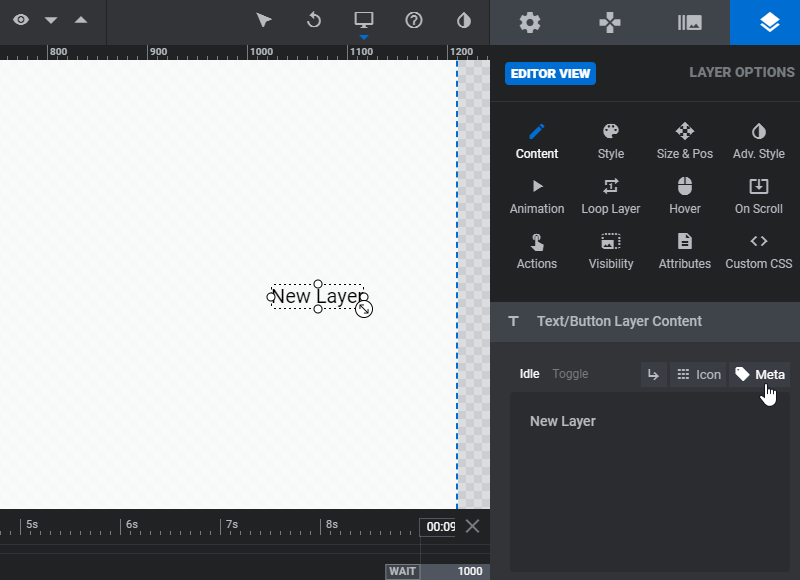
Select “In Stock” Meta Data to display the stock quantity on the Text Layer.