

Table of Contents
- Introduction
- Is WebP Safe? (Spoiler, Yes)
- How Significant is WebP Image Optimization?
- Even PageSpeed Insights Doesn’t Have a Perfect PageSpeed Insights Score
- Does Using WebP Improve my SEO?
- Browser Support
- Add Support for WebP Upload
- How the Direct Upload Approach Works with Slider Revolution
- Automated WebP Processing with Fallbacks
- How the Automated Processing Approach Works with Slider Revolution
- A Final Note on Site Optimization
Introduction
If you’re interested in adding WebP image support to your site its most likely because you’ve run a Google PageSpeed Insights test on your site and been advised in the results to “Serve images in next-gen formats”. And among the suggested file formats you’ll probably have seen WebP.

So What is WebP?
WebP is an image format developed by Google for the express purpose of loading quickly while maintaining high quality levels.
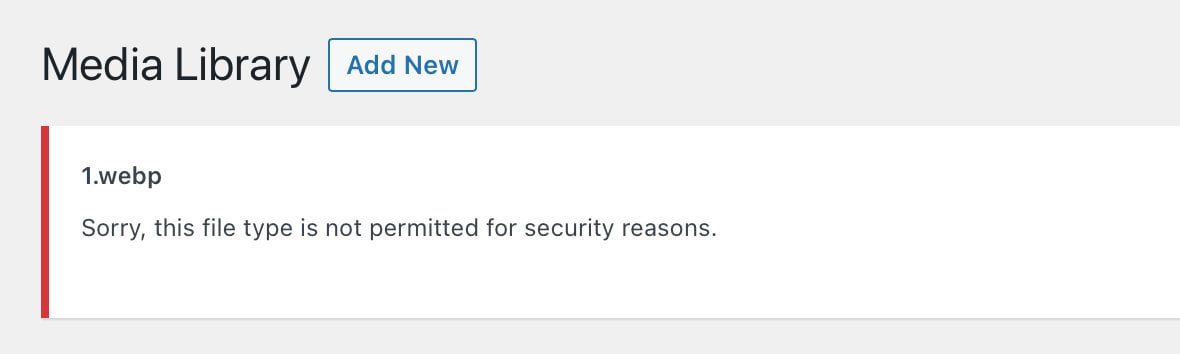
However the problem, for those of us running WordPress, is that this image format is not supported by default. If you try to upload a WebP image to your site you’ll get an error message saying the file type is not permitted for security reasons.
In order to allow your WordPress site to use WebP you have to either install a plugin that facilitates this image format, or make manual changes to the configuration of your WordPress installation.
In this tutorial we’ll answer some of the questions surrounding the WebP format, and learn how to enable it on your site either manually or by using third-party plugins.
Then we’ll see how each of the methods of enabling WebP integrate with your use of Slider Revolution.
Is WebP Safe? (Spoiler, Yes)
Let’s first look answer the question of why WordPress gives a security warning when you attempt to upload a WebP image. After all, there’s no point in having a site with fast images if it’s insecure.
So is there actually legitimate concern about security if you enable WebP images? Is WebP safe?
The first thing to understand is the reason you get this error message when you try to upload a WebP file is simply that WordPress uses an allow list system to determine what types of files you can upload. By default the list includes these image types:
- JPEG
- PNG
- GIF
- TIFF
- BMP
- ICO
If a file format is not on the list, no matter what it is, you can’t upload it without running into this standard security warning.
There are some file types that are perfectly safe to use in WordPress, but just aren’t on the allow list yet. If such a file type is absent from the allow list, even if it triggers the standard security warning, that doesn’t necessarily mean the file type itself actually presents a security vulnerability.
In the case of WebP, the file format is widely considered safe to use on your site. Google themselves use it all throughout YouTube, so you can take that as a strong measure of reassurance that WebP is safe and production ready.
We’ll cover how to add WebP format to the WordPress allow list so it doesn’t trigger security warnings in just a moment.
How Significant is WebP Image Optimization?
In Google’s studies of WebP image optimization they report a reduction in size of 25% to 34% on JPEG files. They also reported an improvement in PNG compression of 23% to 42% compared to other compression methods.
In terms of how this translates to practical gains, after implementing WebP YouTube thumbnail images, Google reported page load speed improvements of 10%.
How significant WebP based image optimization will be on your site depends on many factors, so it’s not possible to accurately predict.
If your images have already been put through an optimization process the gains may turn out to be minimal. However if that’s not the case you may find that implementing the WebP format gives your site a considerable performance boost.
Even PageSpeed Insights Doesn’t Have a Perfect PageSpeed Insights Score
Before we move on it’s worth having a quick reminder that what really matters is the actual loading speed of your site.
The purpose of page speed evaluation tools is to help you reach the fastest possible loading time. As such the focus of optimization should be on the loading time itself, not on the score that you get in an evaluation tool.
Is it ideal to have a perfect 100 out of 100 PageSpeed Insights score? Sure.
Is it absolutely necessary? No.
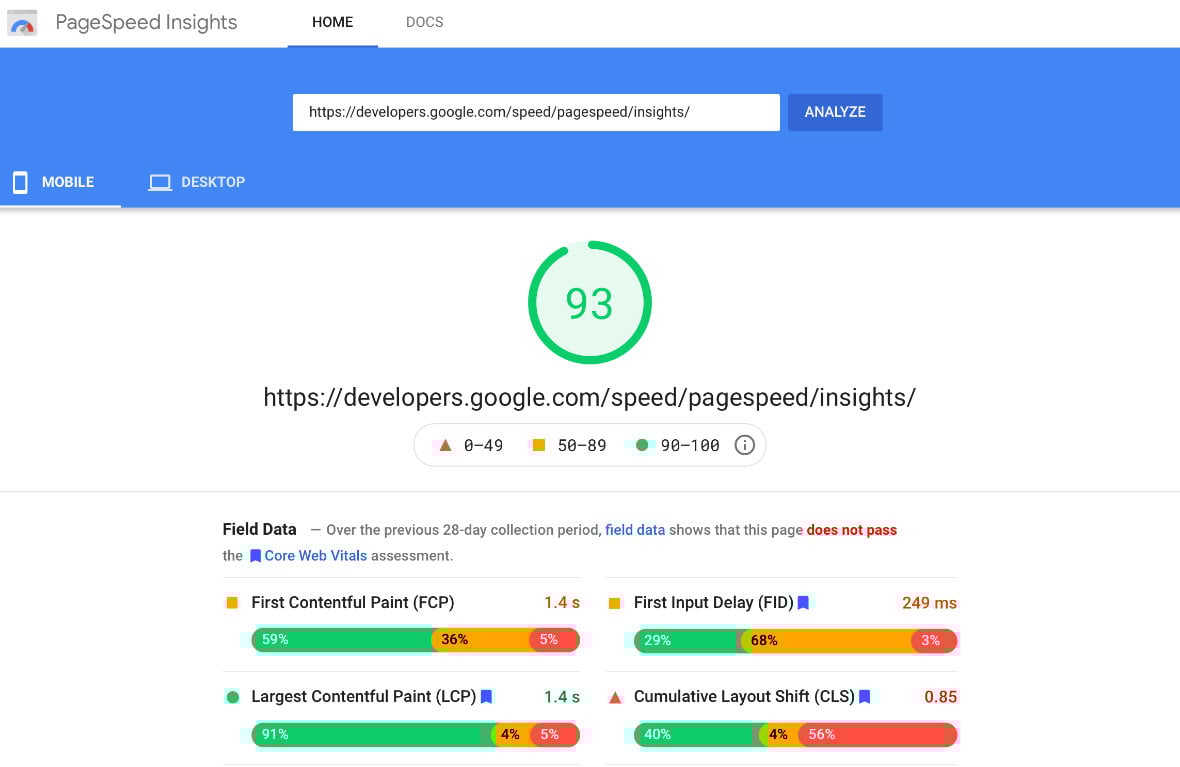
Even the actual PageSpeed Insights website itself only hits a 93 out of 100 score.
If you diligently apply various optimization techniques to your site and get your it to a load time you are happy with, you may decide you don’t really need WebP images at all, even if your PageSpeed Insights score is not perfect.
The best bet is to test your load time before and after implementing WebP and see how much improvement you get. Then decide whether to stick with the format based on your load time, not your PageSpeed Insights score.
Does Using WebP Improve my SEO?
You might wonder if using WebP might give your search engine optimization a bump, given Google created the format. Does it?
The answer is: Yes and no.
Just using this format doesn’t directly effect your SEO in and of itself. It’s not a method of getting an instant rankings boost.
However if you find that implementing WebP gives your site a considerable improvement in its loading speed, then yes, that will definitely translate to greater search engine optimization.
Google is increasingly factoring loading speed and overall performance into how it ranks websites against one another. So if you see a way to get your sites loading faster, you should grab it in almost every case.
Browser Support
WebP is now supported in every modern desktop and mobile browser.
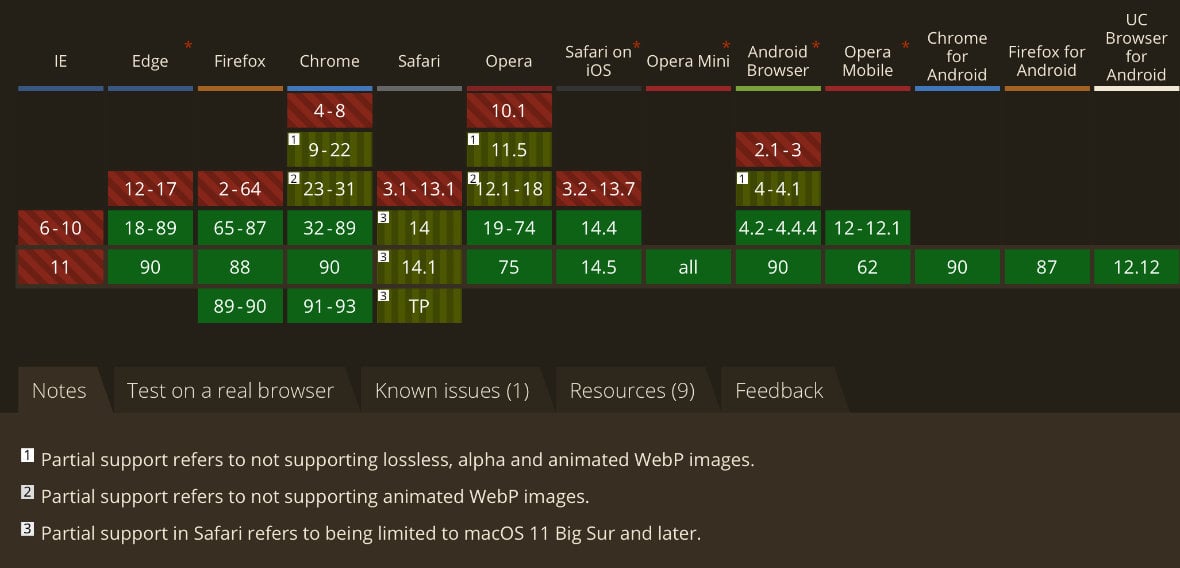
On desktop Safari, however, support for the image format only arrived in macOS 11 Big Sur. And on mobile Safari support began at iOS version 14.
Additionally, Microsoft Internet Explorer does not support WebP. Microsoft’s newer browser, Edge, does have support however.
You can see a full compatibility chart over at CanIUse.
Because support for WebP will not be 100% until use of older browsers dissipates, in most cases it’s currently not advisable to just directly upload WebP images to your site and use them as you would regular images.
You’ll need an implementation strategy that incorporates fallbacks, in other words loading more common file formats when required, if you want to support older versions of MacOS and iOS, or old IE.
However, every site is different, and for your site it may not be important to support older browsers. If so, you can go ahead and freely upload & use WebP images as you please.
For this reason, we are going to begin by covering how you can add support for WebP upload into your WordPress site. After making this adjustment, if you decide to directly upload WebP images you’ll no longer get the security error we talked about earlier.
Add Support for WebP Upload
The easiest way to add support for direct WebP image uploading to your site is actually to use a plug-in.
However, we’re going to start by looking at how you can add this support manually, so you have a better understanding of what such a third-party plugin is doing behind the scenes.
Do Not Allow All File Types
You may see some recommendations to add code to your WordPress installation that allows any type of file to be uploaded. This is done by setting the ALLOW_UNFILTERED_UPLOADS option to true in the “wp-config.php” file.
This is a quick method of allowing WebP files to be uploaded, but unless you have complete decision making authority for your site and are confident you know exactly what you are doing, it can be a very dangerous approach.
We recommend you do not use this method, especially if you are sharing the site with other authors and don’t have absolute control over what gets uploaded.
The reason is that while it’s safe to use WebP images, there are other types of files that absolutely can introduce vulnerabilities if they’re allowed to be uploaded to your site.
So instead of opening the floodgates to any and all file type uploads, you should explicitly add WebP to the list of allowed file types.
Add WebP to the File Type Allow List
WordPress has a built in hook, 'mime_types', to which you can attach a filter that adds new file formats to the upload allow list.
To take advantage of this you’ll need to write a PHP function, which can be added to your theme “functions.php” file. Alternatively you can use a plug-in like Code Snippets, which will give you a place to add your code independently of your theme, meaning if you switch or update you theme your custom code will stay in place.
The function should look something like this, adding WebP into the array of file types that are already allowed:
function allow_webp_upload($allow_list) {
    $allow_list['webp'] = 'image/webp';
    return $allow_list;
}
add_filter('mime_types', 'allow_webp_upload');
If you don’t have any experience in WordPress development, or you’re not particularly interested in working under the hood, a better approach for you may be to use a plugin that handles the process described above for you.
Plugins to Allow WebP Upload
There are a few plugins available in the WordPress repository that automatically handle the process described in the previous section. They can be found by searching the repository for “upload webp”.
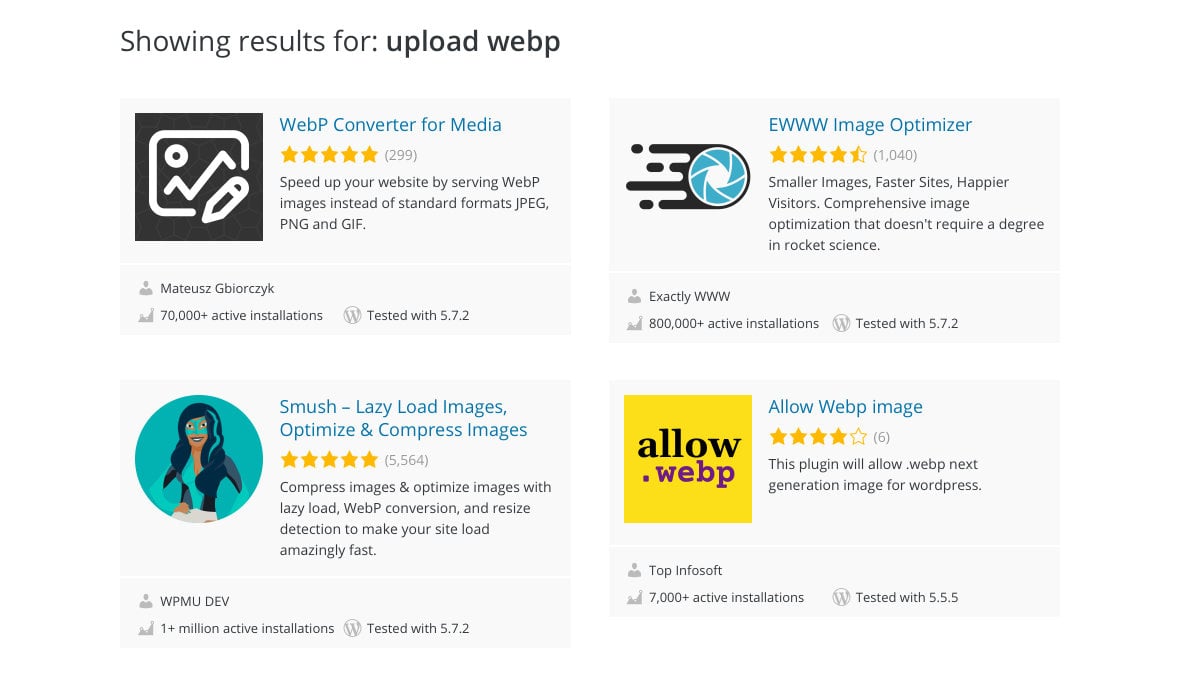
There are no particular standout candidates for the task, but what you should look for is a plugin that is regularly updated to ensure compatibility with the latest WordPress version, as well as positive feedback in reviews confirming everything works properly.
Which plugins fit this criteria can change regularly, because small projects like this are often maintained free of charge by volunteer developers who may or may not able to carry on long term. So be sure to do a fresh evaluation of your own after reading this article.
That said, right now some plugins you might consider include:
How the Direct Upload Approach Works with Slider Revolution
Once you’ve enabled WebP upload you can add WebP images into your modules in the exact same way as you would add any other image.
WebP images can be used anywhere other image formats can be used, including in image layers, background layers, and as the background image of shape layers and other layer types.
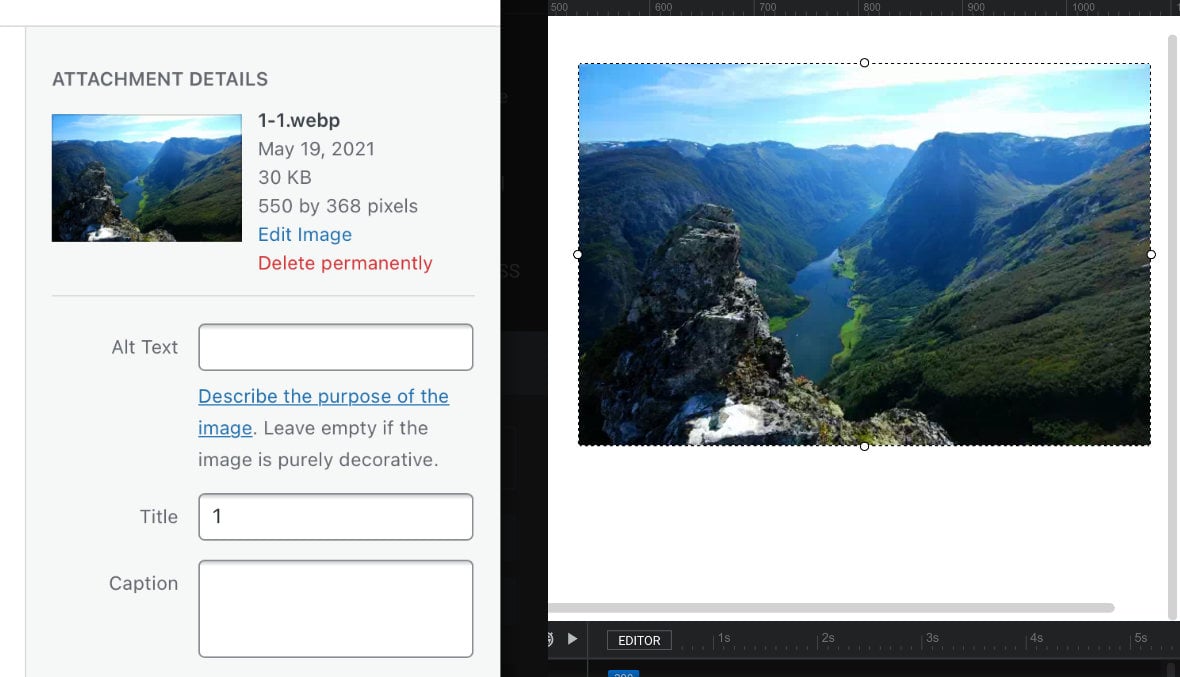
The WebP images you add will appear on your canvas while you are editing, in your module previews, and when you publish modules on your site.
Automated WebP Processing with Fallbacks
We mentioned earlier that even though you can upload WebP images directly to WordPress, until browser support is 100% it’s generally better to use a different approach that will incorporate fallbacks into the implementation.
This is typically done by making sure that a JPEG or PNG version of your images is also available, and by having a system that serves up these files to visitors using older browsers.
Because of the extra complexity that comes with these requirements, the functionality can really only be handled properly by a plugin.
Additionally, a well crafted plugin will handle the conversion from a common file type like JPEG or PNG to WebP for you on the fly, so you don’t have to worry about finding graphics software that has WebP export capabilities. You just upload your regular image files and let the plugin take care of the rest.
Let’s take a look at a couple of of the most popular and widely used plug-ins that can offer this functionality.
Smush Pro by WPMU
Smush is a multi function image optimization plug-in developed by the reputable WPMU DEV team. It has several useful utilities included in it’s free version, but in its pro / paid version you’ll find a feature named Local WebP.
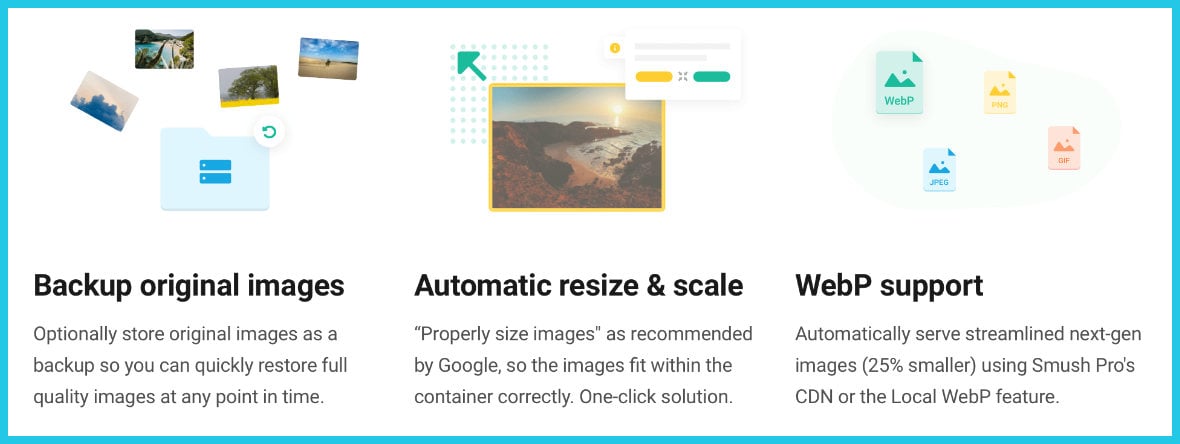
This plug-in feature automatically makes a duplicate of your site’s regular “uploads” folder, with the difference that all the images the duplicate folder in are converted to WebP format.
These WebP images well then be served up to all browsers capable of displaying them, and the regular JPEG and PNG files from your “uploads” folder will be served up to older, non-supporting browsers.
WebP Express
WebP Express is a free plug-in that handles both converting your images to WebP format, and serving up those WebP images only to browsers that support them.

The plugin provides a variety of methods both for converting images, and for handling fallbacks for older browsers. You can choose from among these methods within the plugin’s settings.
How the Automated Processing Approach Works with Slider Revolution
Once you have an automated WebP based process set up using the plug-in of your choice, you don’t have to do anything extra in order for WebP images to be supported in Slider Revolution.
Just upload your JPEG and PNG images into your modules exactly the same way as you ordinarily would, and in the background the WebP processing plugin you’ve selected will handle converting those images and serving them up correctly to your site visitors.
A Final Note on Site Optimization
You now know how to handle optimizing images using the WebP format, not just for Slider Revolution but for your entire WordPress site.
At this point it’s worth bearing in mind that image optimization is just one of the ways you can improve the load speed and performance of your site.
We also recommend you take advantage of Slider Revolution’s in-built file size optimization tool, which you can learn to use here: https://www.sliderrevolution.com/documentation/file-size-optimizer/
You should also always use a quality cache plugin for WordPress, as well as asking your host about caching and optimization that can happen directly on your server, for example through gzip/Brotli and Varnish.
Additionally, using a content delivery network a.k.a. CDN can greatly increase load speeds for your visitors by serving them a copy of your website from a location physically closer to them.
Put as many of these methods as possible into action and your Slider Revolution content, as well as your entire site, will load in a flash.


Hi Kezz, great article! I’ve read a bunch of people wondering if Slider Revolution supports WebP so this is great news. I’ve tried hard to implement WebP images within a WordPress Multi-site setup and found that you need a few extra pieces depending on your server setup (currently using Imagick PHP extension). So far, I’ve gotten it mostly working. I’ve found some success using WebP Express and that it auto converts every JPG and PNG on the pages EXCEPT the images Slider Revolution use. The Slider Revolution images are not being changed. My question is that do you have any specific steps for WebP Express to work with Slider Revolution (using v.6.5.9)? Do I need to do a Bulk Convert or change the destination folder, destination structure? Thanks!
Same problem for me as Michael J. So a bump would be ok.
Hi Kristof,
Thanks for your message. Please make sure that you’re using the latest version of the plugin. If the issue persists, kindly email us at [email protected] and we’ll investigate this further for you.
Cheers from the team @ ThemePunch