
Slide Duration
The Slide Duration options in the Module Editor [?]
The "Module Editor" is the tool used to create & modify modules.
Through this visual, drag & drop, no-code interface you can add various types of layers, animation and special FX to your modules, as well as managing slides and configuring options. let you control the time each slide [?]
A "slide" in Slider Revolution is a container into which multiple layers can be added, with layers in turn acting as containers for various forms of media such as images, text, video, audio, buttons, and special effects.
Slides are added to modules and edited via the module editor.
Within the module editor, each slide has its own animation timeline, background and collection of layers.
A single module can have one or many slides. A module with one slide is called a scene, and a module with multiple slides is called a slider or carousel. stays in view on the browser window before changing to the next slide.
You can:
- Configure slide duration globally so all slides have the same duration.
- And you can also set the duration for slides individually to give them different stay times.
Let’s learn how to configure slide duration in both these ways.
Slide Duration – Global
Slide duration configured globally will be applied on all the slides, and each slide will take the same time before changing to another.
All modules [?]
A module in Slider Revolution acts as a container for slides, which in turn act as containers for layers. Modules are created and edited with the module editor.
A "module" is a single, self contained piece of content. You can think of this as being similar to the way a post or page in regular WordPress is a self contained piece of content.
A module can represent any kind of content Slider Revolution is capable of creating, such as a slider, carousel, hero unit, navigation menu, posts display and so on.
Multiple modules can be combined to form rich content such as complete sites and landing pages., whether blank or template [?]
A "Template" is a premade module. It has pre-configured layers already in place.
It is designed to be ready for use, either as is or after being modified in the module editor.
Slider Revolution comes with several templates you can use, or alternatively you can create your own templates, thereby allowing you to easily reuse modules you have produced. based, have a default global slide duration set. However, you can change this global default if you choose.
You can follow these steps to find the global Slide Duration option and input your duration value.
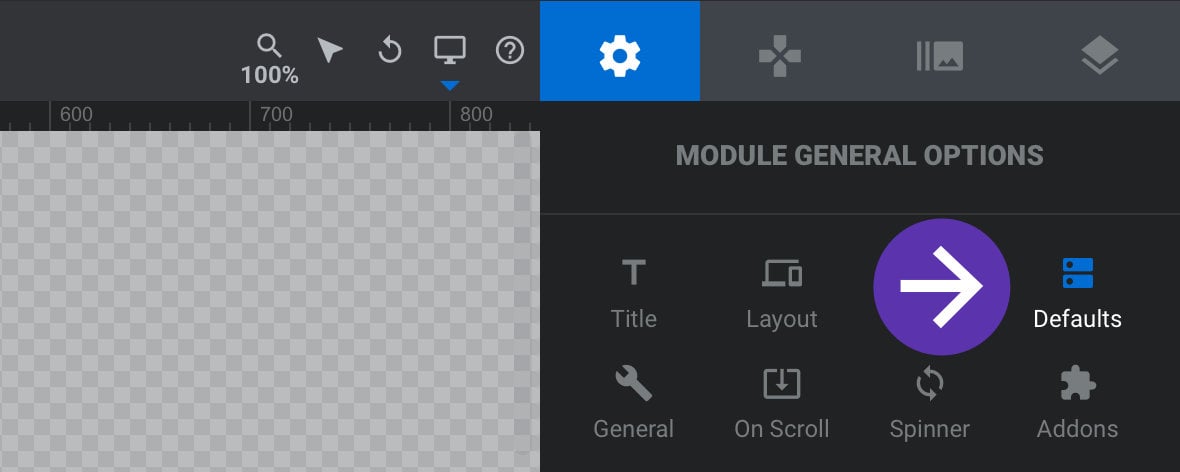
Go to the Module General Options tab in the sidebar and into the Defaults sub-section:
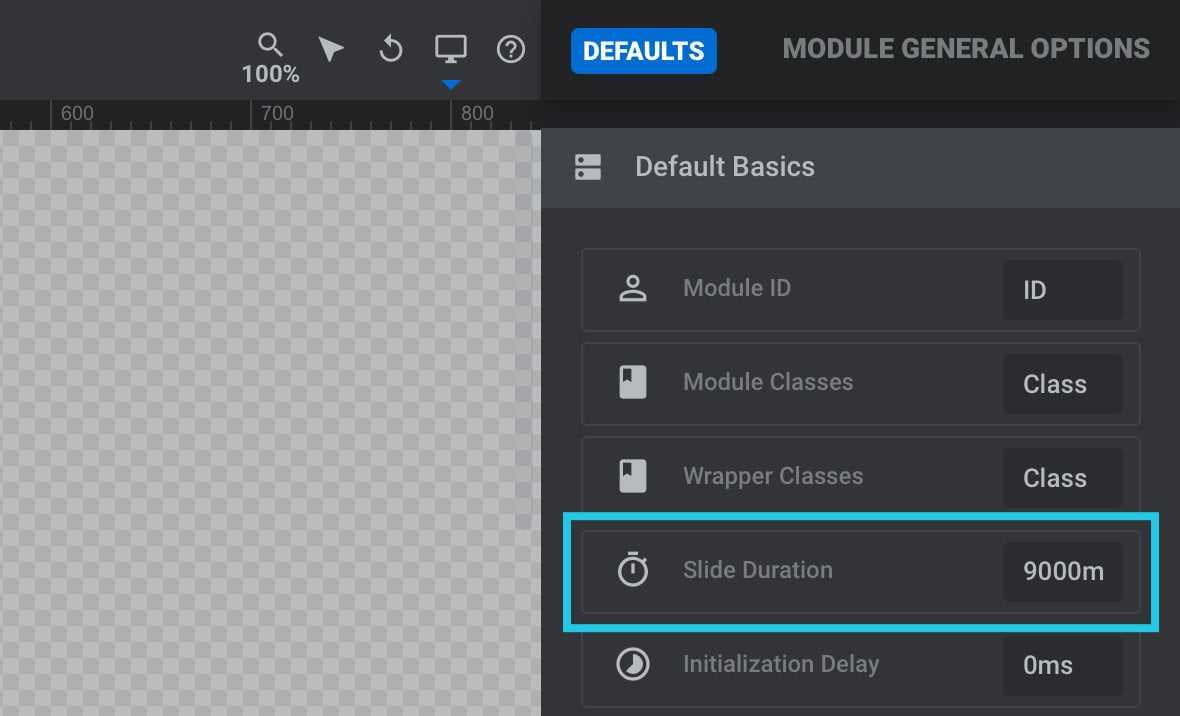
In the Default Basics panel, find the Slide Duration option:
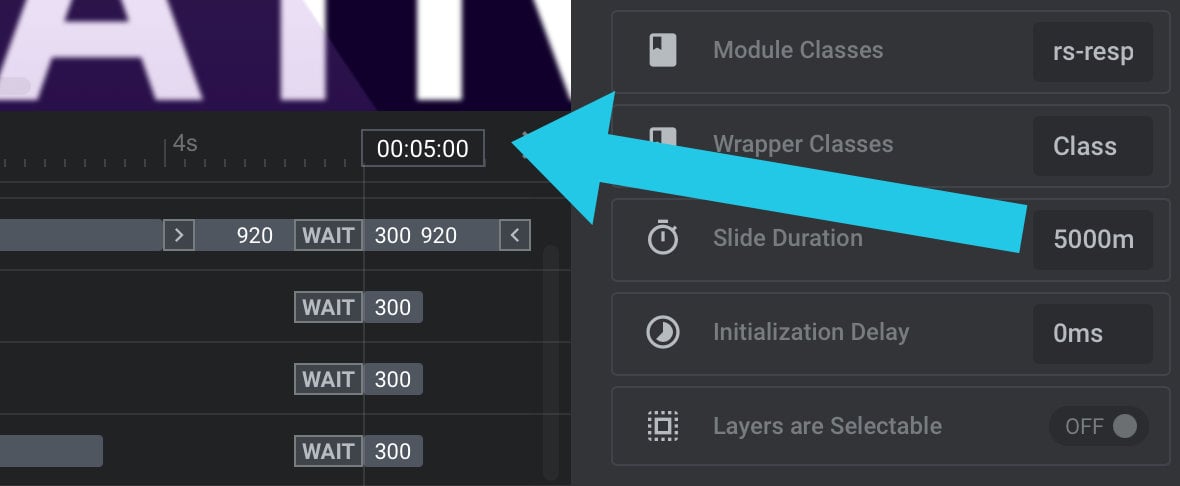
Then add a custom value in milliseconds, e.g.: 5000ms = 5 seconds.
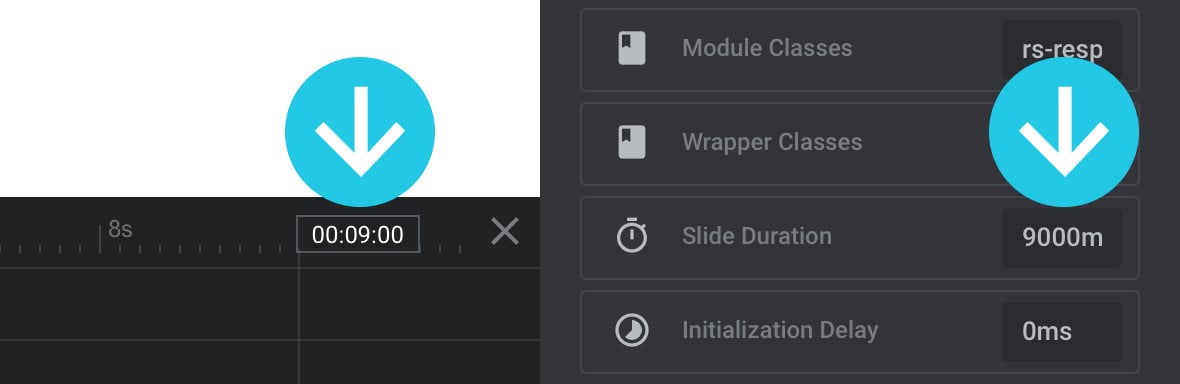
When the Slide Duration value changes, you’ll see the time on the marker at the end of the timeline also changes to match, and any OUT animations in the slide will position themselves at the new end time:
Slide Duration – Individual Slide
Customize the time duration for specific slides to prioritize important content and extend their visibility on the screen.
Follow these steps to modify the Slide Duration for each slide.
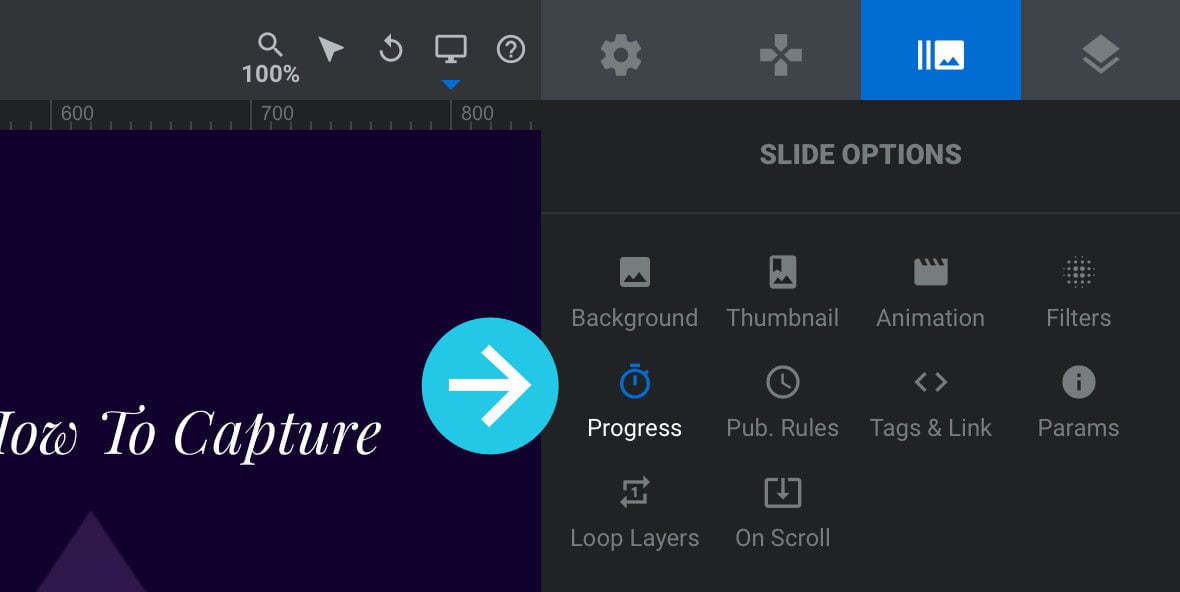
Go to the Slide Options tab from the right sidebar and the Progress sub-section:
Then in the Progress panel, find the Slide Length option, which will have the word default In it, if it hasn’t previously been given a custom value:
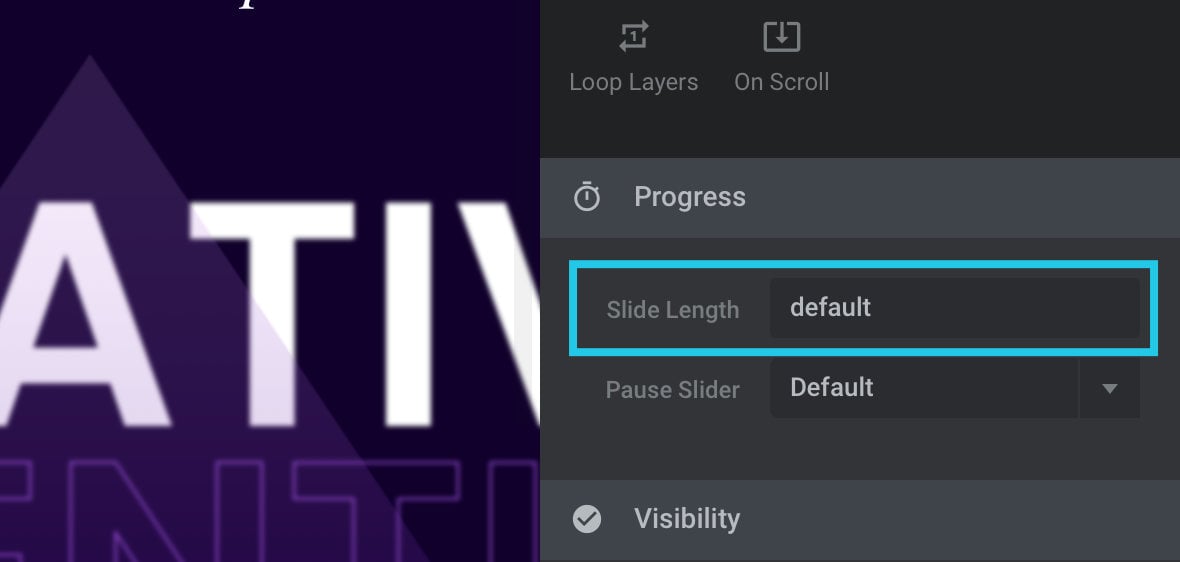
To provide the slide with a custom duration, replace the word default with a time value in milliseconds.
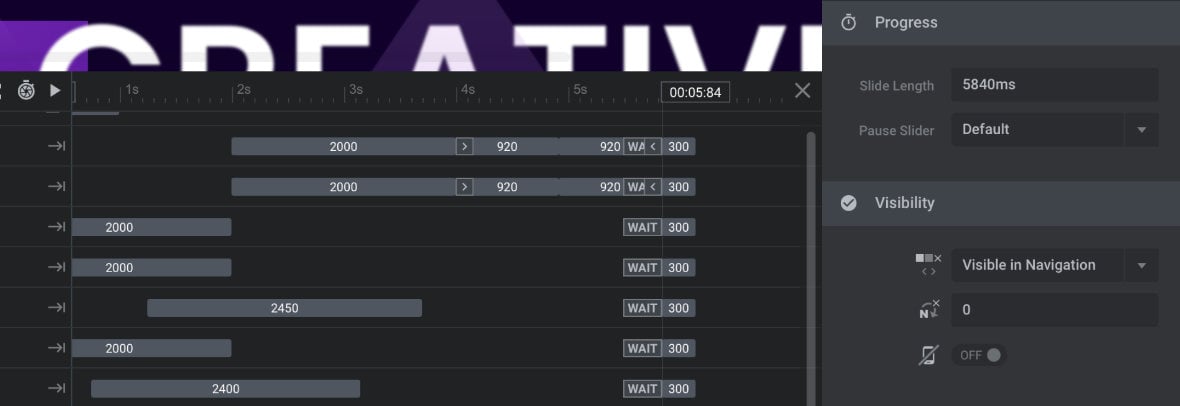
Sometimes, there’s a minimum value to ensure enough room for all animations on the timeline. If so, and a value is entered that’s too small, that value will automatically be increased to the minimum.
For example, if a value of 3000ms is entered for the slide pictured below; there’s not enough space for its animations, so the number is automatically increased to 5840ms:
Repeat the process for each slide to set a custom duration, and they will change at your preferred time.
If you need to return the duration of a slide back to the global setting, delete the custom value from its Slide Length option, and you’ll see the word default reappear in the field.


If I have a slide with a Vimeo or Youtube video, the time it takes to load, play and complete that video differs by users according to connection speed, device, browser etc… it is far more sensitive than simply loading a jpg. Can the slide duration be set to only change when the video finishes on the client browser?
Hi Warren,
Thanks for your message. What you needed could be possible using the API methods as explained here https://www.sliderrevolution.com/manual/custom-css-and-javascript-with-slider-revolution/ but it requires custom code which falls outside of what we’re providing for support.
Cheers KC @ Slider Revolution