Adding and Configuring Slide Actions
Learn to use Slide Actions to create finer control over slide playback
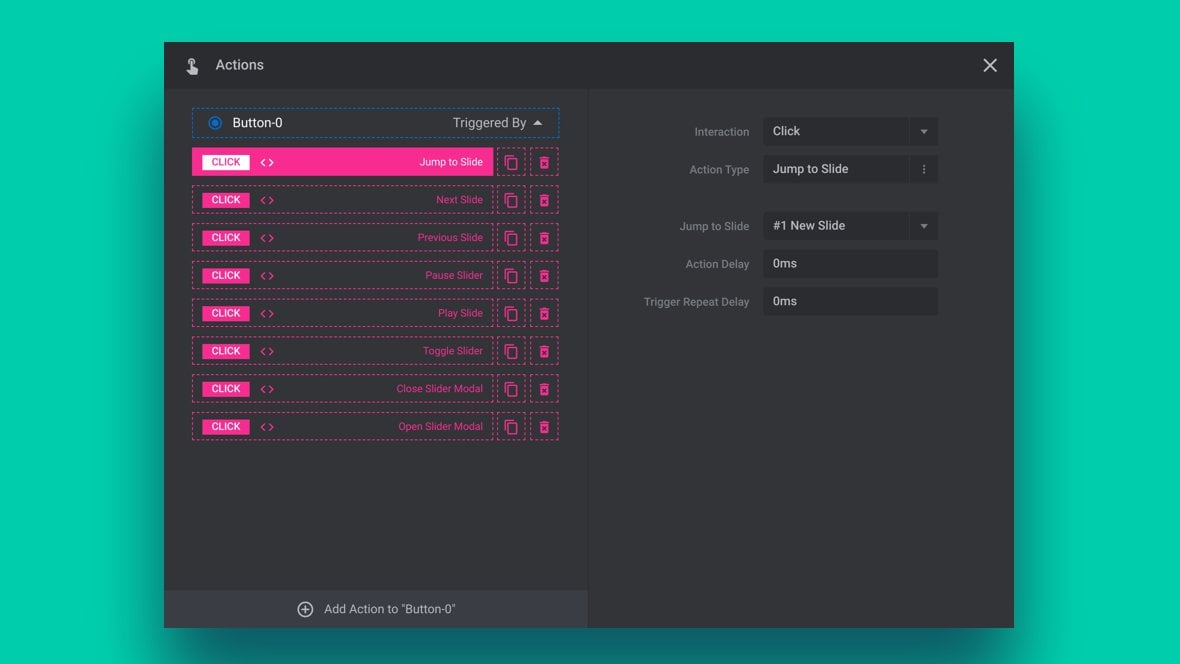
Table of Contents
What Are Slide Actions?
Slide Actions provide a way to add interactivity to any layer [?]
Layers are containers for visual, audio or layout items and are added to slides. For example, text, button, image, audio, video, group and row are all types of layers.
Layers are added to slides via the module editor., allowing greater control over movement between slides [?]
A "slide" in Slider Revolution is a container into which multiple layers can be added, with layers in turn acting as containers for various forms of media such as images, text, video, audio, buttons, and special effects.
Slides are added to modules and edited via the module editor.
Within the module editor, each slide has its own animation timeline, background and collection of layers.
A single module can have one or many slides. A module with one slide is called a scene, and a module with multiple slides is called a slider or carousel., as well as working with modal popups.
Slide actions can be used to either:
- Move to another slide.
- Pause and play slide progression.
- Open and close modal modules [?]
A module in Slider Revolution acts as a container for slides, which in turn act as containers for layers. Modules are created and edited with the module editor.
A "module" is a single, self contained piece of content. You can think of this as being similar to the way a post or page in regular WordPress is a self contained piece of content.
A module can represent any kind of content Slider Revolution is capable of creating, such as a slider, carousel, hero unit, navigation menu, posts display and so on.
Multiple modules can be combined to form rich content such as complete sites and landing pages..
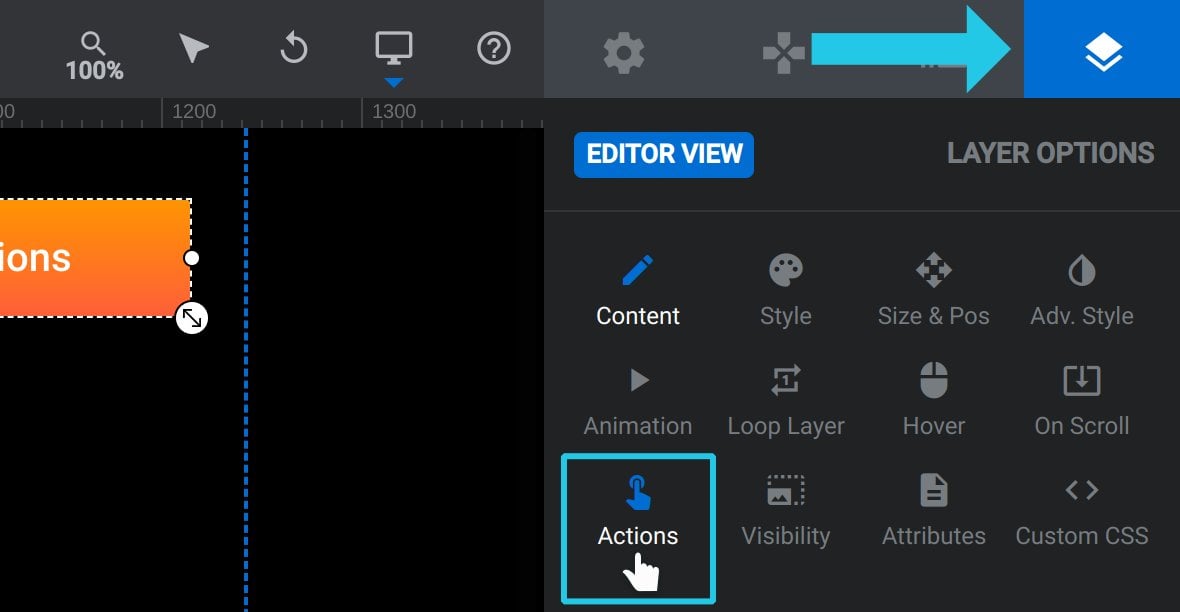
To add a Slide Action select any layer, go to the Layer Options tab, and click the Actions sub-section button:
The Actions dialogue box will open:
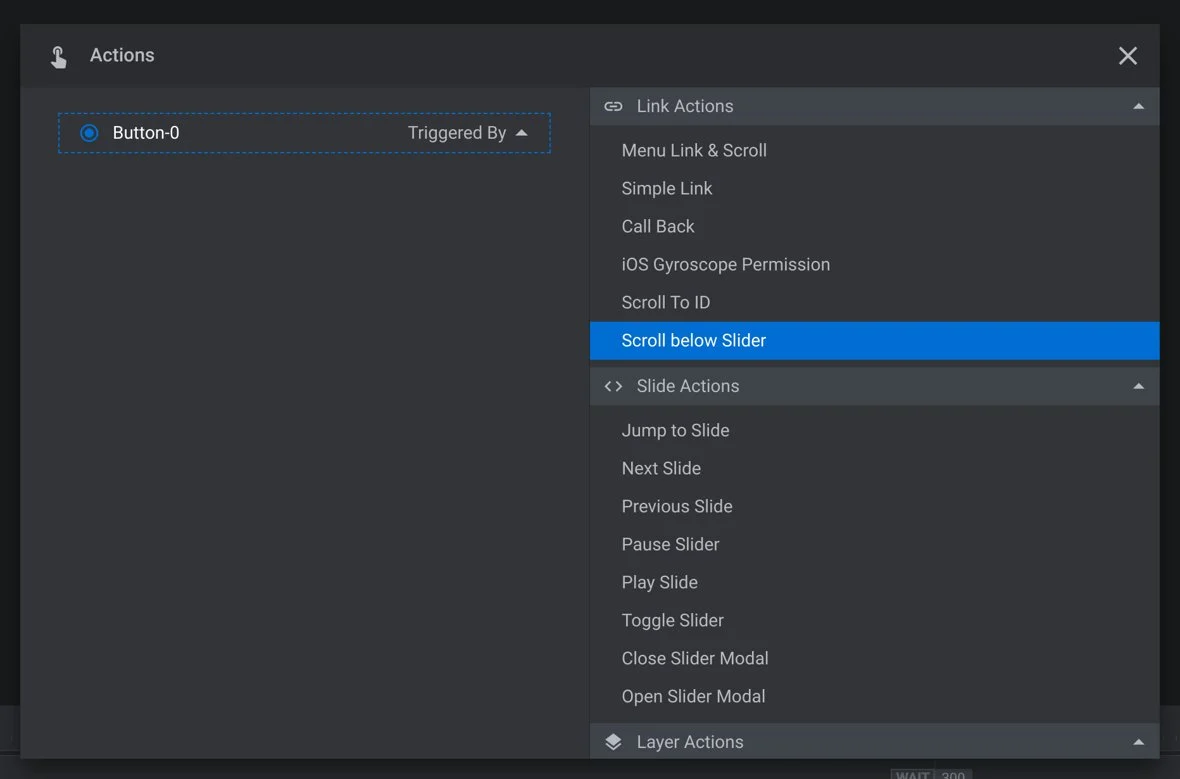
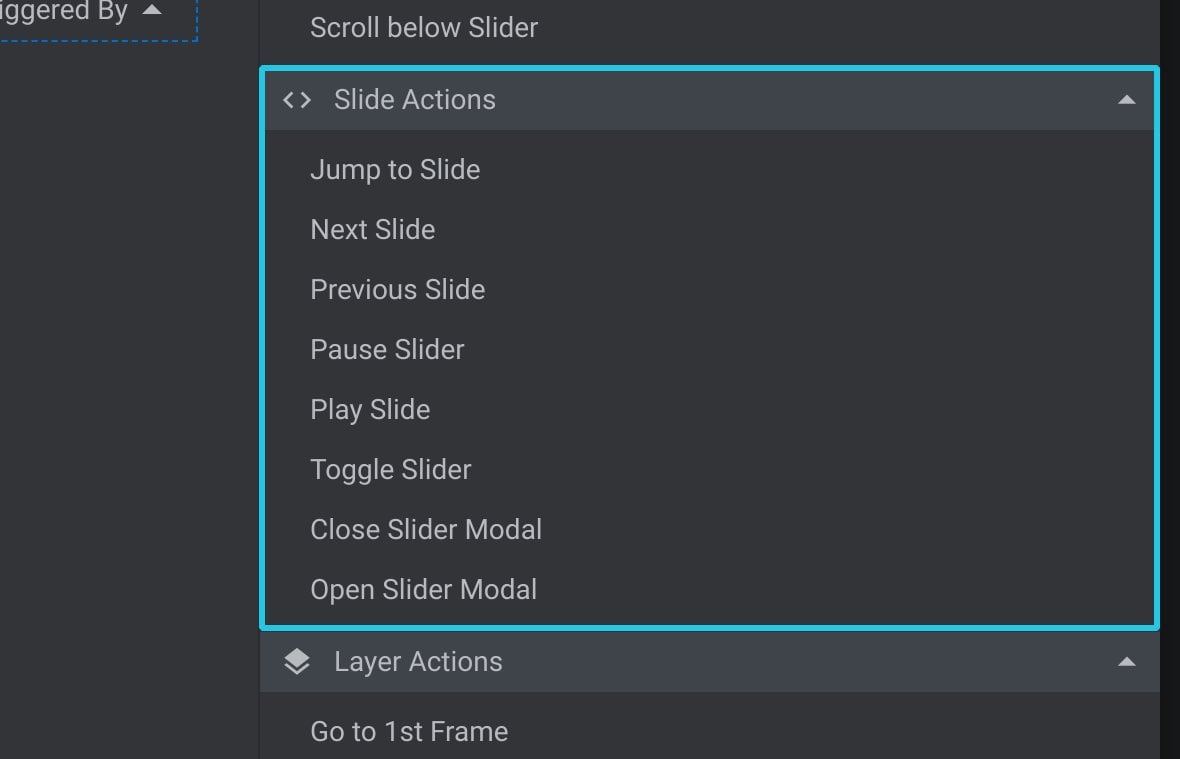
On the right side of the dialogue box you will see the Slide Actions section, containing the eight different available link actions:
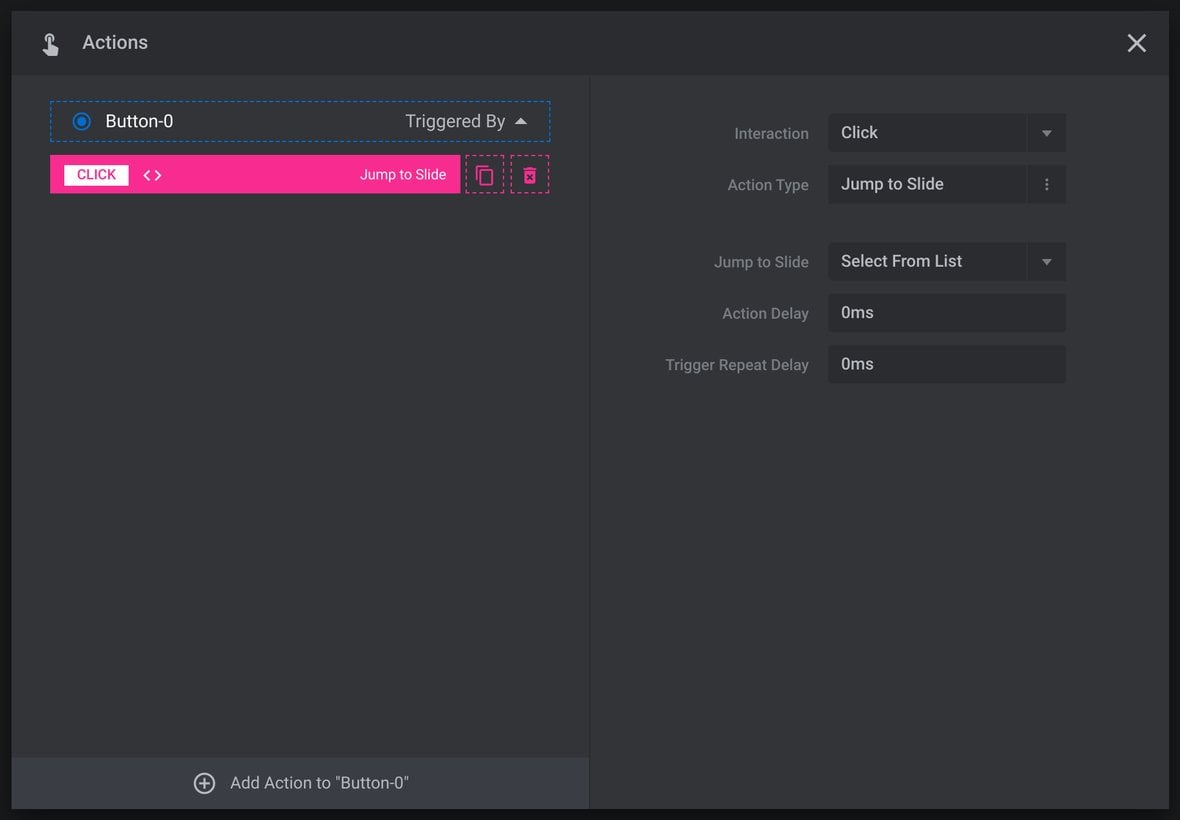
Click one of those actions to apply it to the layer. The applied action will then appear in the list of actions on the left side of the box, while the options for that action will appear on the right side:
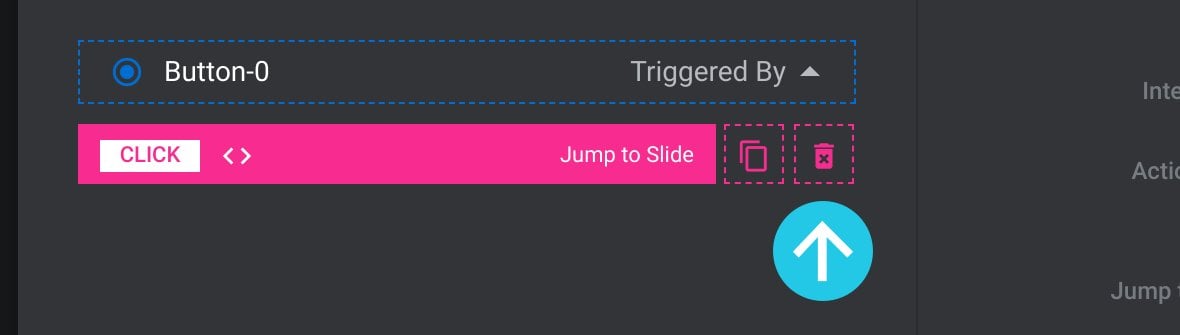
To delete an action, click the small trash can icon to the right of the action’s name:
The eight available slide action types are:
- Jump to Slide
- Next Slide
- Previous Slide
- Pause Slider
- Play Slide
- Toggle Slide
- Open Slider Modal
- Close Slider Modal
The behavior of each of these slide action types can be customized by configuring its options. Let’s now step through the available options for each action type and learn how to use them.
Note: Changes to action configuration are immediately auto-saved. Manual saving is not required.
Common Action Options
There are four options you will find common to all eight slide actions types, and that perform the same function in each case. Rather than go over these options multiple times, we’ll cover all of them at once as we look at each action type.
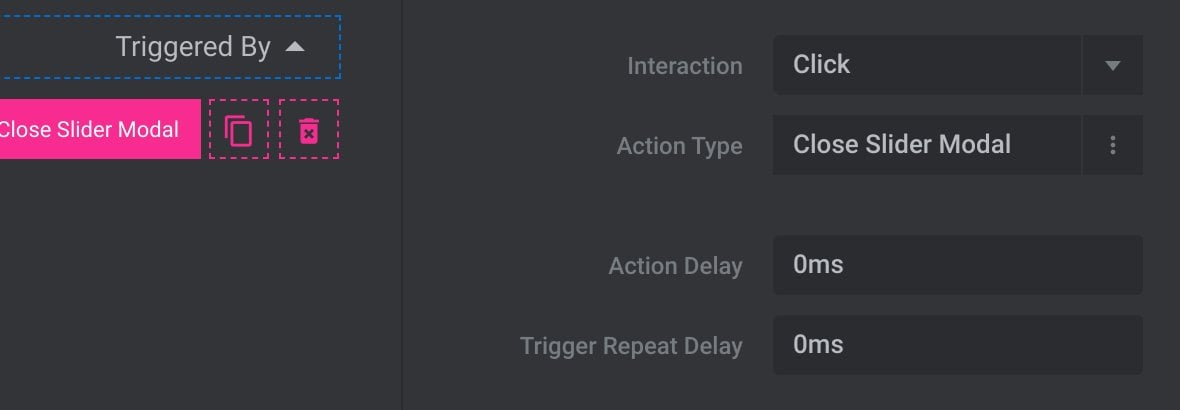
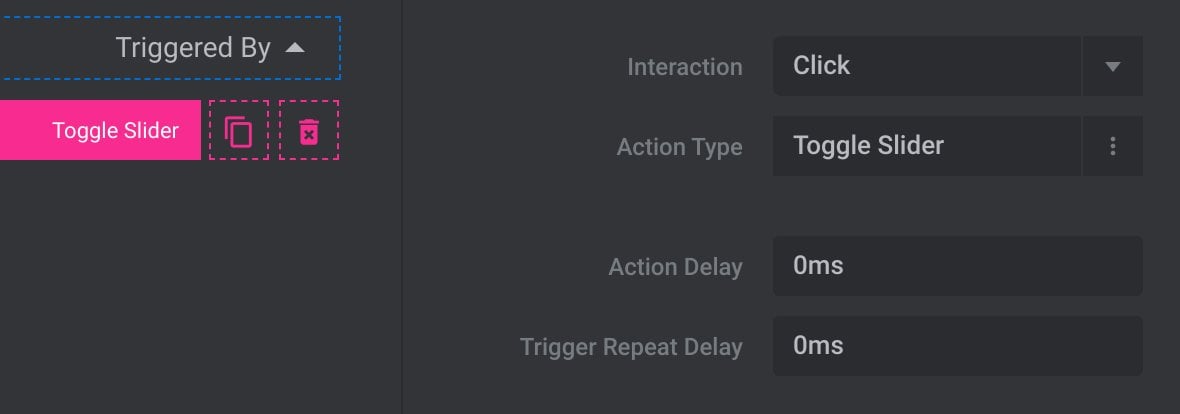
Interaction
Use the Interaction option to specify how the user will need to interact with the layer in order to trigger the action:
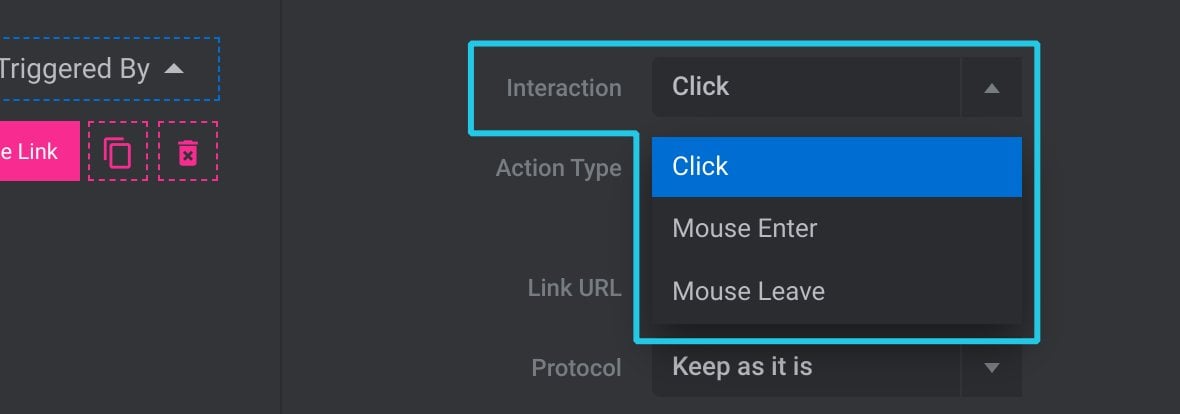
There are three possible settings.
Click triggers when the layer is left clicked with the mouse, or tapped on a touch screen.
Mouse Enter triggers when the mouse first hovers over the layer.
Mouse Leave triggers when the mouse stops hovering over the layer.
Action Type
The Action Type option shows the currently selected action type:

This option also acts as a shortcut to switch action types. Click the option and you’ll be taken to the list of actions, from where you can choose a different type.
Action Delay
With Action Delay you can optionally add a delay, in milliseconds(ms), between when the action is triggered and when it takes effect:

Trigger Repeat Delay
With Trigger Repeat Delay you can optionally add a period of time, in milliseconds(ms), that must elapse before an action can be triggered again:

Individual Action Options
Now that we’ve covered the configuration options common to all Slide Action types, let’s move on to the functionality and options specific to individual action types.
Jump to Slide
The Jump to Slide action type allows skipping to a specified slide in the module:
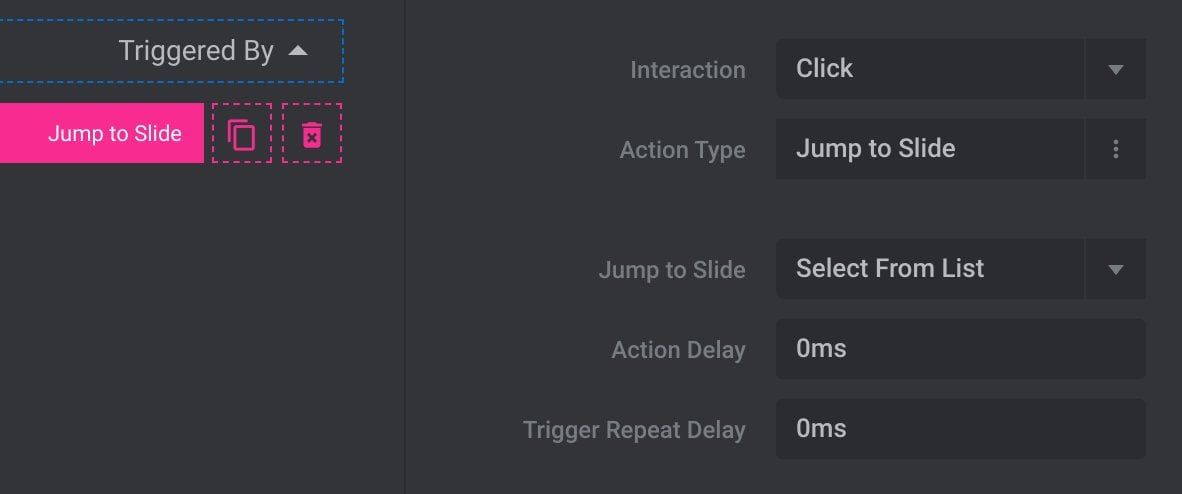
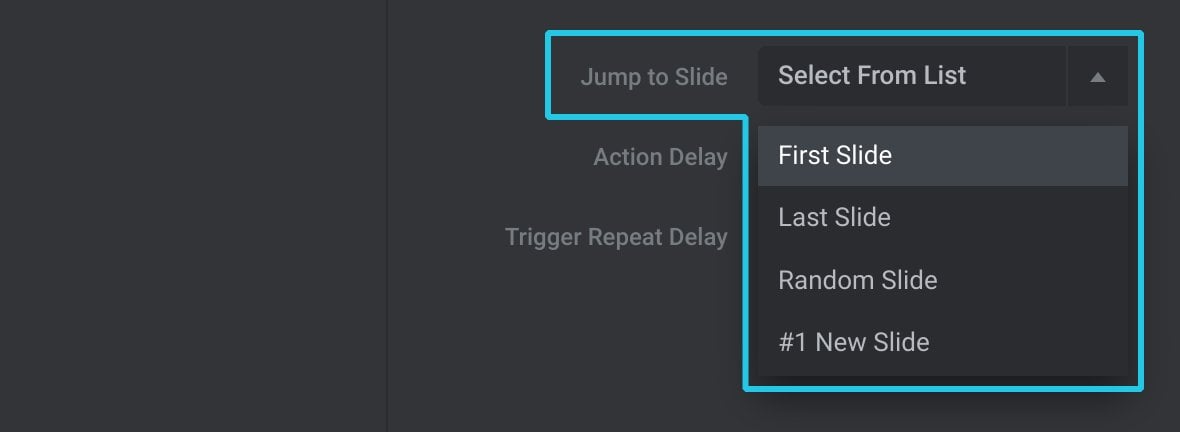
Jump to Slide Option
Use the Jump to Slide option to specify which slide to skip to:
Next Slide
The Next Slide action progresses to the next slide in the module:

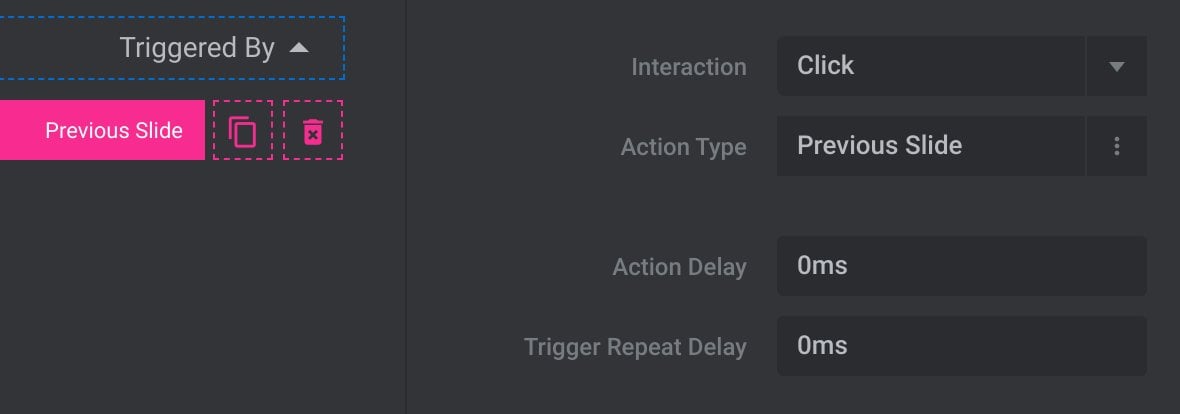
Previous Slide
The Previous Slide action returns to the previous slide in the module:
Pause Slider
The Pause Slider action prevents the module from automatically progressing to the next slide:

Note: It does not pause animation playback on the current slide.
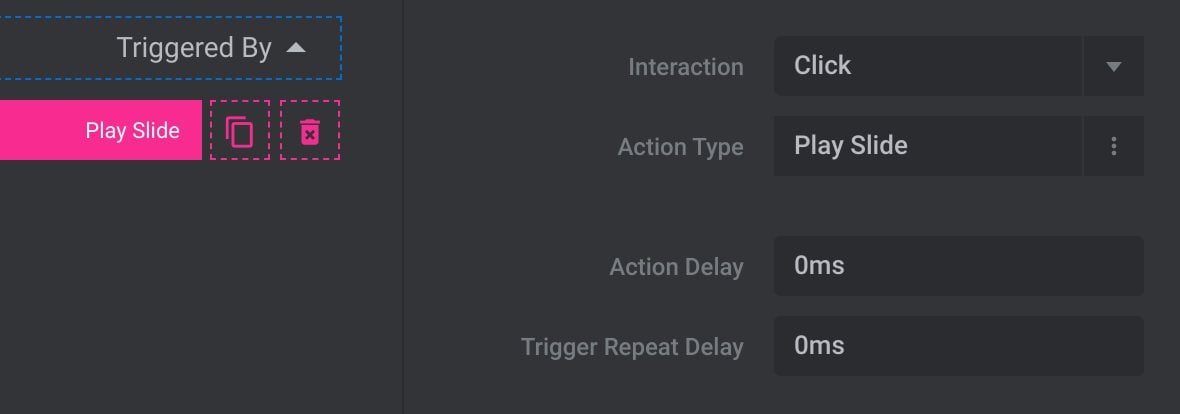
Play Slide
The Play Slide action only applies if a module’s playback is paused, and will “un-pause” it so it can progress to the next slide:
Toggle Slide
The Toggle Slide action will play a module if it’s paused, or pause a module if it’s playing:
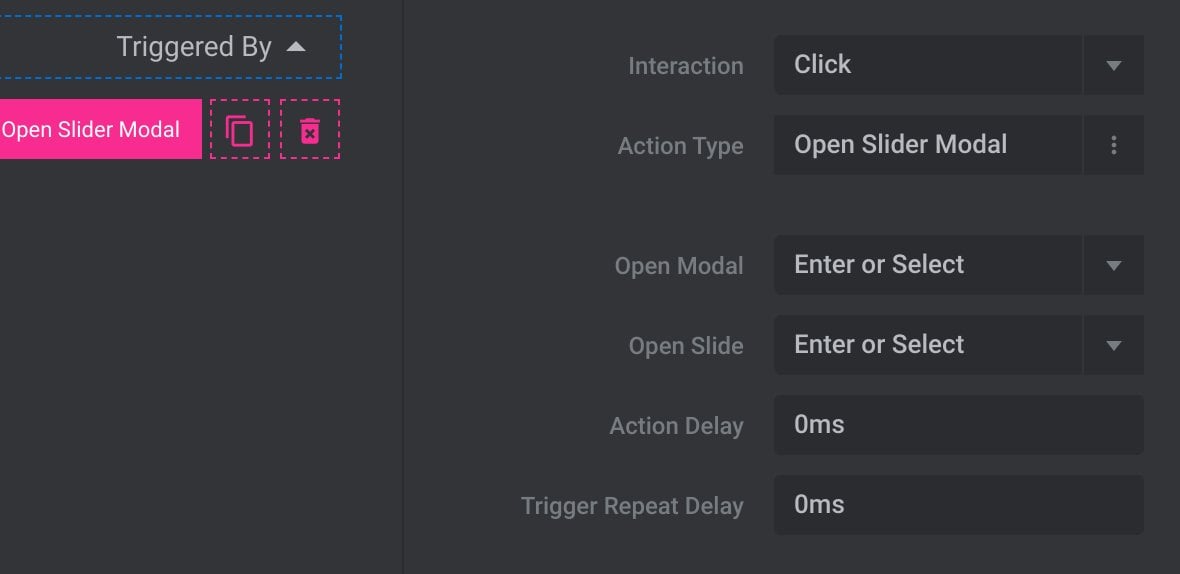
Open Slider Modal
The Open Slider Modal action is used to open a module that has been designated for use as a modal popup:
For a full guide to working with modals, read Slider Revolution Modules as Modals.
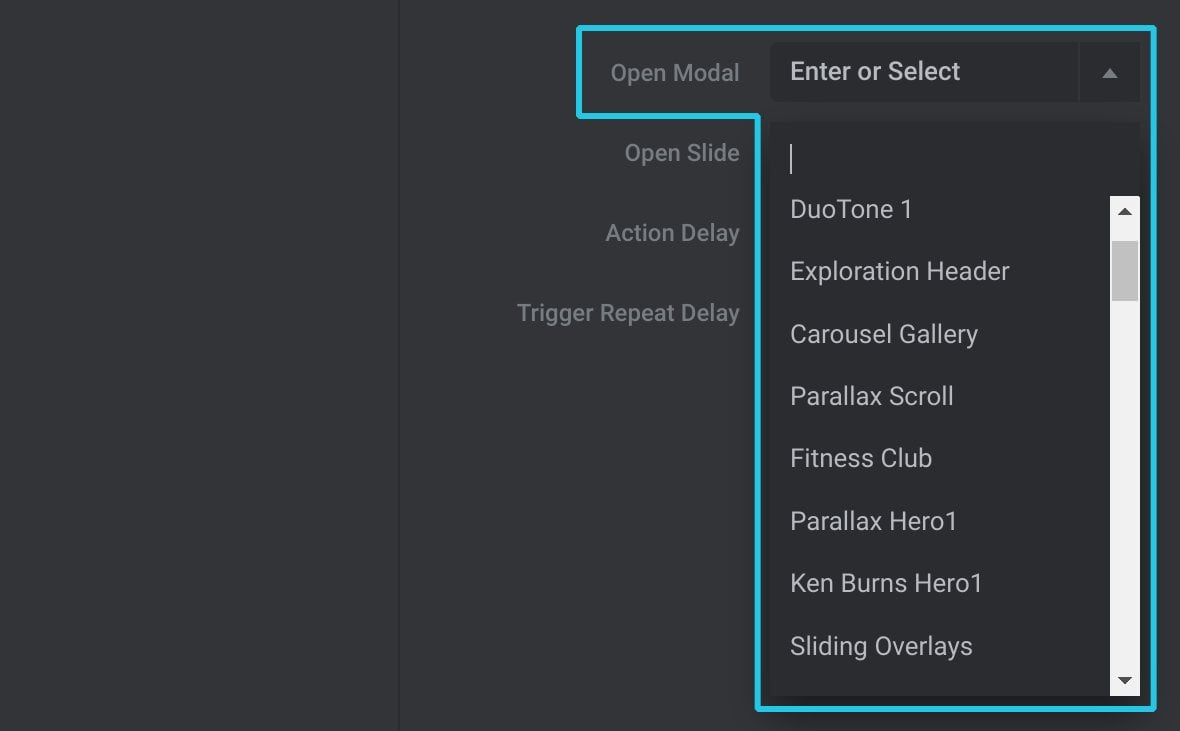
Open Modal
Use the Open Modal option to select the module you would like to open in modal form:
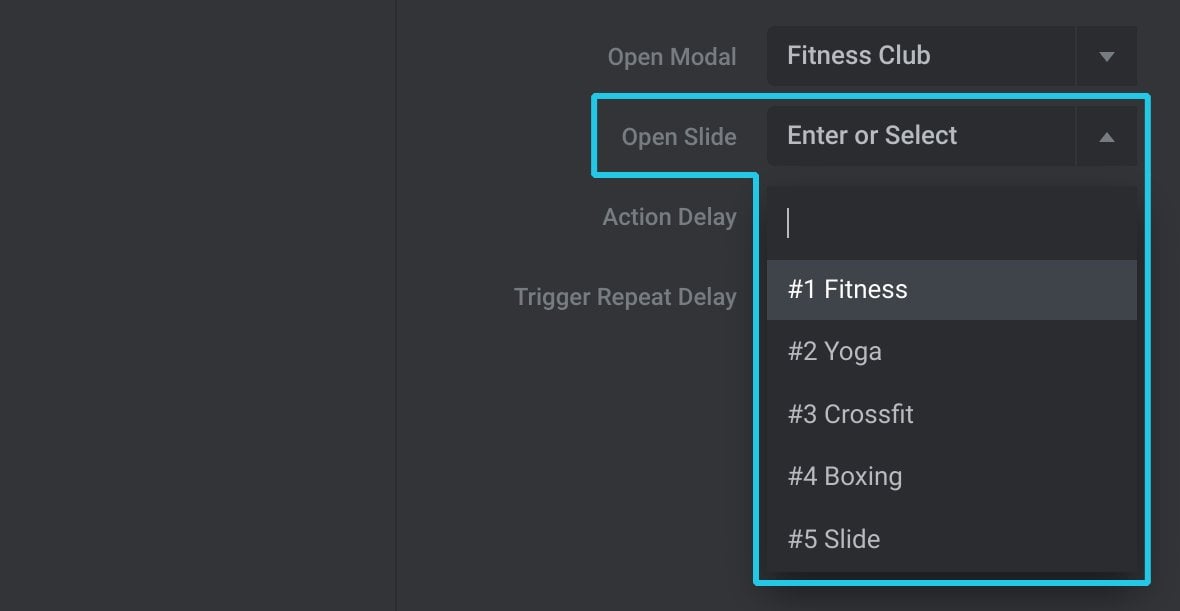
Open Slide
Use the Open Slide option if you would like to specify a slide at which the modal should start:
Close Slider Modal
The Close Slider Modal action is used to close a module that has been opened as a modal popup: