
Additional Text Styling Options
In this guide, learn about all the extra options available for customizing the style of your text layers.
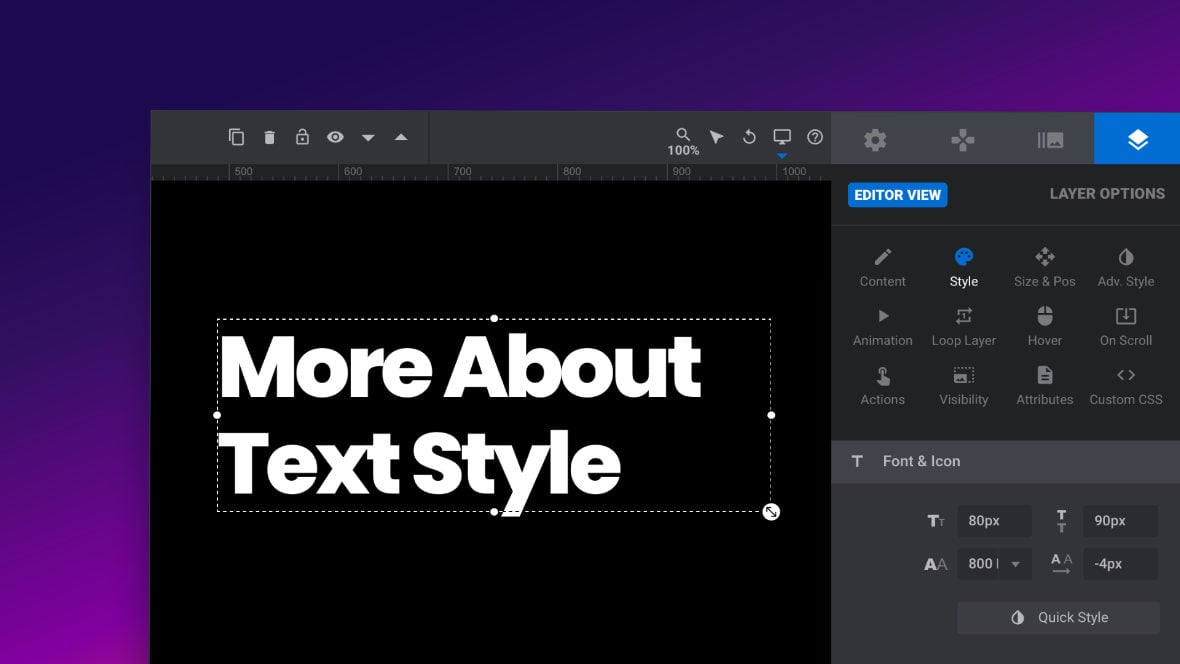
Table of Contents
- Introduction
- Line Height
- Letter Spacing
- The “More +” Button
- Italics
- Text Decoration
- Text Transform
- Layer is Selectable
Introduction
On top of the options we covered previously, there are a collection of additional text styling settings available to you in the Style sub-section for your text layers [?]
Layers are containers for visual, audio or layout items and are added to slides. For example, text, button, image, audio, video, group and row are all types of layers.
Layers are added to slides via the module editor.:
Let’s learn what they are and how to use them.
Line Height
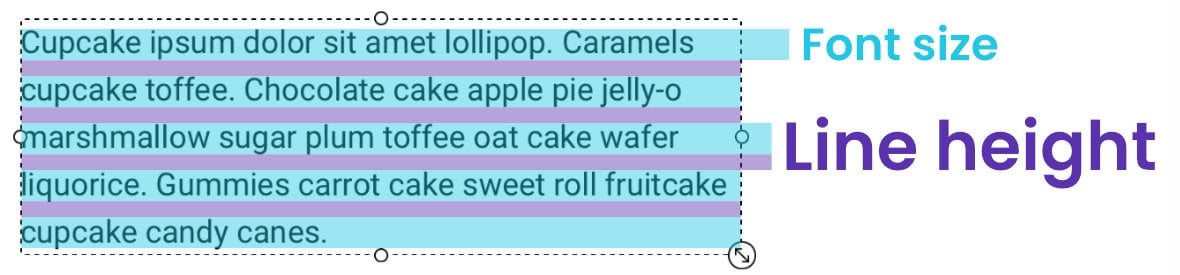
Line Height, as the name suggests, controls the height of each line of text:
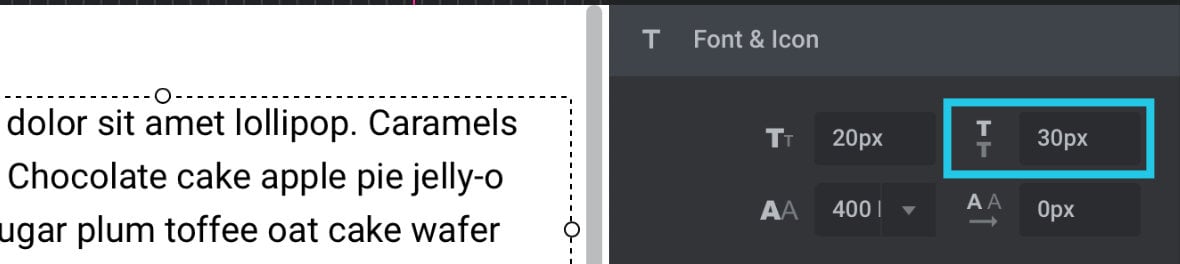
This option does not effect the height of the actual letters (that’s controlled by the font size setting instead), so in practice what line height controls is how much empty space there is between lines.
For example, if your font size is 20px and your line height is 30px, there will be 10px of empty vertical space between letters.
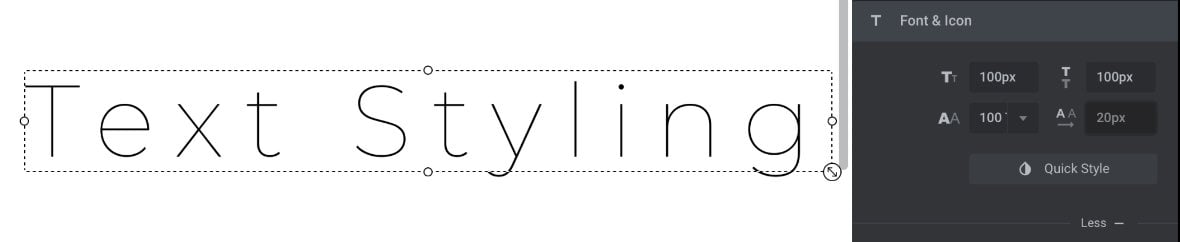
Letter Spacing
The Letter Spacing option allows you to control how much space there is between the individual letters in your text layer:
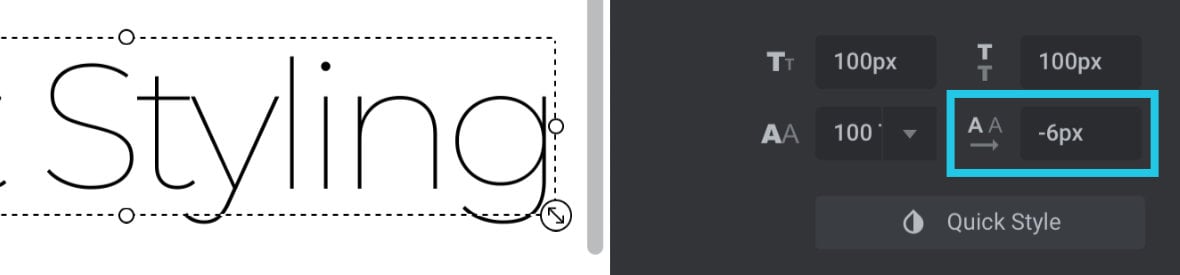
You can increase the value to create larger horizontal gaps between your letters:
Or you can decrease the value to move your letters closer together. Negative values are allowed:

The “More +” Button
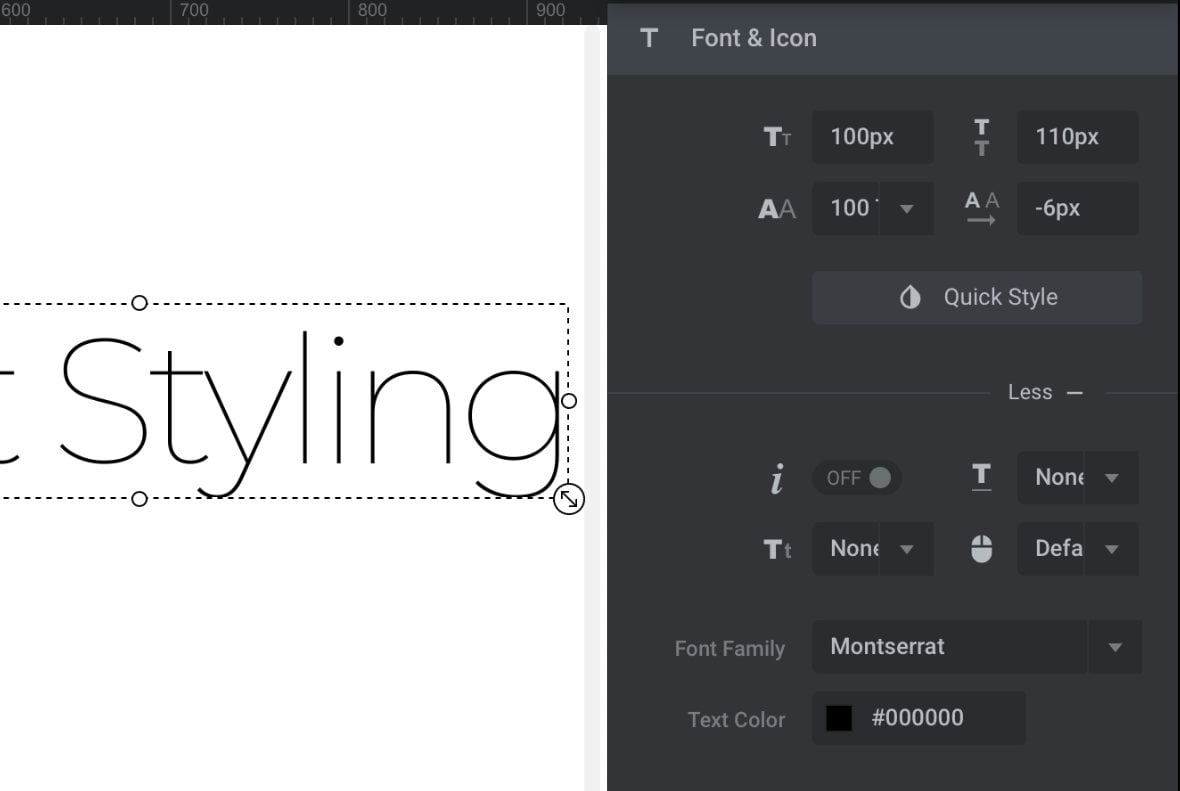
The four text styling options we are about to go over are hidden by default, in an area under a button labelled More +:
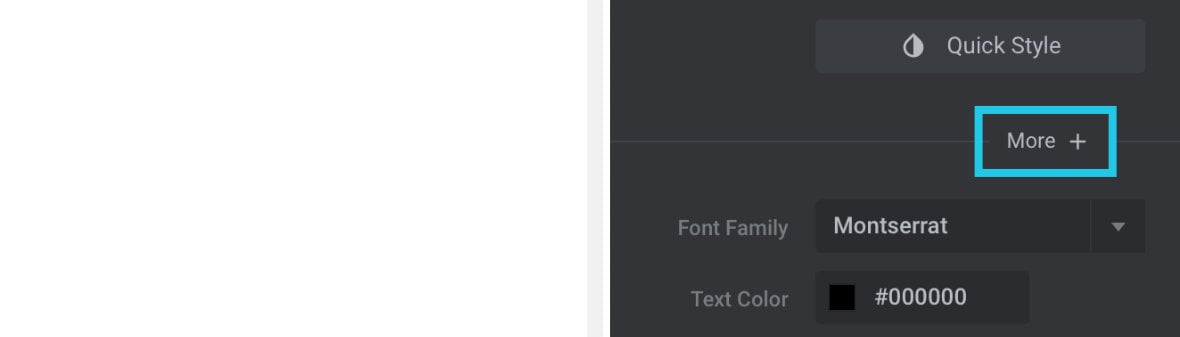
To see these extra options, click the More + button and a new area will expand to reveal them:
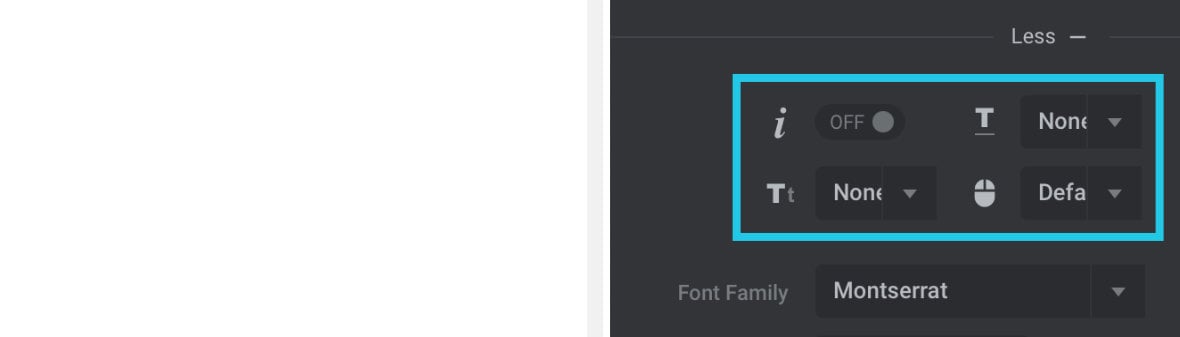
If you wish to hide the area again click the Less – button.
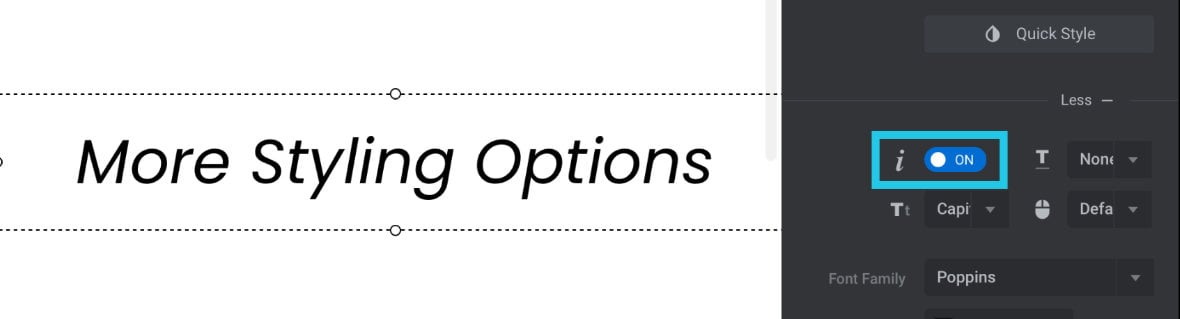
Italics
Toggle the Italics option to ON to italicize text:
Text Decoration
Text decoration allows you to add three different types of lines to your text:
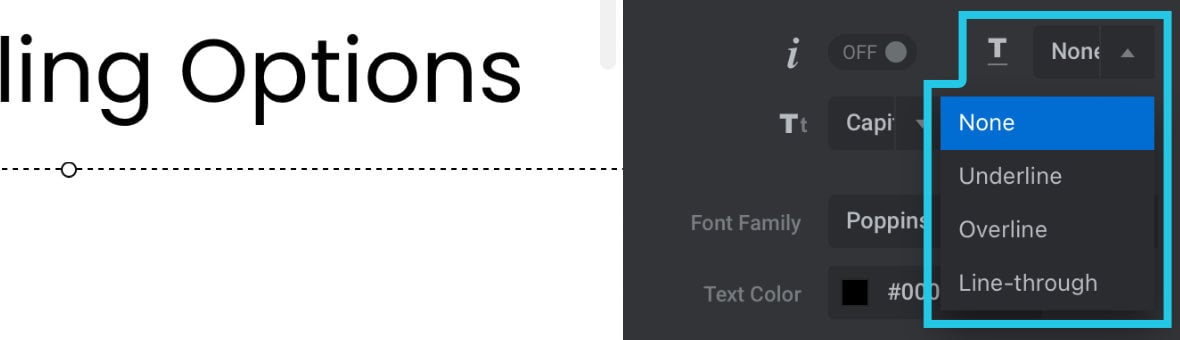
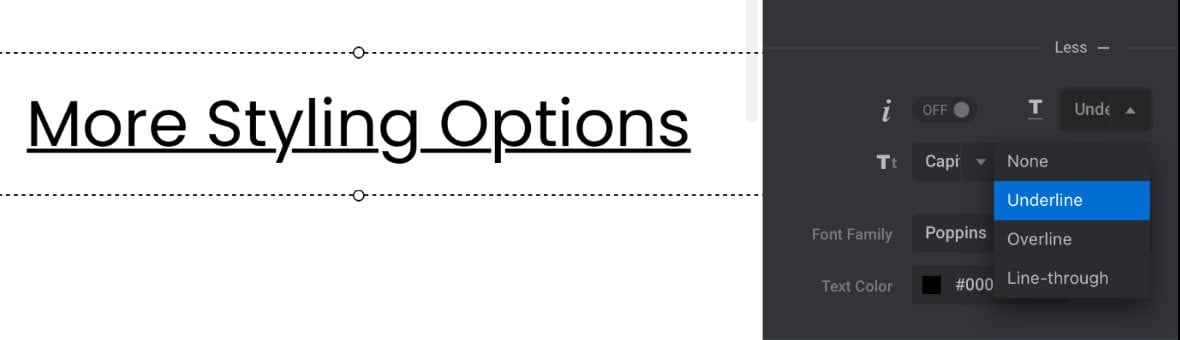
Underline
A line underneath the letters. This type of decoration is most commonly used to represent a link:
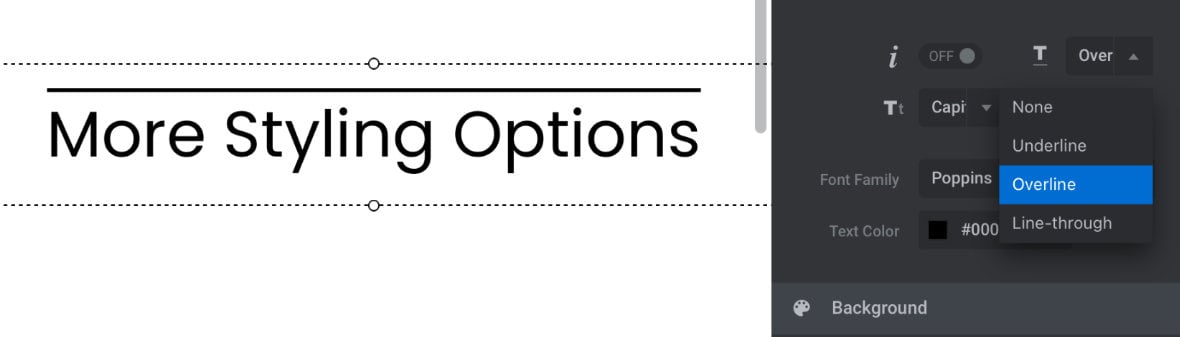
Overline
A line over the top of the letters:
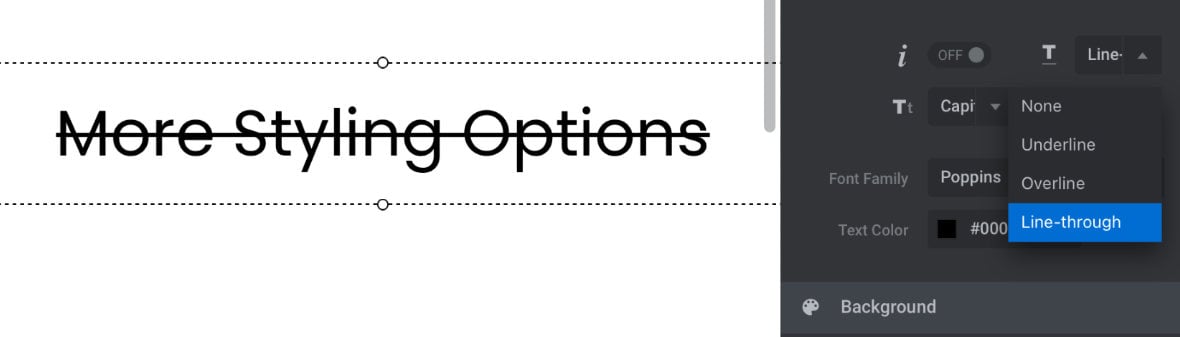
Line-through
A line through the middle of the letters. This type of decoration is most commonly used to represent information that is not currently accurate, such as an old price on a marked down product.
Text Transform
Text transform allows you to control which letters of your text appear as uppercase or lowercase, overriding how they appear in your content field.
There are three available settings:
Uppercase
Every letter will be displayed as uppercase:

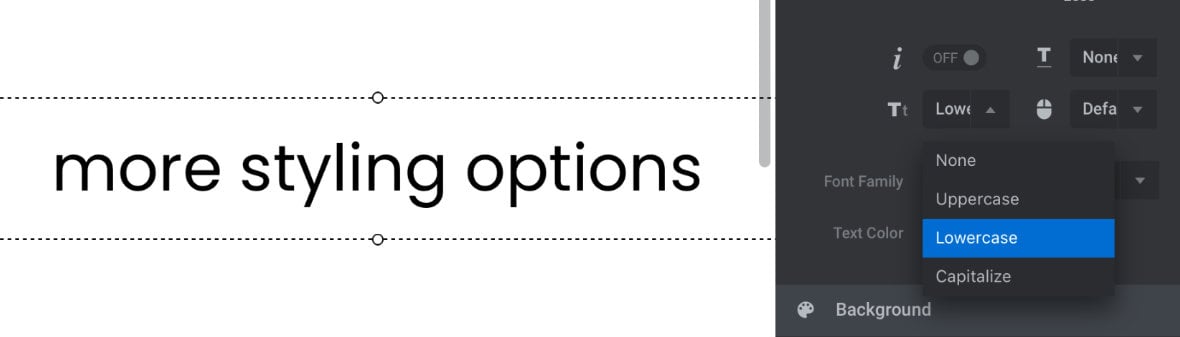
Lowercase
Every letter will be displayed as lowercase:
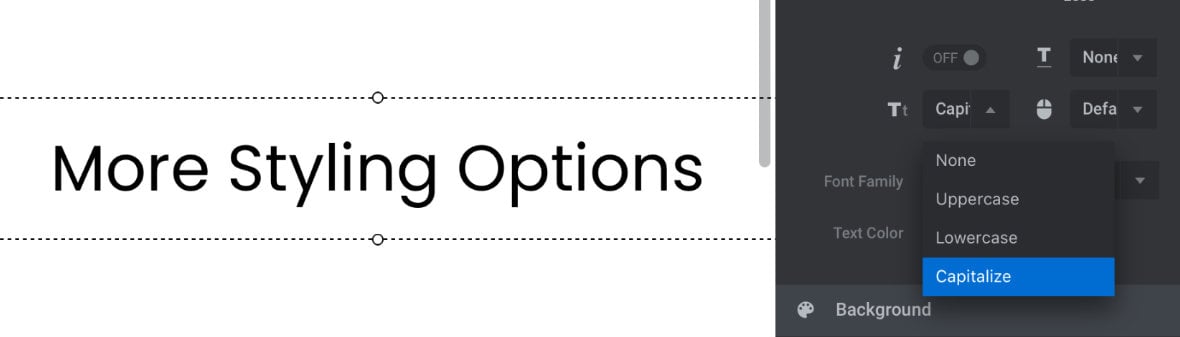
Capitalize
The first letter of every word will be displayed as uppercase, while the other letters remain unchanged:
Layer is Selectable
This option controls whether layer text is selectable, i.e. whether a user can select text for copying and pasting.
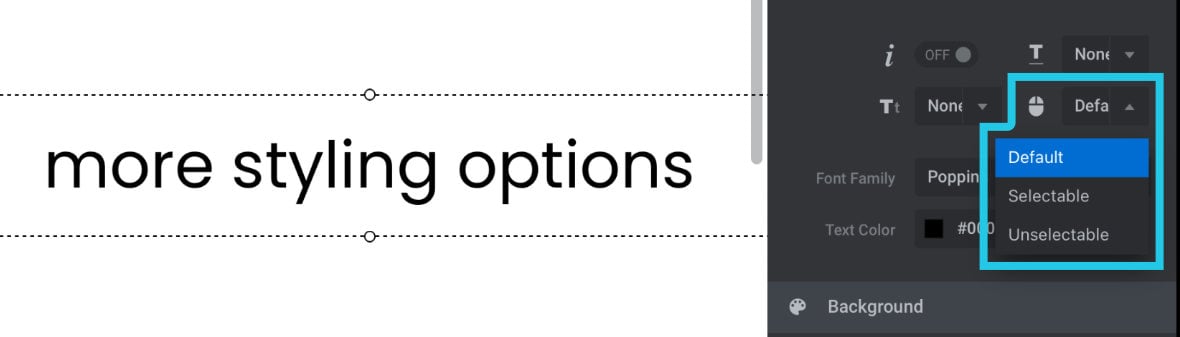
For text such as phone numbers, email addresses and other contact information, it’s a good idea to make sure this option is set to “Selectable” to ensure visitors can easily copy and paste details on how to reach you.
For text designed to be clicked on it’s better to set text to “Unselectable”. This ensures any attempts by a visitor to click the text don’t accidentally select it instead.
Up Next: Custom Image Layers
Now it’s time to expand on working with image layers.
We’ll be going over additional content and position & size options for images in the next guide, Adding and Configuring Image Layers.