
Bubble Morph Addon Guide
Create gooey liquid bubble effects using the Bubble Morph addon.
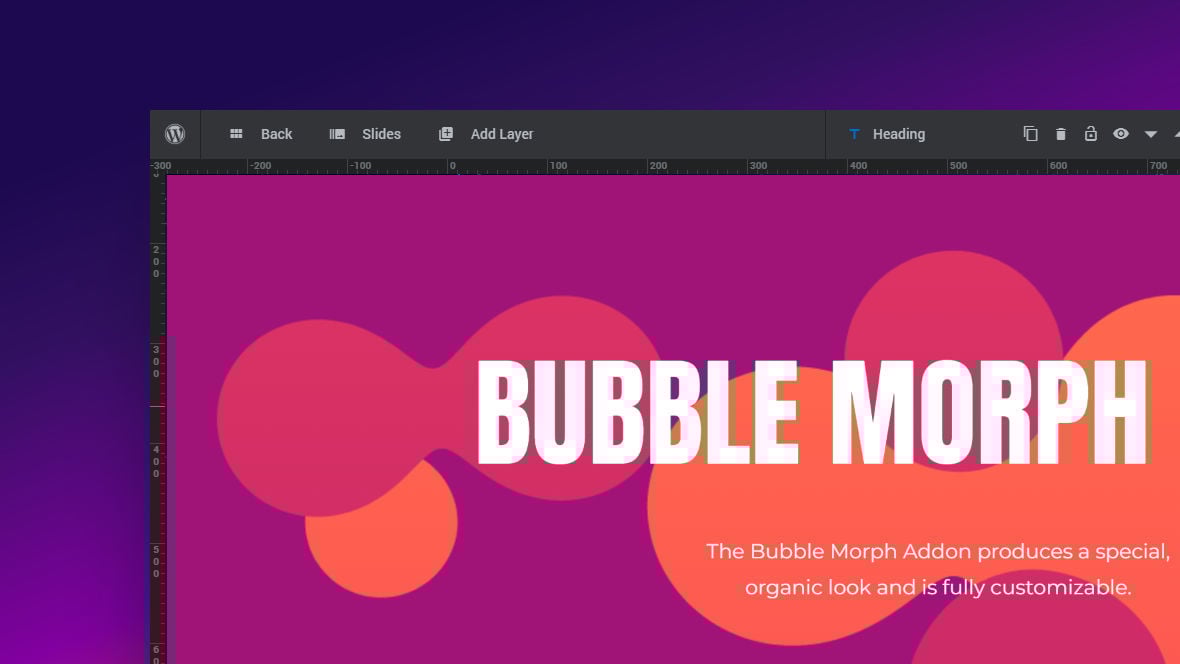
Table of Contents
What Does the Bubble Morph Addon Do?
The Bubble Morph addon [?]
Addons extend the functionality of Slider Revolution, adding new controls to the module editor and allowing you to do extra things with your design.
For example, using the particle addon you can create effects such as falling snow, and using the distortion addon you can create shimmering effects such as simulating being underwater.
There are dozens of addons available, all included with the full version of Slider Revolution. lets you create gooey, liquid shapes that morph and bounce their way around the canvas [?]
The canvas is the point and click design space in the module editor. It forms the largest area of the module editor.
In this area layers can be selected, moved and resized. Animations can also be previewed.:
You can control their shape, color & style, movement speed and location. The options that provide for this control are all covered in this guide.
Getting Started
To get started with the Bubble Morph addon you’ll first need to install and enable it:
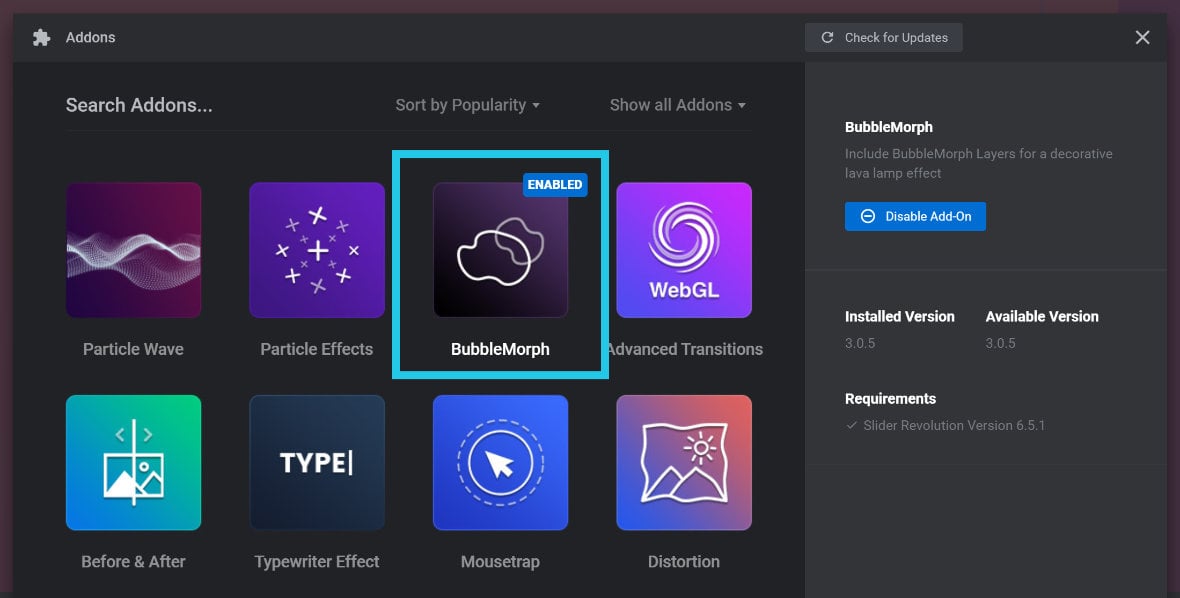
The process for doing this is the same as with all addons, so please begin by following the steps in our guide on how to Browse, Install and Enable Addons.
Bubble Morph Layers
Bubble Morph layers [?]
Layers are containers for visual, audio or layout items and are added to slides. For example, text, button, image, audio, video, group and row are all types of layers.
Layers are added to slides via the module editor. contain a number of individual bubbles, and when those bubbles are close to one another they “morph” together.
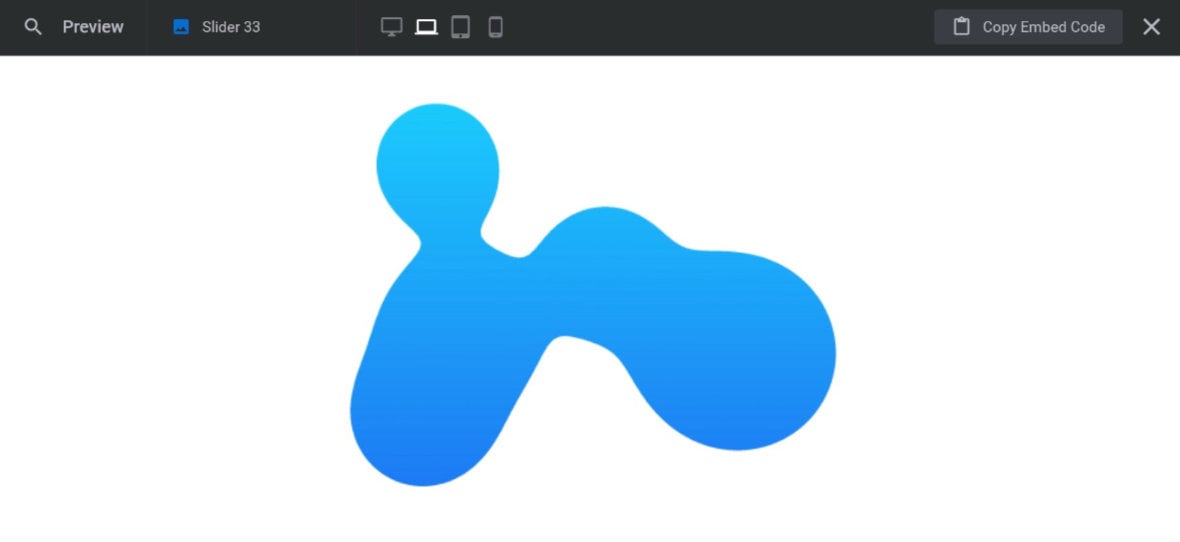
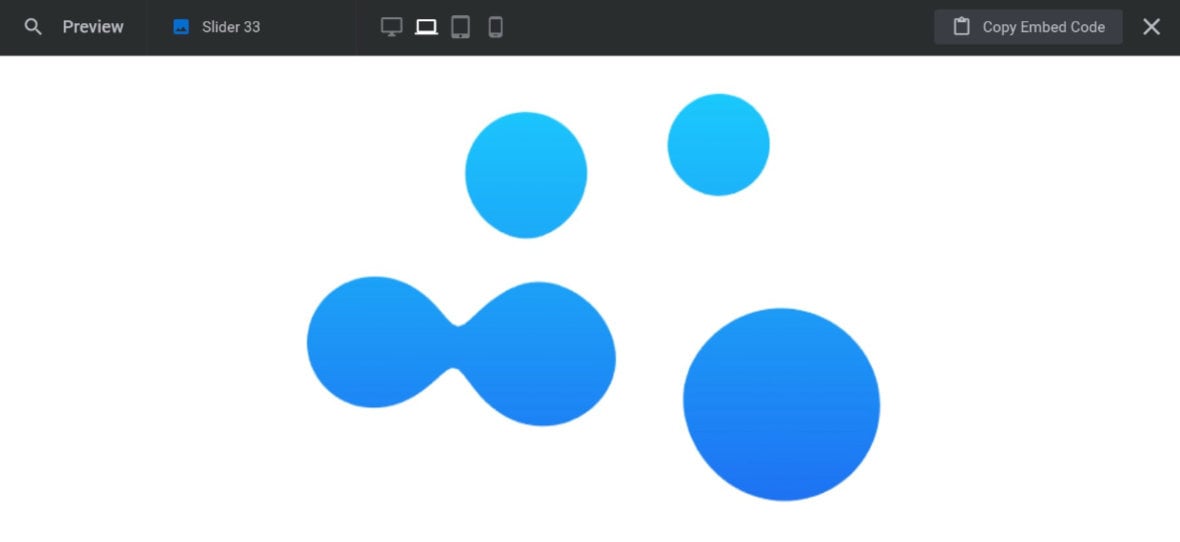
This means you can have just a few bubbles moving around a canvas, morphing together, then separating again:
Or you can have a collection of several bubbles morphing and moving together as a single shape:
Adding a New Bubble Morph Layer
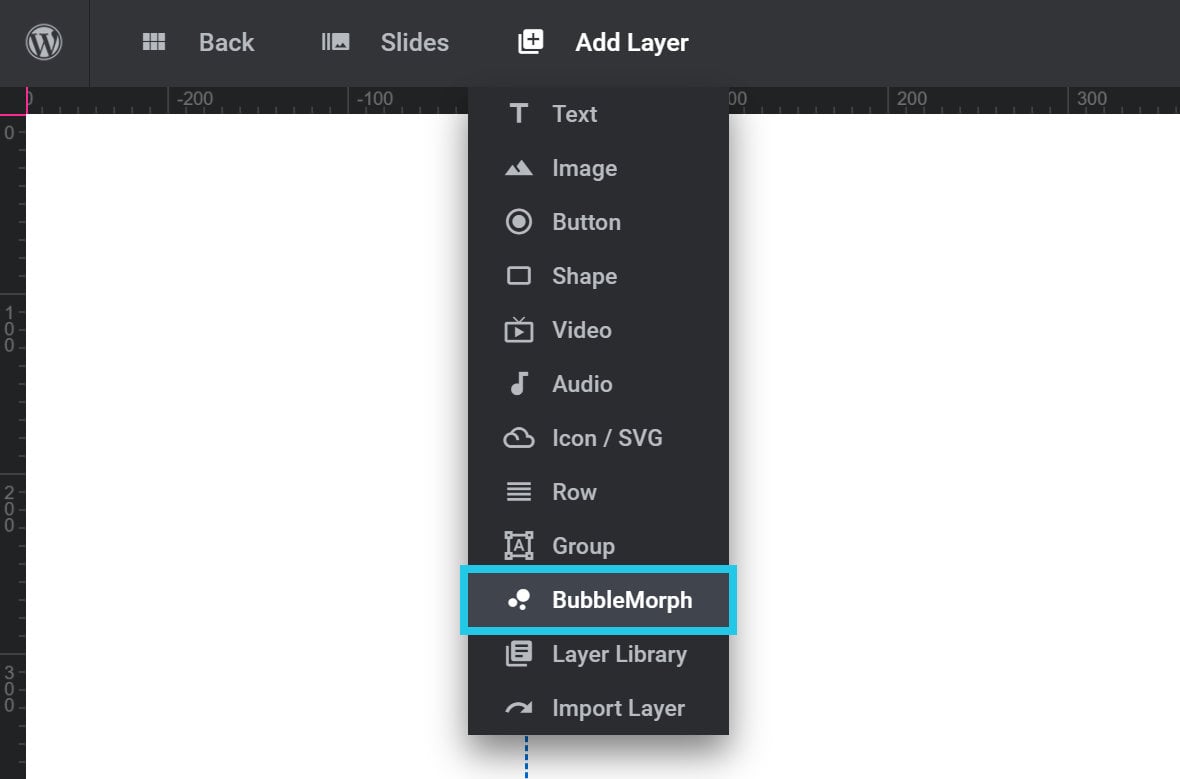
To add a Bubble Morph layer, in the module [?]
A module in Slider Revolution acts as a container for slides, which in turn act as containers for layers. Modules are created and edited with the module editor.
A "module" is a single, self contained piece of content. You can think of this as being similar to the way a post or page in regular WordPress is a self contained piece of content.
A module can represent any kind of content Slider Revolution is capable of creating, such as a slider, carousel, hero unit, navigation menu, posts display and so on.
Multiple modules can be combined to form rich content such as complete sites and landing pages. editor go to Add Layer in the top menu, then click BubbleMorph:
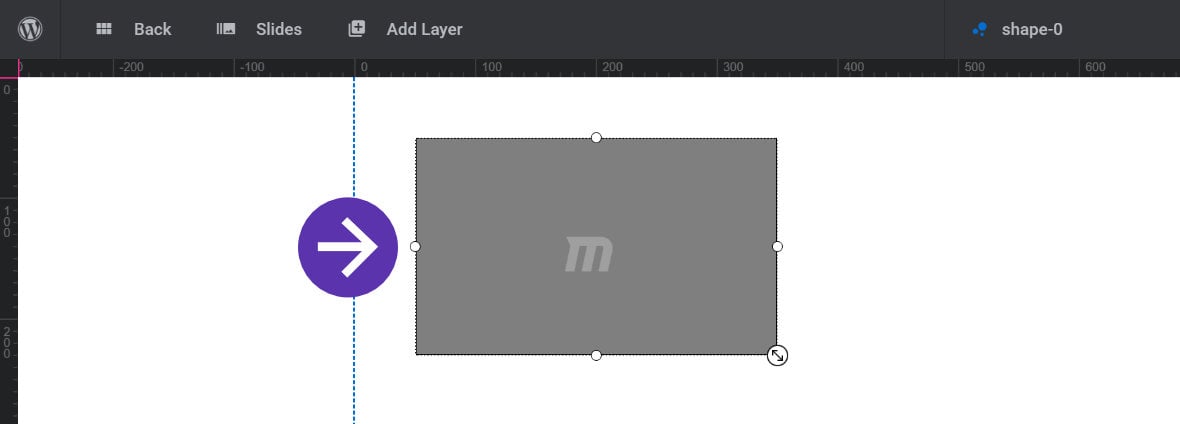
The new layer will at first look like a small, partially transparent black rectangle:
But when you save and preview you’ll see the rectangle converts into a morphing bubble:
Set Color
After adding a new Bubble Morph layer you’ll want to set its color.
The color of the bubble is taken from the background [?]
A "background" in Slider Revolution is a type of layer that is always present in every module, and is always visually behind all other layers.
A background can be transparent, a flat color, a gradient, an image, or a video. It can be animated in the same way as other layers can be, however it cannot be deleted. color of the layer. To set this, select the layer and go to the Layer Options tab, Style sub-section, then give the BG Color option either a flat color or a gradient:
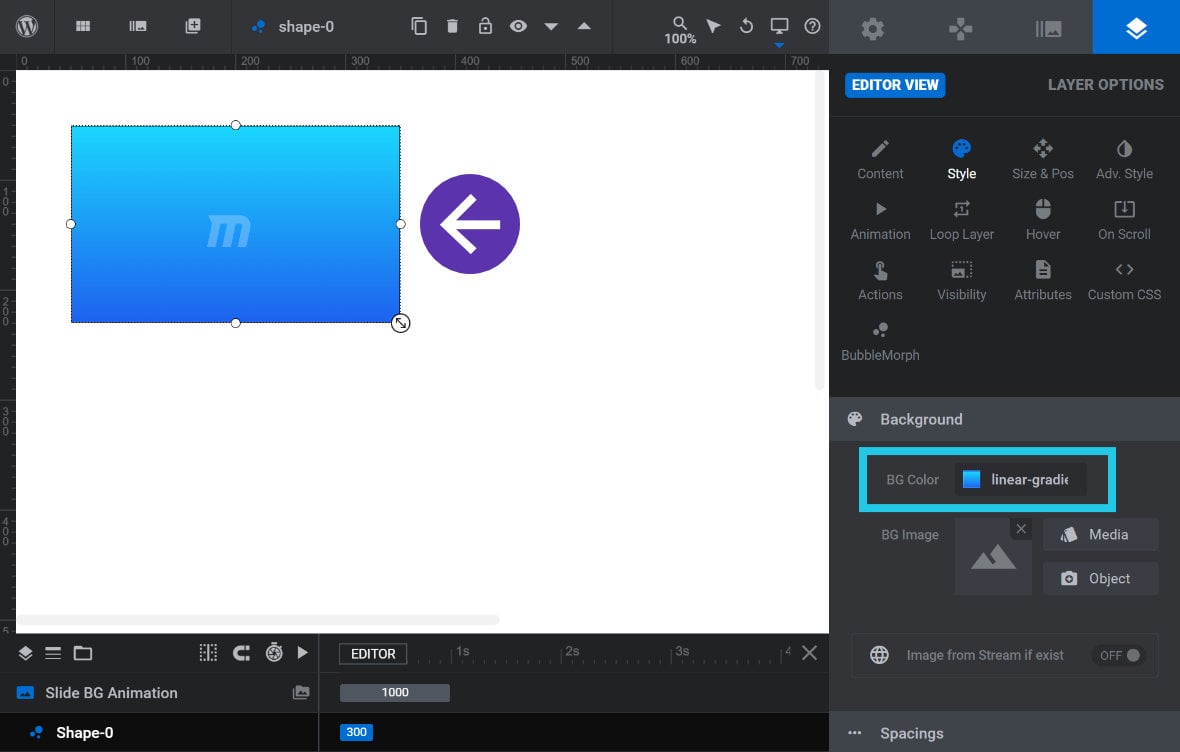
Note: Image backgrounds do not work with the bubble morph effect.
Save and preview. You’ll see your bubble now has the background color applied:
Set Size and Position
Next, you’ll probably want to modify the bubble layer’s size and position.
This can be done on the canvas by clicking and dragging any of the handles around the layer’s edges to resize it, and clicking the inner area of the layer and dragging to move it:
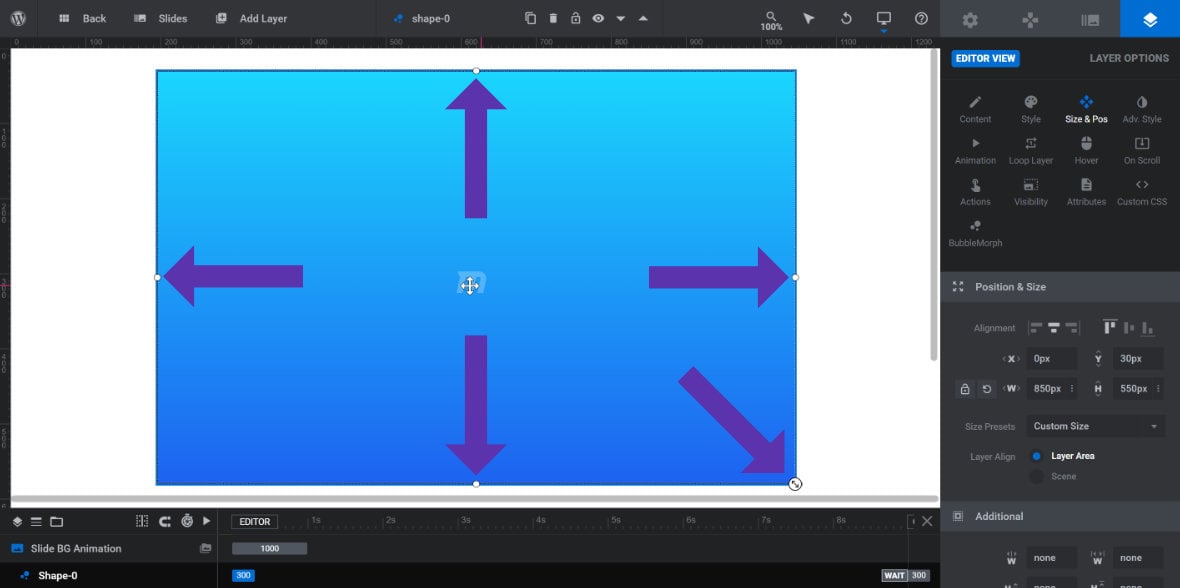
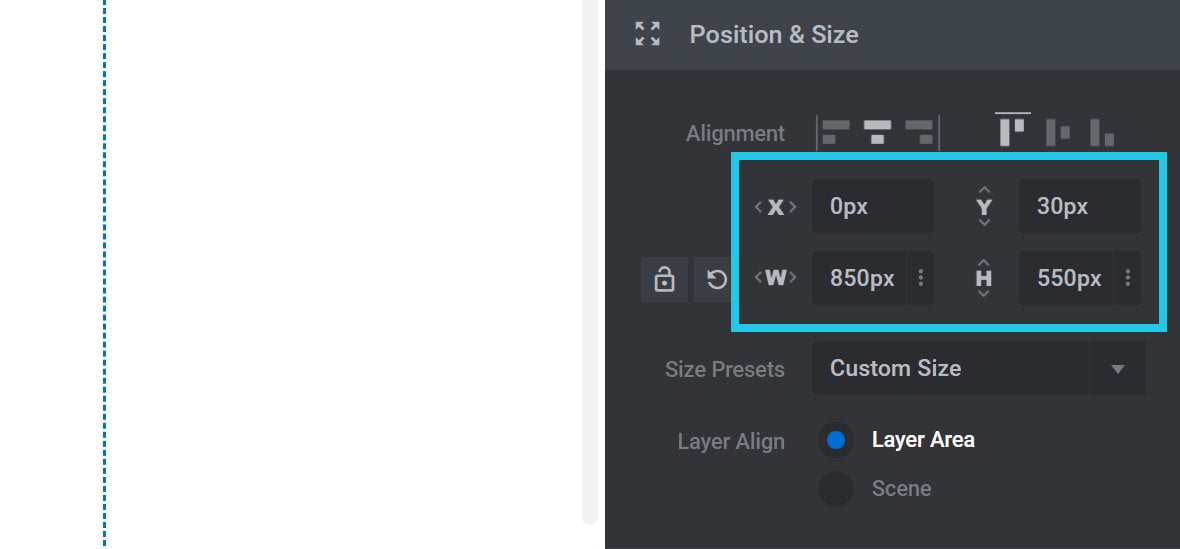
Alternatively you can directly entering size and position values by selecting the layer and going to the Layer Options tab, Size & Pos sub-section, then setting the position via the X and Y fields, and size via the W and H fields:
Note: The size of the layer doesn’t directly control the size of the bubbles it will generate. Rather, it sets a bounding box the bubbles will be contained within, and their size and number will vary depending on configuration.
Bubble Morph Options
After adding a Bubble Morph layer there are several options available to configure it. All of these options can be found by selecting the layer and going to the Layer Options tab, BubbleMorph sub-section:
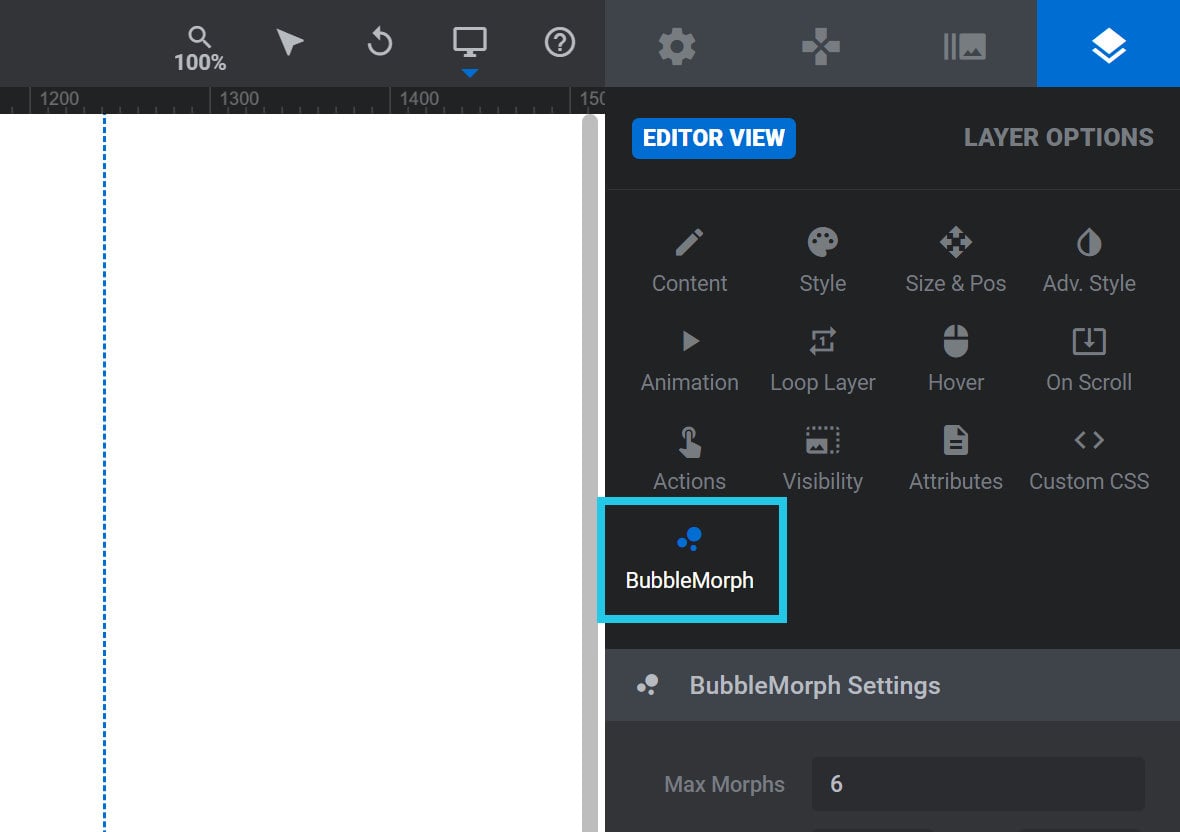
There you will find three panels:
Bubble Morph Settings Panel
The options in the Bubble Morph Settings panel allow you to configure the shape, movement and overall behaviour of a Bubble Morph layer:
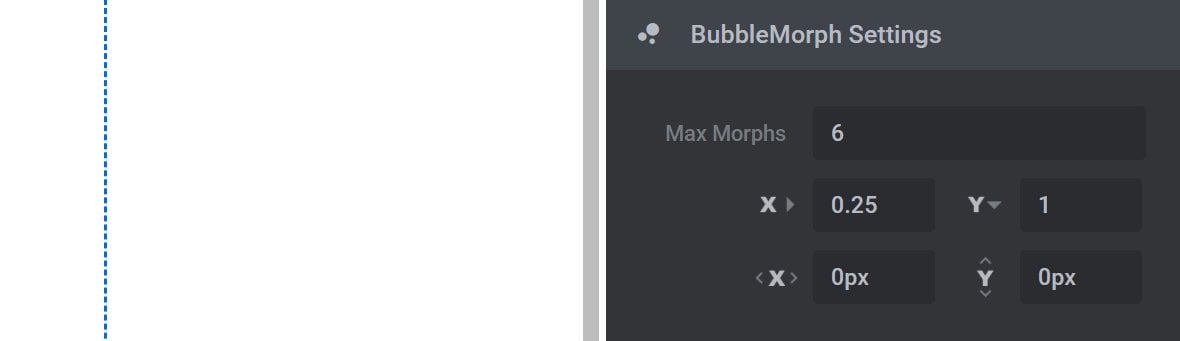
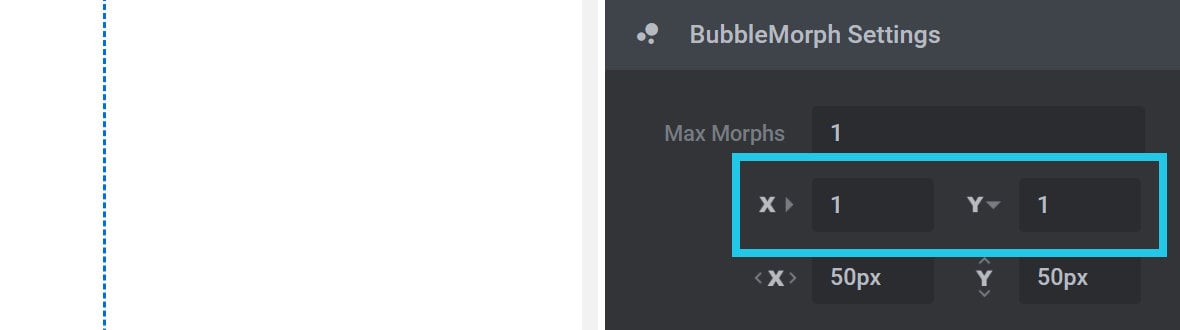
Max Morphs
The Max Morphs option effectively sets the number of “bubbles” that will appear on the layer, ready to move about and morph with other bubbles that come nearby:

For example, in the image below Max Morphs is set to 1 and as such you see a single bubble:
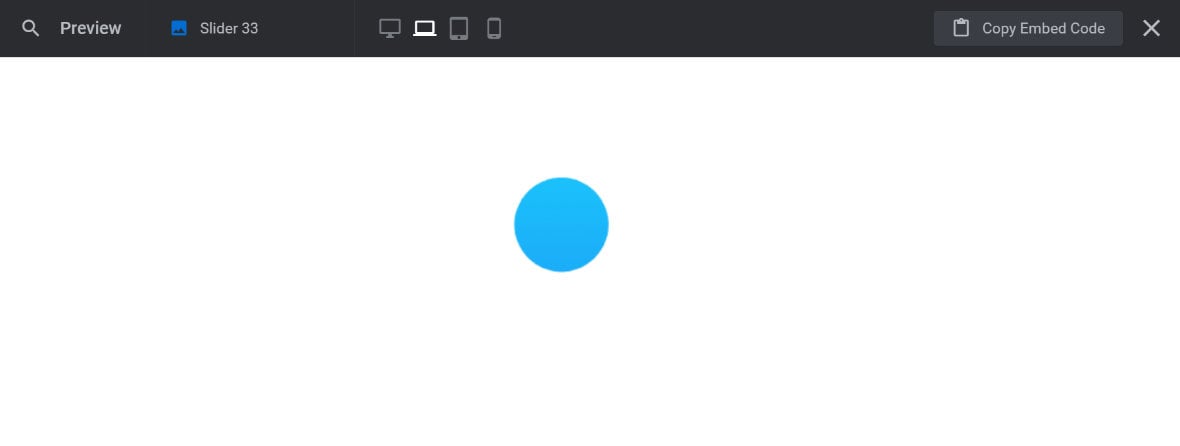
Notice the bubble is perfectly round. That’s because it has no other bubbles to morph its shape into.
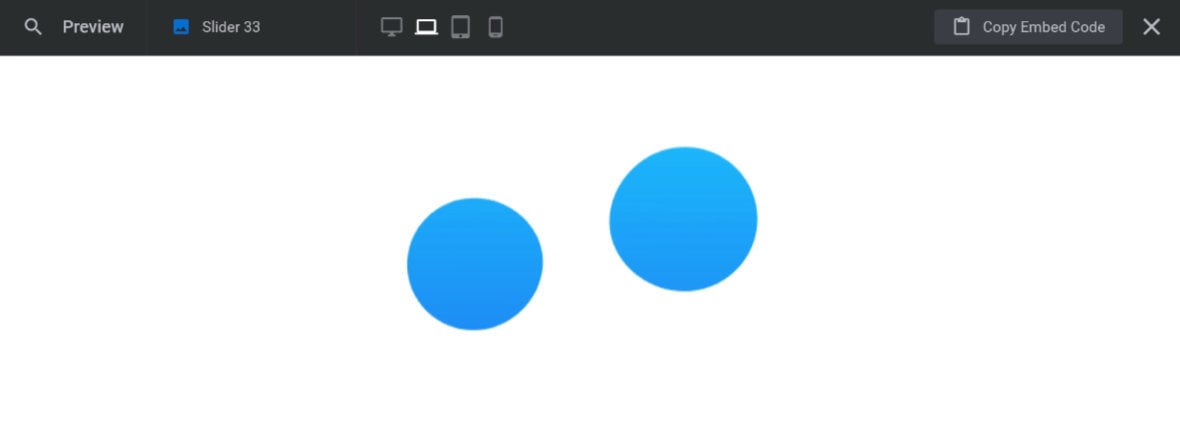
In the next image, Max Morphs is increased to 2. As such you will see two bubbles floating around, but when they are separate they will remain perfectly round:
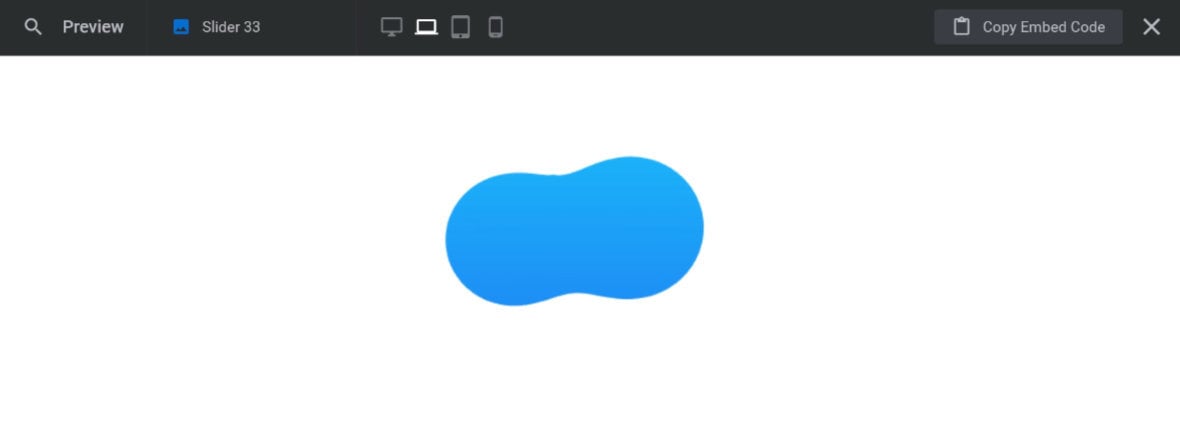
However when the two bubbles come close they morph together:
In the next example, Max Morphs is increased to 5. Now, because there are more bubbles, they are more likely to be close enough to morph together.
This means there is sometimes a single, bendy shape:
However, there are still few enough bubbles that they have space to periodically separate into separate shapes:
In this last example, Max Morphs is increased to 12. Now there are so many bubbles in the space that there’s little room for them to separate, so there is almost always one large, bendy shape:

Bubble Morph Speed X/Y
Bubbles will always move around within the confines of their layer, bouncing off its walls when they reach the edges.
The Bubble Morph Speed X and Bubble Morph Speed Y options allow you to control the speed of that movement:
The X option modifies horizontal movement speed, and the Y option modifies vertical movement speed. The higher the number entered, the faster movement on that axis will be.
That said, even if you enter a value of 0, there will always be at least some movement. For example, here is the result of setting X to 0 and Y to 3:
You’ll notice the bubbles bouncing fairly rapidly on the Y (vertical) axis, with slow movement on the X (horizontal) axis.
Bubble Morph Buffer X/Y
We mentioned earlier that the size of the layer creates a bounding box within which the bubbles are contained. However, it’s still possible for the bubbles to get partially pushed outside of the bounding box, giving the appearance they’ve been cut off:
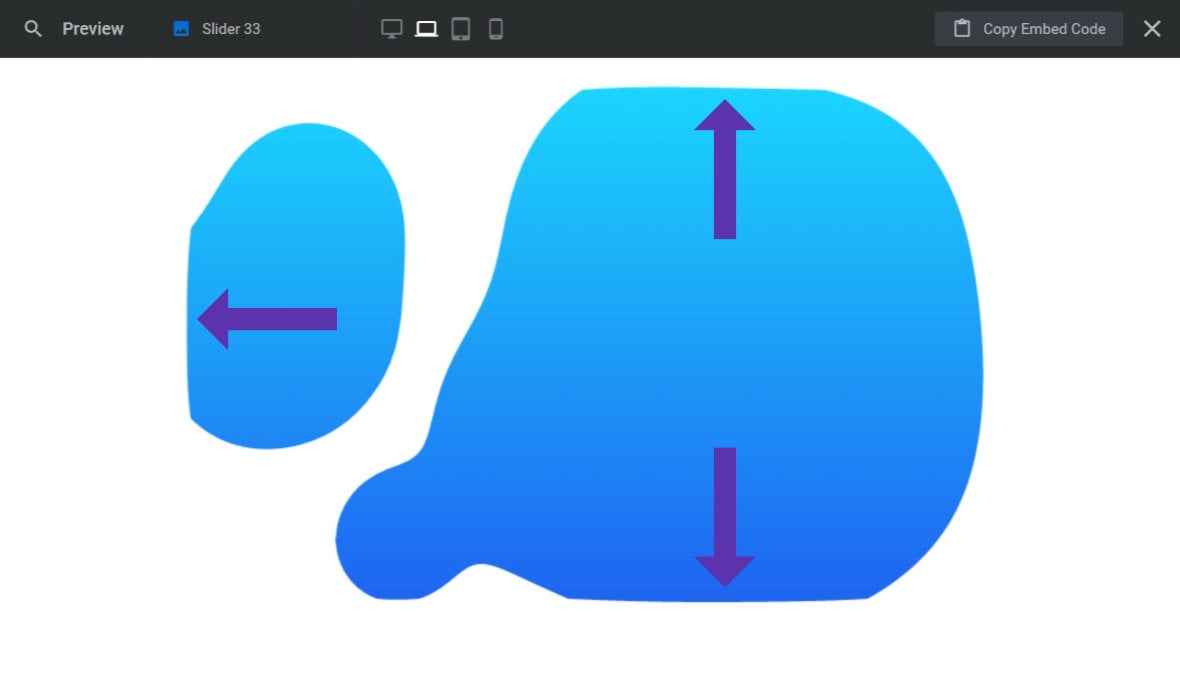
The Bubble Morph Buffer X and Bubble Morph Buffer Y options solve this problem by allowing you to create buffer zones inside the layer that the bubbles should not cross:
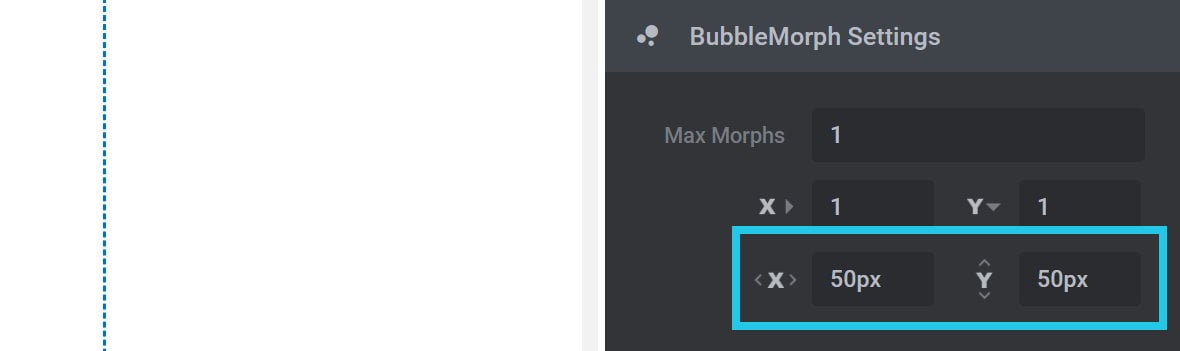
The X option creates a buffer inside the left and right edges, and the Y option creates a buffer inside the top and bottom edges. The size of the buffer is set in pixels(px).
The size you should set the buffer depends on the size of your layer and the number of bubbles it contains, i.e. its Max Morphs. The higher the density of bubbles relative to the available space, the higher you’ll likely want to set the buffer. Experiment until you get the desired results.
Shadow Style Panel
The options in the Shadow Style panel allow you to give your bubbles a drop shadow that morphs in shape along with them:
Note: The standard layer shadow options found in the Adv. Style sub-section will not work with Bubble Morph layers. The Bubble Morph specific shadow options must be used instead.
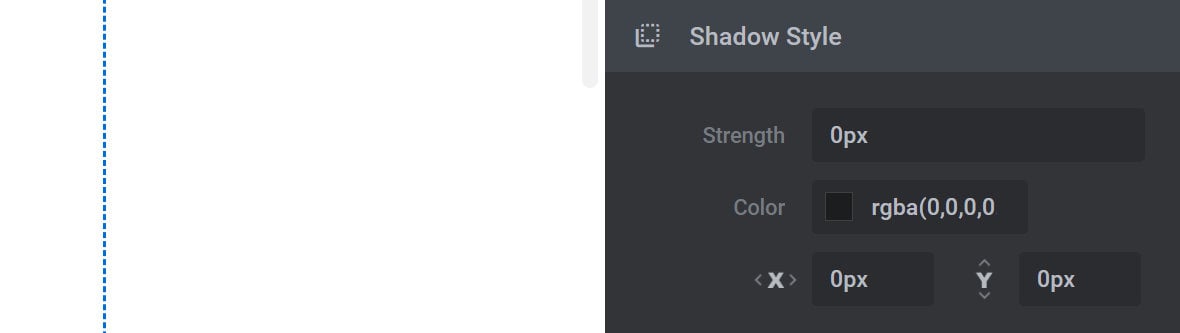
Strength
Use the Strength option to set how wide the shadow should be, in pixels(px):

Set this option to 0 to use no shadow at all.
Color
Use the Color option to set the color of the shadow:

Shadow Offset X/Y
Use the Shadow Offset X and Shadow Offset Y options to shift the entire shadow by the specified pixel(px) amount:

The X option moves the shadow horizontally. Positive values move the shadow right, and negative numbers move the shadow left.
The Y option moves the shadow vertically. Positive values move the shadow down, and negative numbers move the shadow up.
Border Style Panel
The options in the Border Style panel allow you to give your bubbles a border that morphs in shape along with them:

Note: The standard border options found in the Style sub-section will not work with Bubble Morph layers. The Bubble Morph specific border options must be used instead.
Size
Use the Size option to set the width of the border in pixels(px):

Color
Use the Color option to set the color of the border:

Bonus Tip: Blend Mode
Try adjusting the blend mode for the Bubble Morph layer by going to the Layer Options tab, Adv. Style sub-section, Blend Mode panel, and choosing an option from the Blend Mode Filter drop-down:
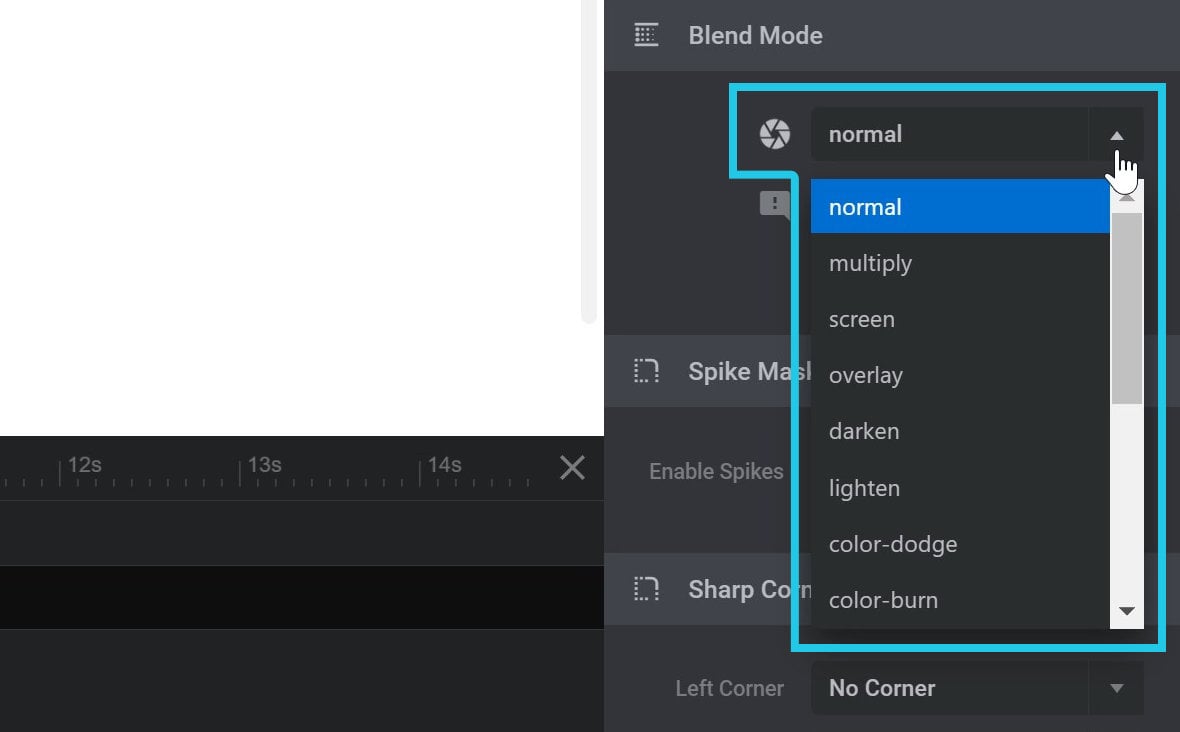
The bubble morph shapes will then apply that blend mode to anything they overlap, and can create all kinds of interesting effects.
For example, the Fashion Shop Header template sets its bubble morph layers to exclusion blend mode to create its visual style:

Learn More from Templates
To learn more about the Bubble Morph addon, it’s a great idea to dig into some ready-made templates [?]
A "Template" is a premade module. It has pre-configured layers already in place.
It is designed to be ready for use, either as is or after being modified in the module editor.
Slider Revolution comes with several templates you can use, or alternatively you can create your own templates, thereby allowing you to easily reuse modules you have produced. and explore some practical applications of the effect.
Take a look at Fashion Shop Header, Brutal Website Template, and Bubble Morph Effect Slider to see a varied collection of examples of how this addon can be used.