
Configuring Module Navigation with Touch, Keyboard & Mouse
Learn how to setup touch swiping, arrow key controls and mouse wheel scrolling.

Table of Contents
Touch Navigation
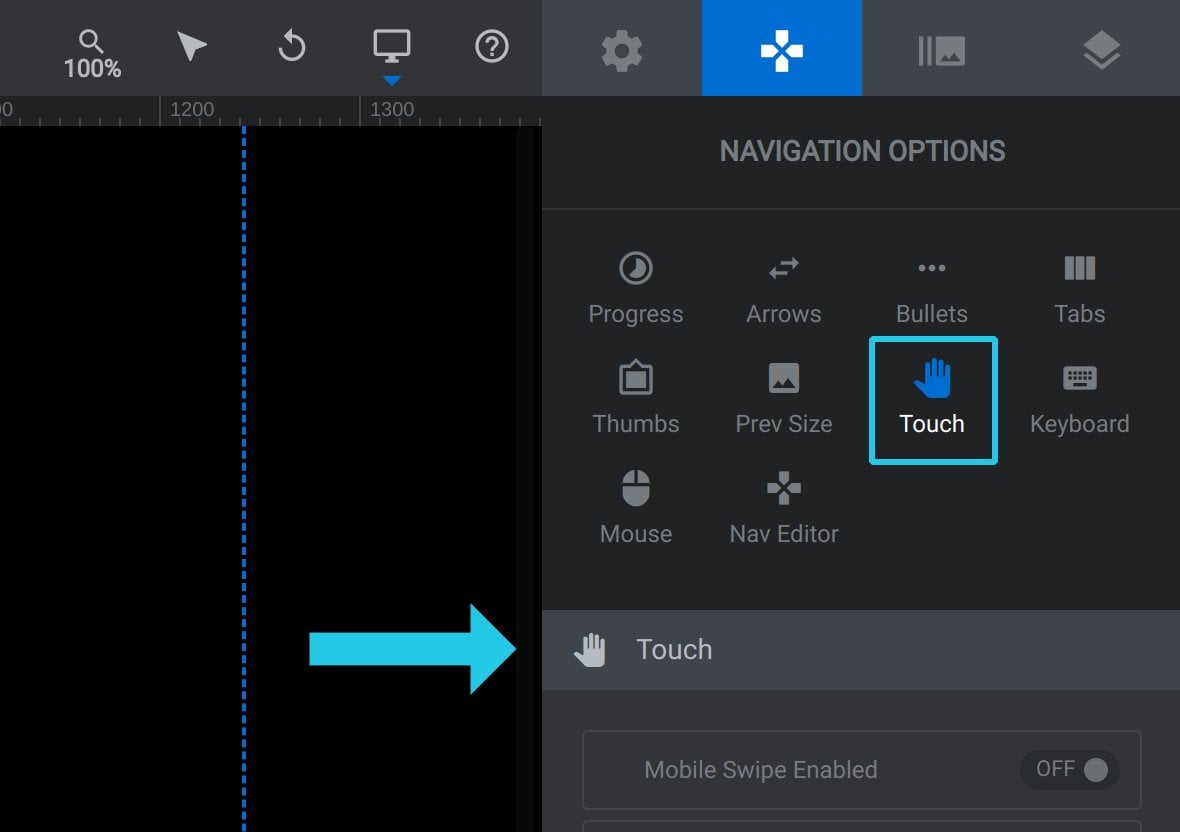
Options for enabling and configuring touch navigation, i.e. swiping between slides [?]
A "slide" in Slider Revolution is a container into which multiple layers can be added, with layers in turn acting as containers for various forms of media such as images, text, video, audio, buttons, and special effects.
Slides are added to modules and edited via the module editor.
Within the module editor, each slide has its own animation timeline, background and collection of layers.
A single module can have one or many slides. A module with one slide is called a scene, and a module with multiple slides is called a slider or carousel., can all be found under the Navigation Options tab, Touch sub-section, in the Touch panel:
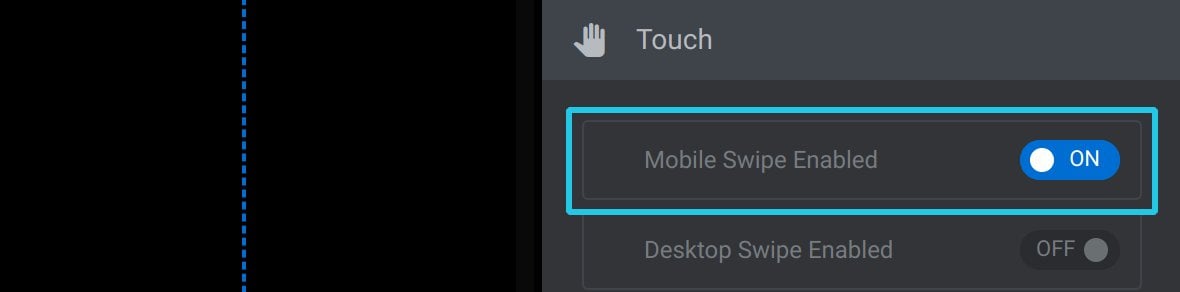
Mobile Swipe Enabled
Toggle Mobile Swipe Enabled to ON to allow swiping via touch on mobile devices:
Desktop Swipe Enabled
Toggle Desktop Swipe Enabled to ON to allow swiping via mouse or touch on desktop devices:
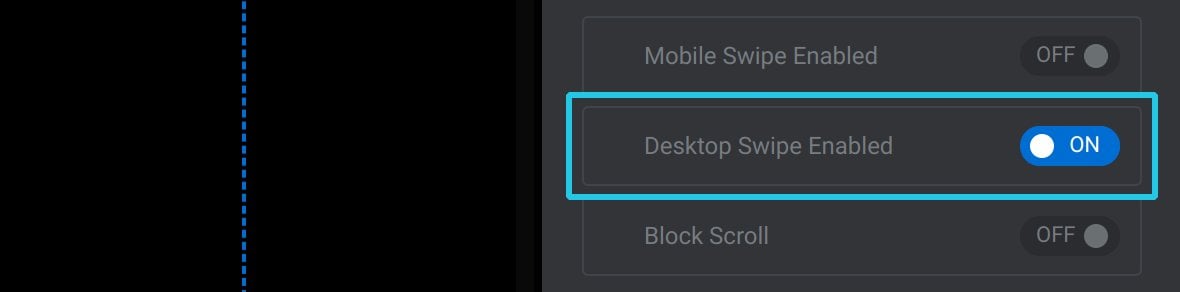
Note: With this option enabled, swiping will probably also work on mobile devices if the device/browser can interpret touch interactions as mouse interactions. Nonetheless, if you know you want to support swiping on mobile devices it’s best to also use the Mobile Swipe Enabled option.
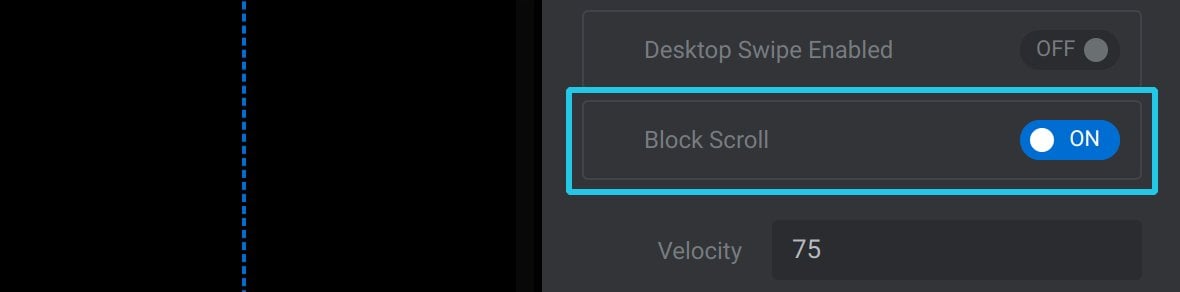
Block Scroll
If you are using a vertical swiping direction on your module [?]
A module in Slider Revolution acts as a container for slides, which in turn act as containers for layers. Modules are created and edited with the module editor.
A "module" is a single, self contained piece of content. You can think of this as being similar to the way a post or page in regular WordPress is a self contained piece of content.
A module can represent any kind of content Slider Revolution is capable of creating, such as a slider, carousel, hero unit, navigation menu, posts display and so on.
Multiple modules can be combined to form rich content such as complete sites and landing pages., you can set Block Scroll to ON to ensure the visitor doesn’t accidentally scroll the page up and down when they mean to swipe to the next slide:
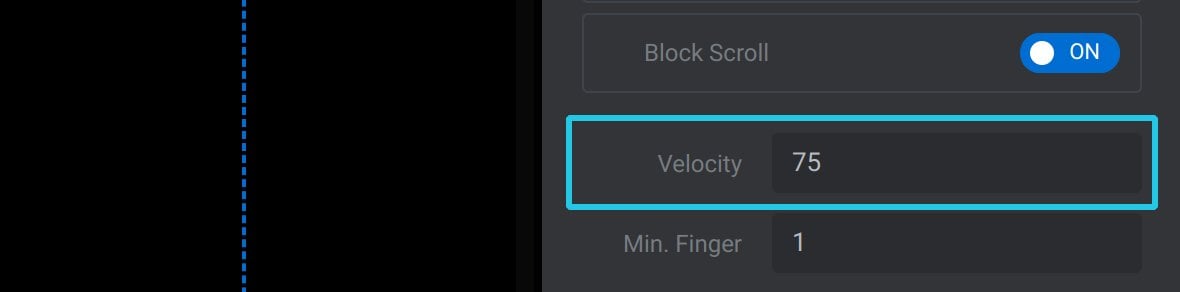
Velocity
The Velocity option allows to you set, in pixels(px), the distance a swiping movement must cover before a slide change will be triggered:
Min. Finger
The Min. Finger options allows you to set how many fingers must be used to swipe in order to trigger a slide change:
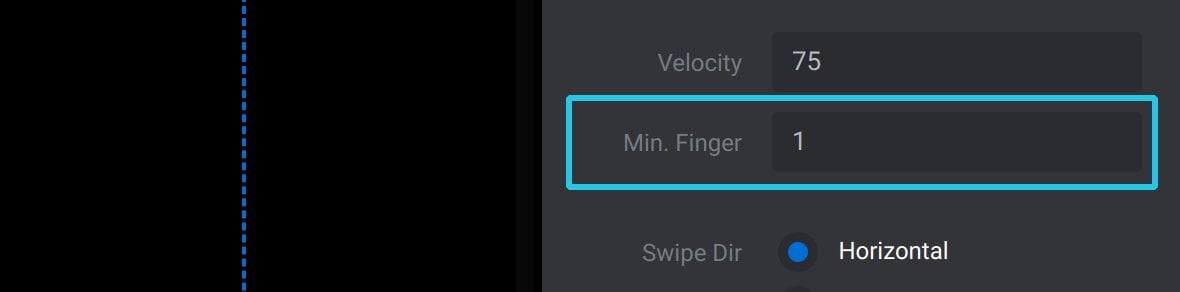
The default value is 1, for a single finger swipe. You could, for example, change it to 2 and require a two finger swipe instead.
Swipe Dir
The Swipe Direction option determines the direction swiping needs to move to trigger a slide transition:
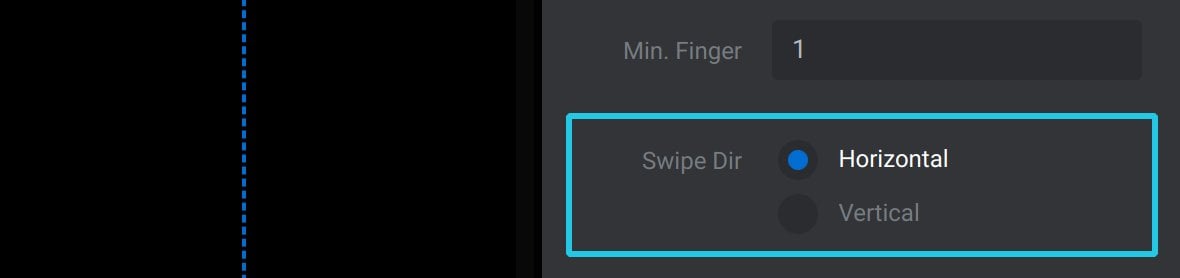
By default it’s set to use a horizontal swipe but it can be switched to use a vertical swipe instead.
Note: For best results, use a slide transition animation that moves in the same direction as swiping. If using horizontal swiping choose a slide transition animation that moves sideways, but if using vertical swiping use a slide transition animation that moves up and down.
Keyboard Navigation
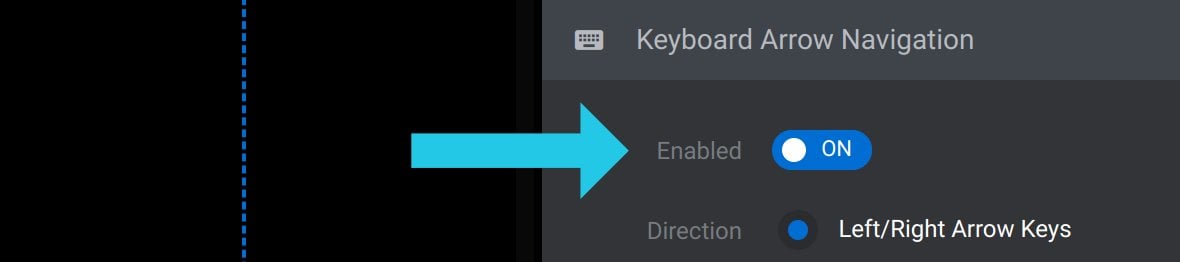
Options for enabling and configuring keyboard navigation, i.e. using arrow keys to switch between slides, can all be found under the Navigation Options tab, Keyboard sub-section, in the Keyboard Arrow Navigation panel:
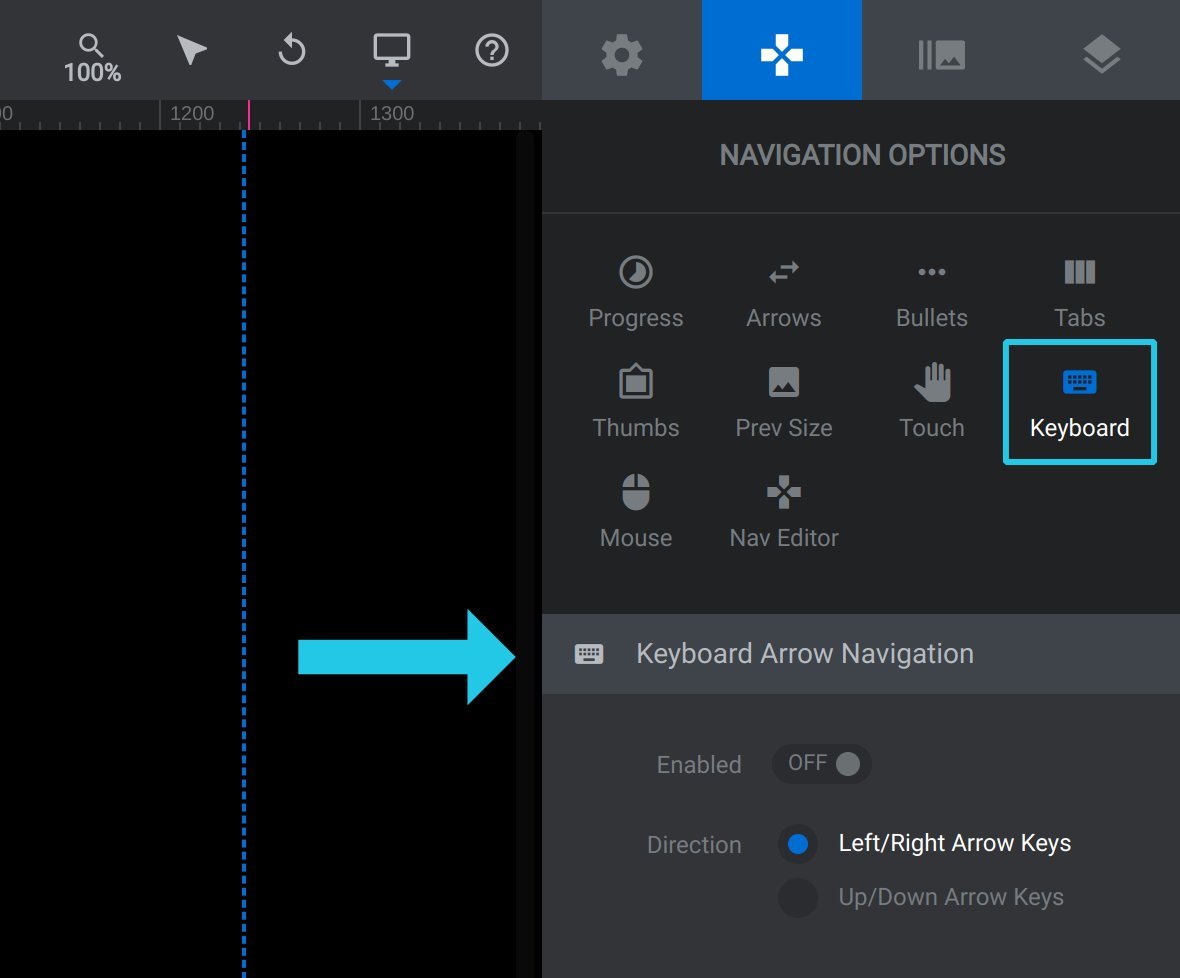
Enabled
Set the Enabled option to ON and the visitor will be able to switch between slides using their keyboard’s arrow keys:
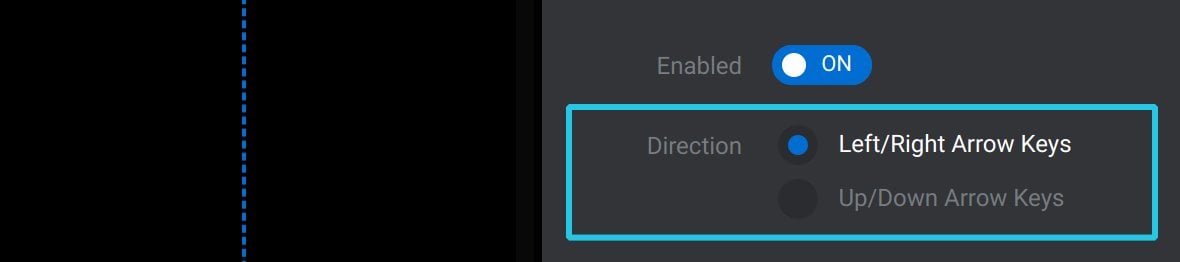
Direction
The Direction option determines which arrow keys will be used to switch between slides. Choose between Left/Right Arrow Keys and Up/Down Arrow Keys:
Note: As with swiping, for best results set your slide animation to move in the same direction as your arrow keys, i.e use a horizontal animation with left and right arrow keys, and a vertical animation with up and down arrow keys.
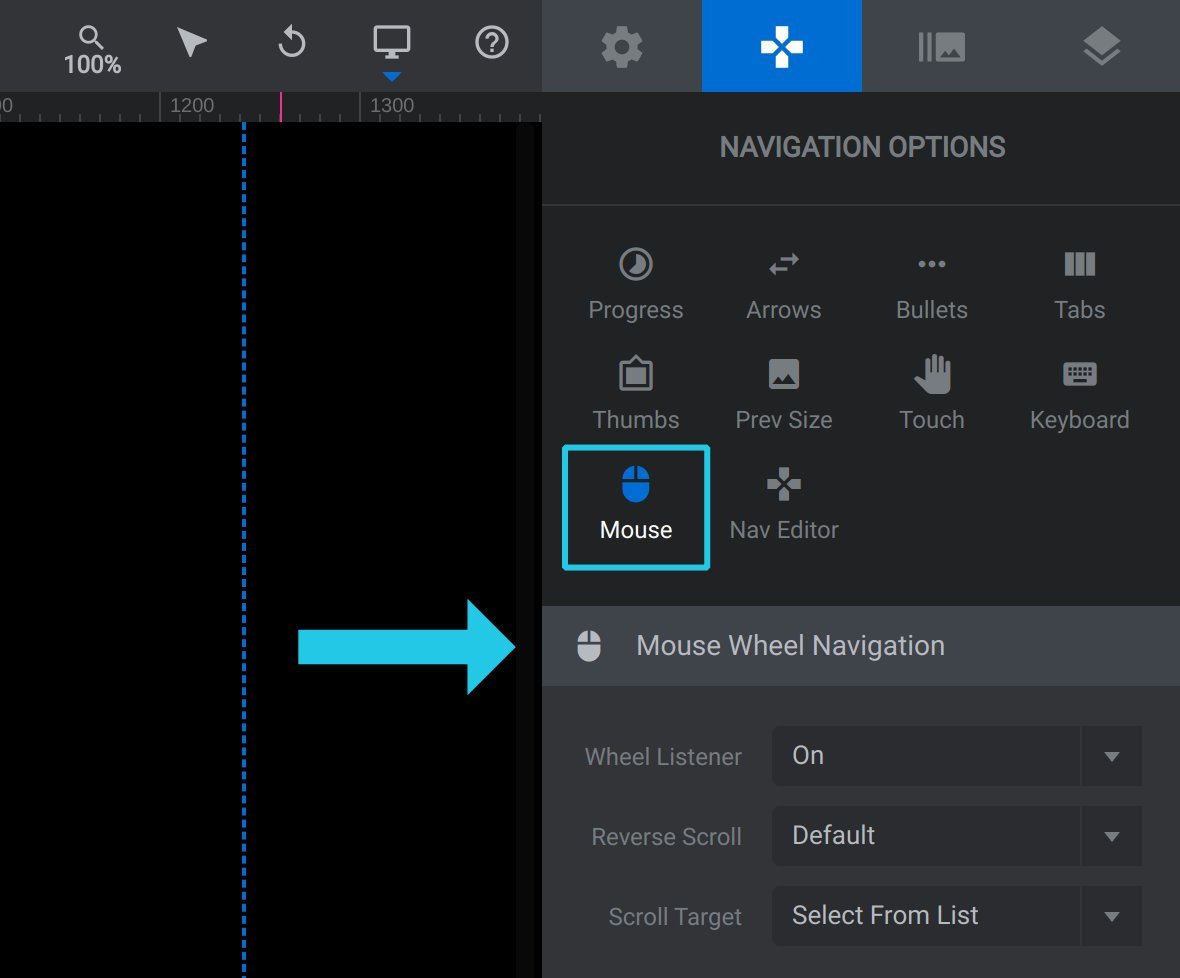
Mouse Navigation
Options for enabling and configuring mouse navigation, i.e. using mouse wheel scrolling to switch between slides, can all be found under the Navigation Options tab, Mouse sub-section, in the Mouse Wheel Navigation panel:
Wheel Listener
Use the wheel listener option to determine whether scrolling the mouse wheel should switch between slides. There are three possible settings:
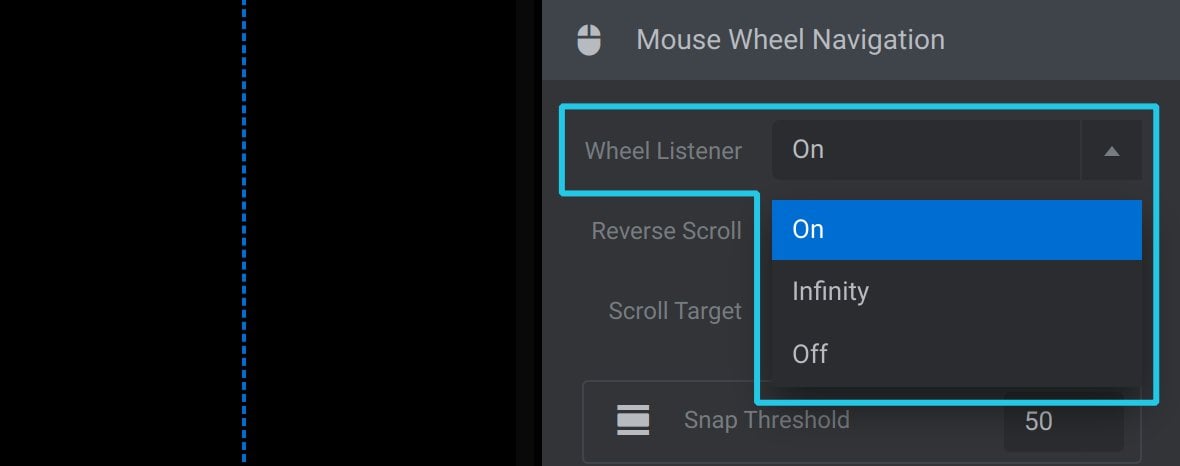
Select the Off setting to disable mouse wheel navigation.
Select the Infinity setting and the module will keep transitioning slides as long as the mouse wheel is scrolling.
Select the On setting and the module will progress until it reaches the last slide, after which mouse wheel scrolling will scroll down the page instead.
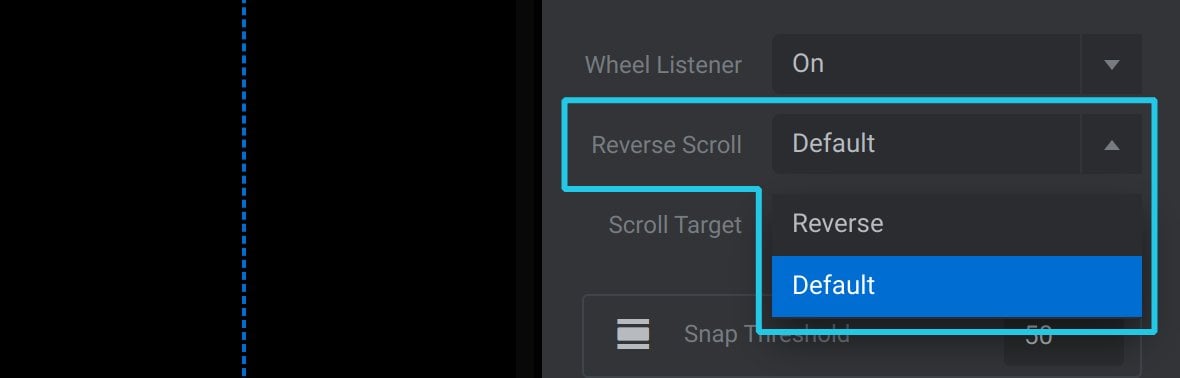
Reverse Scroll
By default, with mouse wheel navigation, scrolling down proceeds to the next slide, while scrolling up returns to the previous slide.
If you’d prefer to reverse this, that is, have scrolling down return to the previous slide and scrolling up proceeding to the next slide, then set the Reverse Scroll option to Reverse:
Scroll Target
The Scroll Target option is available as a troubleshooting tool, should you find there are issues with normal page scrolling while you are using mouse wheel navigation:
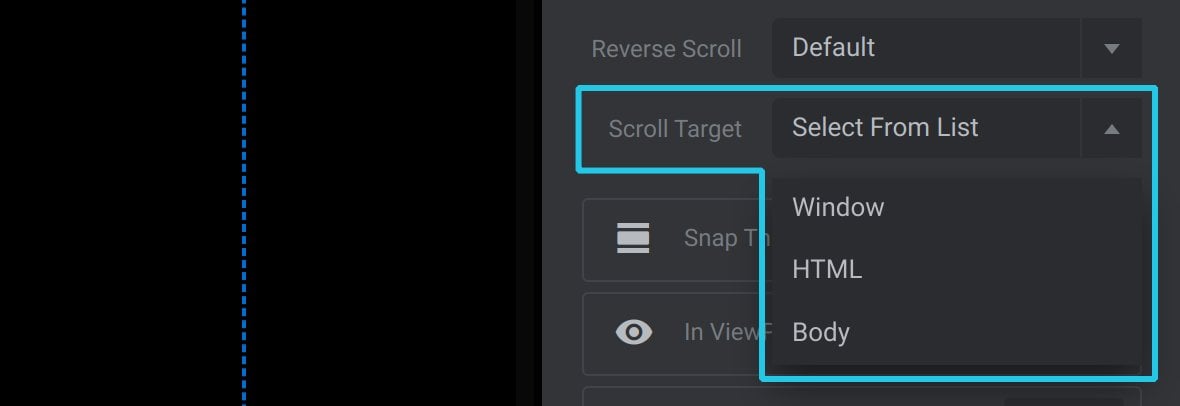
If this should occur, try switching between the three available settings: Window, HTML and Body.
In ViewPort(%)
The In ViewPort(%) option sets the percentage of the module that needs to be visible before scrolling the mouse over it will stop it from scrolling and start switching between slides:
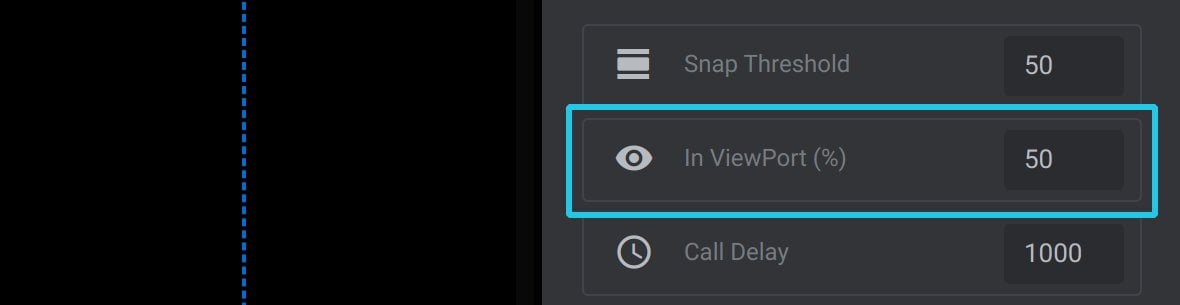
For example, if the option is set to 50%, as long as less than half of the module is visible, mouse wheel scrolling over it will scroll the page. But once more than half the module is visible, mouse wheel scrolling will trigger slide switching instead.
If the option was instead set to 100% the entire module would need to be visible before slide switching could be triggered, while if it was set to 0% slide switching could be triggered no matter what portion of the module was visible.
Snap Threshold
The Snap Threshold option determines how far the module should be scrolled before it snaps to the top of the page:
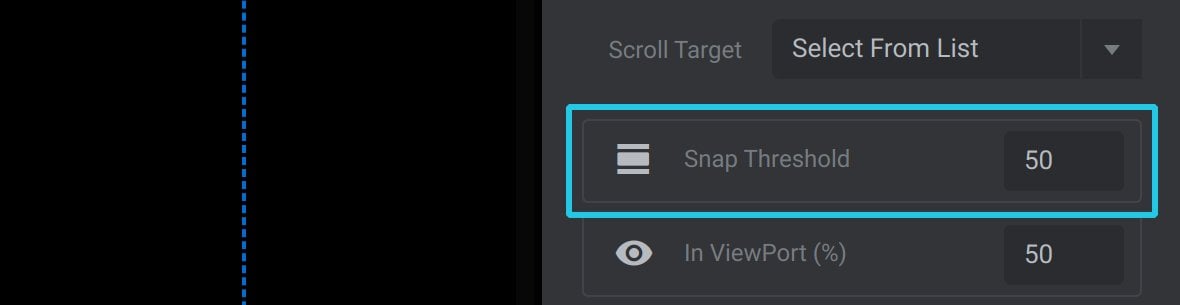
The option is set in pixels(px), and is relative to the In ViewPort(%) option.
For example, if Snap Threshold is set to 200 and In ViewPort(%) is set to 50%, snapping will occur if the module is scrolled to a point within 200px of the module becoming 50% visible.
Call Delay
Use the Call Delay option to set a period of time in milliseconds(ms) between switching from one slide to the next:

This ensures rapid mouse scrolling doesn’t proceed too quickly through slides.