
Configuring the Background Layer
In this guide you'll get a recap on what we’ve learned about background layers so far, and see how to use a couple of additional options you’ve not yet seen.
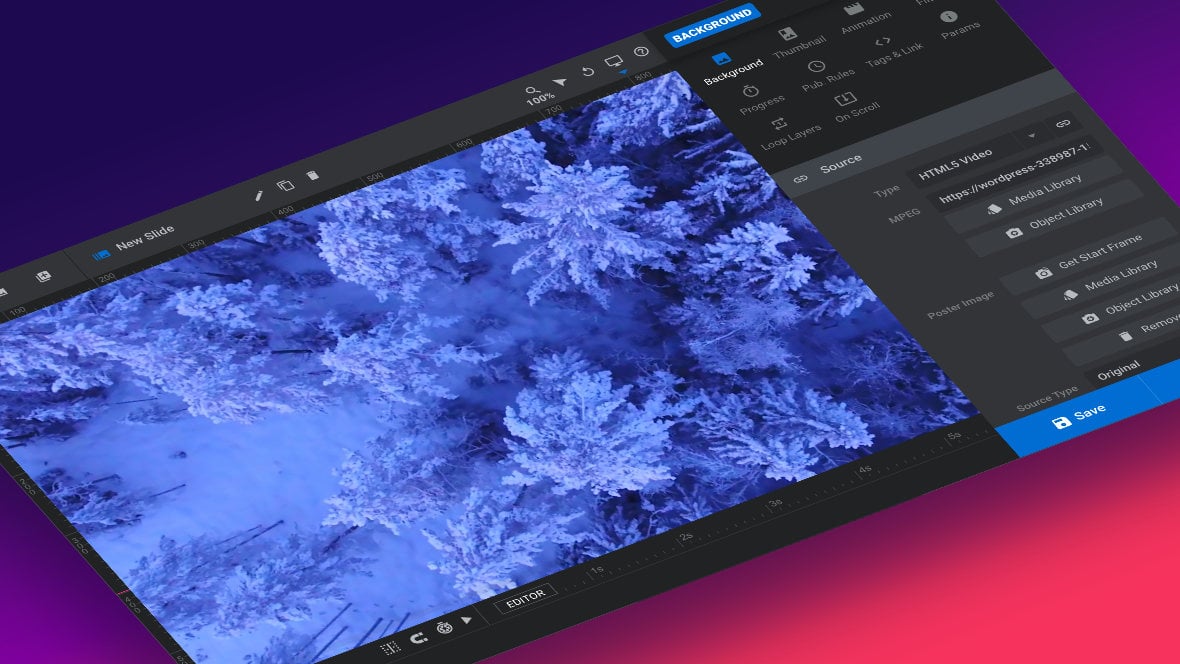
Table of Contents
- Topic Recap: Basics, Images and Videos
- Background Image Alt and Title Options
- Additional Video Background Settings
- On Autoplaying Background Video Sound
Topic Recap: Basics, Images and Videos
There are a couple of topics relevant to working with background layers [?]
A "background" in Slider Revolution is a type of layer that is always present in every module, and is always visually behind all other layers.
A background can be transparent, a flat color, a gradient, an image, or a video. It can be animated in the same way as other layers can be, however it cannot be deleted. we’ve already covered earlier in our guides on background layer basics, standard background styling, swapping videos and creating custom video layers.
To quickly jump to some of the main topics from those guides, follow any of the links in the sections below.
Basics
In our basics guide on background layer editing we learned:
- How to access background layer options
- How to change the background color
- How to change the background image
Images
There are some options for configuring background images that we explained in the guide to “Standard Background, Spacing and Border Styling Options“:
Videos
As part of our intermediate guide on swapping videos in template based modules we learned how to set background videos.
And in our Adding and Configuring Video Layers guide we saw how to use some of the video options also seen in background layer videos:
- Aspect Ratio
- Overlay
- Pause Timer During Play
- Loop Media
- Next Slide at End
- Rewind at Start
- Video Volume
- Video Speed
- Start Time
- End Time
- Arguments
Now let’s move onto the background layer options you haven’t yet learned about.
Background Image & Video Alt and Title Options
We’ve thus far talked about almost all the options in the Image Settings panel for a background layer [?]
Layers are containers for visual, audio or layout items and are added to slides. For example, text, button, image, audio, video, group and row are all types of layers.
Layers are added to slides via the module editor. image. There are just two remaining, and they allow you to control a background layer image’s alt and title attributes:
Let’s first learn what these two attributes are, and then see how you can set them for your background layer images.
What is an Alt Attribute?
Alt is short for “alternate”, and is an attribute that allows you to provide text that acts as a fallback if an image cannot be accessed. This may be the case either if the image fails to load due to technical issues, or if a person with visual impairment is using a screen reader to browse the web.
Because an alt value is intended to act as an image fallback, it is usually a very short description of that image.
This descriptive text can also help search engines understand what your site is about, and as such using alt attributes can help with search engine optimization.
What is a Title Attribute?
A title attribute can be used to give a short name to an image. Where an alt attribute describes the content of an image, the title essentially describes the image’s reason for being there and how it fits in the context of the page, much like a caption.
Search engines don’t really care about image titles, but they can be helpful for screen readers.
Setting Alt and Title Attributes
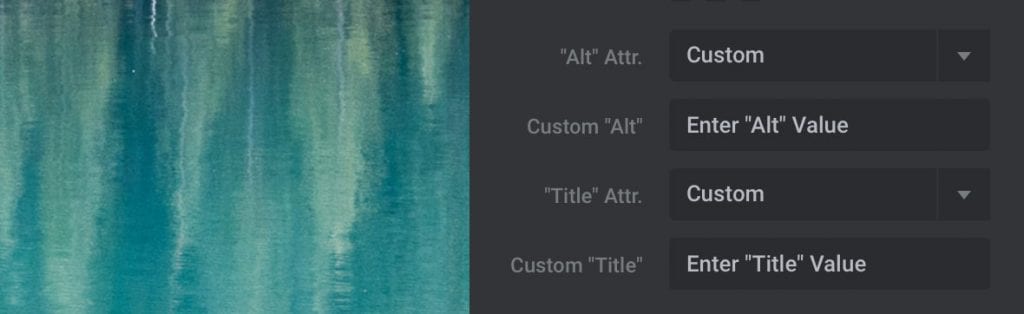
For both the alt and title attributes of a background layer image, their value is set by choosing one of three values under the “Alt” Attr or “Title” Attr dropdown, respectively:
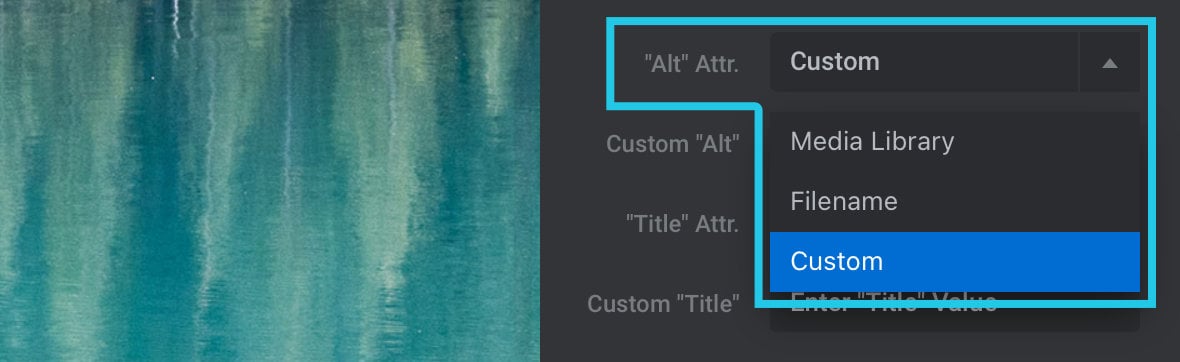
The three available settings are:
1) Media Library – This setting will draw from the alt and title values that have been set for the image in the WordPress media library.
2) Filename – This setting will simply use the name of the image file for the alt and title
3) Custom – If you select this setting a new field will appear below with the label Custom “Alt” / “Title”. You can enter any string of text you like into these fields to act as your alt and title
Additional Video Background Options
We covered almost everything about background layer videos in our previous topics, but there are just two more options to touch on: Video Fit Cover and Start After Slide Transition.
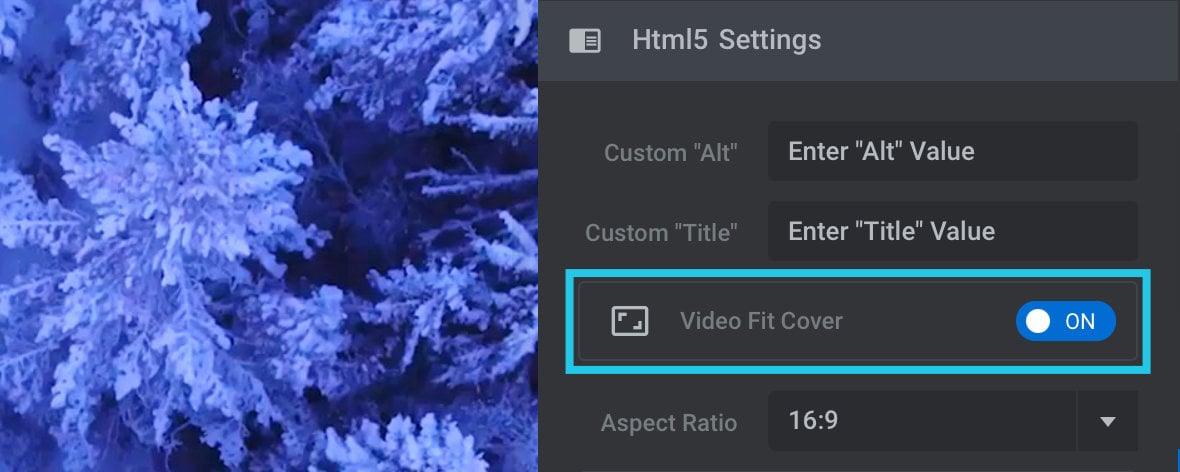
Video Fit Cover (HTML5 Videos Only)
Toggling this option to ON for a HTML video background ensures that the video will entirely cover the background of the slide [?]
A "slide" in Slider Revolution is a container into which multiple layers can be added, with layers in turn acting as containers for various forms of media such as images, text, video, audio, buttons, and special effects.
Slides are added to modules and edited via the module editor.
Within the module editor, each slide has its own animation timeline, background and collection of layers.
A single module can have one or many slides. A module with one slide is called a scene, and a module with multiple slides is called a slider or carousel., regardless of the aspect ratio of the video. If necessary, the vertical or horizontal edges of the video may be hidden to ensure complete coverage:
This option is on by default and should generally be left that way. The exception is if you are using a video with a very unusual aspect ratio and notice the video changes in size or zooms unexpectedly when transitioning between slides.
Start After Slide Transition
Setting the Start After Slide Transition option to ON directs the video to wait until after any transition effect between slides is complete before it begins playing:
For example, if slides fade from one to the next, the background video won’t play while its slide is still fading in. Rather, it will begin only after the fading ends.
On Autoplaying Background Video Sound
Be aware that even if a video is set to autoplay, it’s not possible to make it autoplay with sound switched on. Sound has to be triggered by an interaction from the visitor. To learn more about autoplaying and video sound read our guide on “Handling Sound and Control Quirks on Audio & Video Layers“.
Custom Content Section, Complete!
Congratulations, you just completed the manual section on creating custom content through adding and configuring layers.
Creating layers is probably the most foundational aspect of making modules from scratch, but of course there’s still more to the picture.
So in the upcoming section of the guide we’re going to step through the next topic you’re likely to need to learn about when making your own modules, and that is how to configure the modules themselves.
You’ll see how to handle things like module layout, defaults, title, scrolling behavior and other module level options.
That’s coming up in the next section: Configuring Modules.