
Custom Module Quick Start
Let’s learn about important options when setting up custom modules.
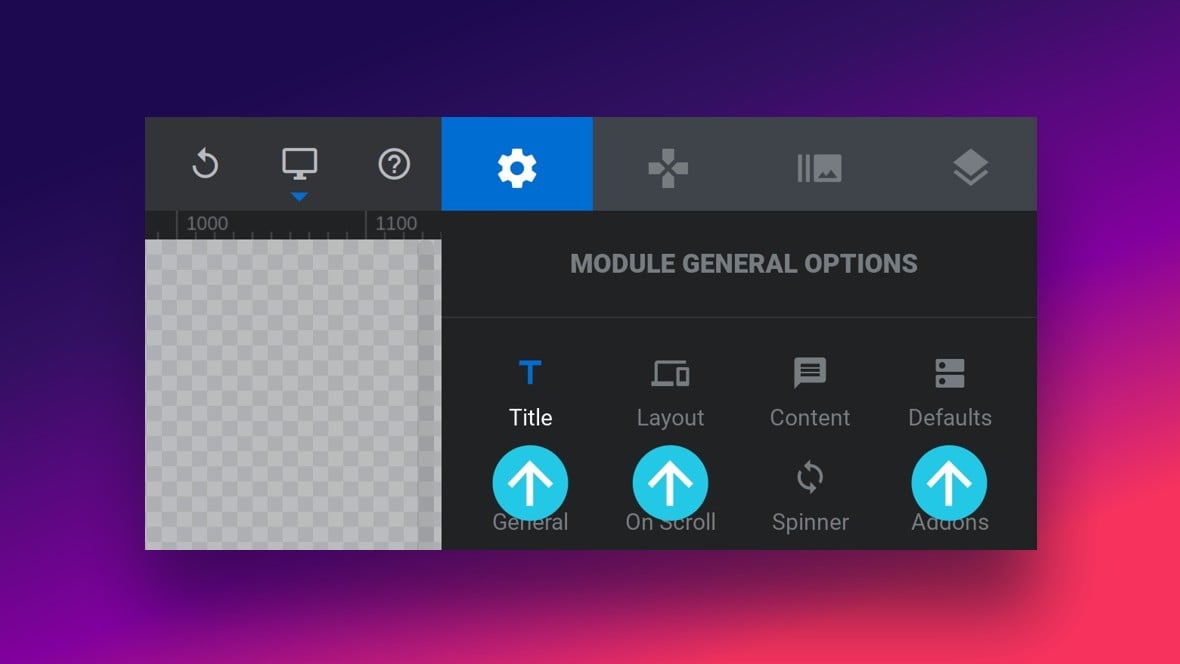
Table of Contents
Quick Custom Modules Setup Overview
Now that we’re moving on to creating your own designs from scratch, there are a few important custom module setup options to know about.
Before moving on, make sure that you have followed our guide to creating a blank module, because this guide picks up where that one left off.
We’ll assume that you already have a blank module open in the module editor, ready for configuration:
The goal of this section of the manual is to get you into creating your own designs asap, so we’re not going to cover absolutely every aspect of module configuration here.
Rather, we are just going to cover the things that are most valuable to know about when creating your first modules. That way you can get into the fun part of actually creating designs as soon as possible.
Everything covered in this guide will relate to three subsections located under the Module General Options tab:

- Title sub-section: Setting the title and alias of your module
- Layout sub-section: Key layout and background options
- Defaults sub-section: Basic options for timing
First up, let’s start with a quick overview of how and why you should set a custom title and alias for your module.
Title and Alias Quick Overview
Both the Title and Alias options can be found under the Title sub–section, in the Module Naming panel:
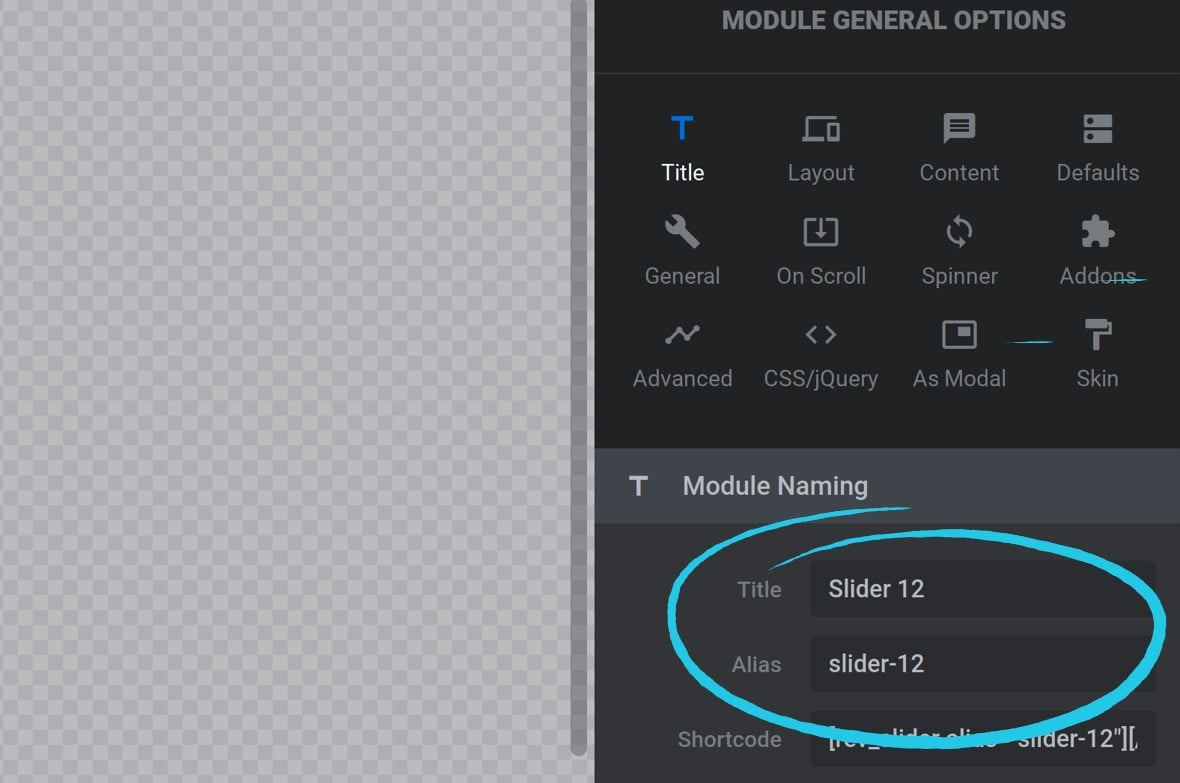
Module Naming: Title
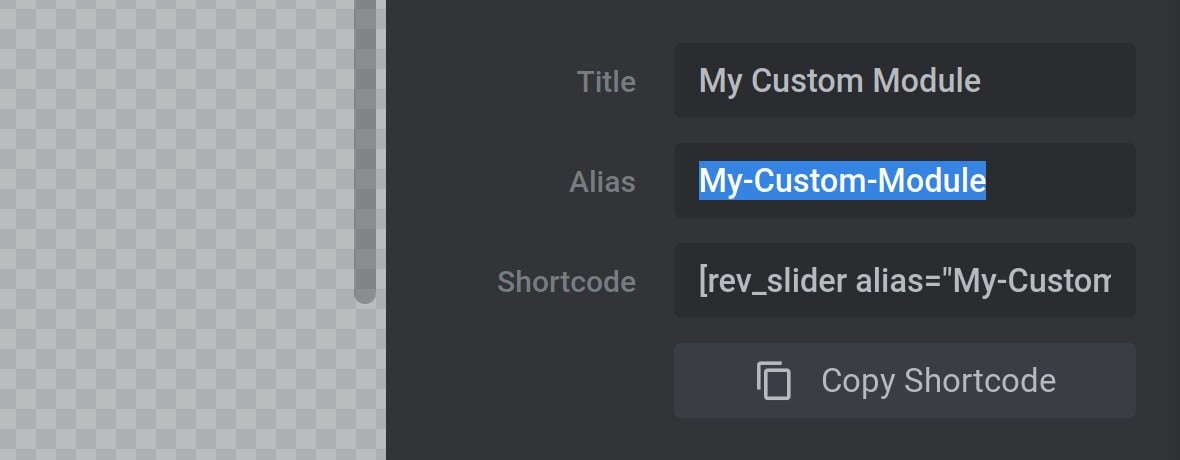
You can give your module a custom title by entering any name you like into the Title option:
The main advantage of giving your module a custom title is that you will then have a memorable name that will show up in your list of modules. You’ll also be able to use the search function to easily find your module:
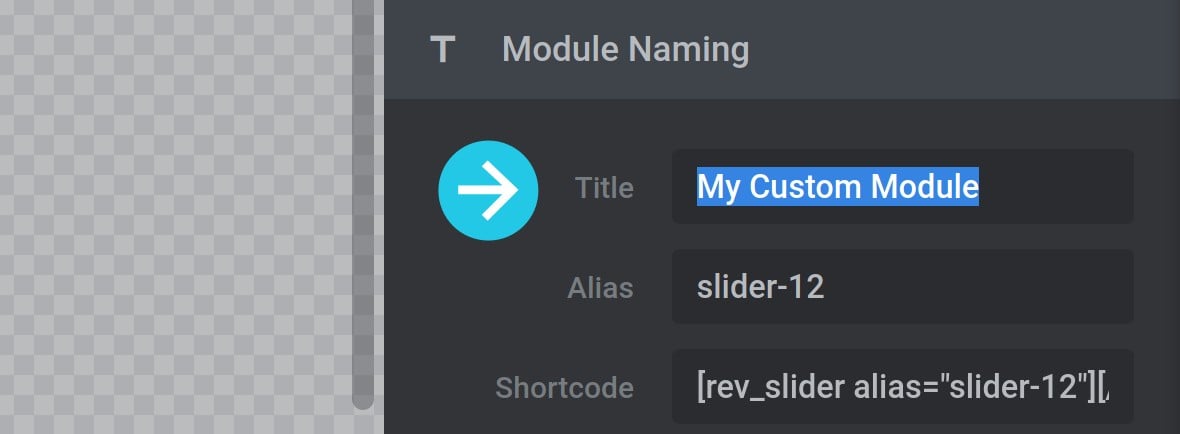
Module Naming: Alias
The module alias is a specially formatted unique identifier for the module.
You’ll see it in the shortcode for the module where it specifies which module to load up wherever the shortcode is placed:
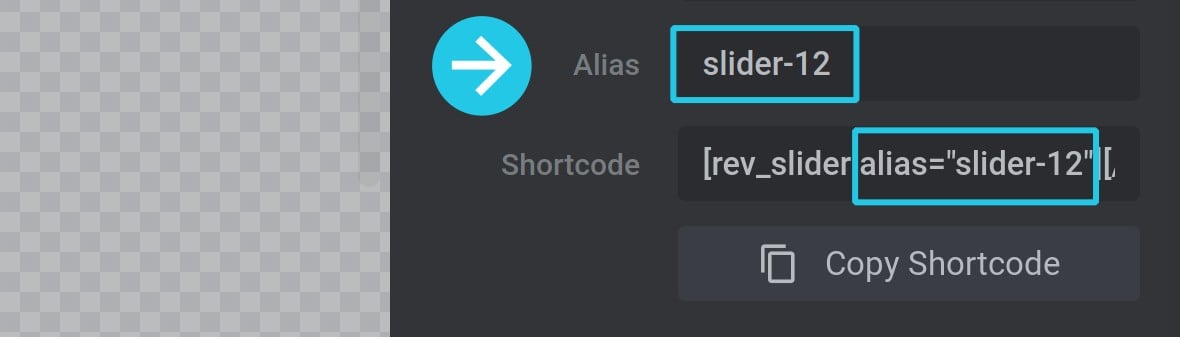
It’s a good idea to make the alias as close a match to the title as possible, so that when you see the shortcode placed somewhere you get a clear indication of which module is being used.
The easiest way to set an alias is to copy and paste the text from the Title field into the Alias field then press your ENTER key. The required formatting will automatically be applied to the alias:
Layout: Type and Sizing
In the Layout sub-section, then in the Layout panel, you will see the options Type and Sizing:
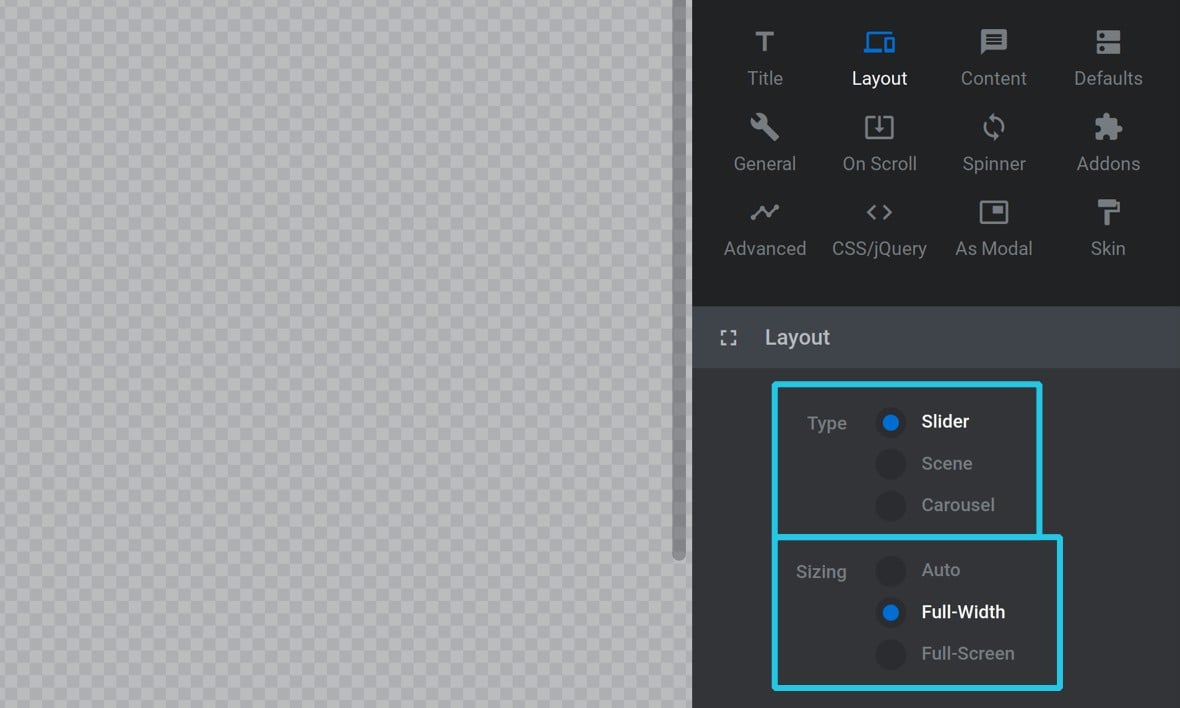
These are actually the same options that get configured when you go through the Module Creation Guide (the wizard that helps you with setup during the creation of a blank module).
We covered what each of these options control in our guide to creating blank modules. For a recap check out the links below:
If you exited the Module Creation Guide without using it, or decided later you wanted to use different settings, you can make changes via these Type and Sizing options.
Module Background
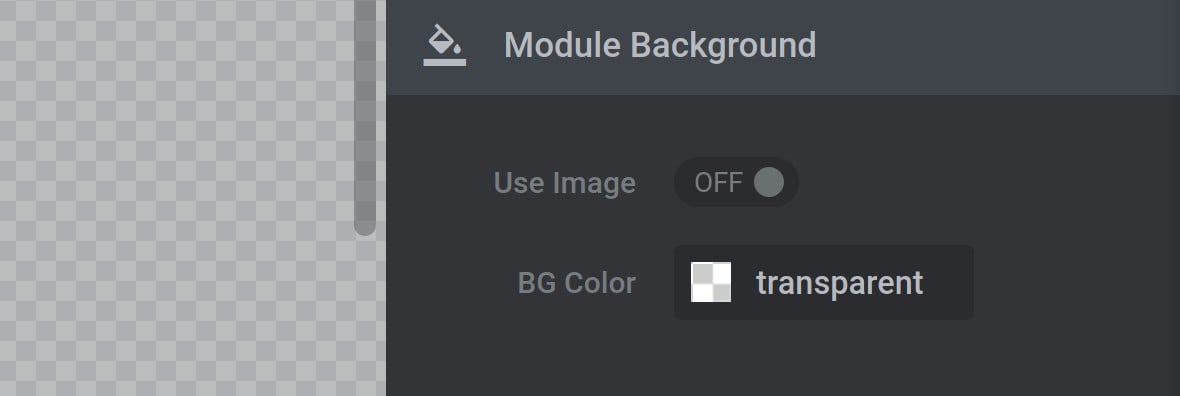
In the Layout sub-section, then in the Module Background panel, you will see the options Use Image and BG Color:
Even though most module designs have different backgrounds set for each slide, there may often still be cases where you want to set a background for your entire module. There are two common reasons:
1) To ensure the module background contrasts with your preloading spinner well enough for it to be clearly visible.
2) To create a background for the whole module that shows through on any slides that have transparent background.
You can set a flat or gradient color background for the module using the BG Color option.
To set an image background toggle Use Image to ON, then use the image selection tools that appear:
To learn more about configuring background colors and images check out our guide to standard Background Styling Options.
Duration and Initialization Defaults
In the Defaults sub-section, under the Default Basics panel you will see the options Slide Duration and Initialization Delay:
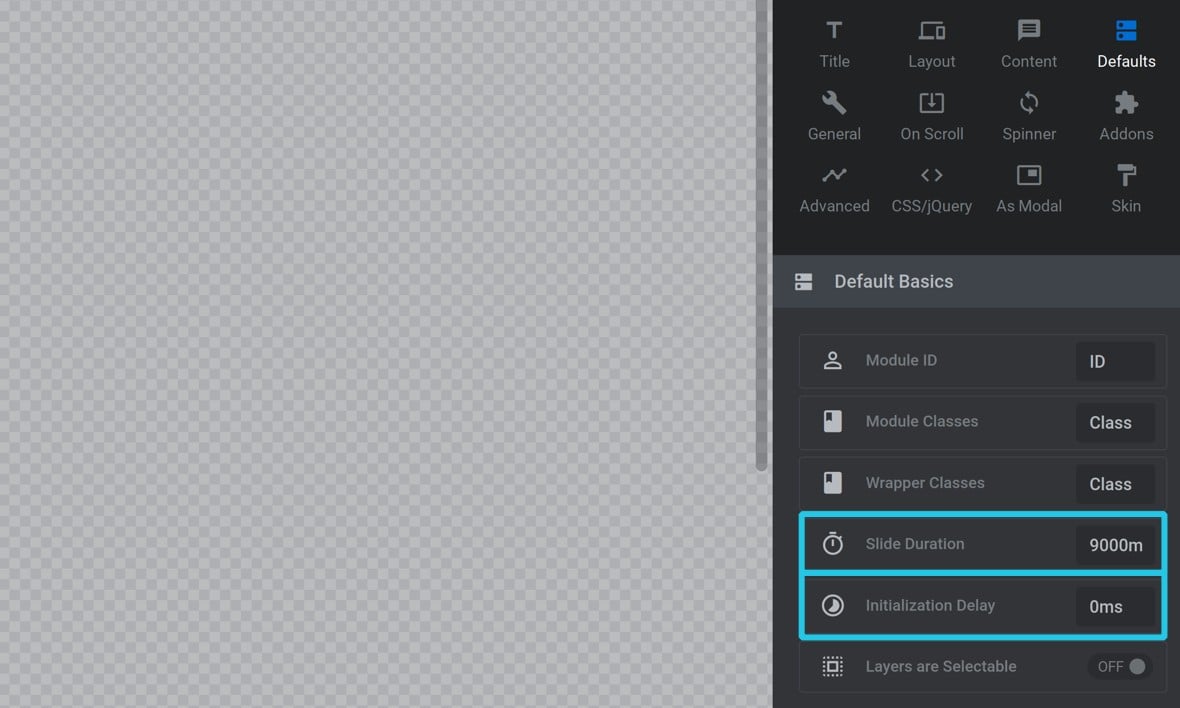
Slide Duration
The Slide Duration option allows you to set a default for how long new slides should stay on screen, in milliseconds.
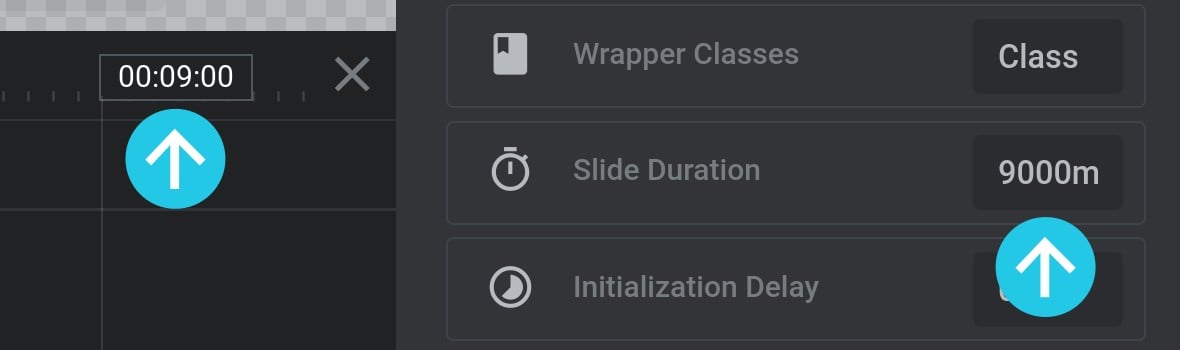
In a new custom module you’ll see the duration set to 9000ms, which is equivalent to 9 seconds. The flag that marks the end point of the slide timeline shows that same duration:
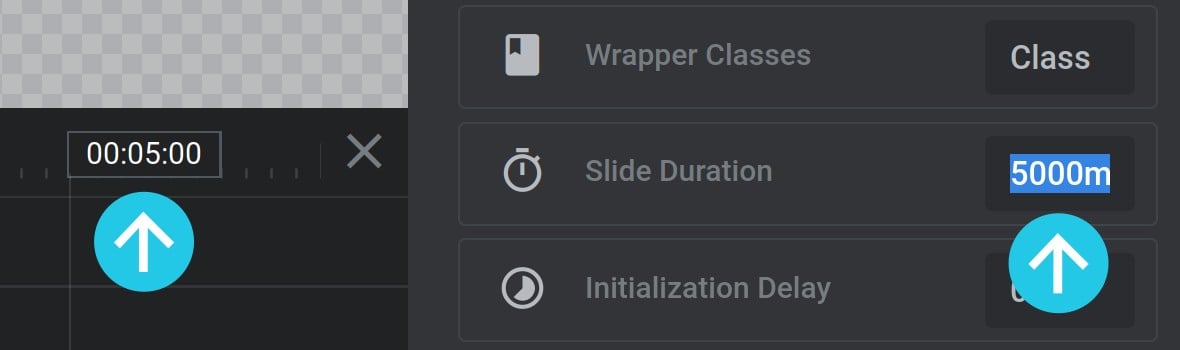
If you change the Slide Duration option to a different value, such as 5000ms for 5 seconds, you’ll see the timeline’s end point flag update to match:
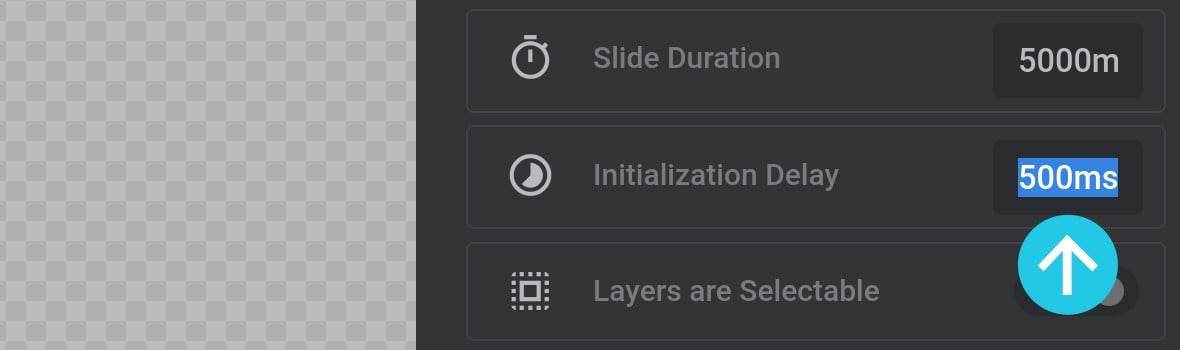
Initialization Delay
In some cases you might not want a module to start playing immediately. If so, you can use the Initialization Delay option to specify how many milliseconds should elapse before playback begins:
Up Next: Custom Content
With the quick module setup guide complete, we can now move onto the most enjoyable part of designing in Slider Revolution: adding your own custom content.
Let’s begin with an overview of what you’ll learn about Adding and Configuring Your Own Layers.