Editing Images in Template Modules
In this guide you'll learn how to replace and resize images in template-based modules.
Table of Contents
Editing Images (Video Tutorial)
Learn how to replace, resize and reposition images by watching the below ‘Basic Editing of Text, Links, Images & Backgrounds’ tutorial video from the 10:33 mark:
If you have watched the above video in full you can skip the remainder of the ‘Basic Editing’ section of the manual and proceed to learn how to Publish Modules.
Or continue reading, starting with how to replace an existing image with a different image:
Replacing an Image with a New One
To replace an image, start by selecting its layer [?]
Layers are containers for visual, audio or layout items and are added to slides. For example, text, button, image, audio, video, group and row are all types of layers.
Layers are added to slides via the module editor.:
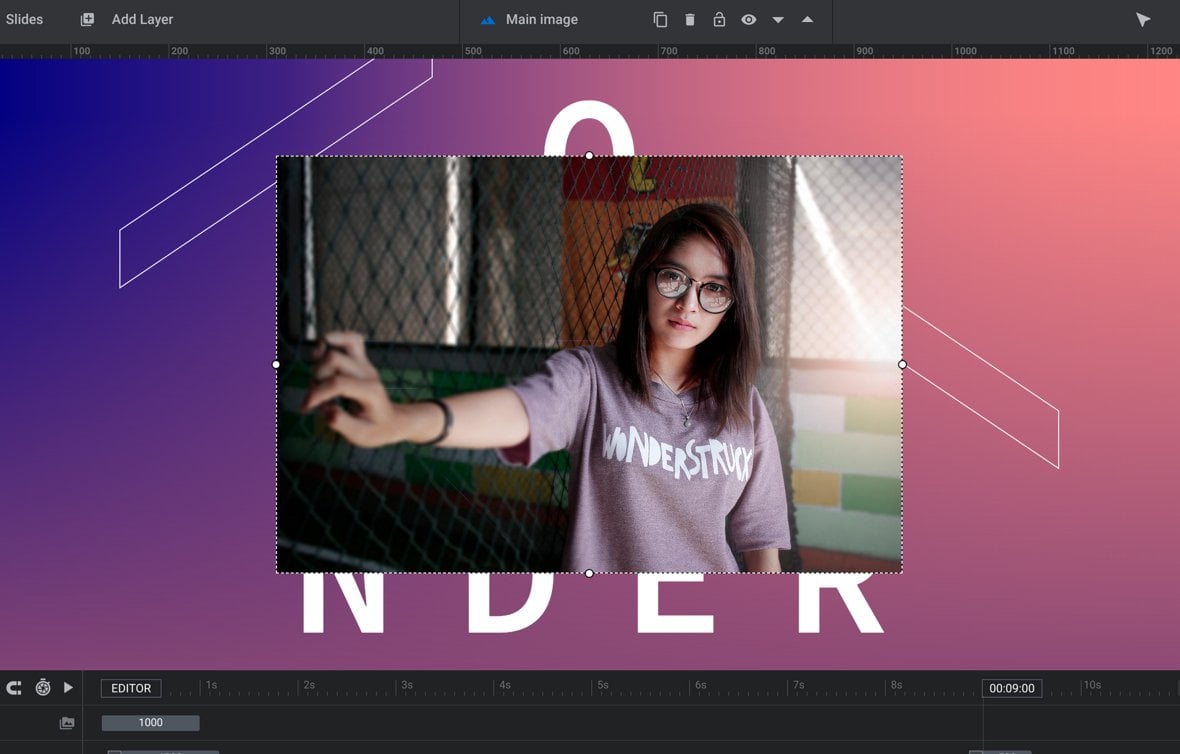
Once your image has been selected, make sure you’re in the Content sub-section of the Layer Options tab in the sidebar. From here you have two options:
- Click the Media Library button to replace the selected image with one of your own.
- Click the Object Library button to replace the selection with one of Slider Revolution’s bundled images.
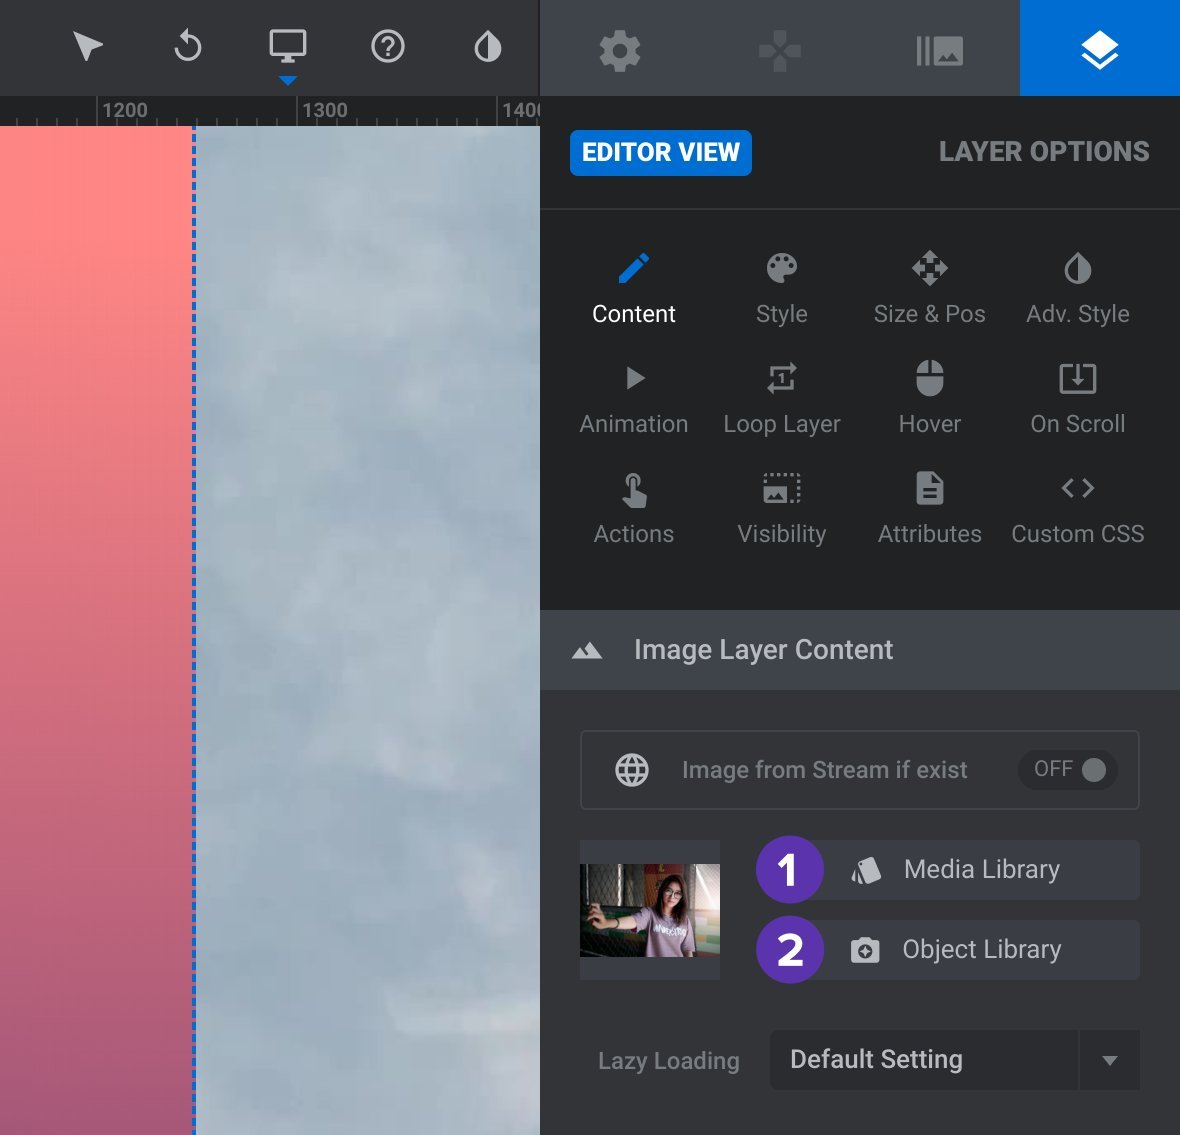
1. Replace from Media Library
After clicking the Media Library button the WordPress Choose Image dialogue box will open.

In the Media Library tab you can browse for images you have already uploaded, or alternatively you can click the Upload Files tab to upload a new image.
2. Replace from Object Library
After clicking the Object Library button, the Object Library will open displaying a collection of over 180 images to choose from.

When you hover over a thumbnail in the gallery you’ll see five circular icons, each representing one of five different sizes available for that image:

Hover over any of these circular icons to see what that size represents in pixels. Try to choose a size that closely matches the size of the original image, then click on the corresponding icon to insert the new image.
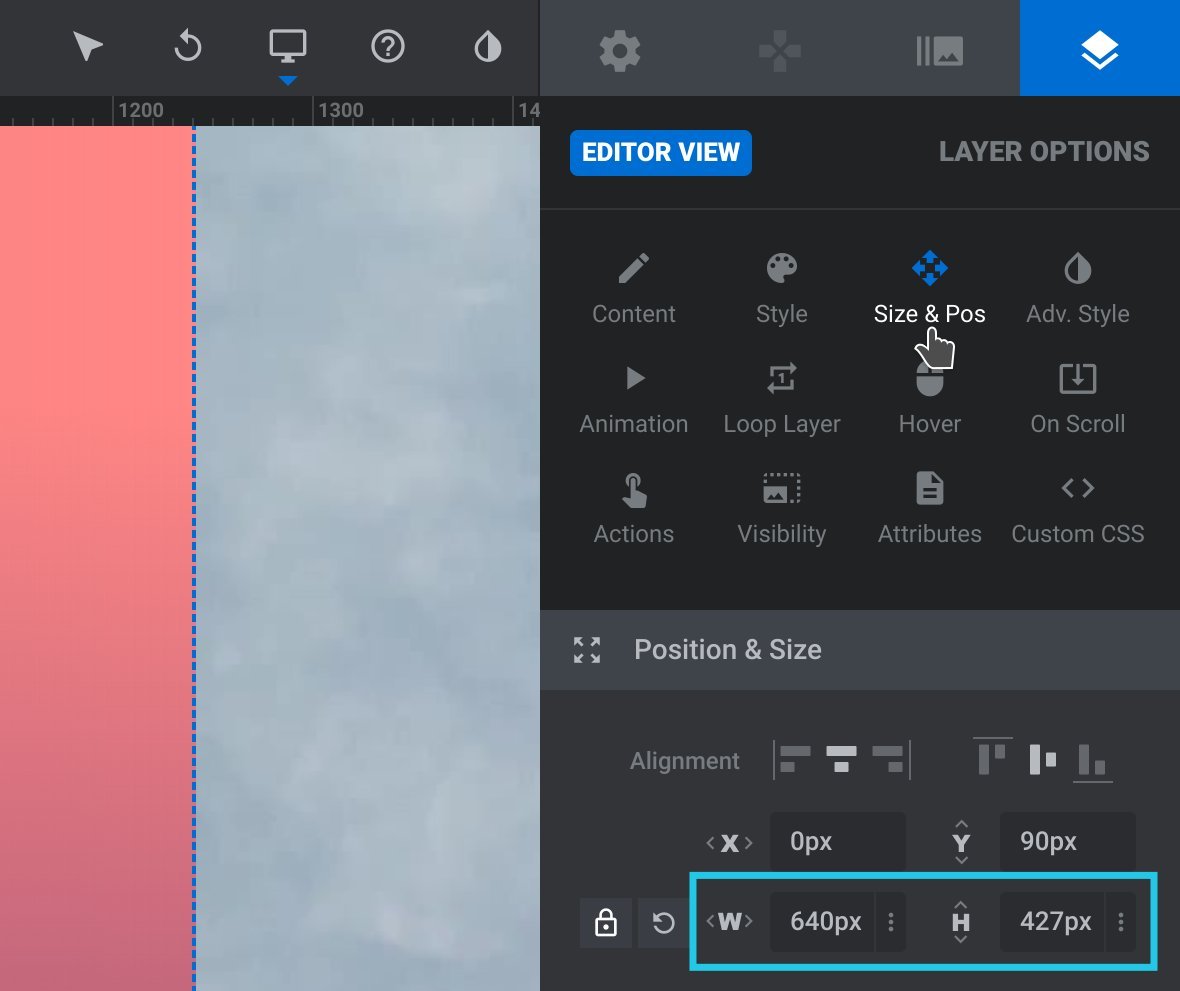
To check the size of the image you’re replacing, select its layer, go into the Size & Pos sub-section of the Layer Options tab in the sidebar, then under the Position & Size panel inspect the width and height values, represented as W and H respectively.
How to Resize Images
To resize an image, start by selecting its layer. You will see a bounding box appear around it with small circular white handles on each side:
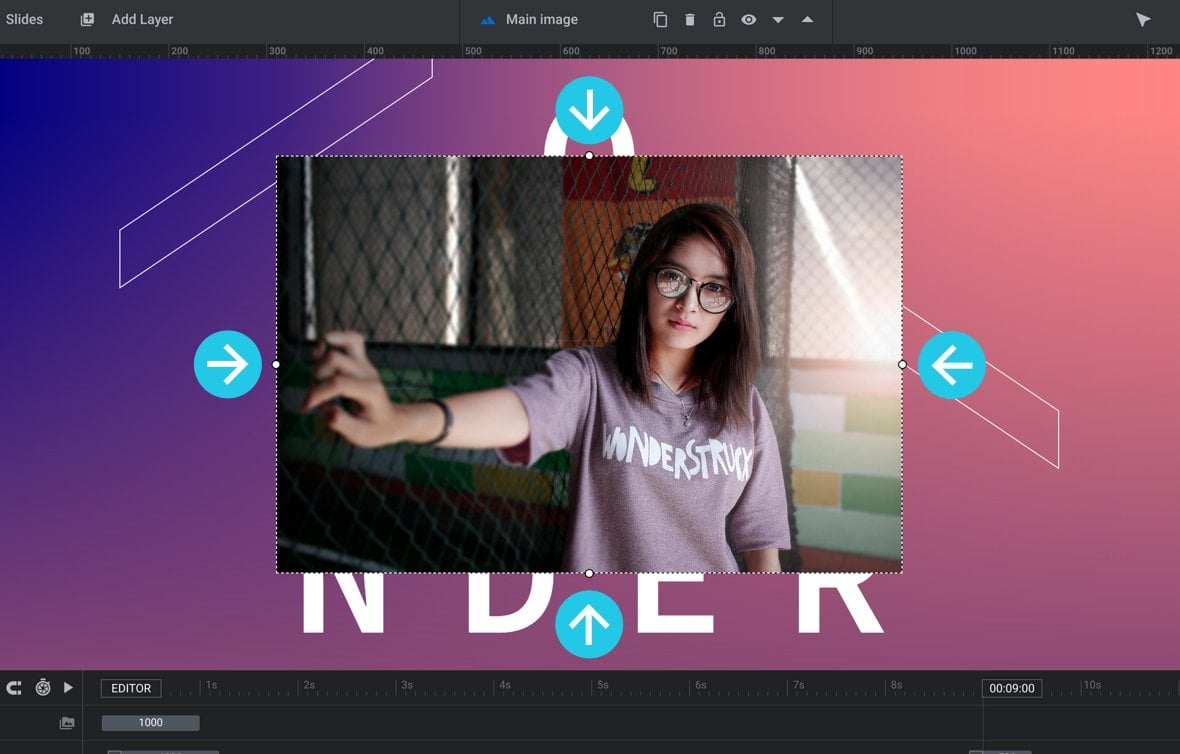
Click and drag any of the four handles to increase or decrease the image’s size:

Unlocking Aspect Ratio
Images have their aspect ratio locked by default. As such, if you modify the width of an image its height will proportionally update, or if you modify the height its width will proportionally update. If you want to adjust height and width separately you will need to unlock the aspect ratio.
With the image’s layer selected, go to the Size & Pos sub-section of the Layer Options tab in the sidebar, then in the Position & Size panel toggle the small padlock icon.
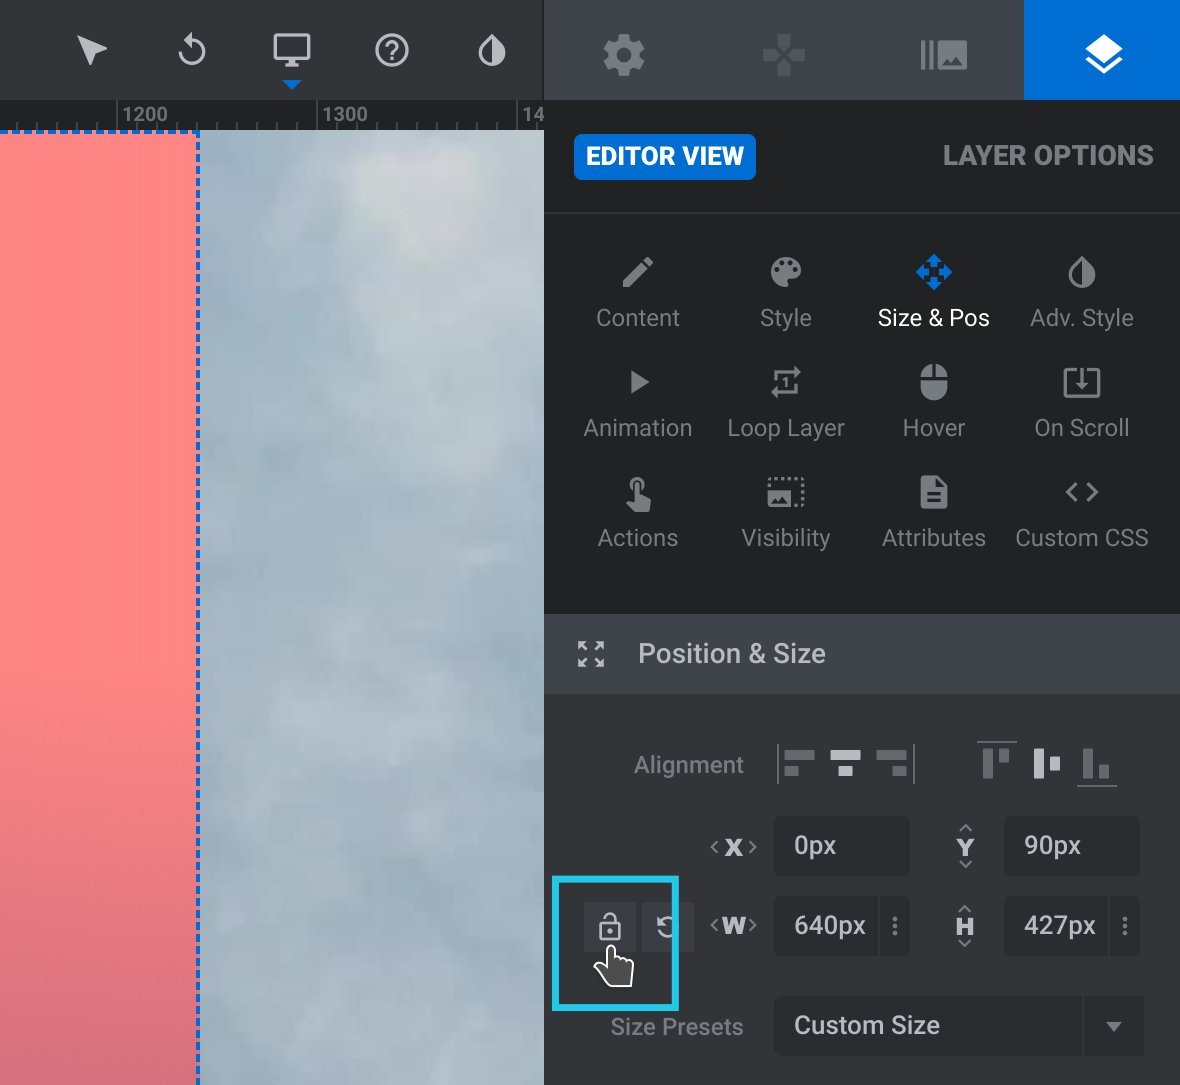
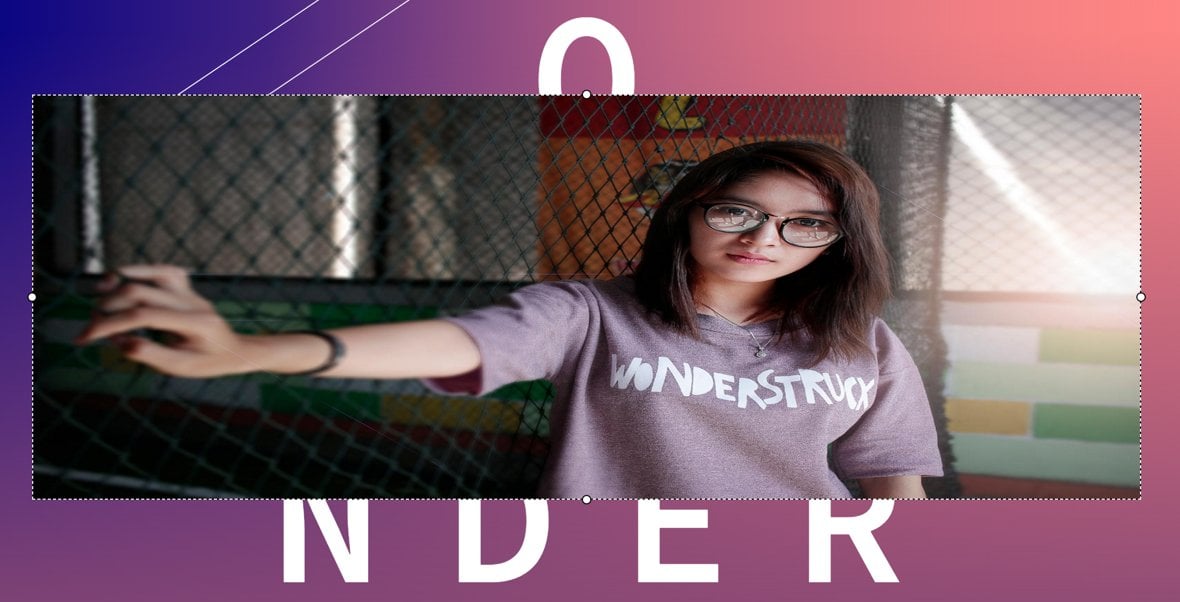
Once the image’s aspect ratio is unlocked, its height and width can be set independently.
Directly Enter Dimensions
Instead of dragging handles to resize an image, you can directly enter a specific width and height into its options.
With the image’s layer selected, go to the Size & Pos sub-section of the Layer Options tab in the sidebar, then in the Position & Size panel enter the desired width into the W field, and height into the H field.

Note: If the aspect ratio is locked, entering a value into one field will automatically proportionally update the other.
Next: Editing Backgrounds
In the next guide we’ll round out the basic editing section by learning how to modify backgrounds. You’ll see how to change colored backgrounds as well as how to swap out image backgrounds.
