
How to Make Interactive Lottie Animations
The Lottie addon for Slider Revolution gives you 5 ways to drive your animations with user interaction. Learn how to use them in this guide.
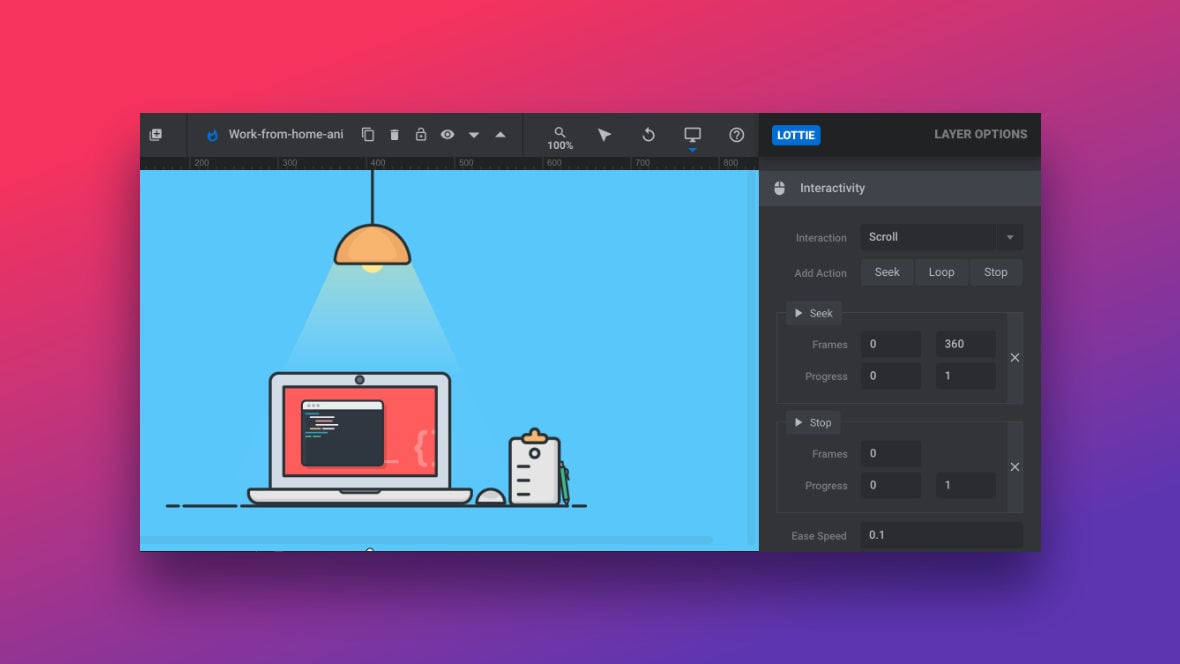
Table of Contents
- Introduction
- Click Interaction
- Hover Interaction
- Morph Interaction
- Mouse Move Interaction
- Scroll Interaction
Introduction
By default, when you add a Lottie animation layer [?]
Layers are containers for visual, audio or layout items and are added to slides. For example, text, button, image, audio, video, group and row are all types of layers.
Layers are added to slides via the module editor. to your module [?]
A module in Slider Revolution acts as a container for slides, which in turn act as containers for layers. Modules are created and edited with the module editor.
A "module" is a single, self contained piece of content. You can think of this as being similar to the way a post or page in regular WordPress is a self contained piece of content.
A module can represent any kind of content Slider Revolution is capable of creating, such as a slider, carousel, hero unit, navigation menu, posts display and so on.
Multiple modules can be combined to form rich content such as complete sites and landing pages. it will automatically start playing as soon as it appears on the canvas [?]
The canvas is the point and click design space in the module editor. It forms the largest area of the module editor.
In this area layers can be selected, moved and resized. Animations can also be previewed.. However, by using the Interactivity settings in the Lottie addon for Slider Revolution [?]
Slider Revolution is a website content creation tool with a focus on captivating animation and stunning visual effects.
It began its life as a plugin for creating slideshows, but has evolved into a fully fledged piece of design software. you can instead setup animation playback to be controlled by user interaction, making for even more engaging and interesting website content.
You can activate user driven interaction by selecting a Lottie animation layer you’ve created, going to its Layer Options tab, then the Lottie sub-section, and choosing an option from the Interaction dropdown in the Interactivity panel.
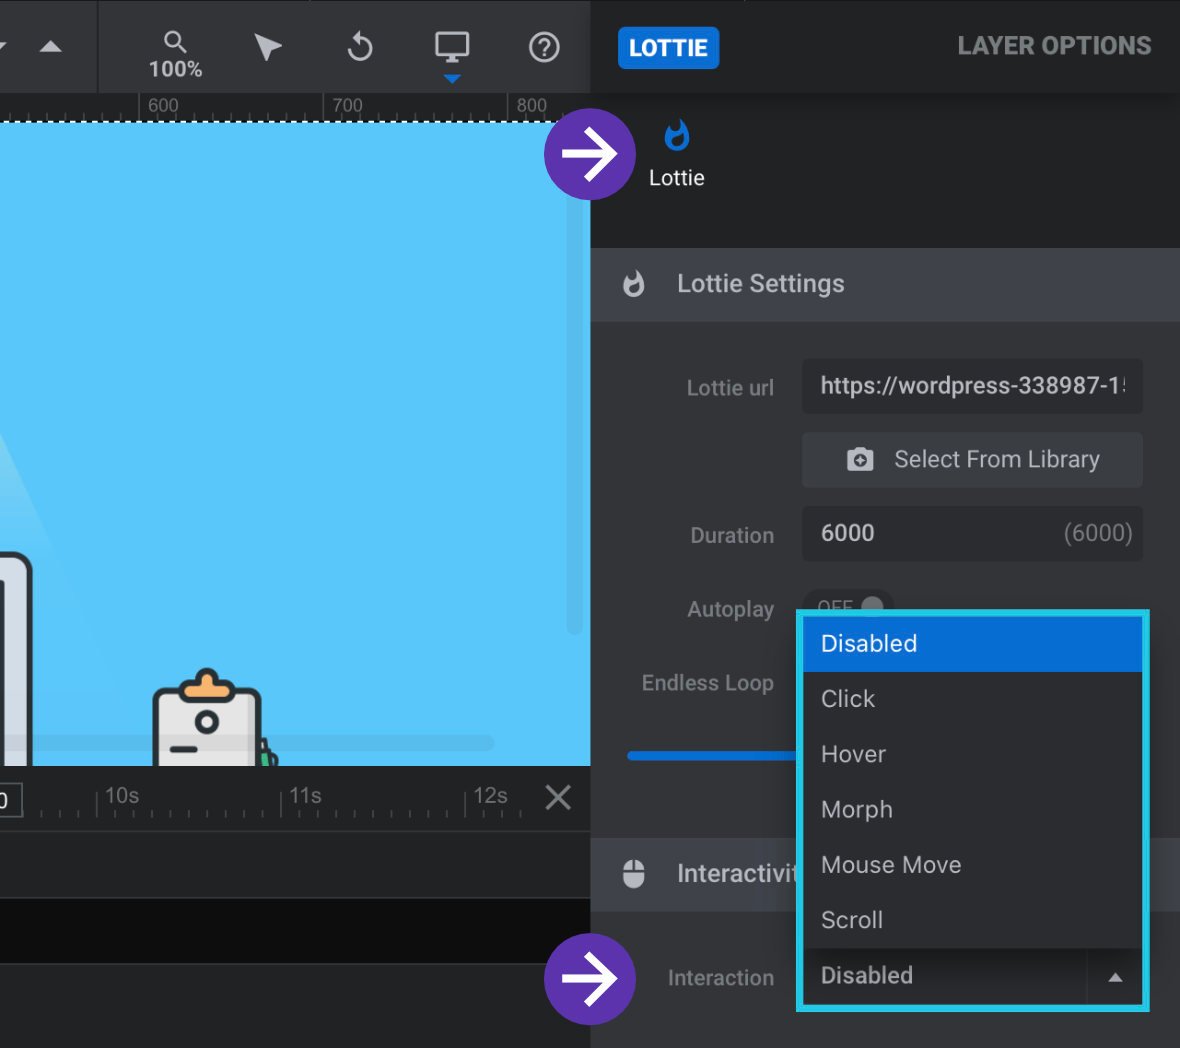
There are five interactivity types available to choose from:
- Click – user clicks start the lottie animation.
- Hover – mouse hover or touch start the lottie animation.
- Morph – mouse proximity starts or reverses the lottie animation.
- Mouse Move – mouse direction affects the lottie animation differently.
- Scroll – interact with the lottie animation using mouse scroll or page scroll.
In this guide we’ll step through how to use each one of the five types of interaction control.
Note: If you’re new to the Lottie addon we recommend you start with the Lottie Addon Quick Start and Extra Setup guides before coming back here to learn about interactivity.
Click Interaction
When you select the Click option from a Lottie layer’s Interaction dropdown, the animation will not play until the user clicks somewhere on the area of the animation.

Once clicked, the animation will play through until its end, and will also repeat if Endless Loop is active under the Lottie Settings panel.
Hover Interaction
The Hover interaction option triggers the animation when the mouse enters the animation’s area, or if it’s tapped on a touch screen.

As with the Click option, it will also repeat if Endless Loop is active.
Morph Interaction
With the Morph interaction, when the mouse enters the animation’s area it will start playing, and when the mouse leaves the animation’s area it will play backwards from that point.

Regardless of whether or not Endless Loop is active, the animation will play only once and then stop, even if the mouse stays in the animation’s area.
Mouse Move Interaction
With the Mouse Move interaction, moving the mouse horizontally over the animation’s area triggers the animation. Moving the mouse to the right advances the animation, and moving it to the left rewinds the animation. Moving the mouse vertically has no effect.
Unlike the Click and Hover interaction types, when you select Mouse Move some extra options will become available for you to configure:
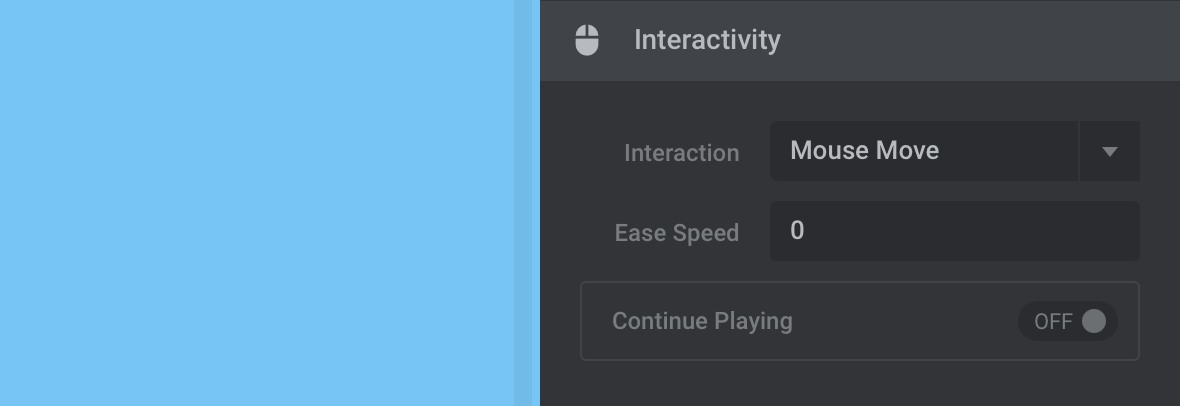
The Ease Speed option controls the relationship between the speed the mouse is moving and the rate of animation playback. This allows playback of the animation to be smoothed out.
The value can be set anywhere between 0, for no smoothing, and 0.9, for maximum smoothing.
If the Continue Playing option is toggled to ON and the mouse leaves the animation’s area, the animation will carry on playing where it left off.
Scroll Interaction
The Scroll option allows you to tie playback of an animation to mouse / page scrolling.
After selecting this option nothing will happen out of the box. To make the interaction work you need to add one or more scroll Actions, and decide on the specifics of how you want those actions to be triggered by scrolling.
Scroll actions give you fine-grain control over the playback of your animation. By combining multiple actions you can create sequences where the animation stops, plays and loops at various points during scrolling.
For example, when a user begins scrolling you might have the animation begin its playback, then part way through have it stop for a moment, then loop a portion of the animation repeatedly.
Note: When you choose the Scroll interaction option Slider Revolution will automatically set your module timeline [?]
The timeline is the section of the module editor dedicated to animation and controlling the stacking order of layers.
From this part of the editor animations can be added, adjusted and previewed. Additionally, layers can be selected from the timeline, and can be dragged and dropped up and down on the timeline to modify which appear in front and which behind.
It can be equally compared to both a timeline in a typical video editing application, and a layers panel in a typical graphic design application to be scroll driven as well. Additionally, the module will be set to stay fixed in place while the animations are being scrolled through.
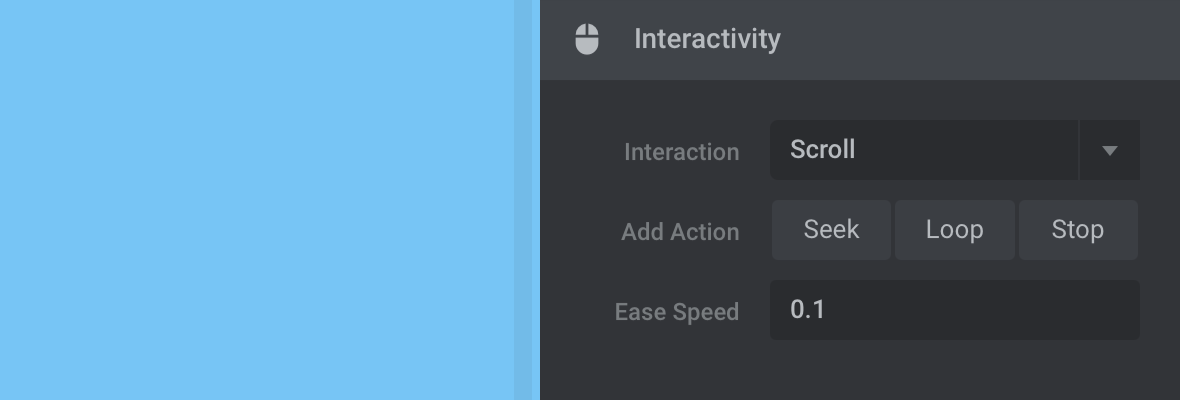
The Three Scroll Actions
There are three actions you can use to drive your animations via scroll interaction: Seek, Loop and Stop.
Let’s have a quick overview of what each of these actions does.
Seek
The Seek action advances the animation when the mouse / page is scrolled down, and rewinds it when the mouse / page is scrolled up.
If all you want to do is have your animation play from start to finish in time with mouse scrolling, just add this action with default settings and you’re good to go.
Loop
The Loop action loops the animation repeatedly between specified frames.
Stop
The Stop action stops the animation at a specified frame.
How to Add and Remove Actions
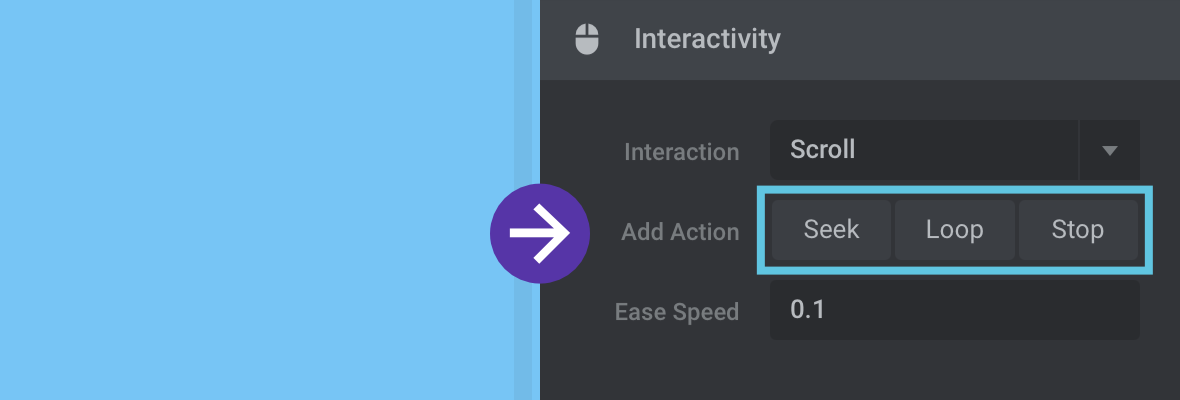
To add an action click either the Seek, Loop or Stop buttons to the right of the Add Action label:
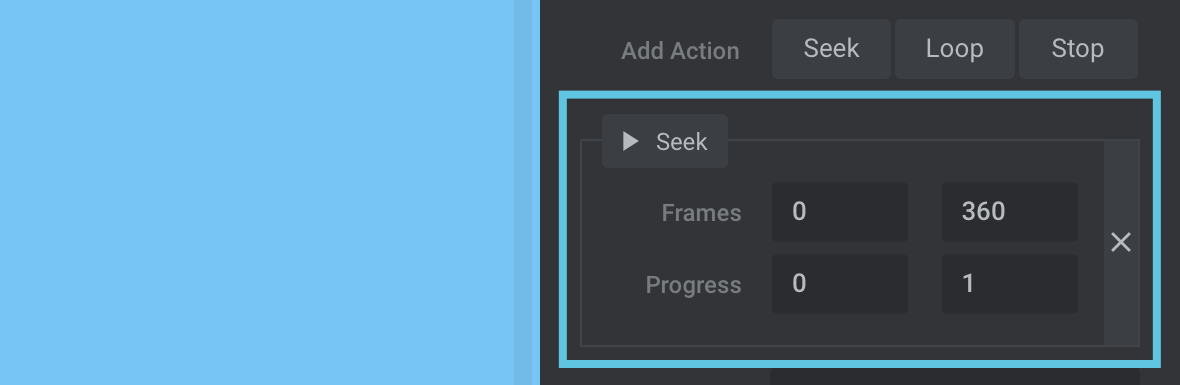
Once added the action will look like this:
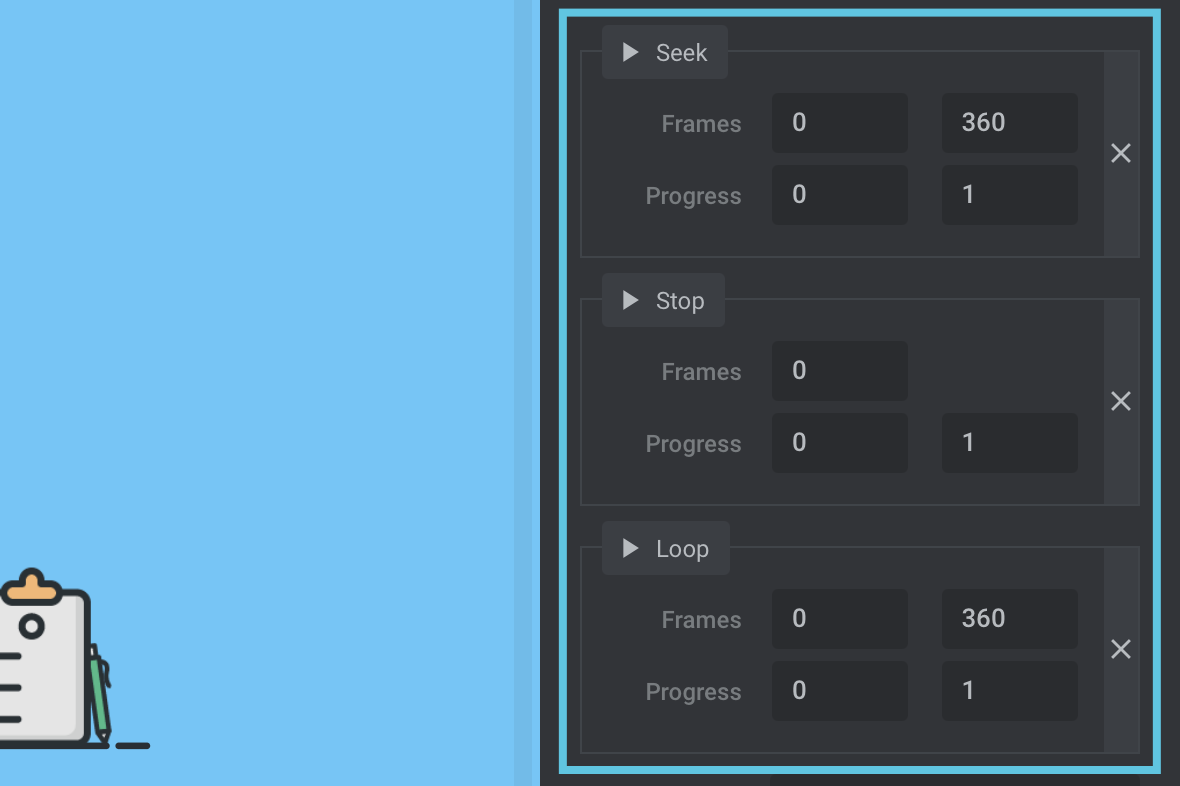
You can add multiple actions and they will appear one stacked on top of the other:
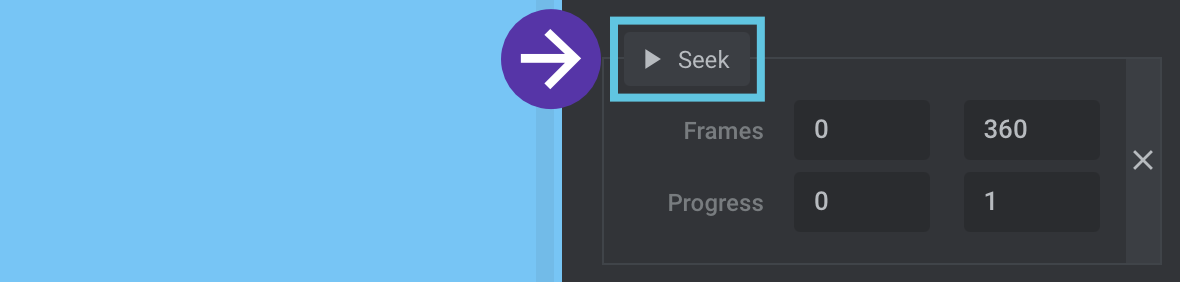
Clicking the play button at the top of an action allows you to preview the effect that action will have on the animation:
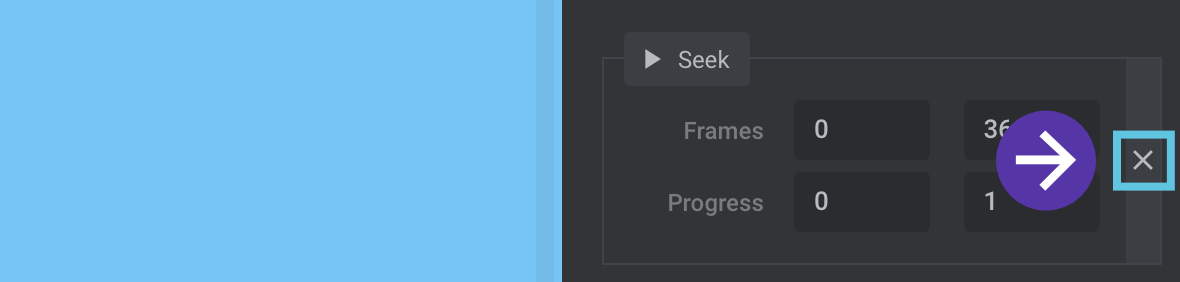
To remove an action click the “X” button on its right side:
Frames and Progress
Every action has both Frames and Progress fields, and configuring them is key to setting up interesting scroll interaction sequences. These options are responsible for controlling exactly what each action will do, and when.

The Frames fields control what effect an action will have.
The Progress fields determine when an action takes effect.
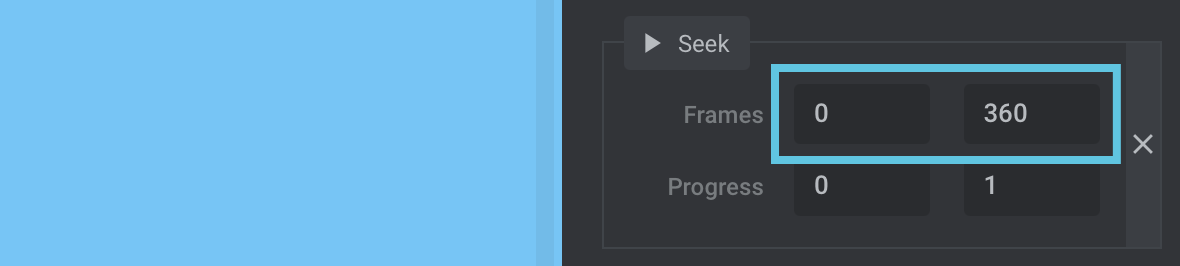
Frames
An action’s Frames fields represent which frames of the animation it should loop through, stop at or seek through. The first field sets the Action Start Frame and the second field sets the Action End Frame.
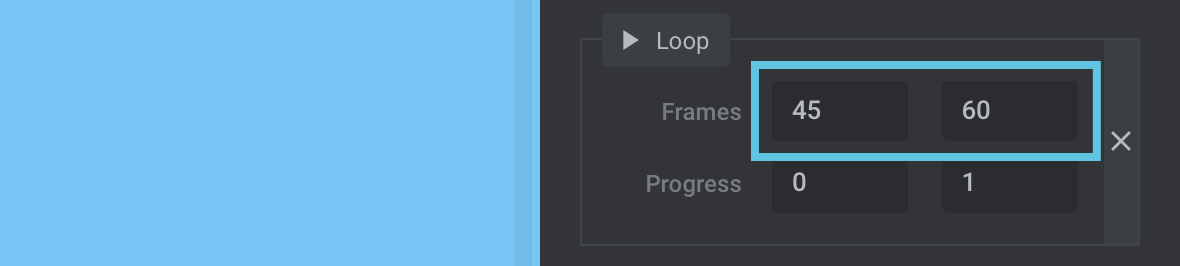
An example of how this might work is if you add a Loop action and set its Action Start Frame and Action End Frame to 45 and 60 respectively.
With these Frames settings, when the action is active, the animation will repeatedly loop through frames 45 to 60.
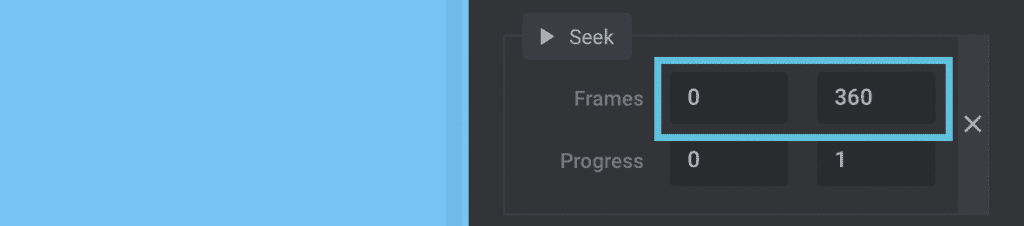
In the case of the Seek action, the Frames fields control the range of frames the animation will advance or rewind through during scrolling, when the action is active.
And with the Stop action there is only one Frames field, the Action Start Frame. This sets which frame the animation will stop at when the action is active.

You will have noticed that in each description of how an action’s Frames settings work, we’ve stipulated that these are the effects when the action is active.
And the way you determine when an action is active is through its Progress fields.
Progress
An action’s Progress fields correspond with how far through the possible range of scrolling a user is, where 0 is before scrolling has begun and 1 is when scrolling is complete. A value of 0.5 would represent having scrolled halfway through, 0.25 a quarter way through, 0.75 three quarters through, and so on.
The values entered into an action’s Progress fields determine when it will be active. The first field sets the Scroll Progress Start point, when the action takes effect, and the second sets the Scroll Progress End point, when the action stops having an effect.
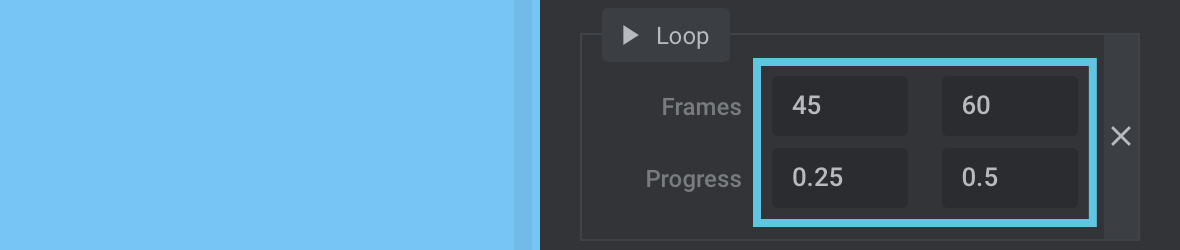
For example, if you add a loop action and set its Scroll Progress Start and Scroll Progress End fields to 0.25 and 0.5 respectively, the animation will start looping when the user has scrolled a quarter of the way through, and stop looping once they have scrolled half way through:

How Frames and Progress Settings Work Together
In our section above on Frames settings we talked about an example Loop action set to loop between frames 45 to 60.
If we combined this with the example of setting Progress fields to 0.25 and 0.5 we would have an animation that repeatedly loops between frames 45 to 60 as long as the scroll progress is between a quarter and half way through.
So to recap: For any action, use its Frames fields to control how the action takes effect, and its Progress fields to control when it has that effect.
Combining Multiple Actions
You can add as many actions to your scroll interaction as you like, but the key to combining them successfully is how you configure their Progress fields.
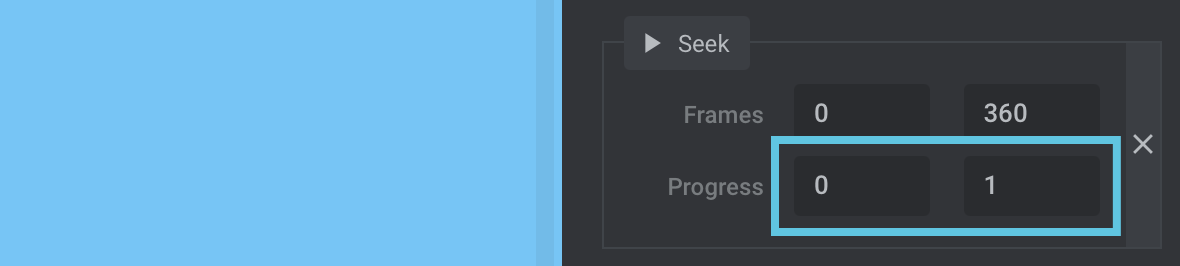
When you first add an action its Progress fields will default to values of 0 and 1, meaning it will be active throughout the entire duration of scrolling.
This is all good if you have just one action, but if you have multiple actions you don’t want them all trying to be active at the same time. Rather, you want them to activate in sequence, one after the other.
To have your actions run in sequence you should alter their Progress field values accordingly.
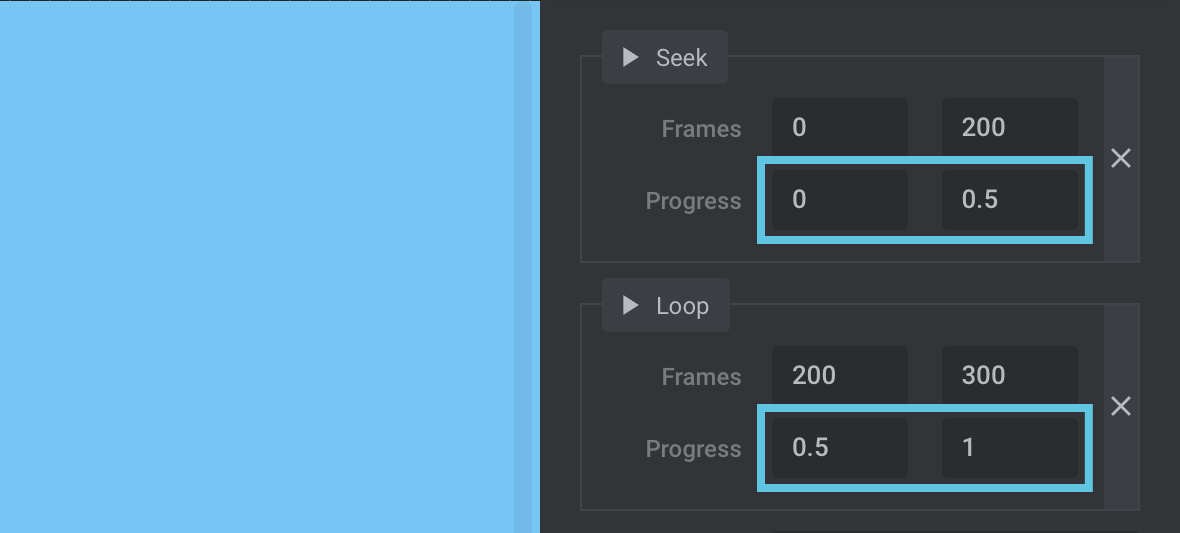
For example, to change from one action to another half way through scrolling, the first action’s Progress fields should be set to 0 and 0.5, then the second action’s fields should be set to 0.5 and 1.
What you should not do is have any action active at the same time as another.
For example, if your first action is active from 0 to 0.5, the second action should start no earlier than 0.5. If it were set to start at, say, 0.4, it would be trying to control the animation at the same time as the first action, causing undesired results.
You can use as many actions as you like, they can be added in any order, and they can be stacked in any order in the interface, as long as you configure their progress fields so each one is active at a different point during scrolling.
Ease Speed
Now that you understand how scroll actions work, there’s only one more scroll interaction option to be aware of, and that’s Ease Speed.

This option works in essentially the same way as the Mouse Move option of the same name we described earlier in the guide, but in this case controls the relationship between the speed of mouse / page scrolling and the rate of animation playback. This allows playback of the animation to be smoothed out.
The value can be set anywhere between 0, for no smoothing, and 0.9, for maximum smoothing.
Wrapping up
Now you know all about how to create interactive animations using the Lottie Addon for Slider Revolution. Have fun putting this knowledge to work and making interesting and enjoyable content for your website visitors.