How To Use Custom SVGs in the Particle Effects Addon
Learn how to make particle effects unique with your own custom particle graphics.
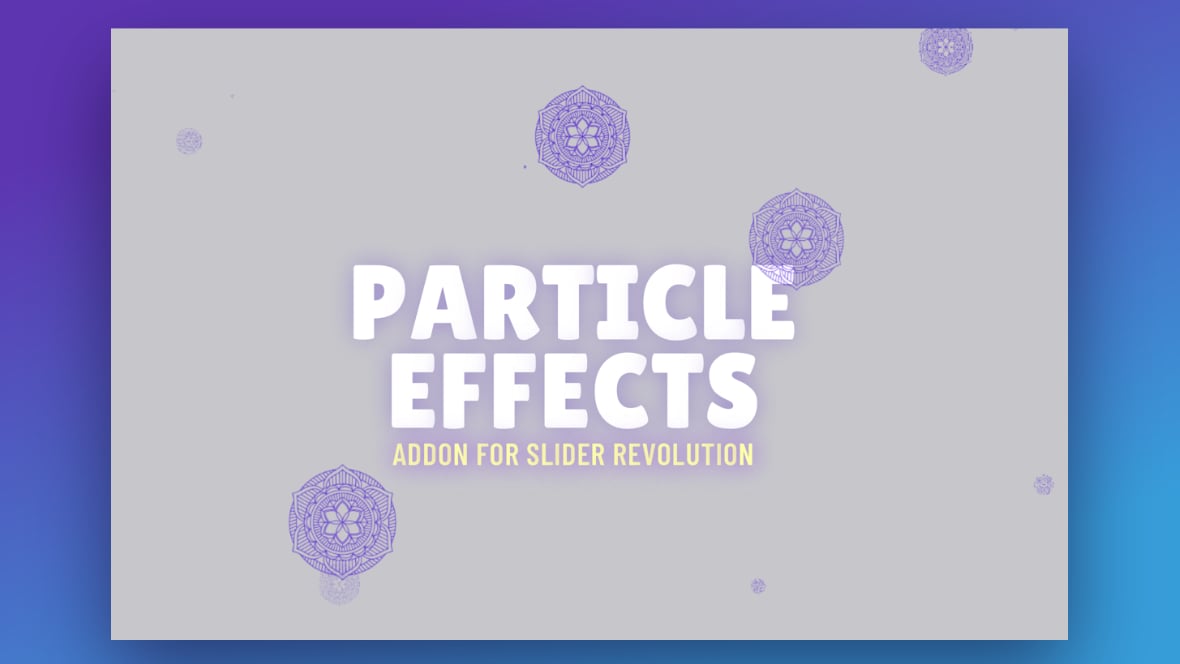
Table of Contents
Introducing Custom SVG
The Particle Effects addon [?]
Addons extend the functionality of Slider Revolution, adding new controls to the module editor and allowing you to do extra things with your design.
For example, using the particle addon you can create effects such as falling snow, and using the distortion addon you can create shimmering effects such as simulating being underwater.
There are dozens of addons available, all included with the full version of Slider Revolution. for Slider Revolution uses the SVG format for all its particle graphics. SVG stands for “scalable vector graphic”, and this format is particularly suitable for particles because it can scale to any size without quality loss.
The Particle Effects addon already has several built-in icons in the SVG library. The Particle Effects addon will also work with custom SVGs, so you can create particle effects from any images you like.
Please read more to learn how to upload your SVG.
How to Create a Custom SVG?
You can create an SVG file using the famous Adobe Illustrator or Inkscape applications.
Alternatively, if you are familiar with HTML and XML markup languages, you can develop SVGs with primary HTML/XML languages. A tutorial to create an SVG using HTML/XML is available on w3shools.
If you want to use pre-made SVGs, you can find plenty of free or premium graphics through Google searches.
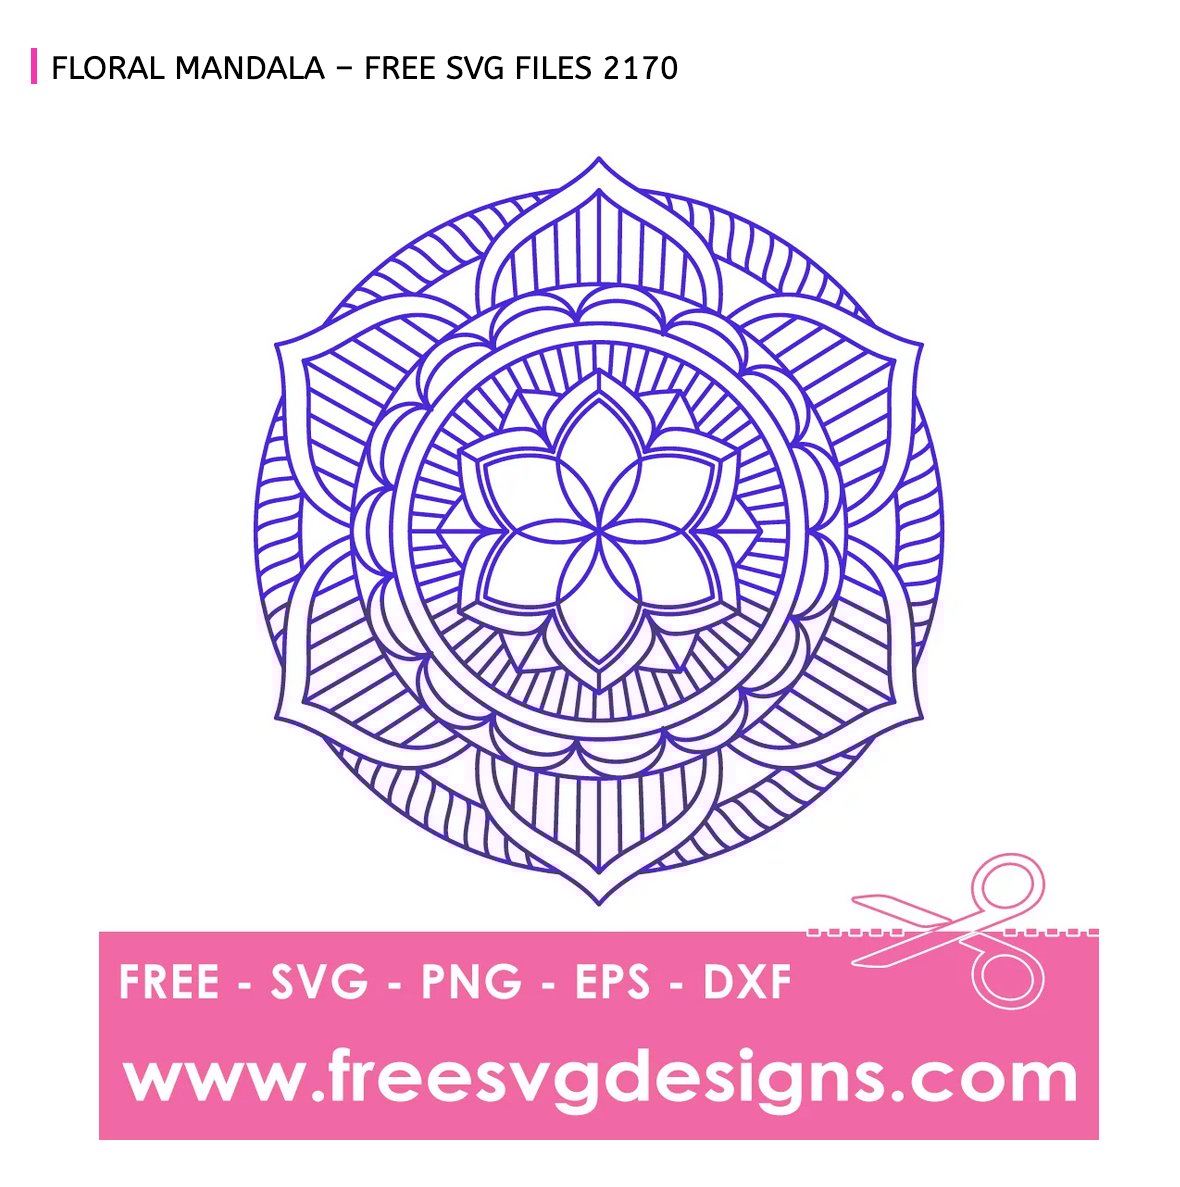
For this guide’s sake, we will download an SVG file from Free SVG Designs.
Note: SVG files from FreeSVGDesigns.com are free for PERSONAL USE ONLY. But you can purchase a commercial license from here.
Download SVG From FreeSVGDesigns.com
Go to the freesvgdesigns.com website:
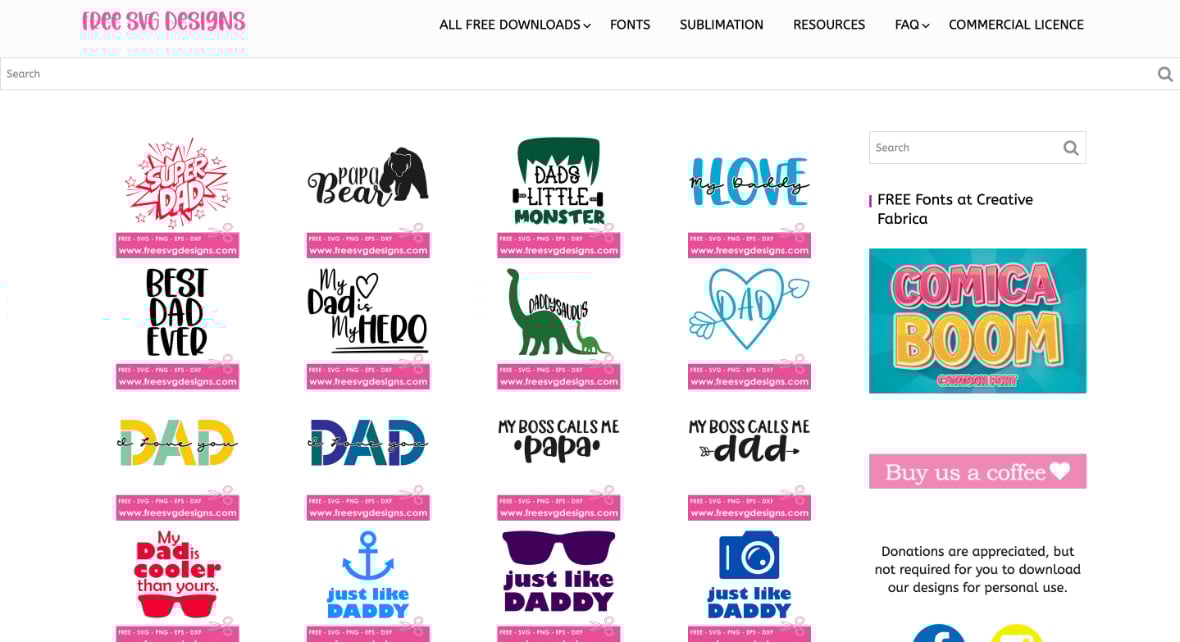
Browse from the available SVGs:
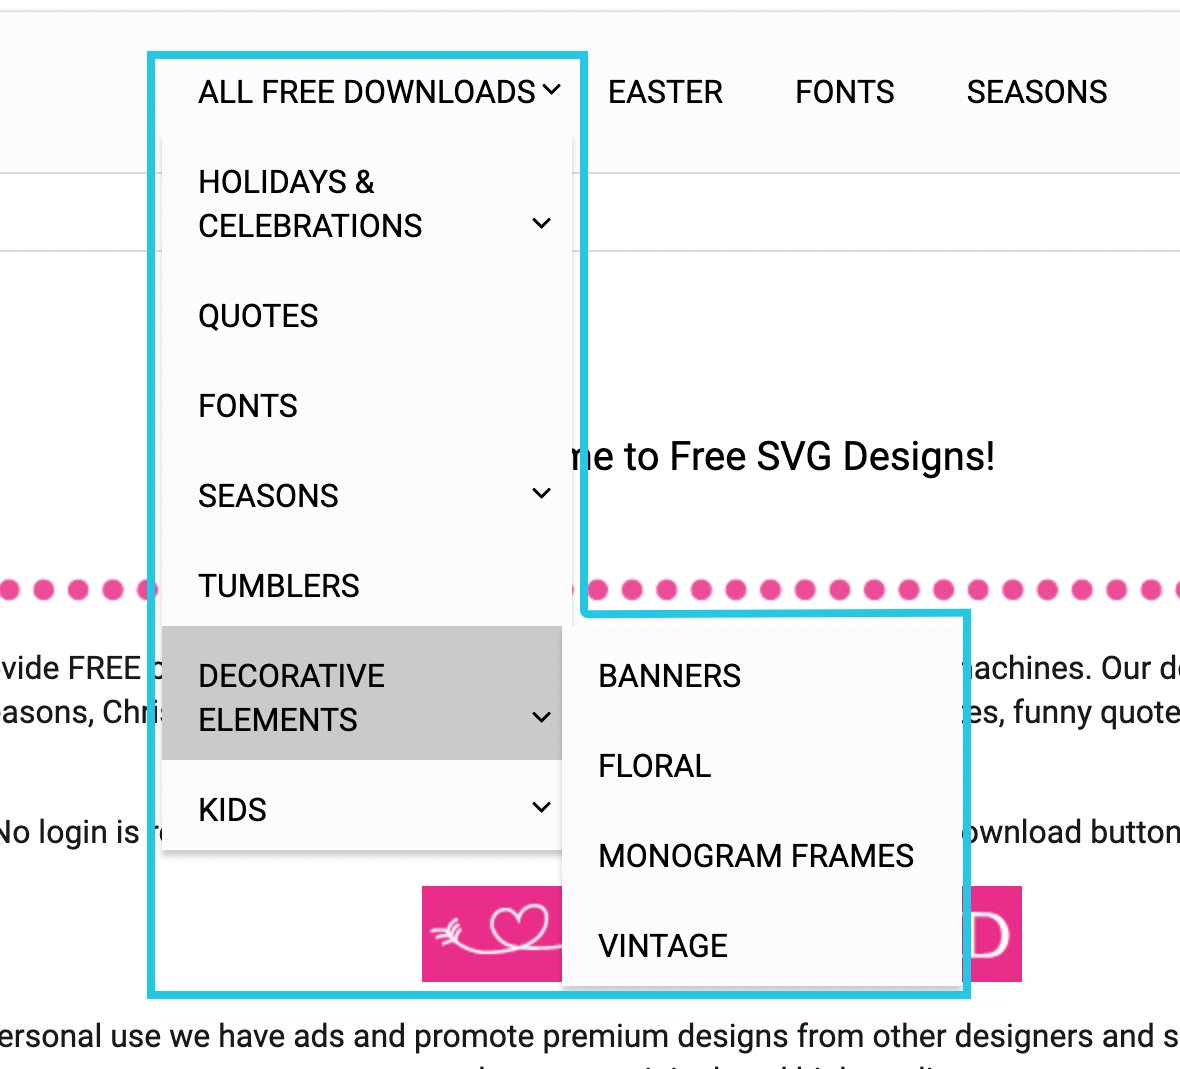
Select an SVG of your choice:
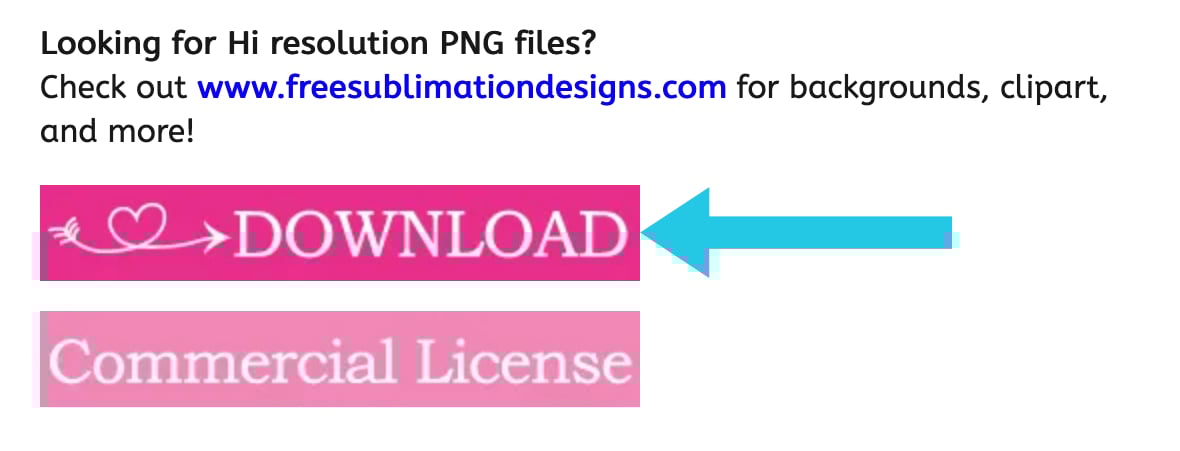
Scroll down to the Download button:

Click on the Download button:
Upload the SVG File
Go to your WordPress website dashboard:
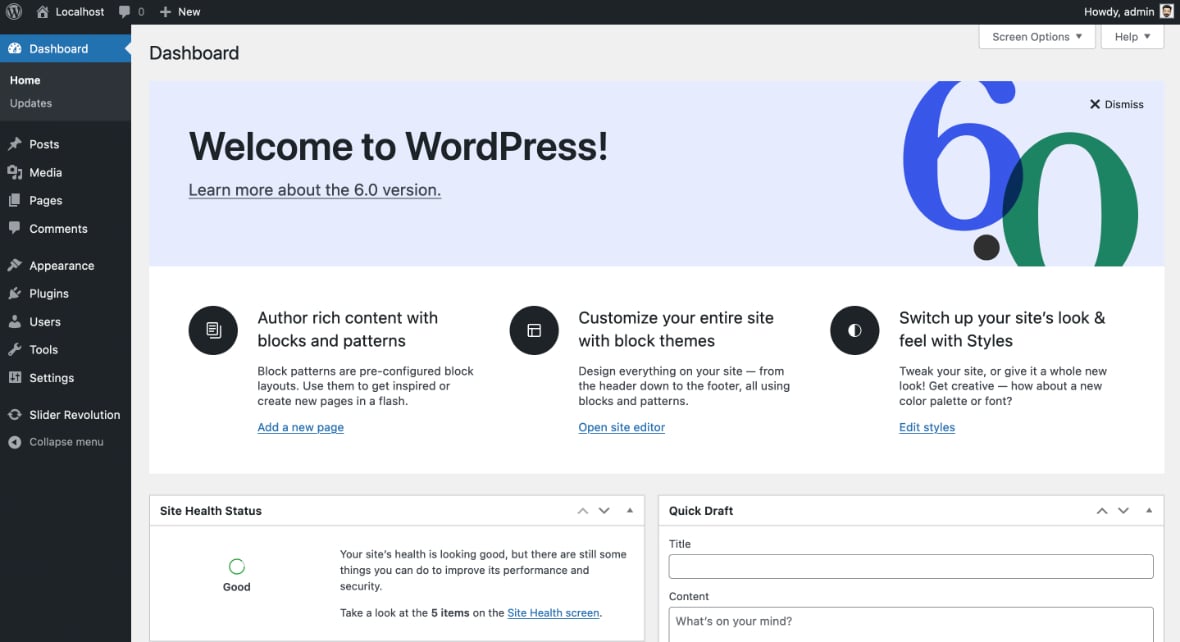
Go to the Slider Revolution plugin dashboard:
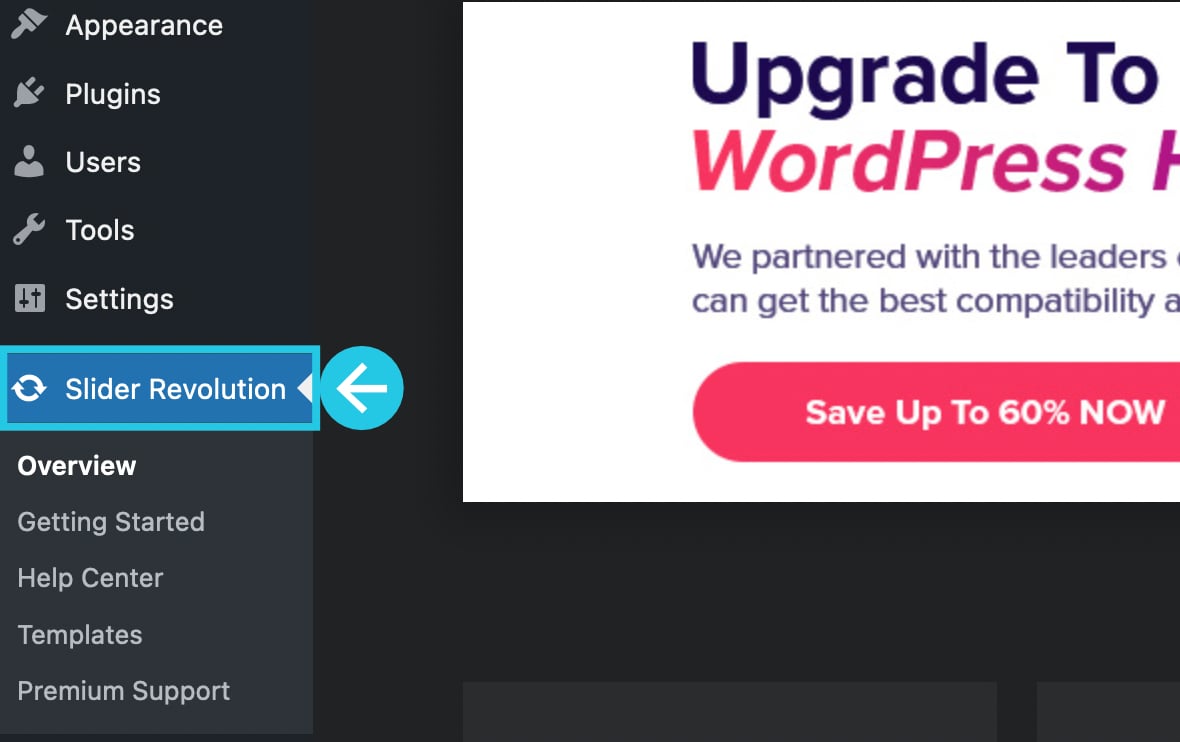
Select a module [?]
A module in Slider Revolution acts as a container for slides, which in turn act as containers for layers. Modules are created and edited with the module editor.
A "module" is a single, self contained piece of content. You can think of this as being similar to the way a post or page in regular WordPress is a self contained piece of content.
A module can represent any kind of content Slider Revolution is capable of creating, such as a slider, carousel, hero unit, navigation menu, posts display and so on.
Multiple modules can be combined to form rich content such as complete sites and landing pages. you’re working on and open it for editing:
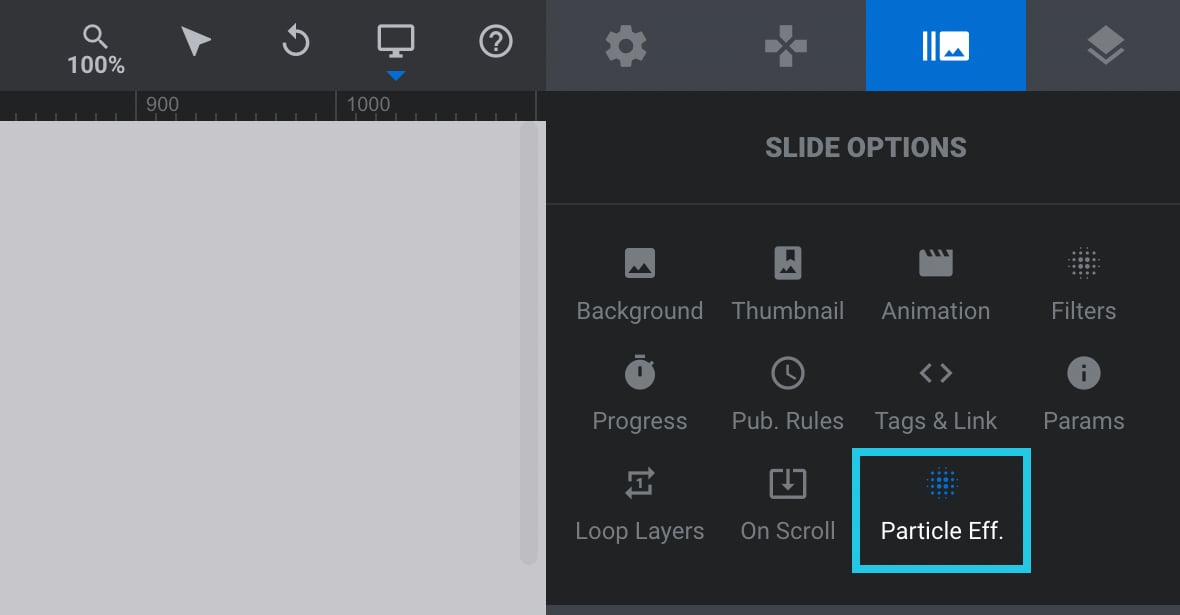
Go to the Slide Options tab from the Sidebar on the right:
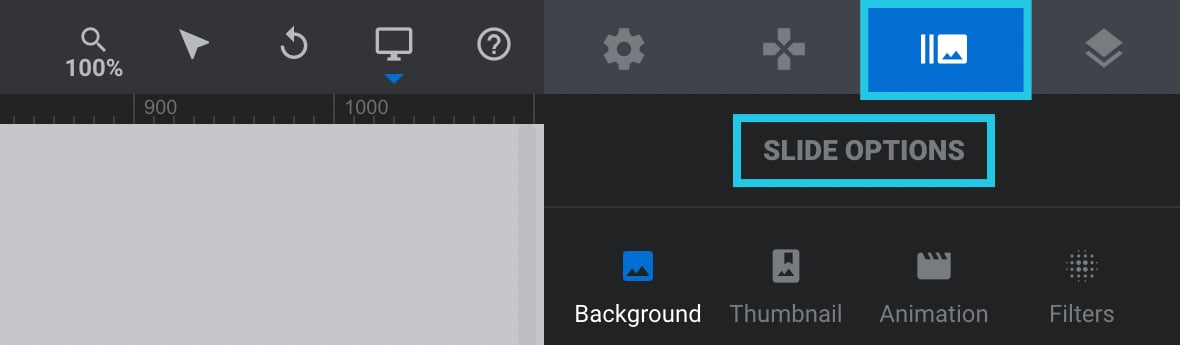
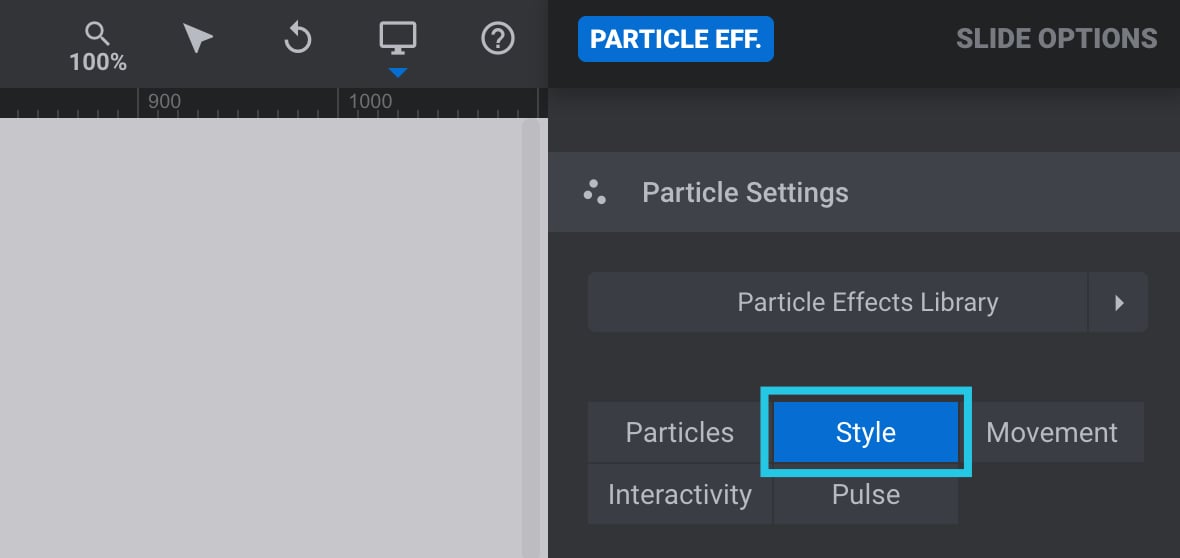
Click on the Particle Eff. Sub-section:
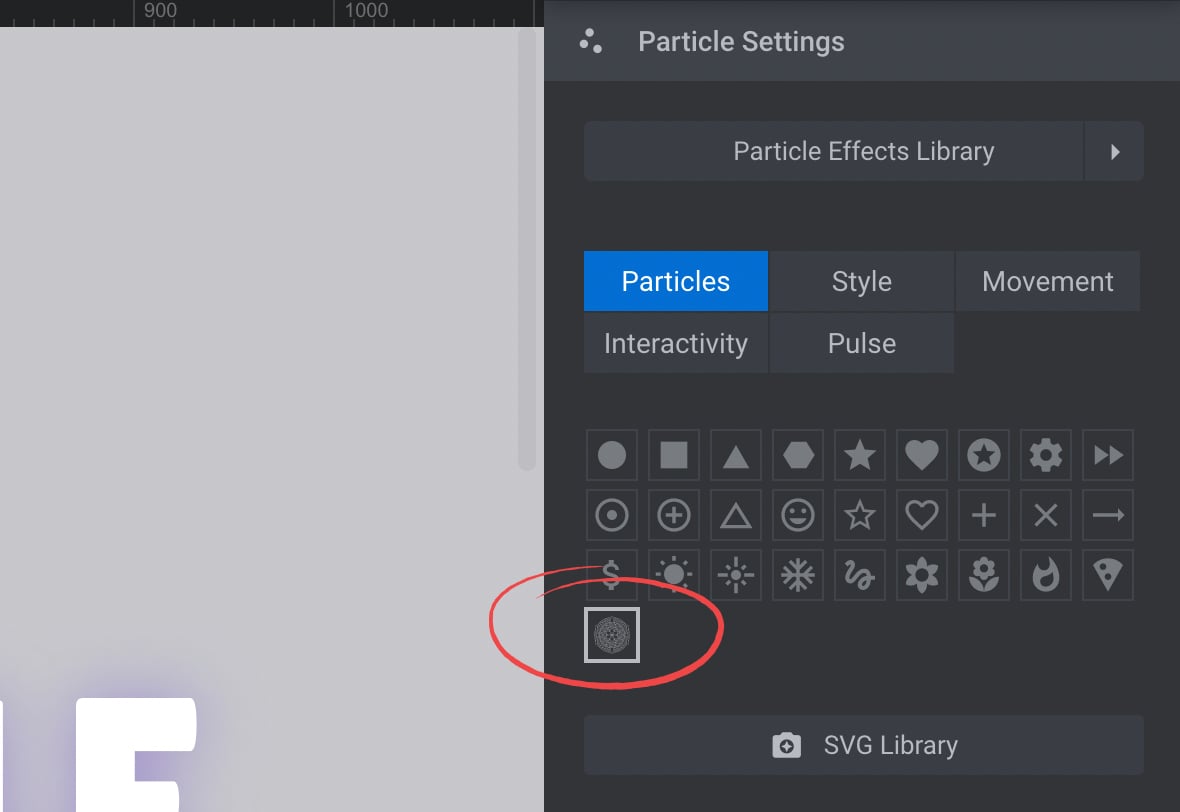
Scroll down to the Particle Settings panel:
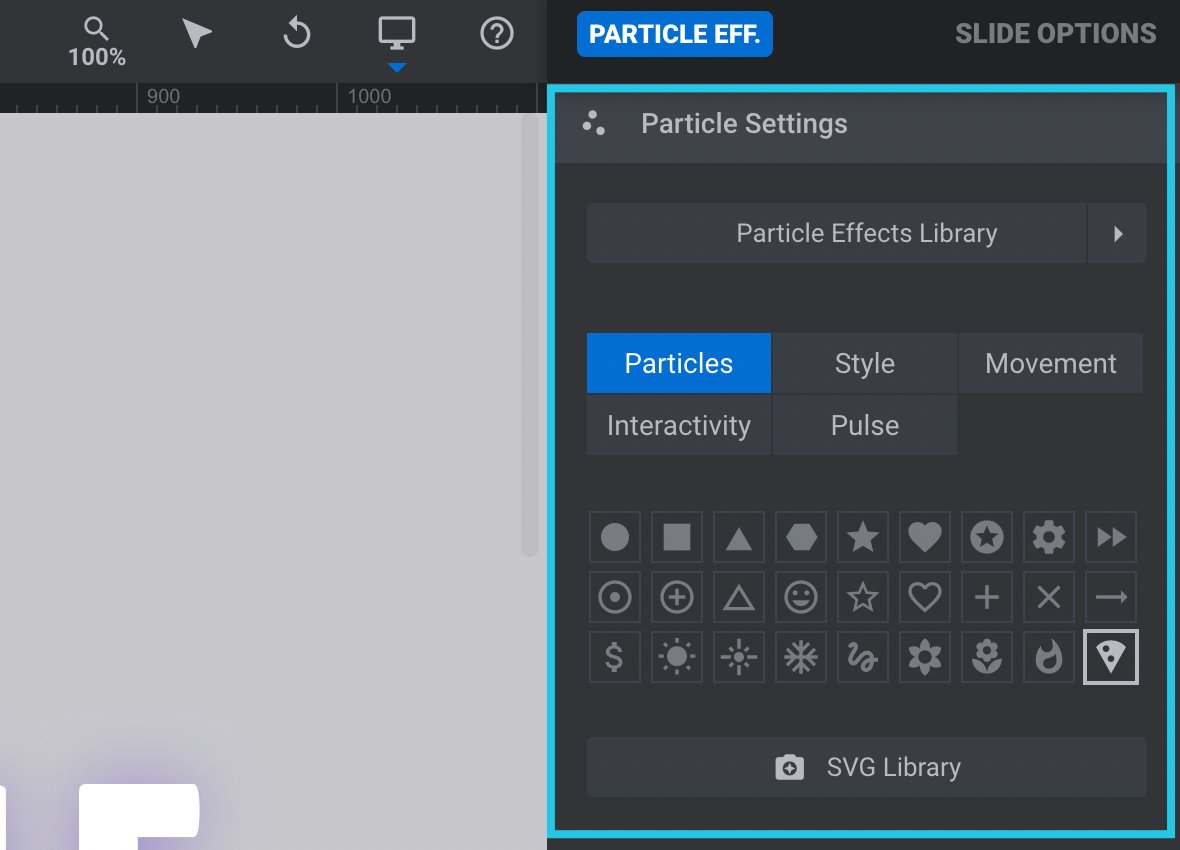
Click on the SVG Library button:

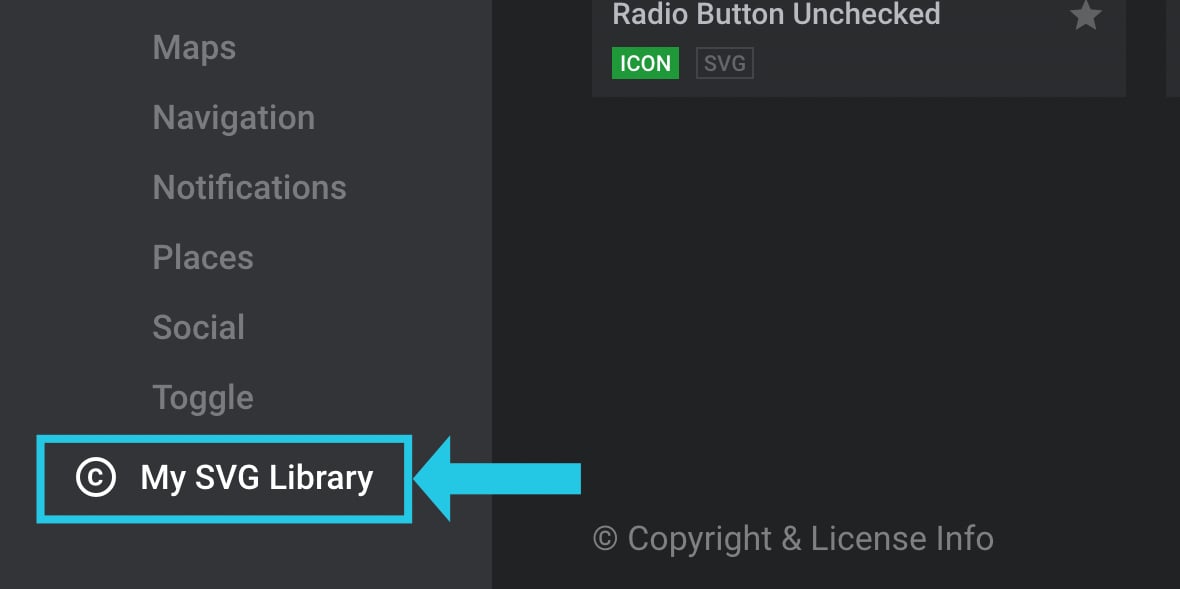
Select the My SVG Library category on the left:
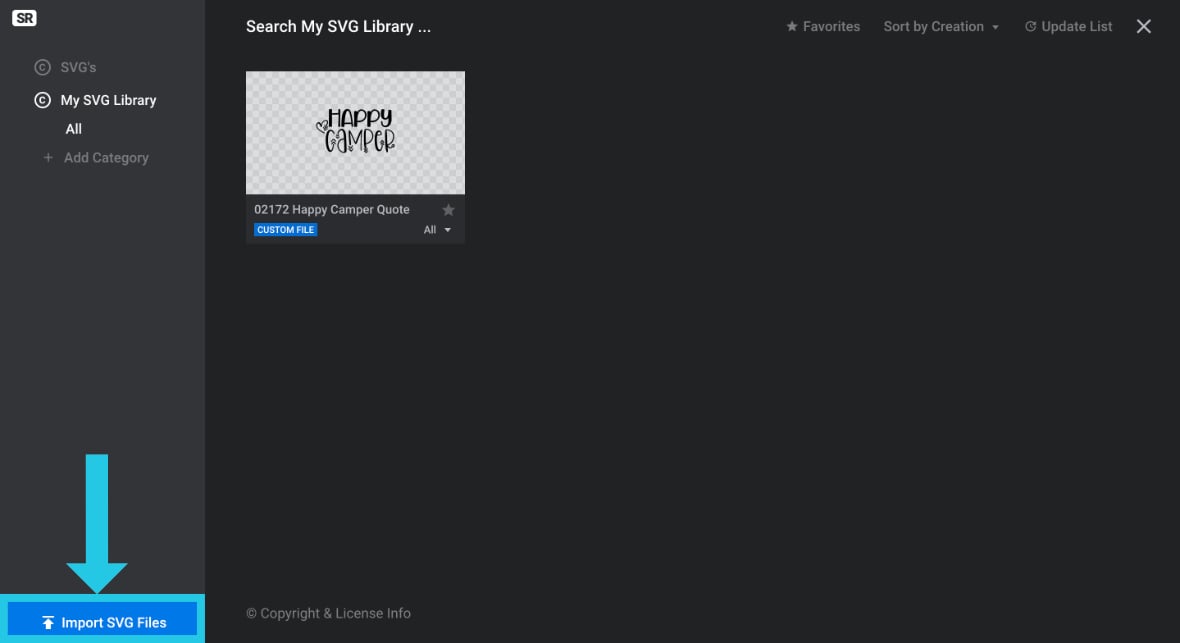
Click on the Import SVG Files button:
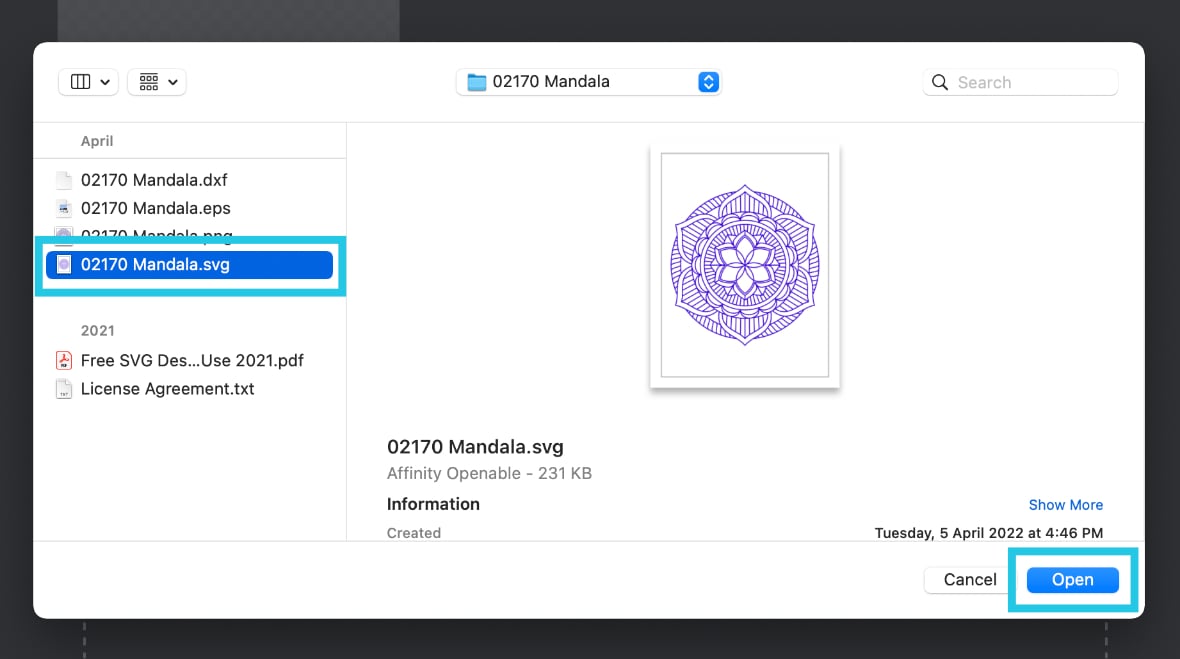
Select the SVG file you downloaded earlier:
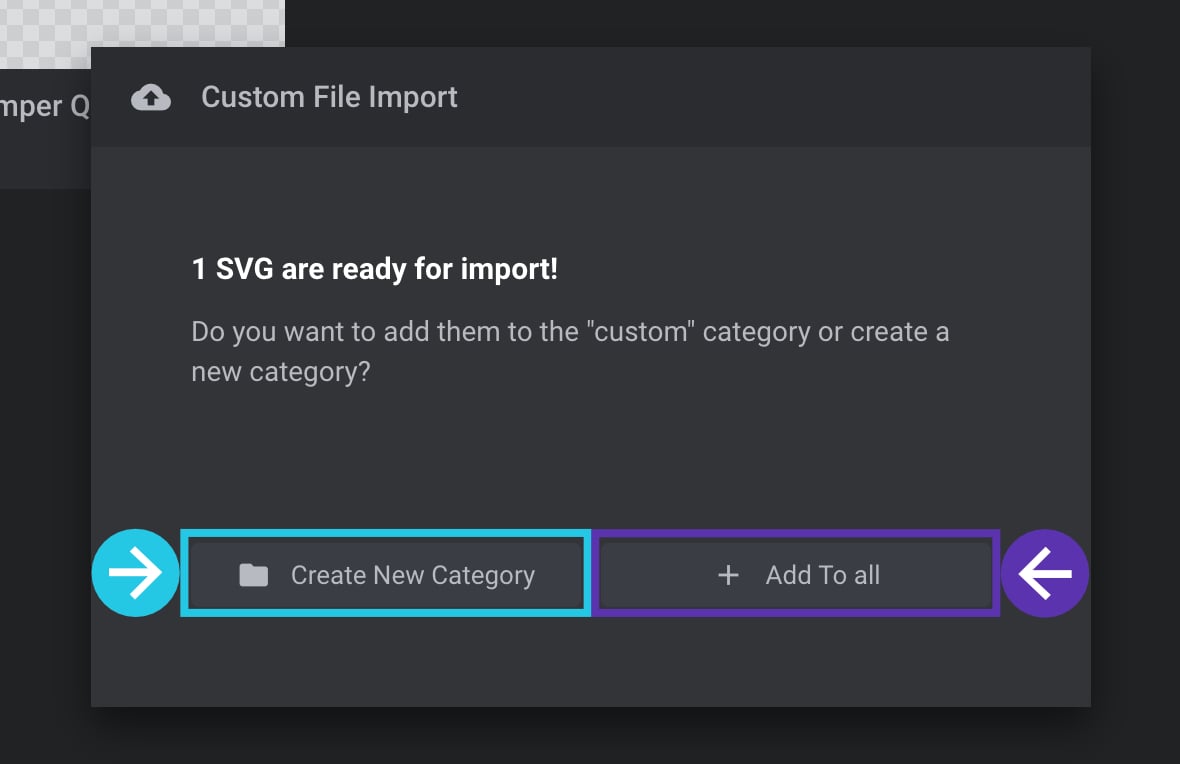
Either click on the Create New Category button or + Add To all button for the uploaded SVG:
Click on the (+) icon appearing on the uploaded SVG:
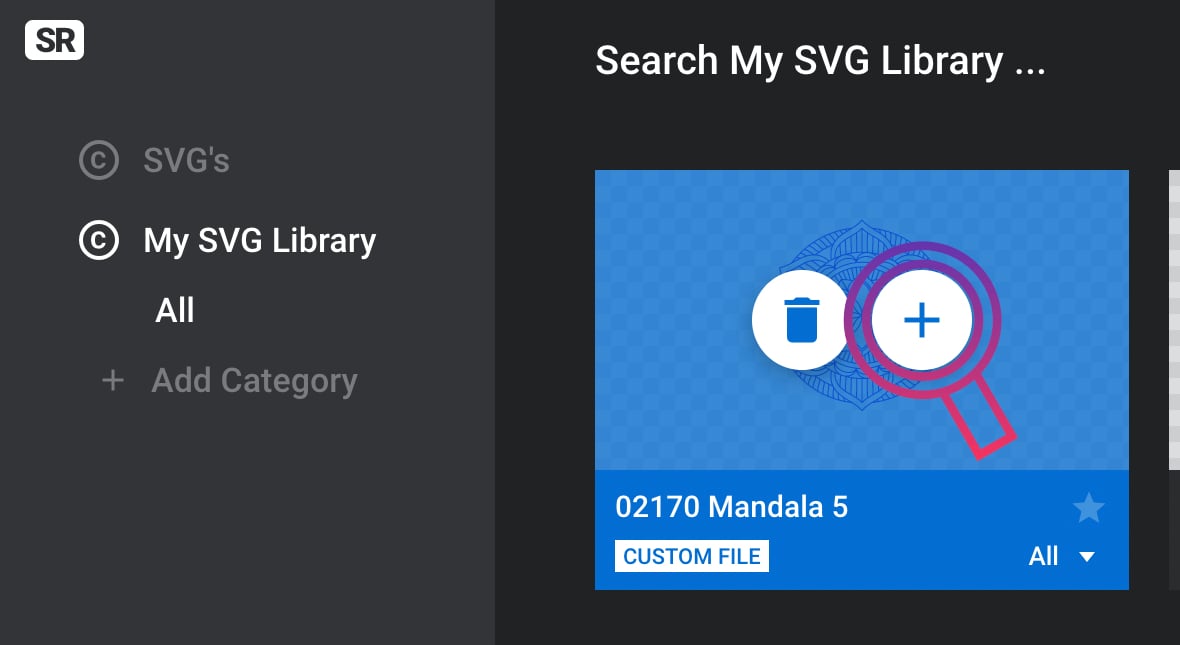
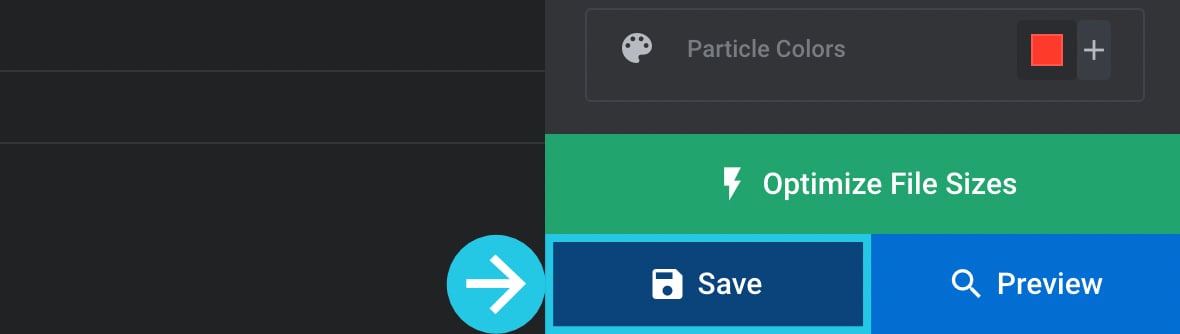
Please ensure you select the newly added custom SVG from the Particle Settings panel:
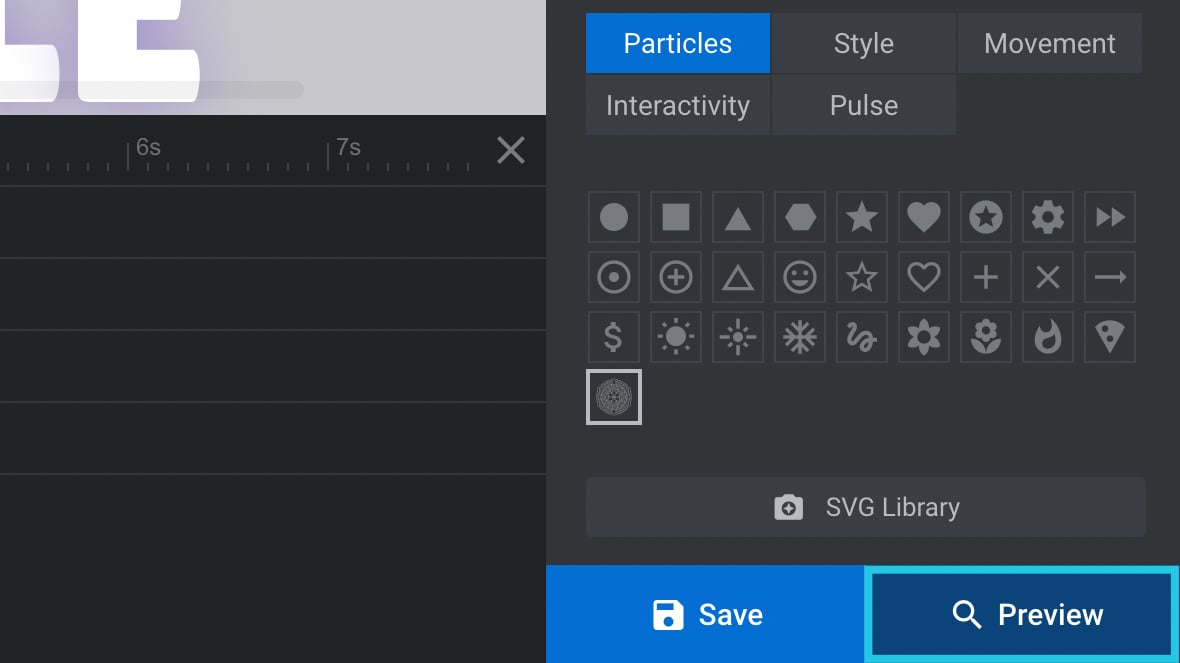
Click the SAVE button:

To see your new SVG in action in the particle effect, preview your module:
Custom SVG Original Color
SVGs come with their colors baked in; however, it’s up to you whether you want to use the original or your custom colors.
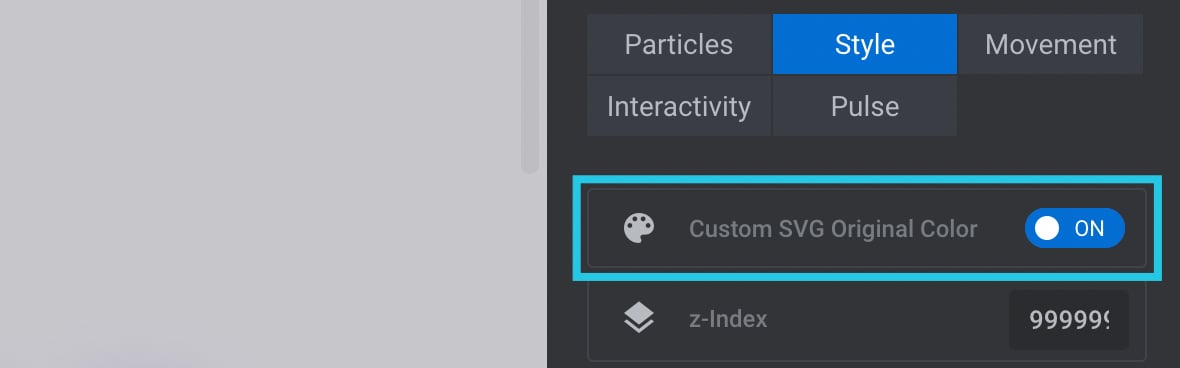
Go to the Style tab under the Particle Settings panel:
If you toggle the Custom SVG Original Color option to ON, this will show the SVG in its original color:
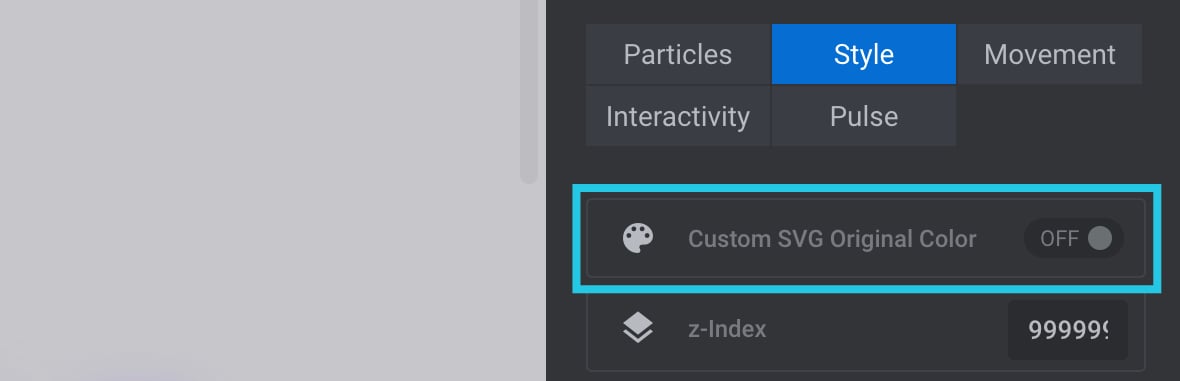
If you wish to change the color of the SVG, toggle the Custom SVG Original Color option to OFF:
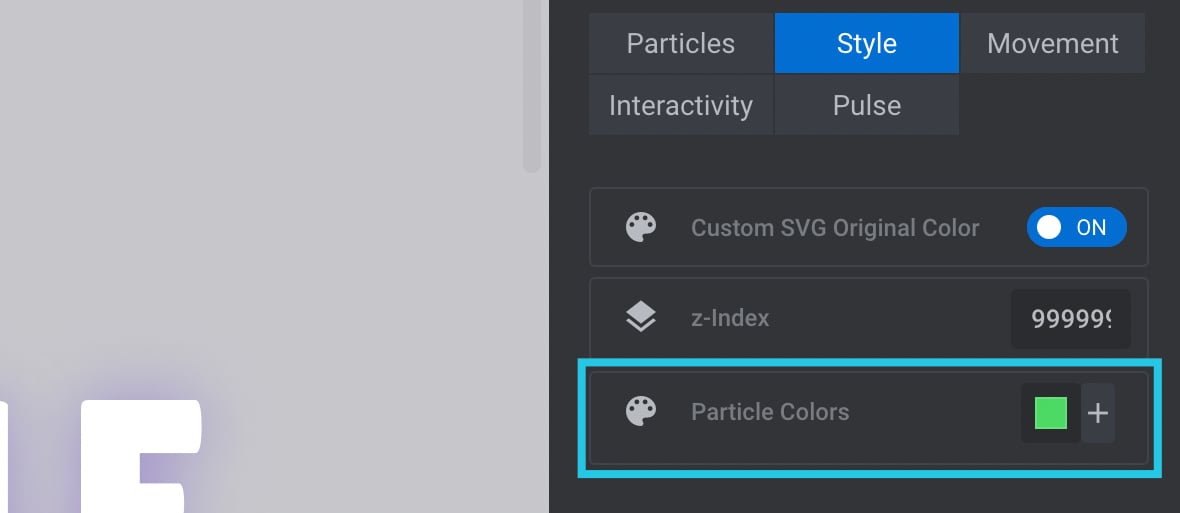
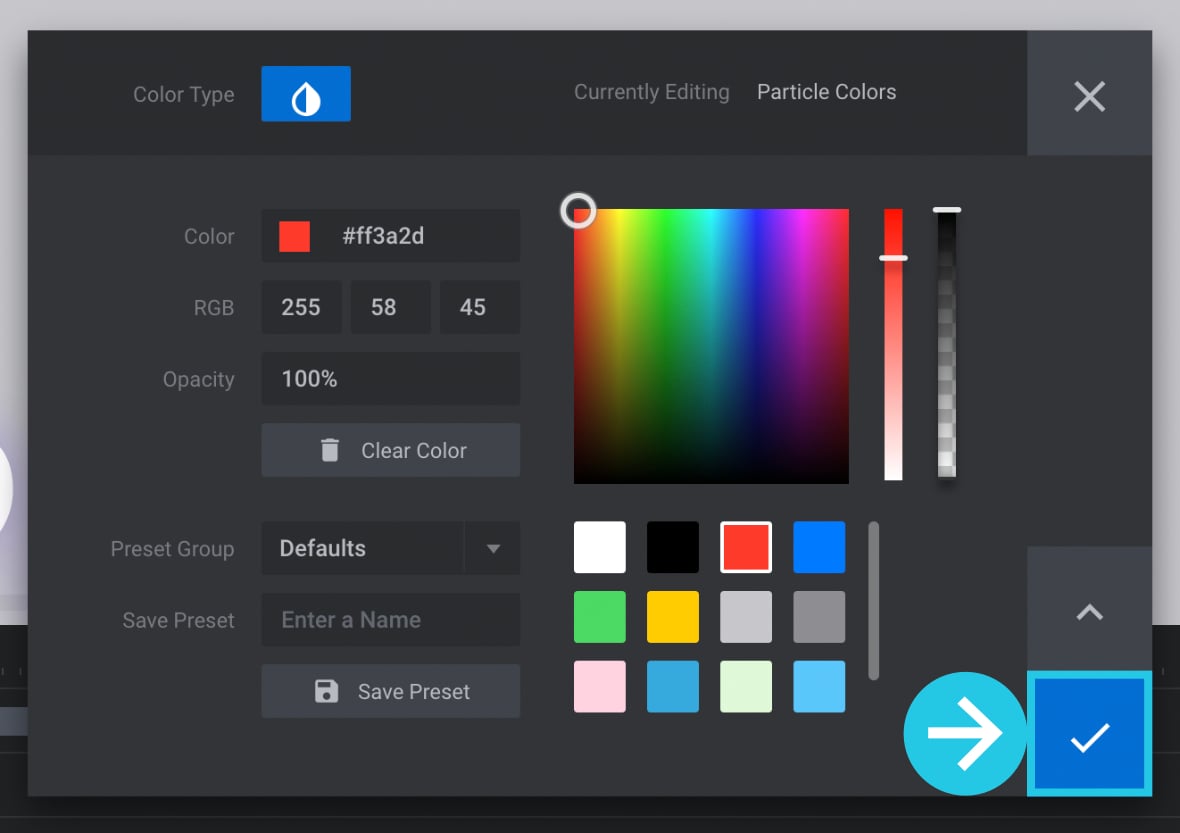
Click on the Particle Colors option:
Select a color:
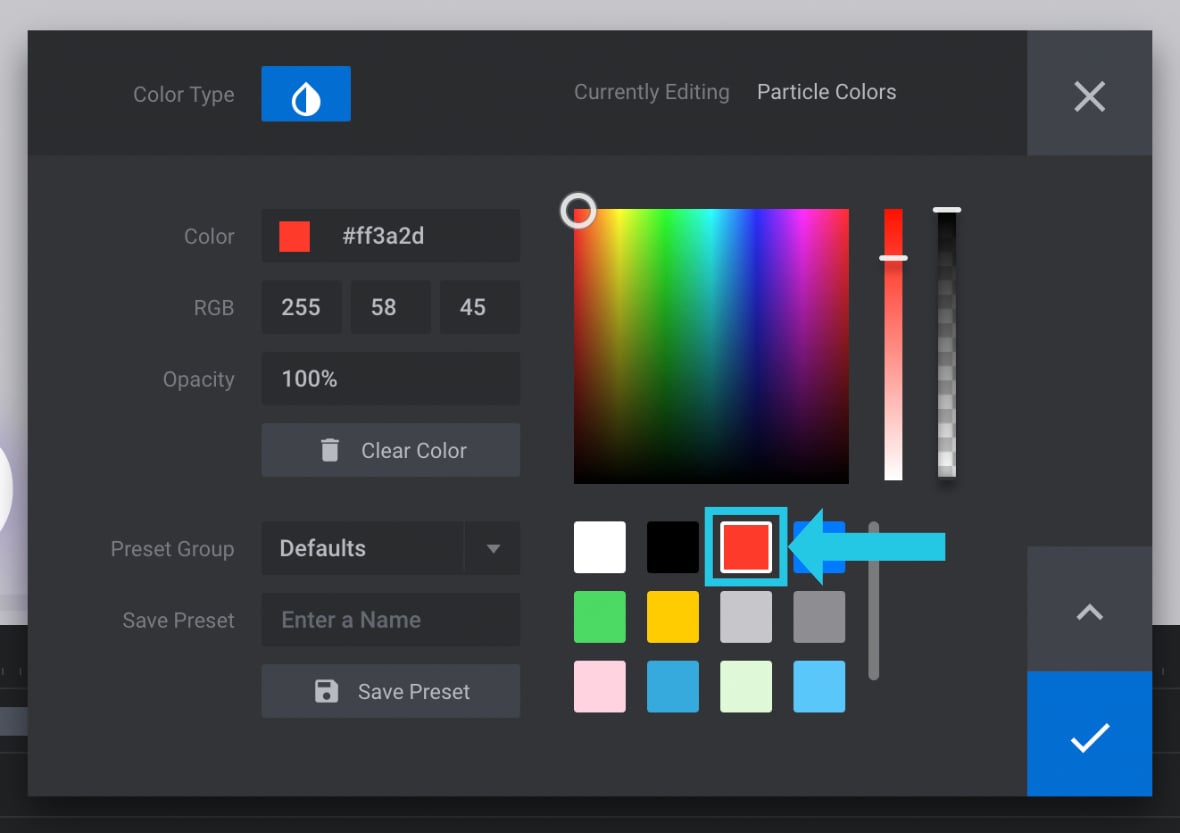
Click on the check icon:
Click on the Save button: