Leveraging Slider Revolution’s Ready-To-Go Content
Welcome to the Intermediate Editing section of the Slider Revolution manual.
In the last section of the manual we focused on Getting Started, equipping you with the fundamental concepts that underpin Slider Revolution [?]
Slider Revolution is a website content creation tool with a focus on captivating animation and stunning visual effects.
It began its life as a plugin for creating slideshows, but has evolved into a fully fledged piece of design software., and showing you how to make basic edits to pre-made content.
In this section we will focus on pre-made content once again, but we’re going to go deeper.
We are taking this approach so you can simultaneously learn intermediate editing skills, and see how you can take advantage of the incredibly helpful library of ready-to-go content that comes bundled with Slider Revolution.
What’s Coming in this Section
In the upcoming pages of the manual we’ll go through some additional techniques for editing template [?]
A "Template" is a premade module. It has pre-configured layers already in place.
It is designed to be ready for use, either as is or after being modified in the module editor.
Slider Revolution comes with several templates you can use, or alternatively you can create your own templates, thereby allowing you to easily reuse modules you have produced. based modules [?]
A module in Slider Revolution acts as a container for slides, which in turn act as containers for layers. Modules are created and edited with the module editor.
A "module" is a single, self contained piece of content. You can think of this as being similar to the way a post or page in regular WordPress is a self contained piece of content.
A module can represent any kind of content Slider Revolution is capable of creating, such as a slider, carousel, hero unit, navigation menu, posts display and so on.
Multiple modules can be combined to form rich content such as complete sites and landing pages. we didn’t cover in the last section.

We’ll then move onto seeing how you can make your own modules, but rather than starting completely from scratch we’ll use pre-made content in the form of imported slides [?]
A "slide" in Slider Revolution is a container into which multiple layers can be added, with layers in turn acting as containers for various forms of media such as images, text, video, audio, buttons, and special effects.
Slides are added to modules and edited via the module editor.
Within the module editor, each slide has its own animation timeline, background and collection of layers.
A single module can have one or many slides. A module with one slide is called a scene, and a module with multiple slides is called a slider or carousel. and layers [?]
Layers are containers for visual, audio or layout items and are added to slides. For example, text, button, image, audio, video, group and row are all types of layers.
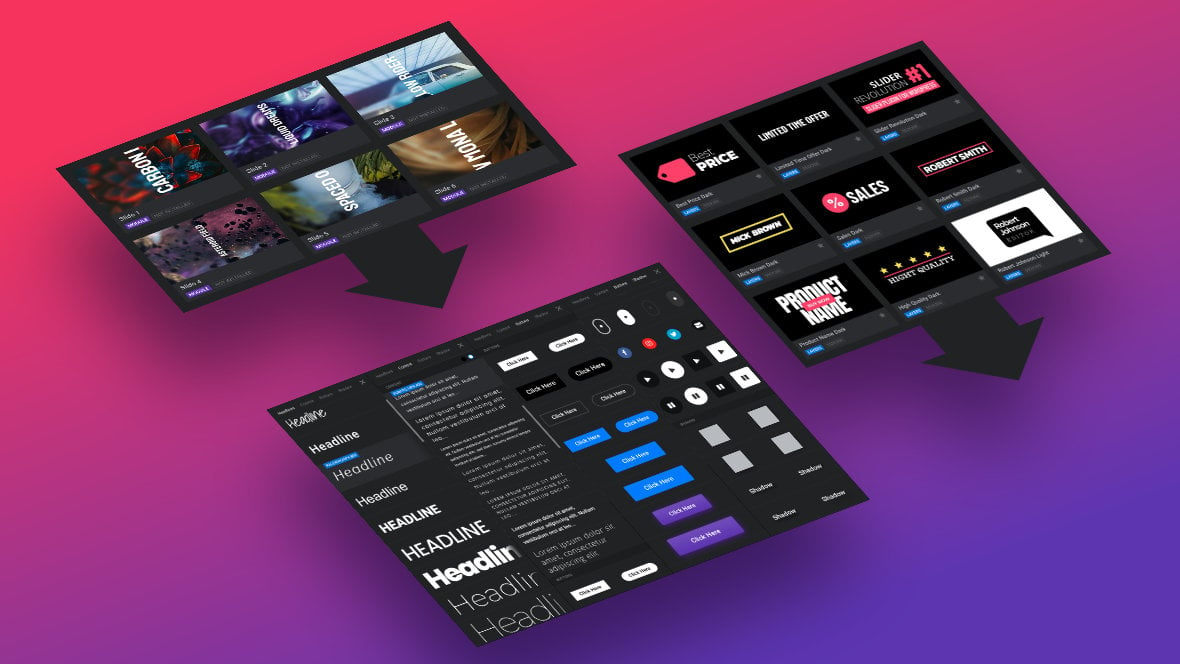
Layers are added to slides via the module editor., as well as pre-designed text, buttons and shadow styles.

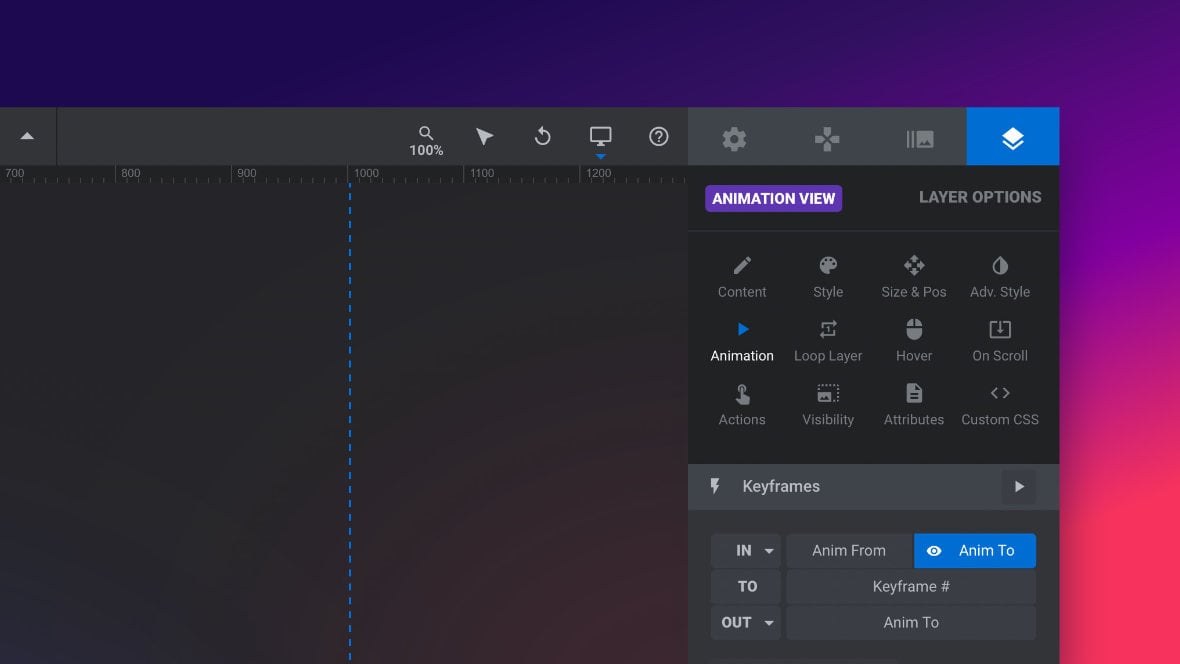
From there we’ll dig into arguably the most important aspect of Slider Revolution, that being animation, where you’ll learn how animation is handled within the software and how to modify existing animations.

And then finally we’ll round out the intermediate editing section by showing you how, after you finish modifying pre-made content, you can check to ensure it is responsive, i.e. it looks good on all devices and screen sizes.

Next Up: Intermediate Template Editing
So let’s get the ball rolling with the first of our intermediate topics and dig into some more template editing techniques.
