The Canvas: Drag & Drop Visual Workspace
Slider Revolution's canvas is like a blank page ready for you to draw on.

Table of Contents
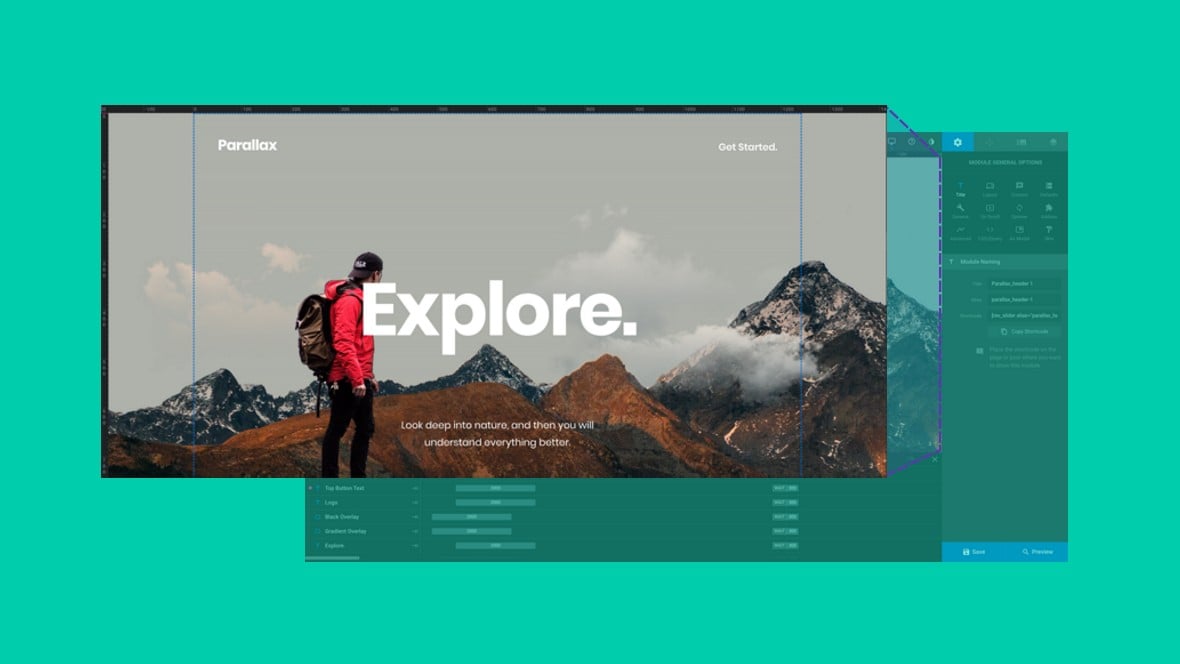
The canvas is the largest space in Slider Revolution’s module editor, taking up most of the left side. It is positioned below the top toolbar and above the timeline.
The Canvas (Video Tutorial)
You can learn about the canvas by watching the below ‘A Closer Look at Modules, Slides & Layers’ tutorial video from the 3:10 mark:
If you also watched the above video in full you can skip the remainder of the A Closer Look section of the manual and proceed to Module Editing Basics.
Or, continue reading to learn more about what you can use the canvas for.
Using the Canvas
Within the canvas area there’s a whole lot you can do, but the primary tasks are as follows:
Select Layers for Modification
Point and click to select any layer directly from the canvas. As you hover your mouse around the canvas a blue line will appear, indicating which layer will be selected when you click.
Once a layer is selected you can modify it by altering its settings, moving & resizing it, or simply deleting it.
Move Layers
Click and drag any layer to move it.
Or alternatively point and click to select a layer then use arrow keys.
Resize Layers
When a layer is selected you will see transform handles that can be dragged in order to change the size of layers such as images.
Copy, Paste and Duplicate
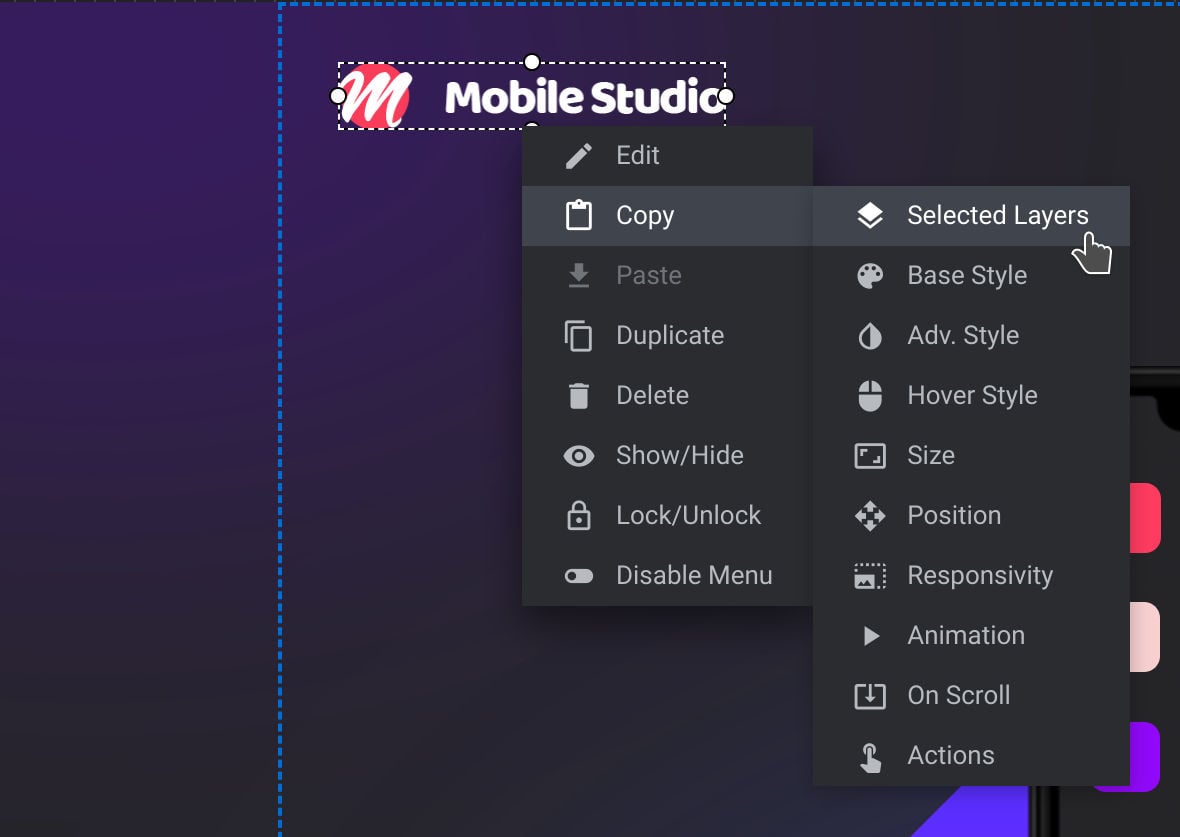
Right click a layer and you’ll see a context menu appear. From here you can copy, paste and duplicate the layer itself, or attributes of the layer such as its animations or style.

Watch Animation Previews
Hit the space bar to start a slide’s animations and you’ll see them play out in the canvas area.
Next: The Timeline
That covers the key functionality of the canvas. In the next part of the module editor we’ll take a closer look at the timeline, which is responsible for animation and layer control.
