
The Two Default Animations: “IN” and “OUT”
Let's take a look at the two animations every layer has and the states that make them up.
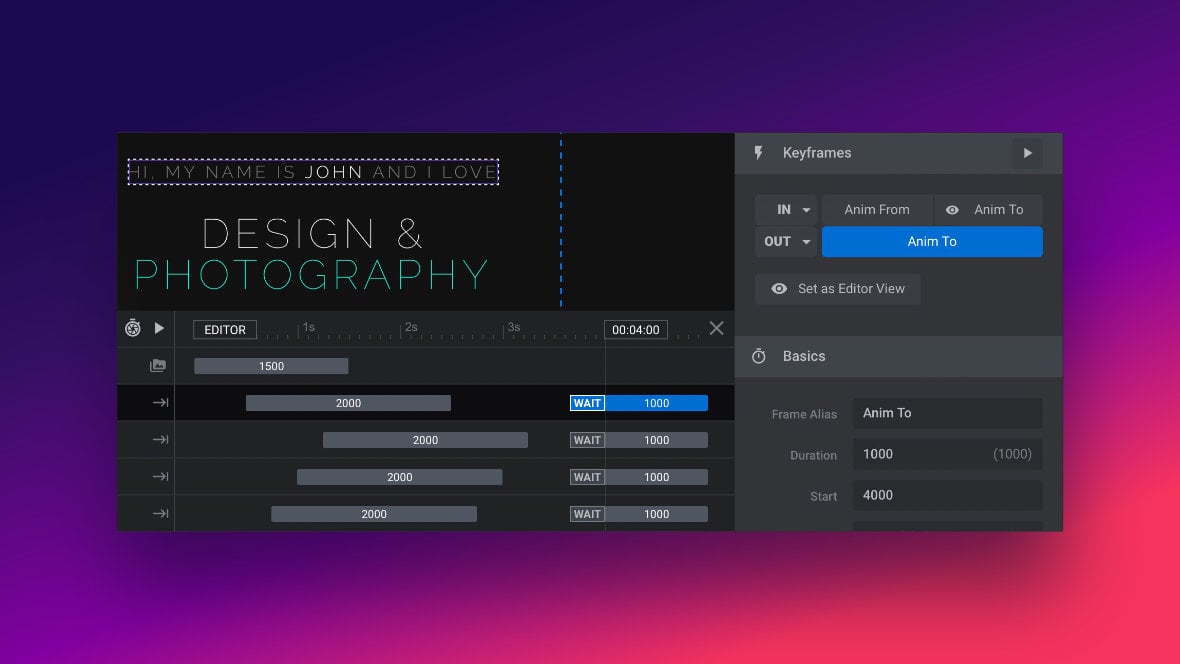
Table of Contents
- What are the “IN” and “OUT” Animations?
- The Basics of Animation (Video Tutorial)
- The “IN” Animation
- The “OUT” Animation
What are the “IN” and “OUT” Animations?
On the previous page of the manual we covered how animations in Slider Revolution [?]
Slider Revolution is a website content creation tool with a focus on captivating animation and stunning visual effects.
It began its life as a plugin for creating slideshows, but has evolved into a fully fledged piece of design software. are represented by animation strips that transition between From and To animation states.
A layer [?]
Layers are containers for visual, audio or layout items and are added to slides. For example, text, button, image, audio, video, group and row are all types of layers.
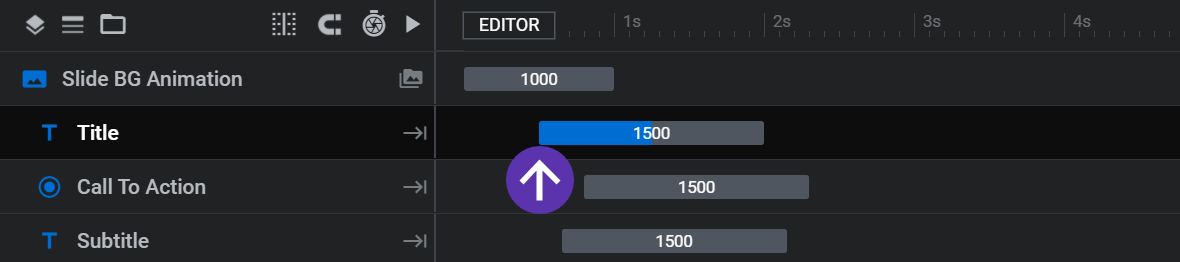
Layers are added to slides via the module editor. can have as many of these animation strips as you would like, but every layer always has at least two animation strips, which are added to it by default. The first is the IN animation and the second is the OUT animation.
The Basics of Animation (Video Tutorial)
Everything covered in the ‘Fundamentals of Animation‘ section of the manual can also be learned by watching the ‘Animation Basics’ tutorial video below. The IN and OUT animation system is specifically explained from the 05:06 mark:
If you watched the above video in full you can skip the remainder of the ‘Fundamentals of Animation‘ section of the manual and proceed to Ensuring Responsiveness.
Or, continue reading to learn more about IN and OUT animations.
The “IN” Animation
The term IN is used to refer to the first animation strip on each layer.
The reason for this name is that the IN strip effectively controls how the layer animates in to the slide, i.e. how it first becomes visible. For example, a layer might fade in, or move in from outside the canvas [?]
The canvas is the point and click design space in the module editor. It forms the largest area of the module editor.
In this area layers can be selected, moved and resized. Animations can also be previewed..
Because the IN animation strip is the first of the layer, it’s typically found at or near the beginning of the track in the timeline [?]
The timeline is the section of the module editor dedicated to animation and controlling the stacking order of layers.
From this part of the editor animations can be added, adjusted and previewed. Additionally, layers can be selected from the timeline, and can be dragged and dropped up and down on the timeline to modify which appear in front and which behind.
It can be equally compared to both a timeline in a typical video editing application, and a layers panel in a typical graphic design application:
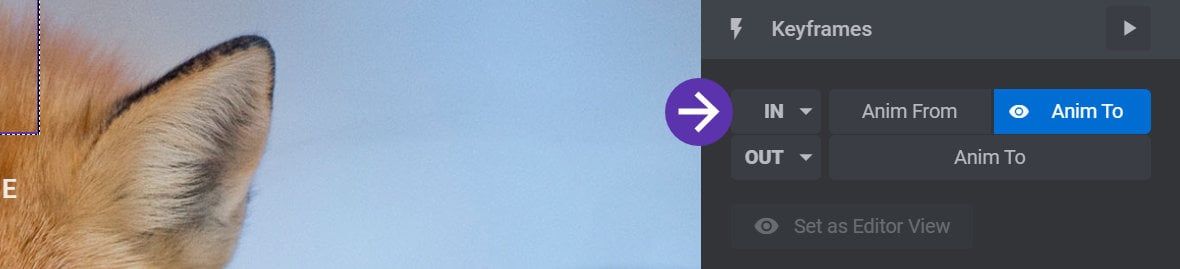
The IN animation is also represented in the Keyframes panel by the line with the label IN on its left side:
You can jump straight to the IN animation’s From state settings, (seen in the Basics and Advanced panels), by clicking it’s Anim From button:
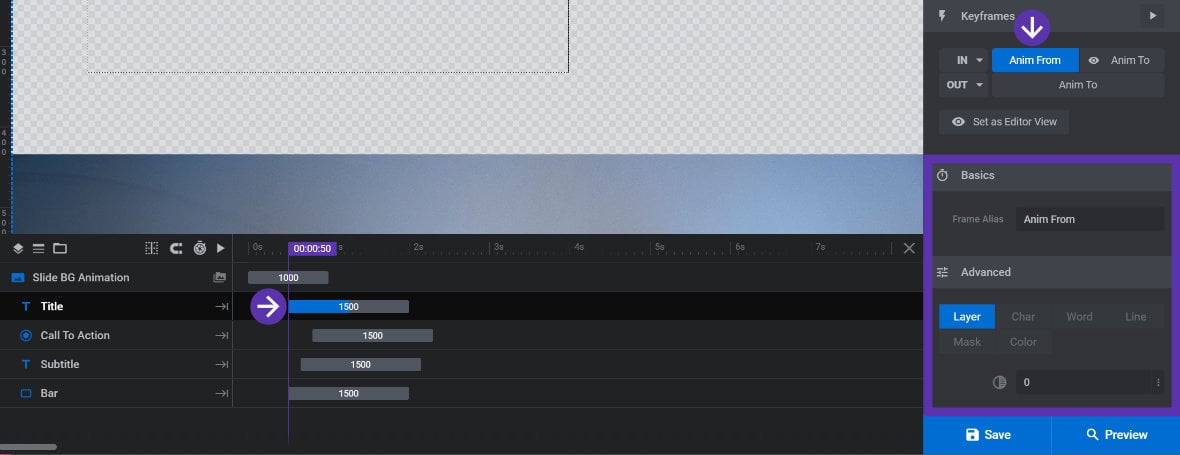
Note: An overview of the From and To state settings can be found in the previous page of this manual.
Likewise, you can jump straight to the IN animation’s To state settings by clicking the Anim To button, (the one on the same line as the IN button):
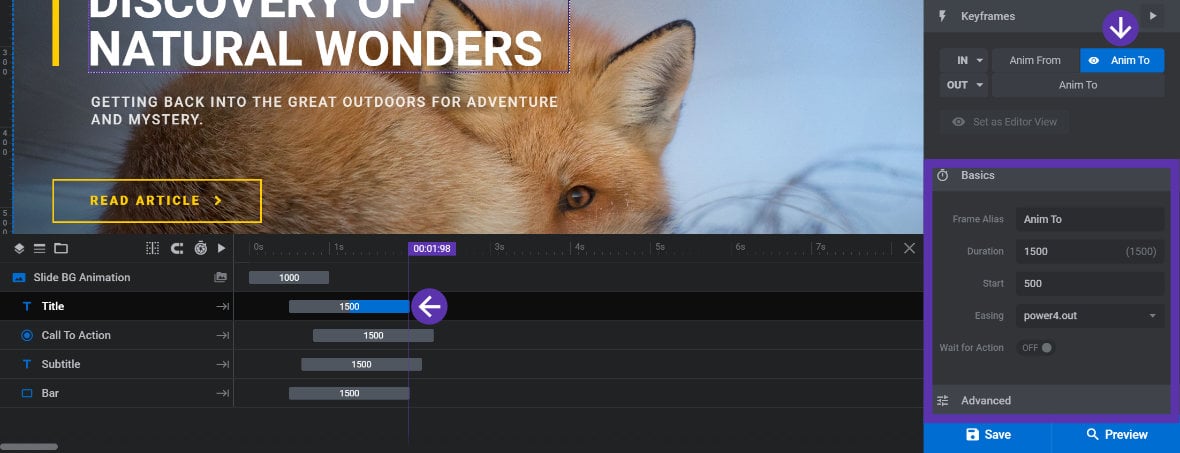
The IN animation can be freely repositioned by clicking and dragging it along its track [?] A track is one of the horizontal spaces in the module editor's timeline. It is the representation of a layer within that timeline, used for controlling the animations and sorting order position of that layer.:
The “OUT” Animation
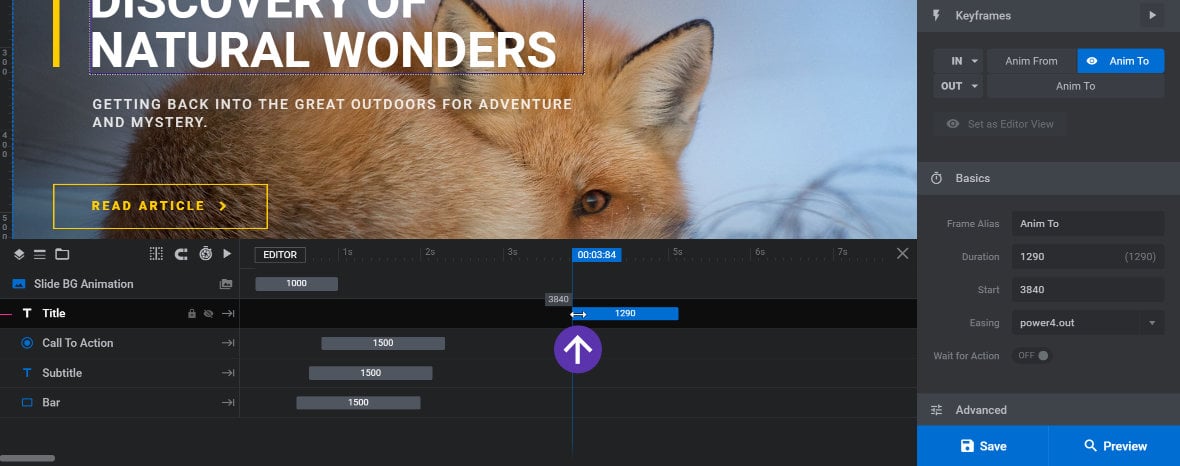
The term OUT is used to refer to the last animation strip on each layer.
The reason for this name is that the OUT animation strip effectively controls how the layer animates out of the slide i.e. how it disappears. For example, a layer might fade out or move to a position outside of the canvas.
Because the OUT animation strip is the last of the layer, it is typically found at or near the end of the track in the timeline:
The OUT animation is also represented in the Keyframes panel by the line with the label OUT on its left side:
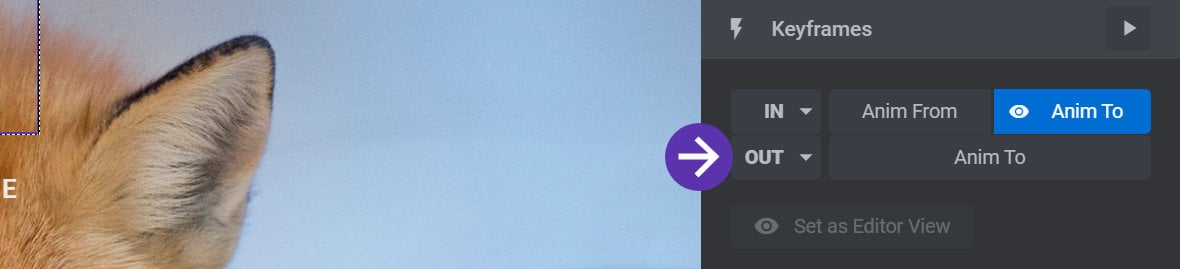
You can jump straight to the OUT animation’s To state settings by clicking the Anim To button, (the one on the same line as the OUT button):

Neither the IN nor the OUT animations can be deleted, even if you don’t want the layer to make any transitions at any point. You can, however, set them to use a “No Animation” preset, something we’ll cover in the upcoming page on using animation presets.
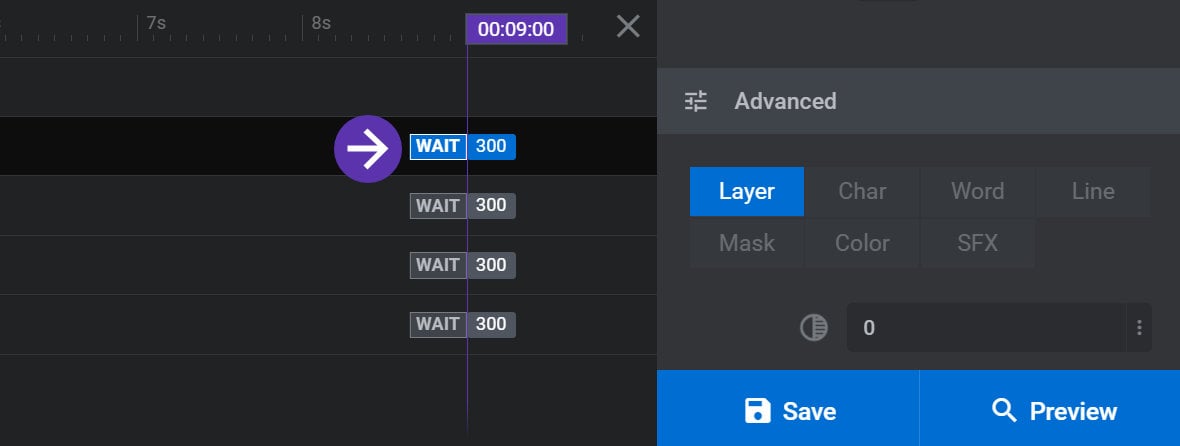
When you need to move the OUT animation though you will have to use the WAIT control, which we’ll go over in the next page of the manual.