Mousetrap Addon Guide
Create engaging mouse follow effects or replace the regular mouse pointer all together.
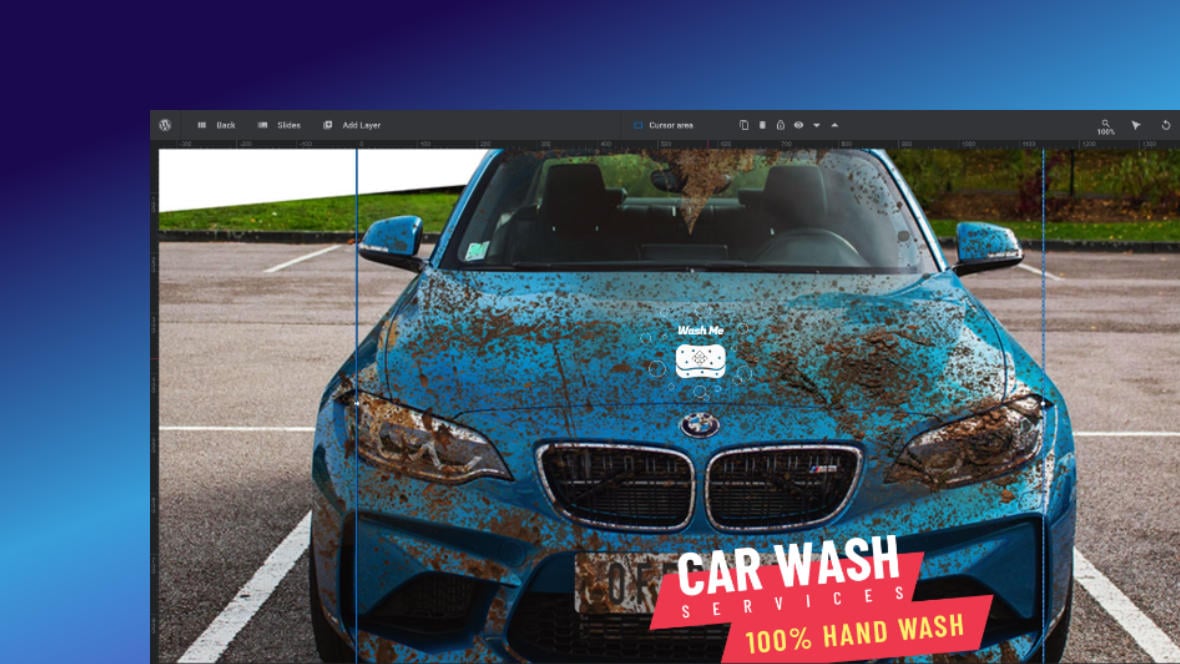
Table of Contents
What Does Mousetrap Do?
The Mousetrap addon [?]
Addons extend the functionality of Slider Revolution, adding new controls to the module editor and allowing you to do extra things with your design.
For example, using the particle addon you can create effects such as falling snow, and using the distortion addon you can create shimmering effects such as simulating being underwater.
There are dozens of addons available, all included with the full version of Slider Revolution. allows you to make any layer [?]
Layers are containers for visual, audio or layout items and are added to slides. For example, text, button, image, audio, video, group and row are all types of layers.
Layers are added to slides via the module editor. follow the mouse around a slide [?]
A "slide" in Slider Revolution is a container into which multiple layers can be added, with layers in turn acting as containers for various forms of media such as images, text, video, audio, buttons, and special effects.
Slides are added to modules and edited via the module editor.
Within the module editor, each slide has its own animation timeline, background and collection of layers.
A single module can have one or many slides. A module with one slide is called a scene, and a module with multiple slides is called a slider or carousel.. If you use this addon with the regular mouse pointer hidden, it means you can effectively replace that pointer with a graphic, or collection of graphics, of your own choosing.
This in turn can be used to create engaging interactive effects, especially when used in combination with the Paintbrush addon, such as giving the visitor a sponge with which they can wash a car, for example:
Getting Started
To get started with the Mousetrap addon you’ll first need to install and enable it:
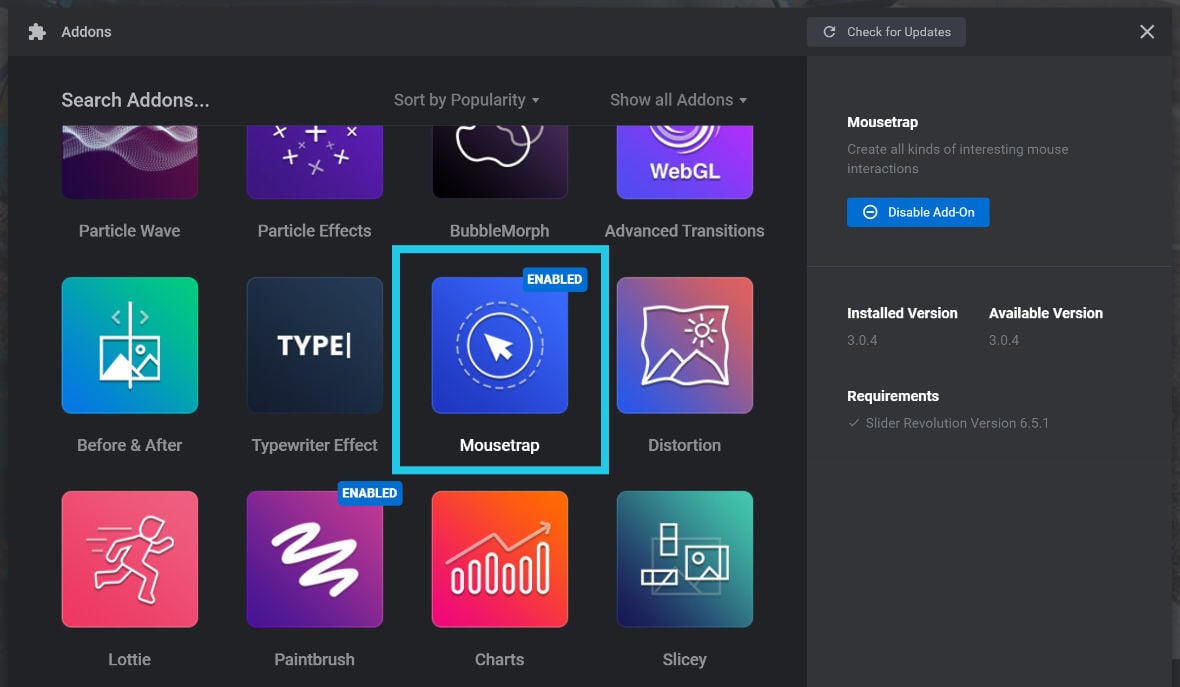
The process for doing this is the same as with all addons, so please begin by following the steps in our guide on how to Browse, Install and Enable Addons.
Activating Mouse Trap on Layers
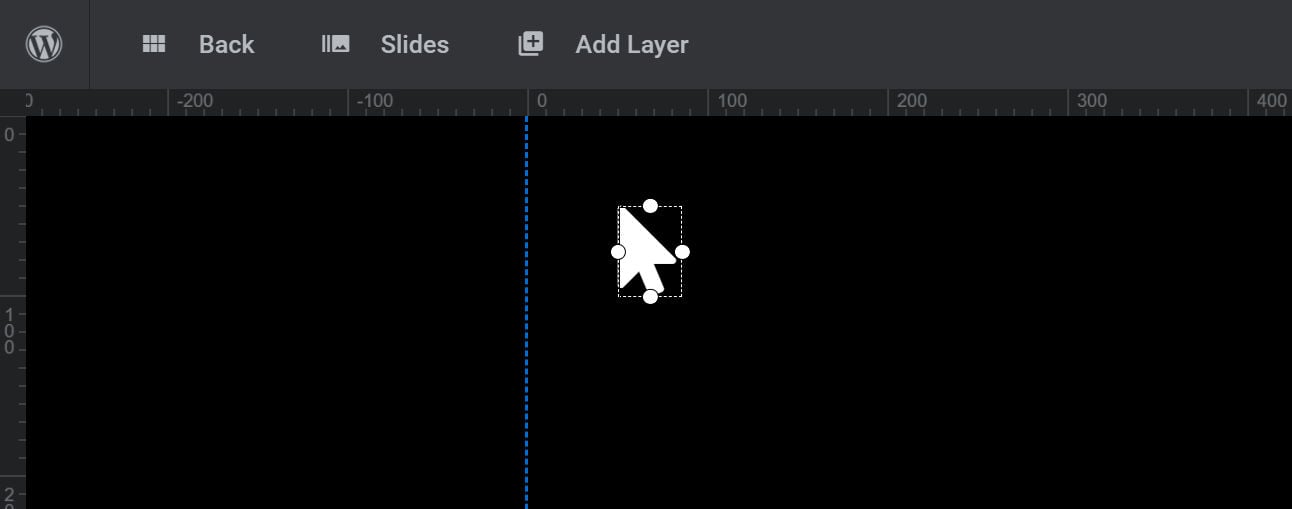
To use the Mouse Trap addon start by selecting a layer you want to make follow the mouse. In the example below, the “Mouse Pointer” icon, (from the Font Icons library included with Slider Revolution [?]
Slider Revolution is a website content creation tool with a focus on captivating animation and stunning visual effects.
It began its life as a plugin for creating slideshows, but has evolved into a fully fledged piece of design software.), has been added to the canvas [?]
The canvas is the point and click design space in the module editor. It forms the largest area of the module editor.
In this area layers can be selected, moved and resized. Animations can also be previewed. then selected:
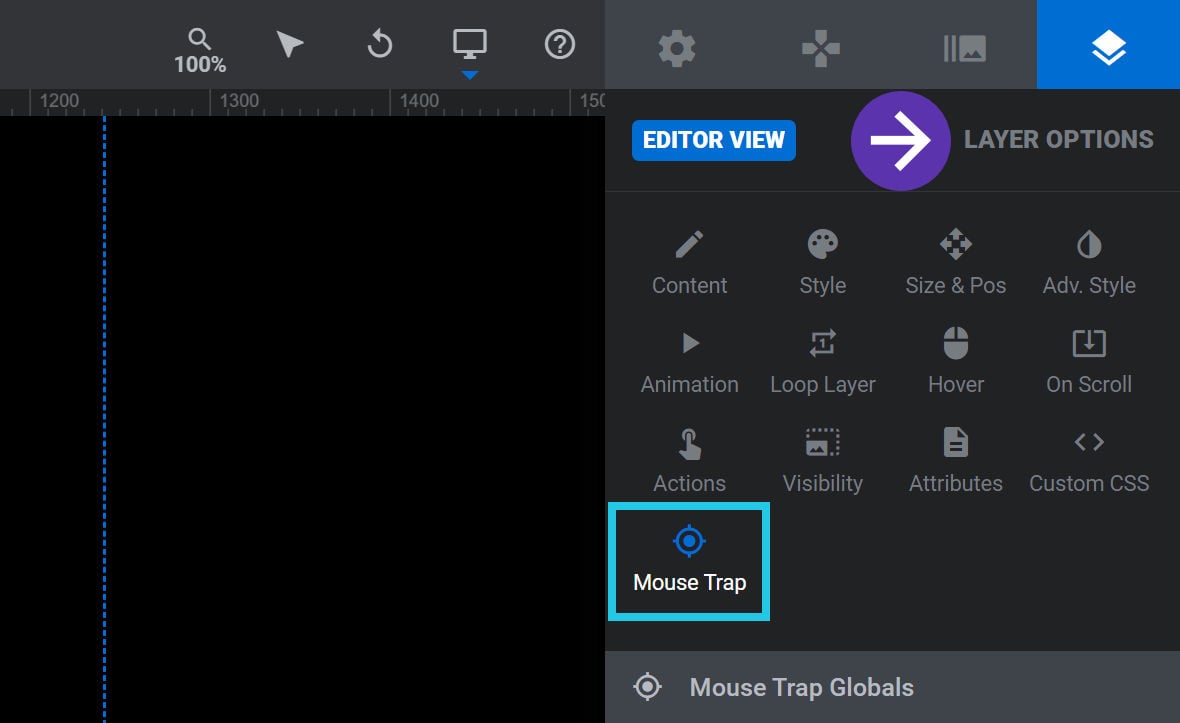
Go to the Layer Options tab, Mouse Trap sub-section:
Then in the Mouse Trap Globals panel, set the Use option to any setting other than Disabled:
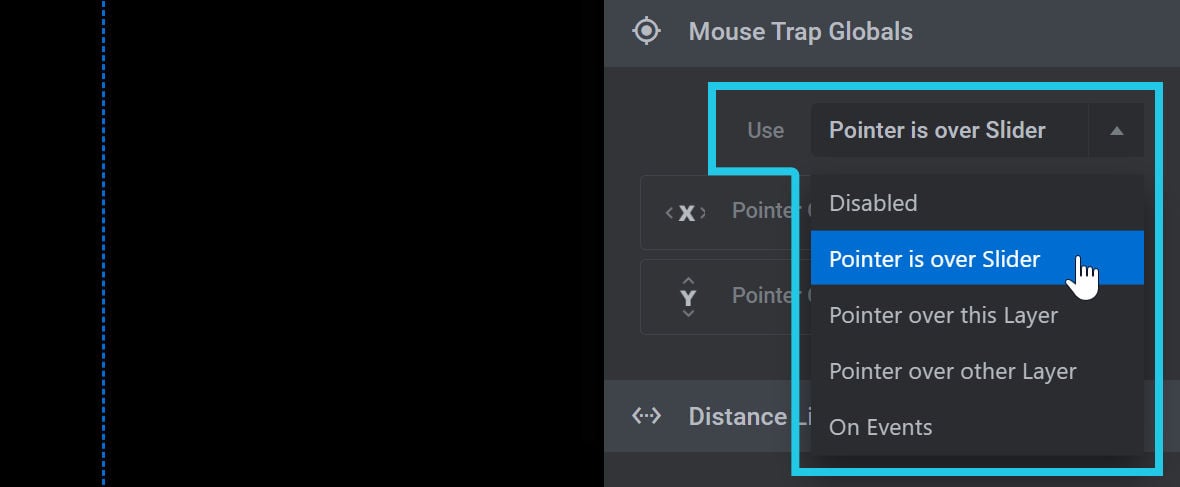
In the example below, the setting Pointer is over Slider has been selected. Then when the module [?]
A module in Slider Revolution acts as a container for slides, which in turn act as containers for layers. Modules are created and edited with the module editor.
A "module" is a single, self contained piece of content. You can think of this as being similar to the way a post or page in regular WordPress is a self contained piece of content.
A module can represent any kind of content Slider Revolution is capable of creating, such as a slider, carousel, hero unit, navigation menu, posts display and so on.
Multiple modules can be combined to form rich content such as complete sites and landing pages. is saved and previewed you can see the custom mouse pointer graphic replaces the regular mouse:
Note: We’ll cover more about what each available Use setting does in the next section.
You can enable Mouse Trap behaviour on a single layer, as per the example above, and you can also enable it for multiple layers.
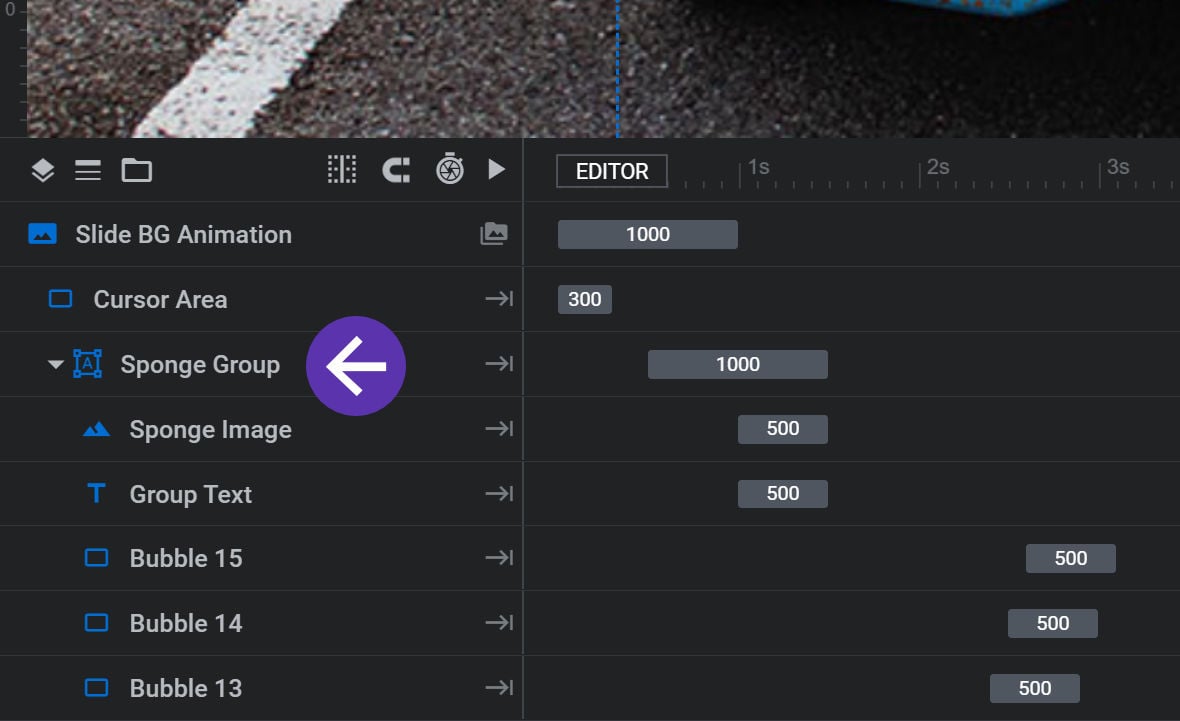
You can do this by nesting several layers under a Group layer, then enabling Mouse Trap on that parent Group layer. Then when the Group layer follows mouse movement, all its nested child layers will move along with it.
For example, here is the layer setup used in the sponge, car washing demo we saw earlier. Mouse Trap is applied to a parent layer named Sponge Group, and nested in that group are the sponge image, some text, and several bubble images:
Alternatively, you can select a number of different layers and apply Mouse Trap to them individually.
Next up, let’s see what configuration options are available for layers using Mouse Trap.
Mouse Trap Options
All the available Mouse Trap configuration options can be found in the Layer Options tab, Mouse Trap sub-section:
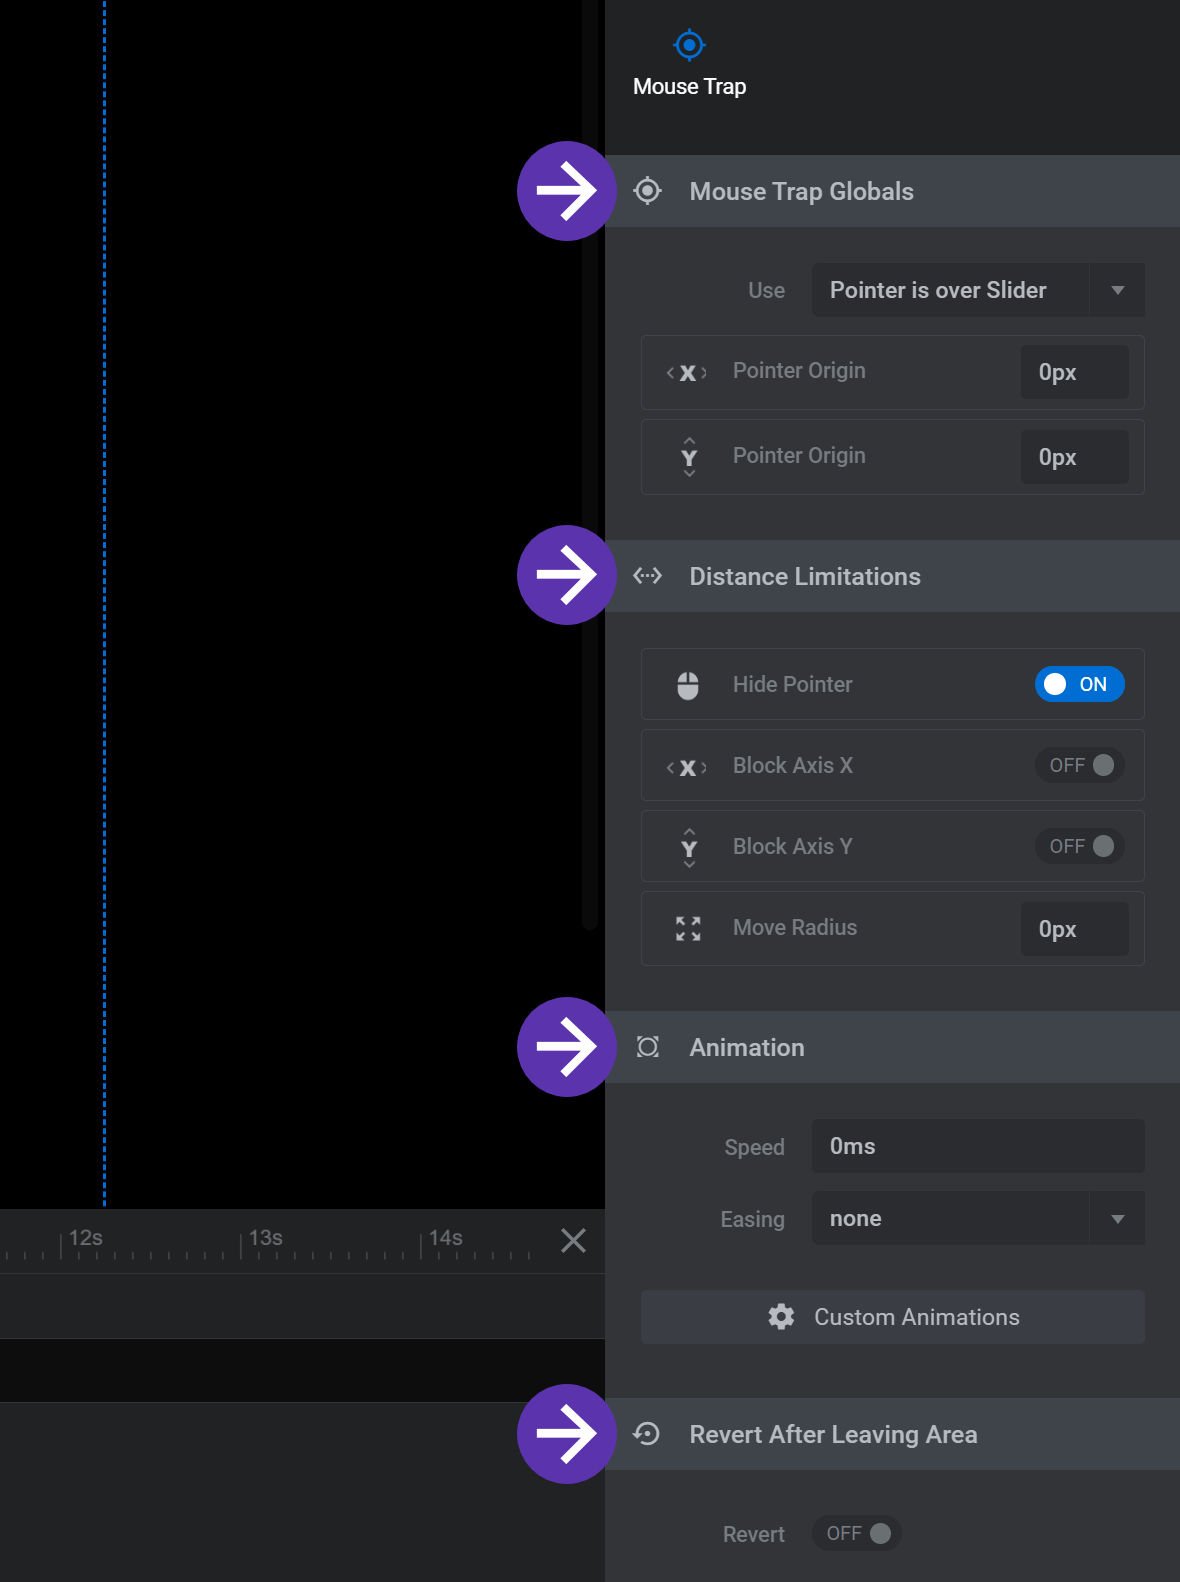
Mouse Trap Globals Panel
The Mouse Trap Globals panel allows you to configure how the layer is triggered to follow the mouse, and how the layer should position itself relative to the mouse:
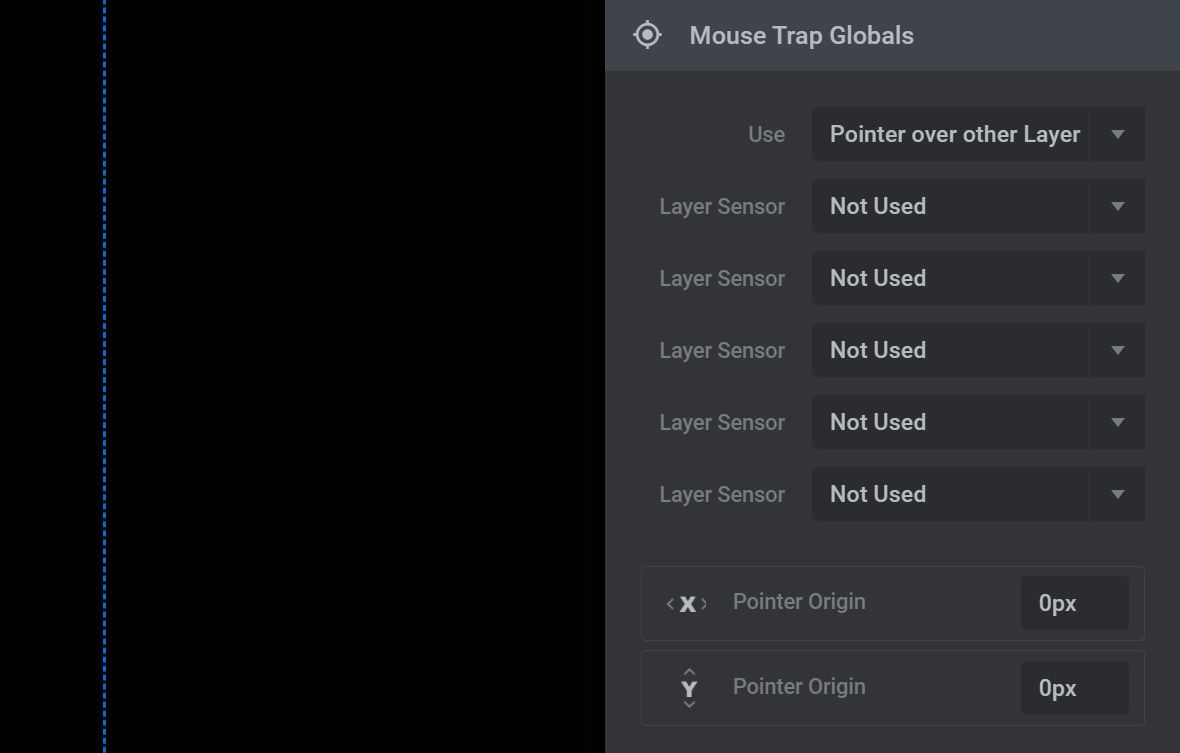
Use
The Use option determines what triggers the mouse following effect of the Mouse Trap addon:
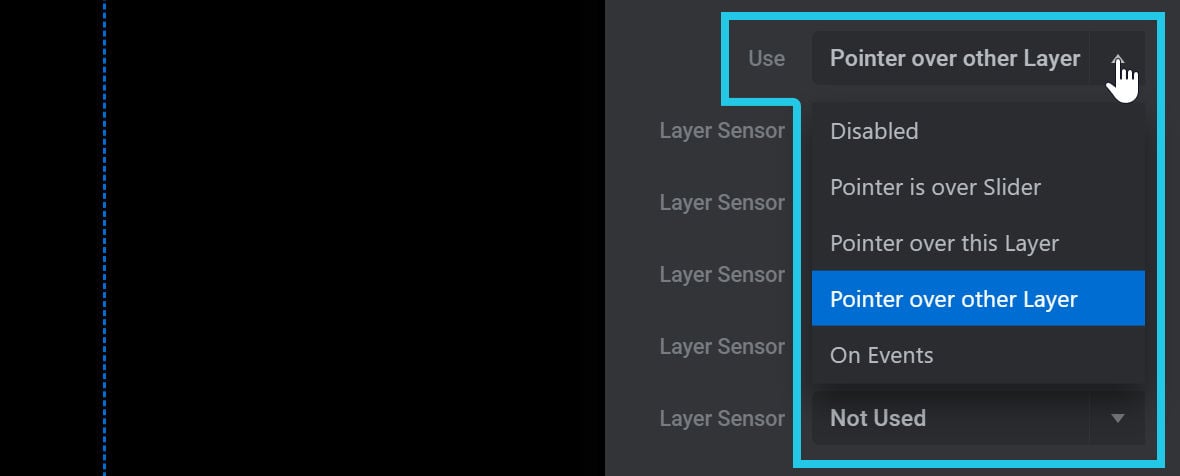
The four settings that enable mouse following are as follows.
Pointer is over Slider
If Pointer is over Slider is selected, the layer will follow the mouse any time it is over the Slider [?]
A slider is a type of module that contains multiple slides. You can only see one slide at a time, a distinguishing features that makes sliders different from carousels.
The slides of a slider can be panned through either by using navigation controls such as arrows and tabs, or by clicking and dragging. They can also be set to automatically transition from one slide to the next./module.
Pointer is over this Layer
The Pointer is over this Layer setting is designed to be used with the Custom Animations option to make the layer tilt, scale and shift opacity without changing its position in response to mouse hovering.
The Custom Animations option is covered below.
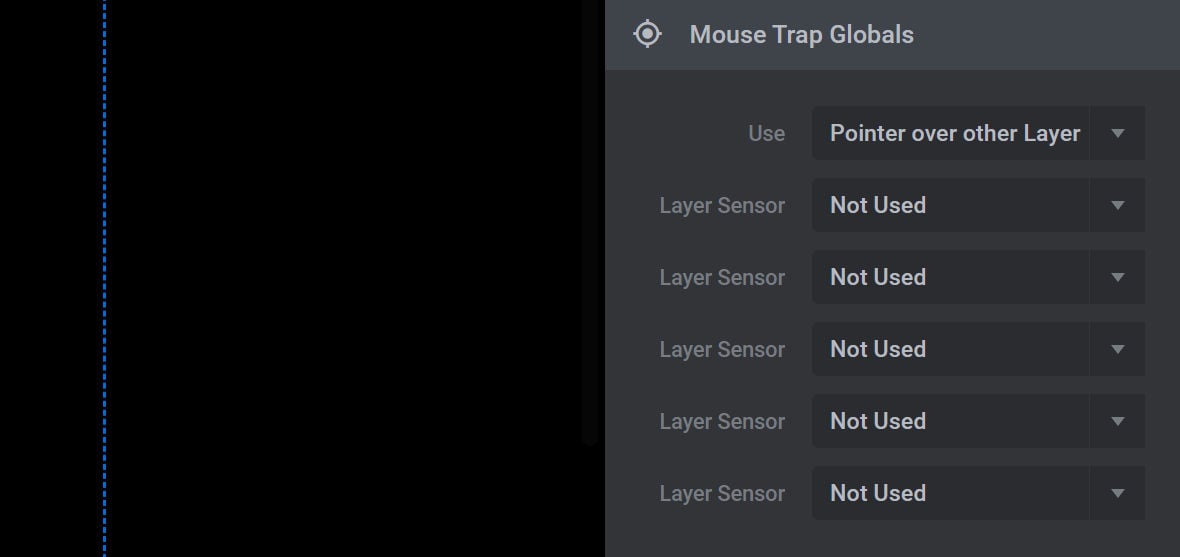
Pointer is over other Layer
If Pointer is over other Layer is selected, the layer will follow the mouse any time it’s over a designated sensor layer.
More detail on how this functionality works can be found in the section on Layer Sensor options below.
On Events
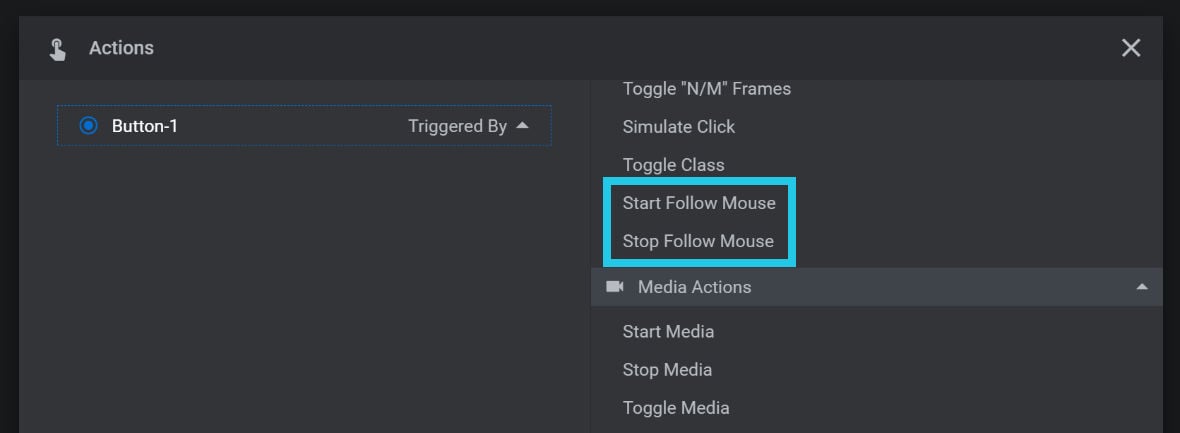
The On Events setting is designed to be used with the custom actions that become available when the Mouse Trap addon is enabled: Start Follow Mouse and Stop Follow Mouse.
If On Events is selected, mouse follow behaviour will only be activated if the layer receives a Start Follow Mouse action from a triggering layer somewhere in the module. Likewise it will only stop following if it receives a Stop Follow Mouse action.
These two custom actions can be added to a triggering layer, such as a button for example, by selecting it and then going to its Layer Options tab, Actions sub-section:
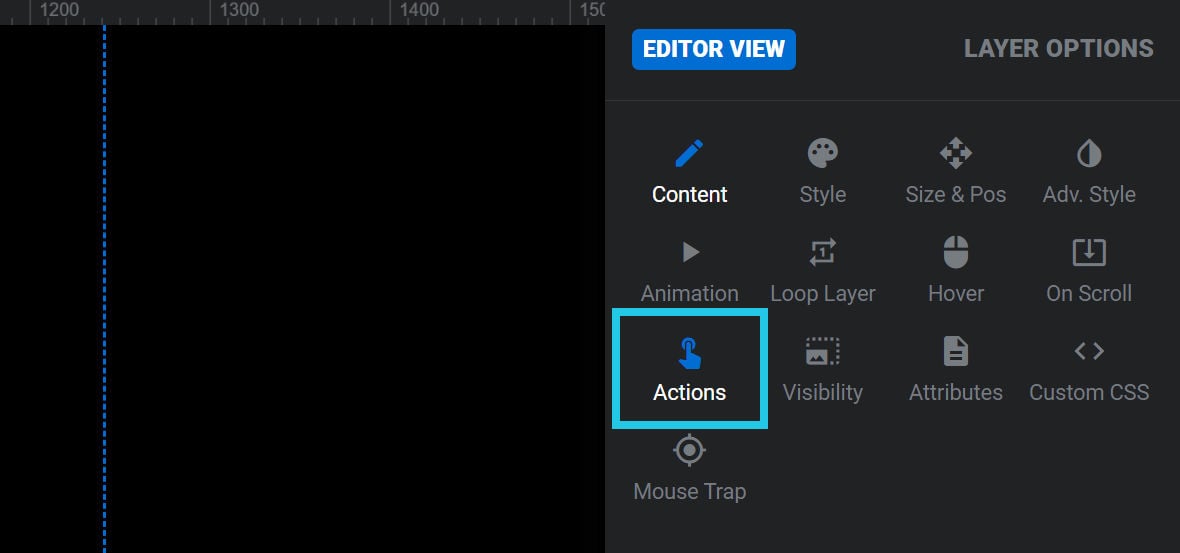
In the Actions dialogue box that appears, the two Mouse Trap specific actions can be found at the bottom of the Layer Actions category:
In the example below, a button layer has been given a Start Follow Mouse action, set to fire on a Click interaction, with the Target Layer set to the custom “Mouse Pointer” layer we saw earlier:
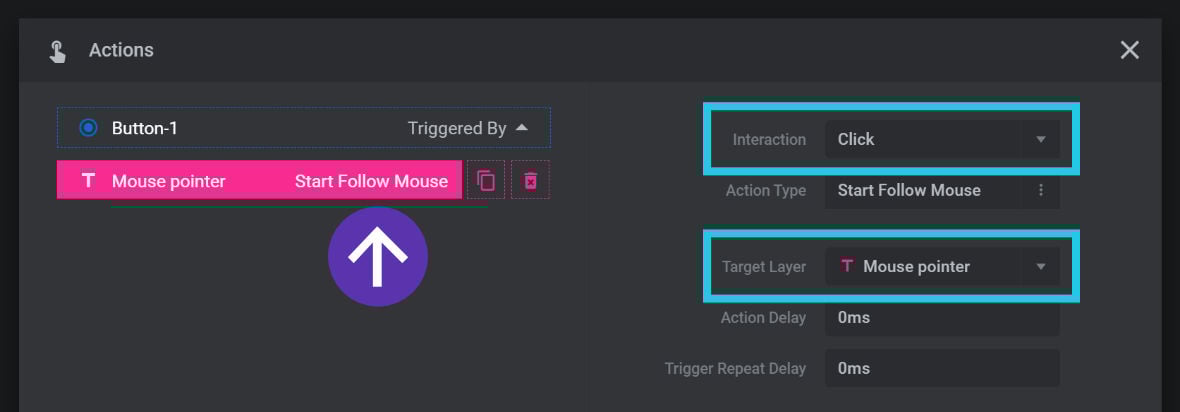
With this setup the “Mouse Pointer” layer would remain stationary, then start following the mouse once the button was clicked:
Layer Sensor
If Use is set to Pointer over other Layer, five Layer Sensor options will appear:
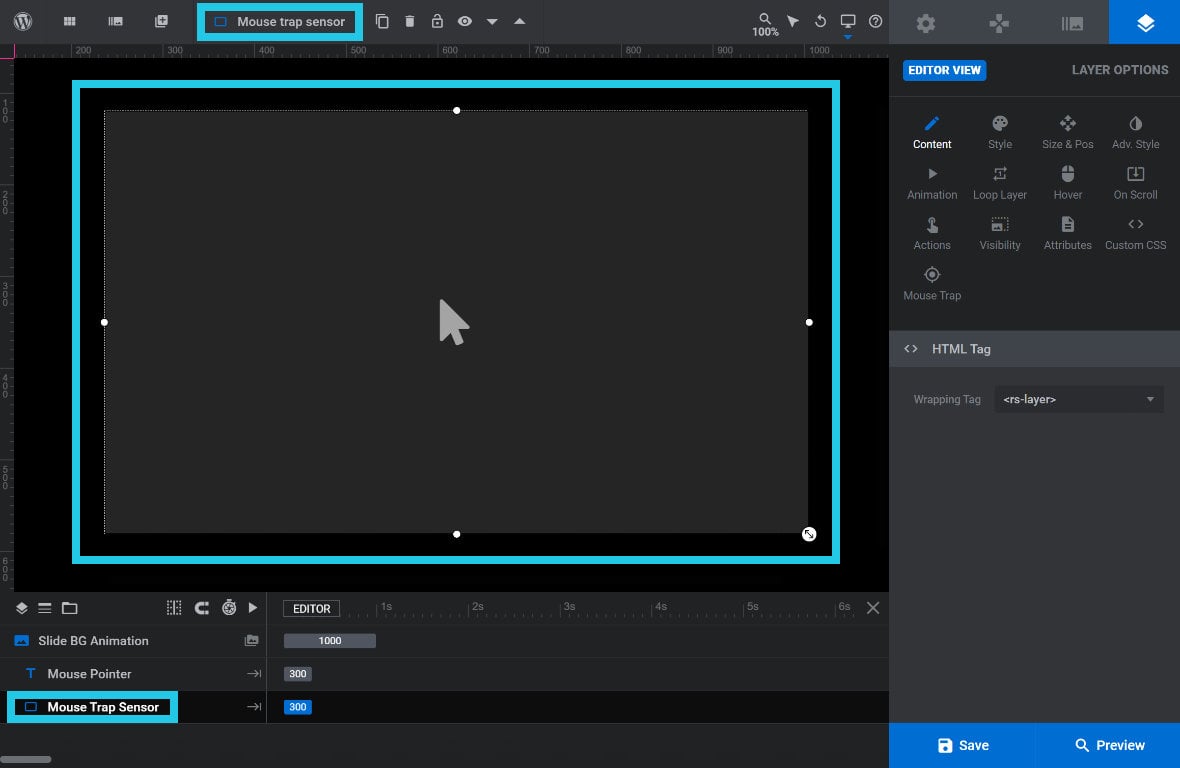
A Layer Sensor is a layer over which the mouse needs to hover in order to activate mouse following behaviour.
One way to use this feature is to create a single layer to act as a sensor. For example, here a shape layer has been added, sized and positioned, and named “Mouse Trap Sensor”:
If we select our “Mouse Pointer” layer again, we can now see the “Mouse Trap Sensor” layer has become an available selection in all the Layer Sensor option dropdowns:
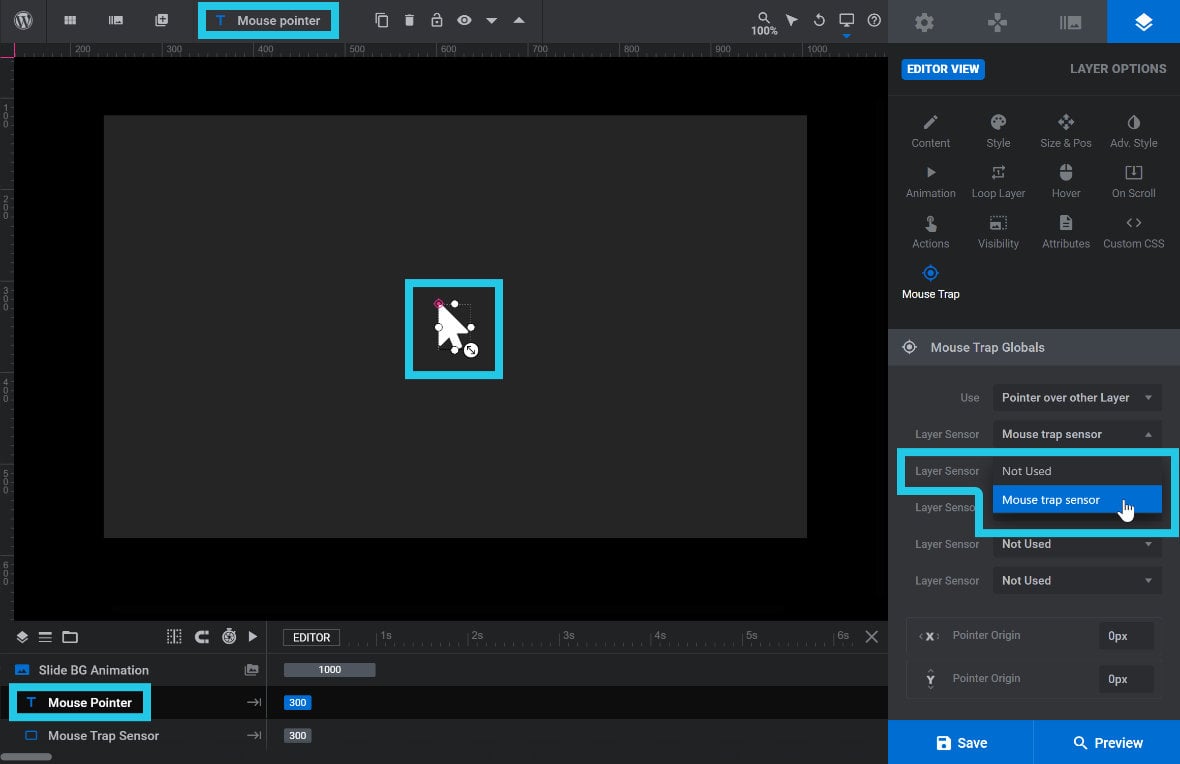
In this example, when our “Mouse Trap Sensor” layer is selected as the Layer Sensor and we save and preview, you can see the custom pointer icon stops following the mouse as soon as it leaves the bounds of the Layer Sensor area:
Another way to use the Layer Sensor feature is to build a more complex trigger shape from up to five layers.
For example, here we are using two Layer Sensor layers to create a cross shape within which Mouse Trap will be active:
Mouse Trap Pointer Origin X/Y
The Mouse Trap Pointer Origin X and Mouse Trap Pointer Origin Y options allow you to shift where the layer positions itself relative to the mouse, set in pixels(px):

The X option controls the layer’s horizontal position. Positive values shift the layer to the left, and negative values shift it to the right.
The Y option controls the layer’s horizontal position. Positive values shift the layer upwards, and negative values shift it downwards.
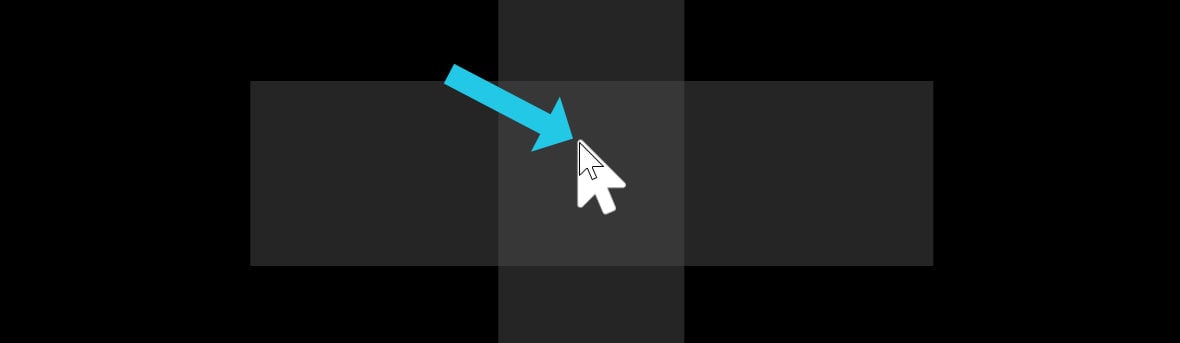
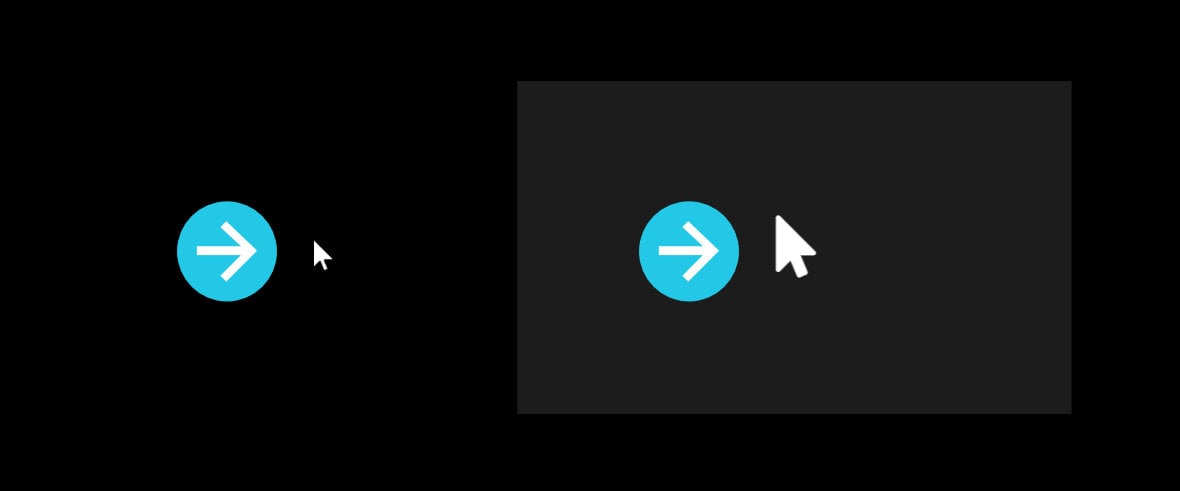
By default the X and Y options are both set to 0px, meaning the layer’s top left corner will align with the mouse pointer. In the image below the default mouse pointer is showing so you can see this default alignment:
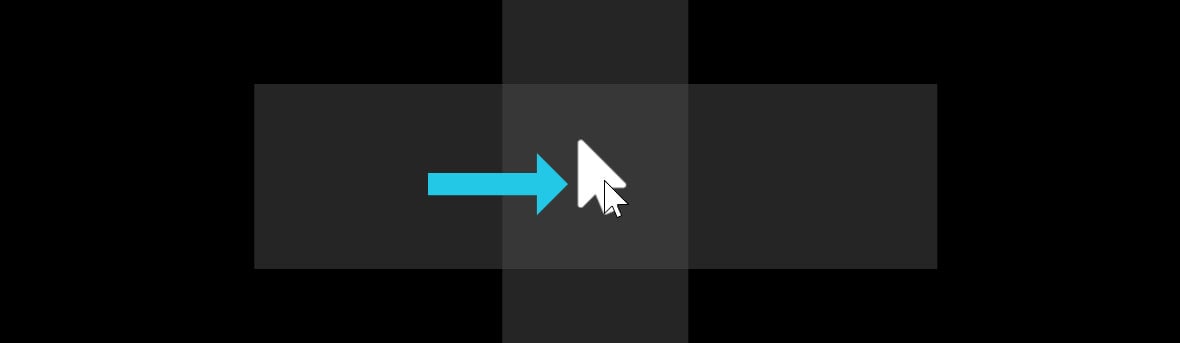
If you instead wanted the Mouse Trap layer to be centered relative to the mouse, you would set both the X and Y options to half the width and height of the Mouse Trap layer, respectively.
In our example, the custom mouse pointer graphic is about 34px wide and 50px high. So setting the Mouse Trap Pointer Origin X option to 17px and the Mouse Trap Pointer Origin Y option to 25px will center it relative to the mouse:
To further illustrate how this applies practically to mouse interactivity, in the following example we substitute the mouse pointer for a red rectangle and set both Mouse Trap Pointer Origin X and Y to their default 0px values:
The red rectangle has a width of 300px wide and a height of 180px . If we change Mouse Trap Pointer Origin X to 150px and Mouse Trap Pointer Origin Y to 90px, the rectangle will now be centered relative to the mouse:
Center Origin
If you know you want both Mouse Trap Pointer Origin X and Mouse Trap Pointer Origin Y to be centered then, instead of manually figuring out the values they need, you can toggle the Center Origon option to ON:
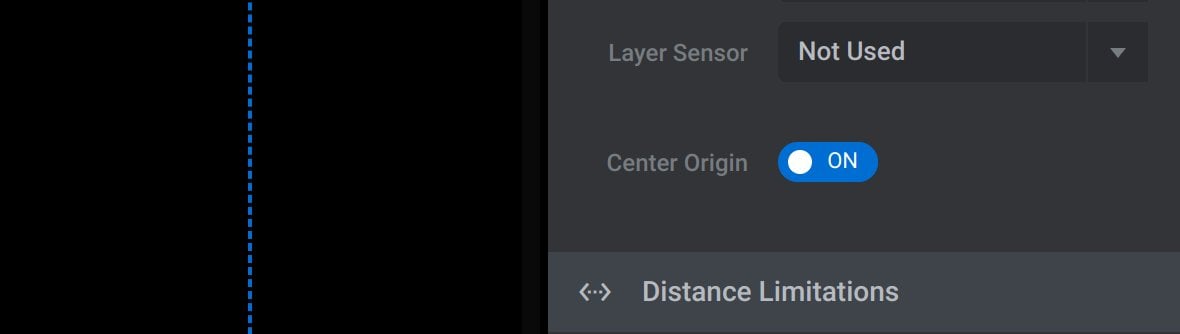
If this option is activated, the Mouse Trap Pointer Origin X and Mouse Trap Pointer Origin Y options will be hidden.
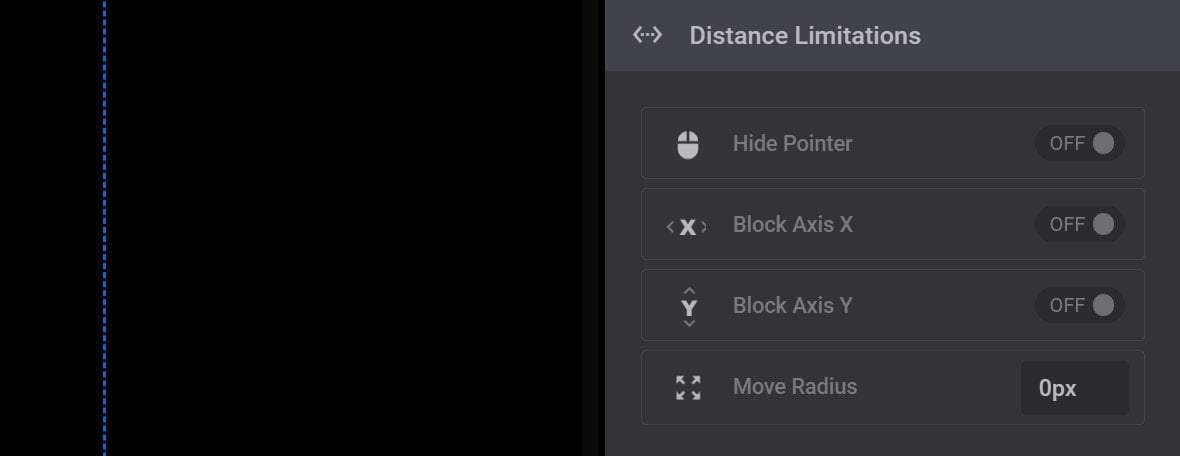
Distance Limitations Panel
The Distance Limitations panel focuses on adding constraints to mouse follow movement:
Note: This panel is not visible if Use is set to Pointer over this Layer.
Hide Pointer
Toggle the Hide Pointer option to ON if you don’t want the regular mouse pointer to show while the Mouse Trap effect is active:

Block Axis X/Y
The Block Axis X and Block Axis Y options allow you to prevent movement on that axis:

Toggle Block Axis X to ON and horizontal movement will not be possible, leaving movement locked to the vertical axis.
Toggle Block Axis Y to ON and vertical movement will not be possible, leaving movement locked to the horizontal axis.
Note: Be sure not to toggle both of these on or there will be no movement at all.
Move Radius
In the Move Radius option you can set a maximum distance the layer can move, in any direction, from its original position on the canvas [?]
The canvas is the point and click design space in the module editor. It forms the largest area of the module editor.
In this area layers can be selected, moved and resized. Animations can also be previewed.. The value is set in pixels(px):

Set the option to 0px for an unlimited radius of movement.
Animations Panel
In the Animations panel you can add an animated delay to the way the layer follows the mouse:
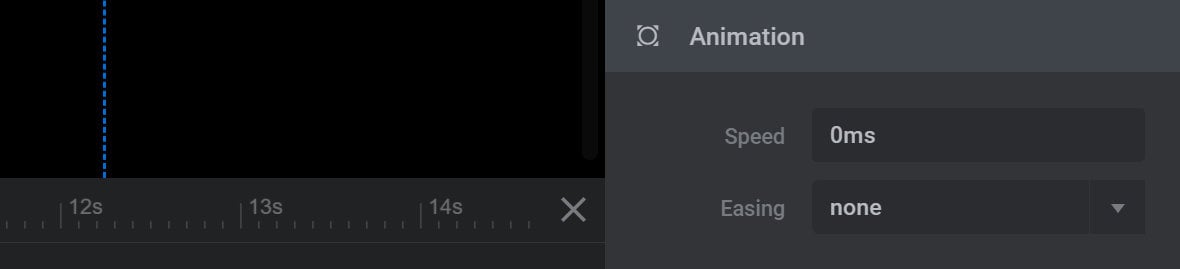
Speed
Set the Speed option, in milliseconds(ms), to anything above 0ms and a delay of up to that duration will be added to the mouse follow movement:

The layer will still begin moving as soon as the mouse does, but it will trail along a little behind the mouse, as seen in this example of a 500ms Speed setting:
Set the option to 0ms to have the layer move in lockstep with the mouse.
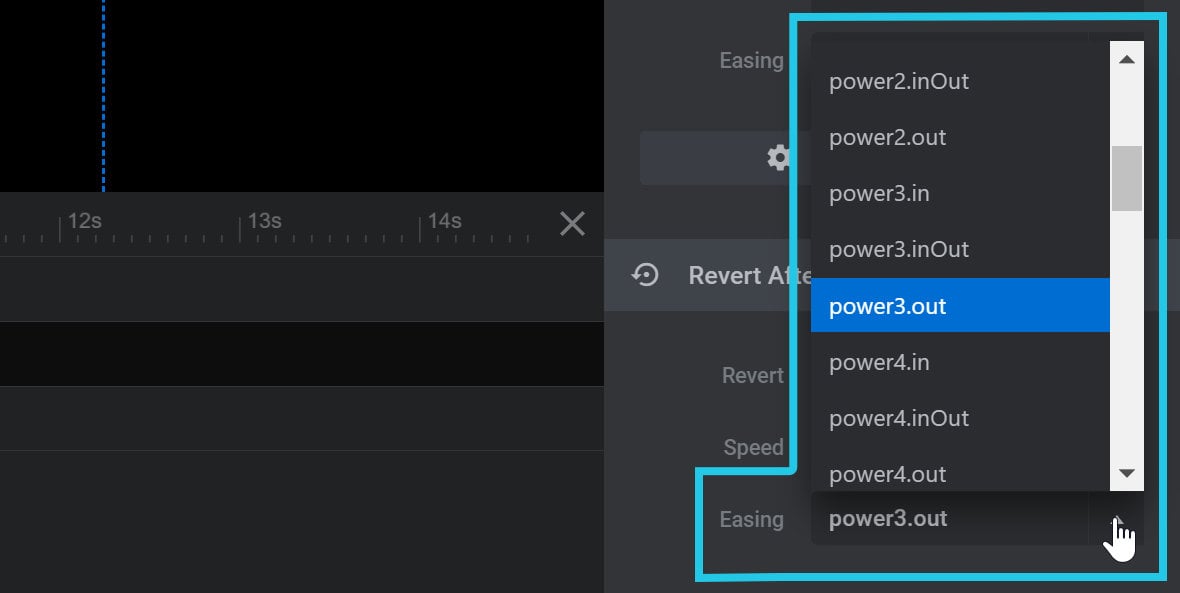
Easing
Set Easing to anything other than none to add some stylistic variations in movement speed to the layer:
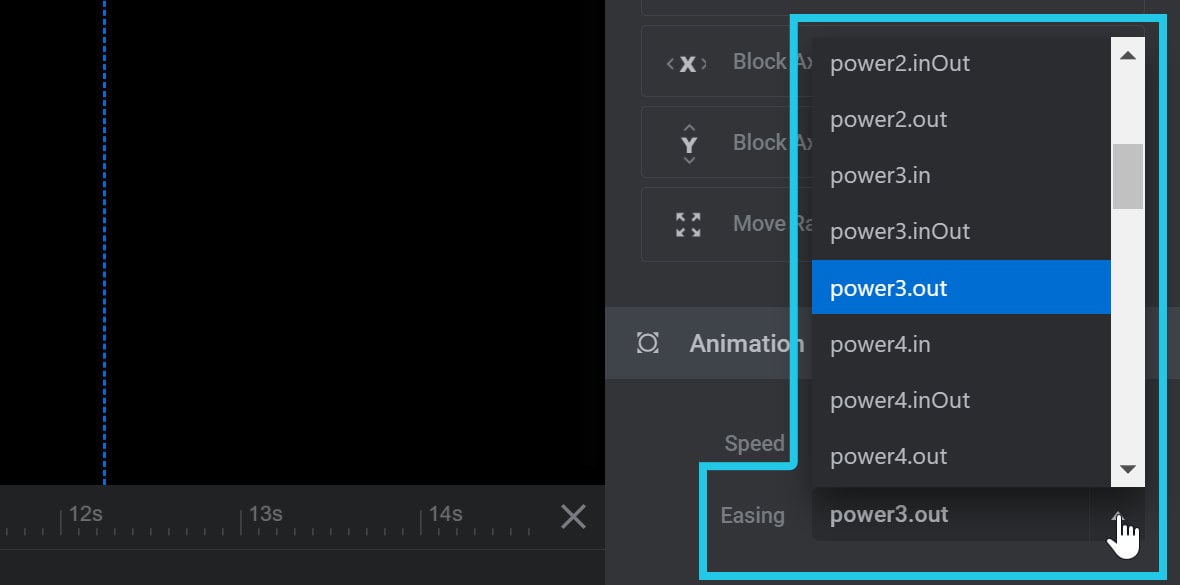
For example, here is the effect of the power3.out easing setting on our previous example using the 500ms Speed setting:
Notice how the layer moves fastest at the beginning, and slower as it gets closer to the mouse.
Custom Animations
The Custom Animations feature allows you to add rotating, scaling and opacity shifting to a Mouse Trap layer’s motion. So as the mouse moves around you can make the layer tip from side to side, grow and shrink, and fade in and out.
To add custom animation to your Mouse Trap layer, click the Custom Animations button:

Then use the options in the Custom Animations dialogue box to add rotation, scaling, or opacity shifting:
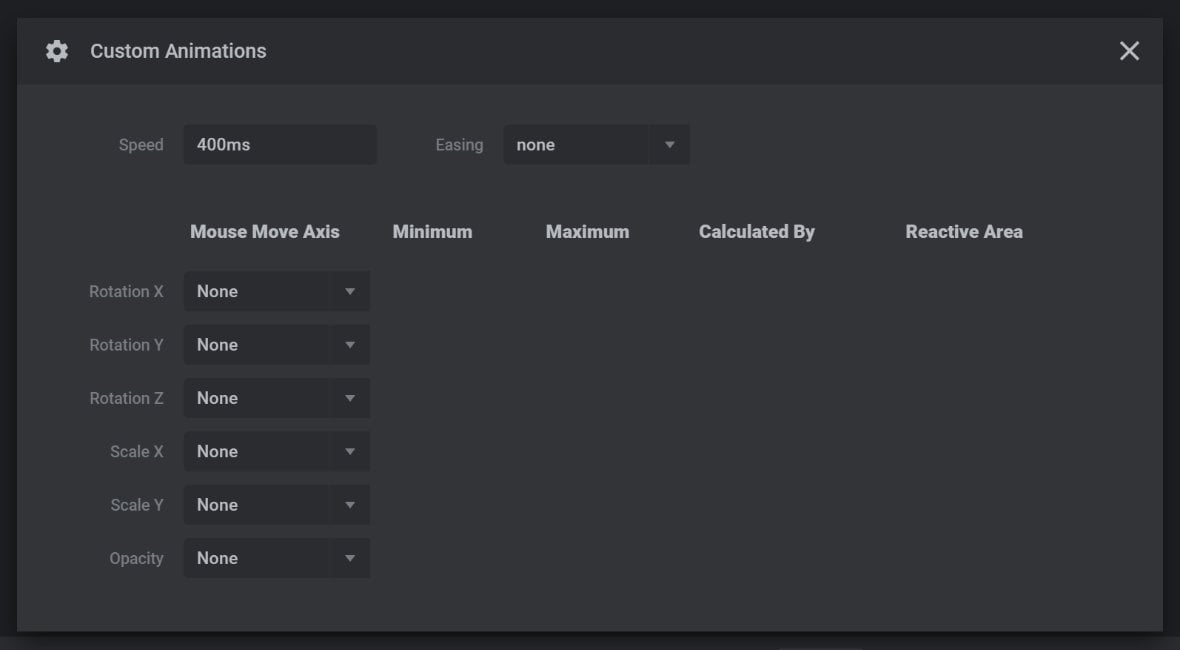
A full breakdown of all the Custom Animations options would be a little too lengthy for this guide, but for each option the most common process will be as follows.
1) First, change any dropdown under the Mouse Move Axis heading from None to the setting of your choice. For example, here we have changed Rotation Y from None to Horizontal:

2) Set the Minimum and Maximum range to control how far the layer can rotate, scale or fade. For example, here we have set the Minimum range to -45 and the Maximum range to 45:

3) Use the Calculated option to determine if the animation responds to the direction of mouse mouse movement, or how far it moves. In this example we have chosen the Distance option to base the animation response on how far the mouse moves:

If the layer’s Use option is set to Pointer over this Layer these custom animation movements will play out in place as the mouse moves over the layer.
With the above settings we get the following result:
If the layer’s Use option is set to any of the other active options, the custom animation movements will apply to the layer as it follows the mouse around.
Revert After Leaving Area Panel
Revert
Toggle the Revert option to ON and the layer will snap back to its original position when the trigger event is no longer satisfied:
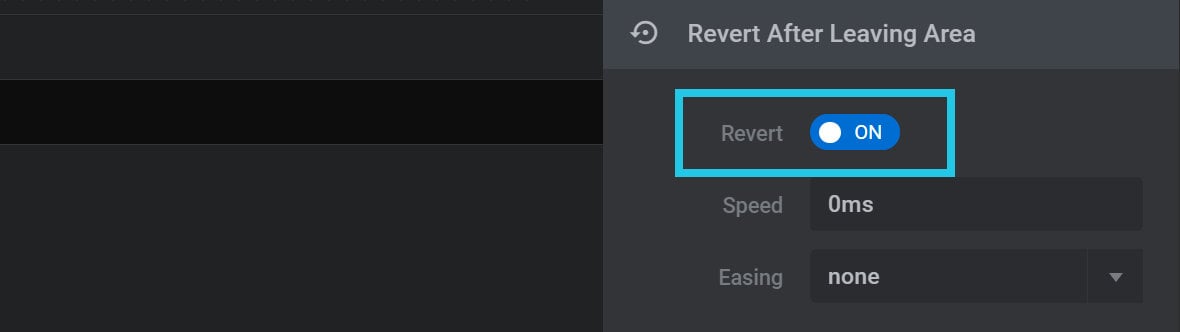
For example, if the mouse is no longer over the layer set as the layer sensor, the mouse pointer will snap back to where it started:
Speed
By default a reverting layer will instantly reappear in its original position. However if you set the Speed option, in milliseconds(ms), to anything above 0ms it will animate back into place instead.

The value entered determines how long it takes for the layer to go back to its original position, as seen in this example of a 500ms setting:
Easing
As we described in in the section on Animation, set Easing to anything other than none to add some stylistic variations in movement speed as the layer returns to its original position: