Adding and Configuring Row Layers
Learn how to create sophisticated multi-column layouts using Row layers.
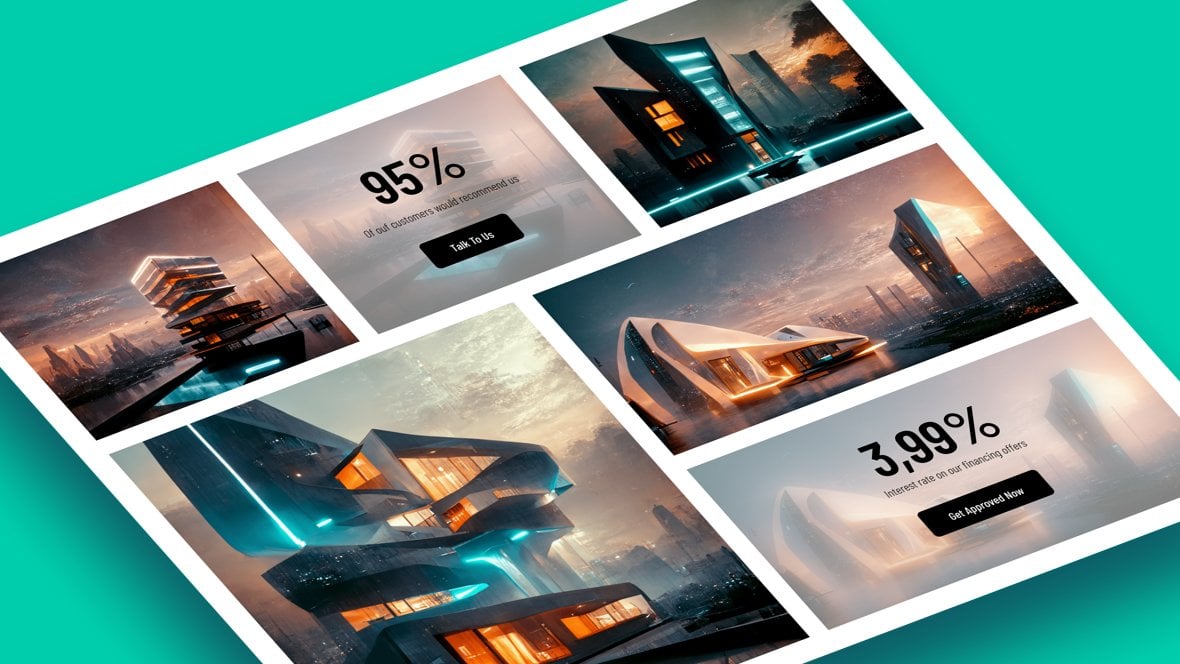
Table of Contents
What is a Row Layer?
A Row layer [?]
Layers are containers for visual, audio or layout items and are added to slides. For example, text, button, image, audio, video, group and row are all types of layers.
Layers are added to slides via the module editor. is a flexible height container that has nested inside it a number of flexible width Column layers:
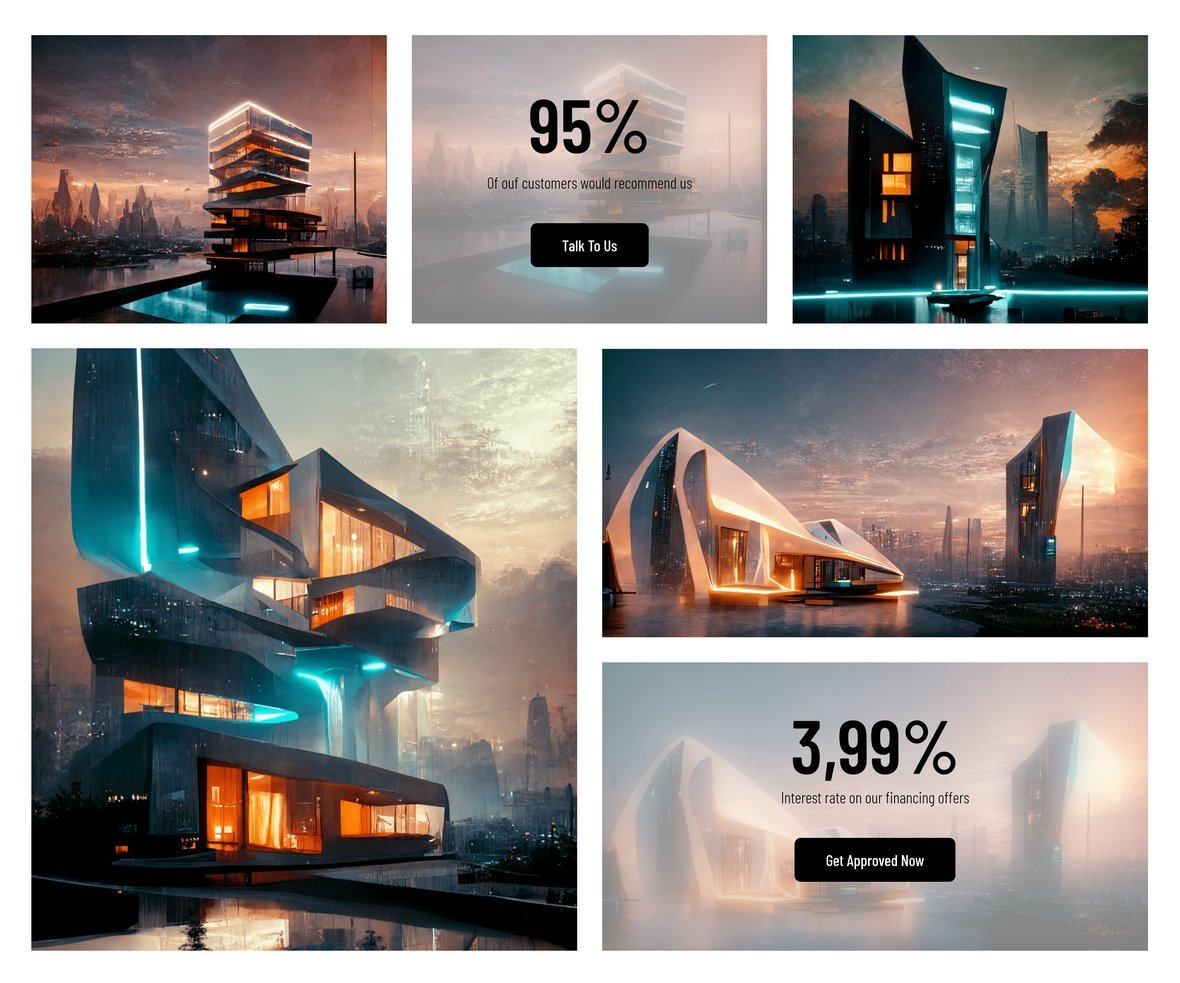
The Column layers can in turn have content, such as text and images, nested within them, allowing for rich, sophisticated and flexible layout design:
Adding Row Layers
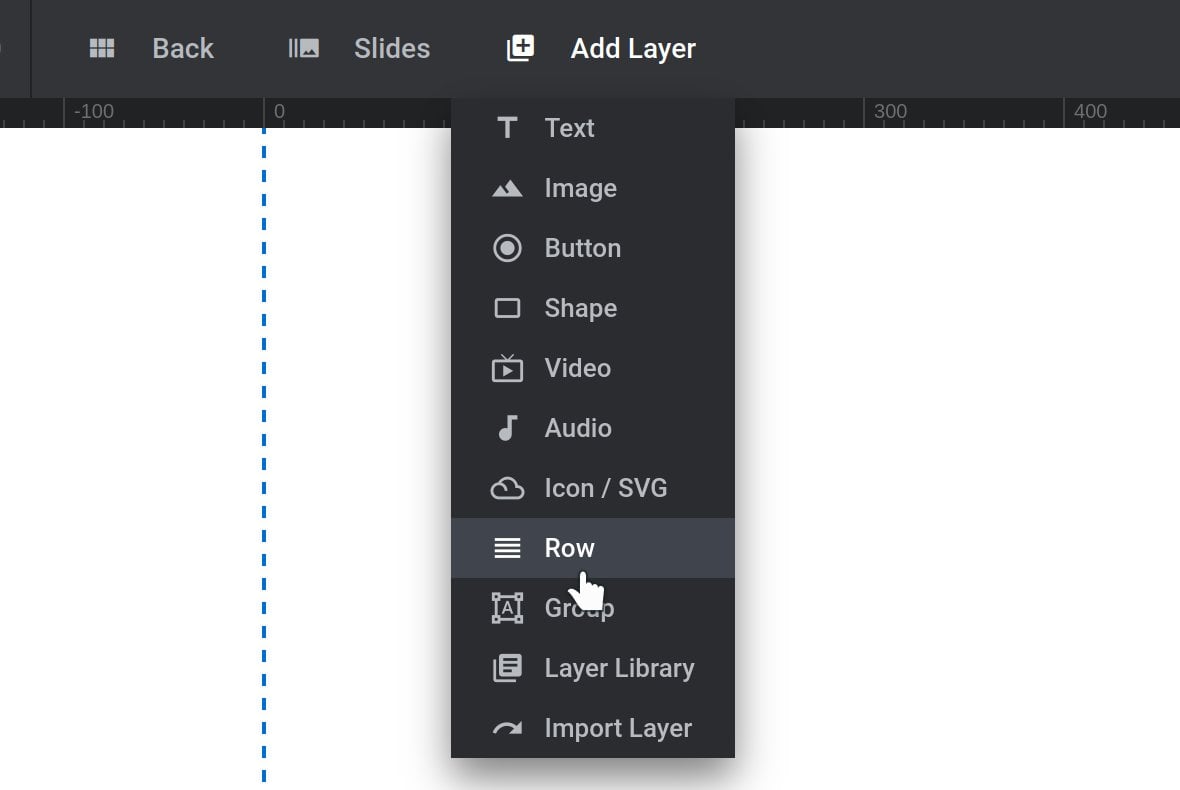
To add a new Row layer go to Add Layer on the top bar, and click the Row item in the dropdown:
You will see blue lines appear on the canvas [?]
The canvas is the point and click design space in the module editor. It forms the largest area of the module editor.
In this area layers can be selected, moved and resized. Animations can also be previewed. that indicate the layout of the new Row layer:

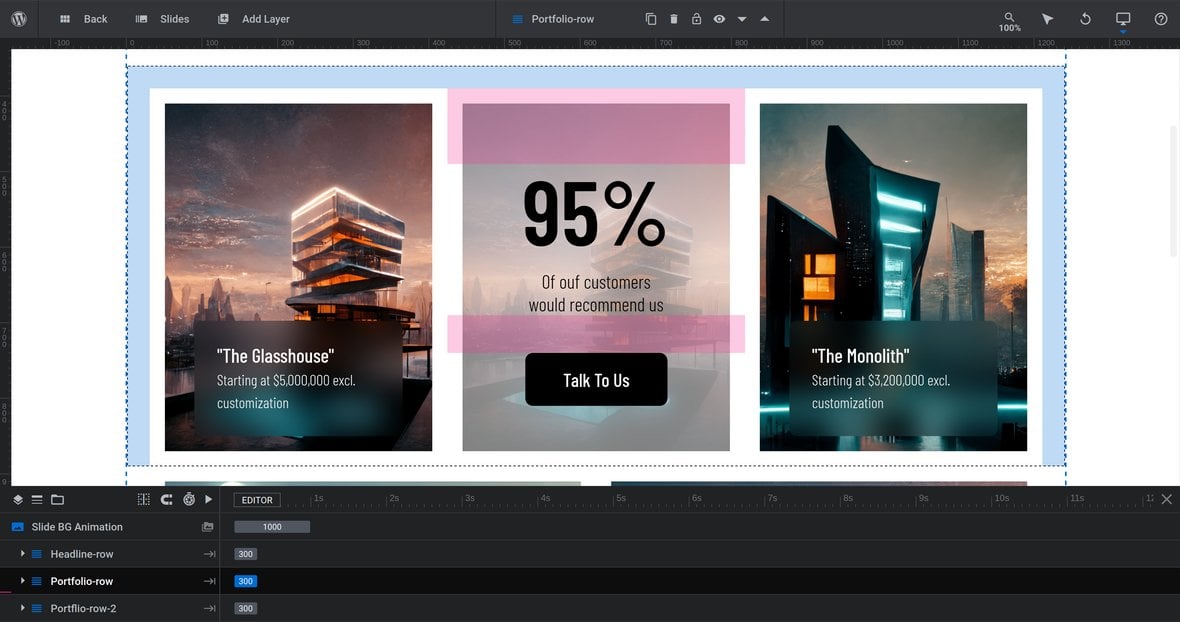
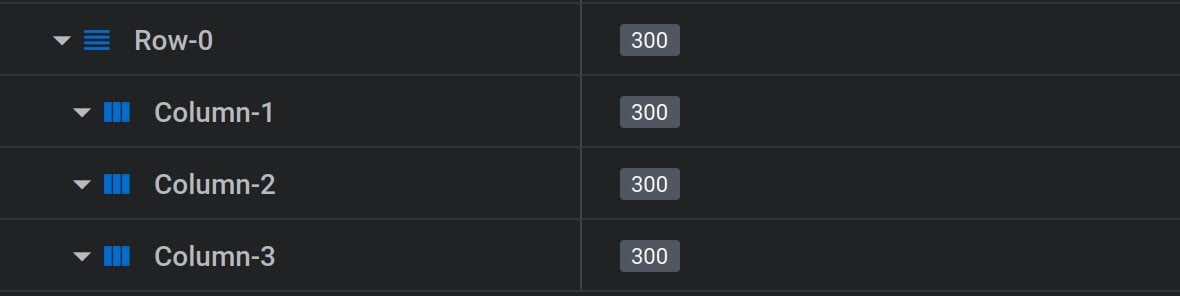
A newly added Row layer will automatically have Column layers added and nested inside it. You will see this nested layer structure on the timeline [?]
The timeline is the section of the module editor dedicated to animation and controlling the stacking order of layers.
From this part of the editor animations can be added, adjusted and previewed. Additionally, layers can be selected from the timeline, and can be dragged and dropped up and down on the timeline to modify which appear in front and which behind.
It can be equally compared to both a timeline in a typical video editing application, and a layers panel in a typical graphic design application:
Adding Content to Rows
Once you’ve added a Row layer you can add content to it. To do so, first add a new layer of whatever type you need, for example, a text headline:
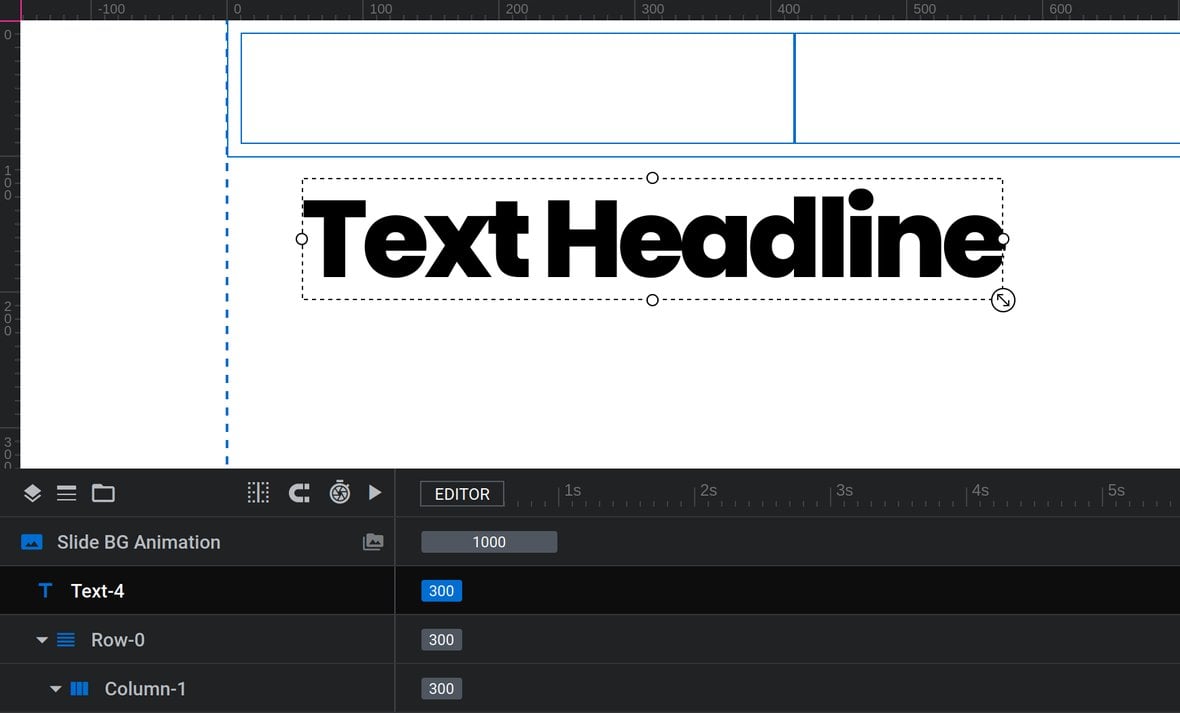
By default the new layer will be added outside the row, so you’ll need to move it into one of the columns in one of two ways, either using the canvas or the timeline.
To move the content using the timeline, drag its layer and drop it just below the column layer you want to nest it in:
To move the content using the canvas, drag it and hover over the column you want to move it into. When you see the outside of the column highlight with a thickened border, drop the layer and it will move into that column:
Row Settings
Row layers can be configured in the Row Settings panel.
Select the Row layer you wish to configure, or any of its nested Column layers. Then in the Layer Options tab, Content sub-section, the Row Settings panel will appear:

Column Layout
By default a Row layer has three equal width columns. However you can change this layout to use a different number of columns with different widths. This can be done through either using a preset layout, or a custom layout formula.
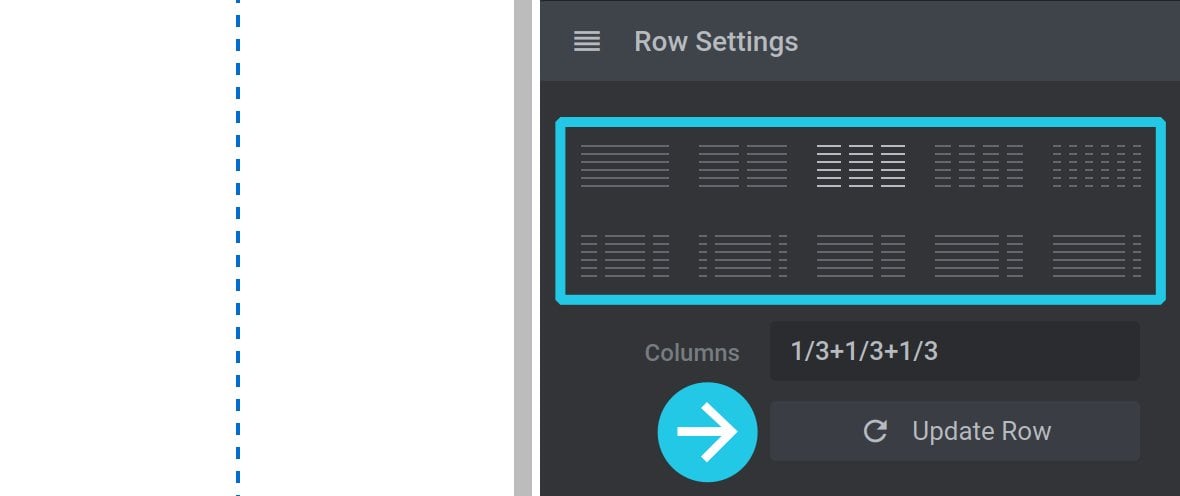
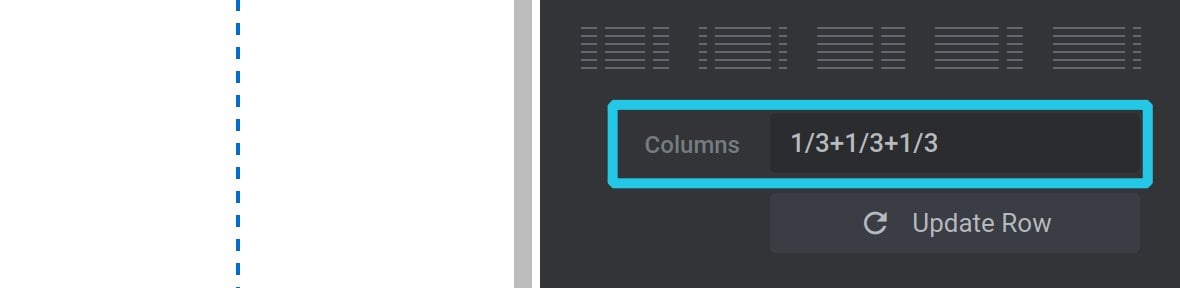
Column Layout Preset
Layout presets can be found at the top of the Row Settings panel. Click a preset to choose it, then click the Update Row button to apply that preset:
Custom Layout Formula
Rather than choosing a preset you can instead enter a custom formula into the columns field:
For each column you want to add, insert a fraction indicating the width for that column. For example, for a column that should be half the width of the row, use 1/2.
Add fractions for as many columns as you need, and insert a + symbol between each, with no spaces. Make sure these fractions add up to a total of 1.
For example, a simple layout formula for two equal width columns is 1/2+1/2:

A more complex example for three columns with gradually increasing width is 1/6+2/6+3/6:

As you would when using a preset, after entering a layout formula click the Update Row button to apply your changes.
Break At
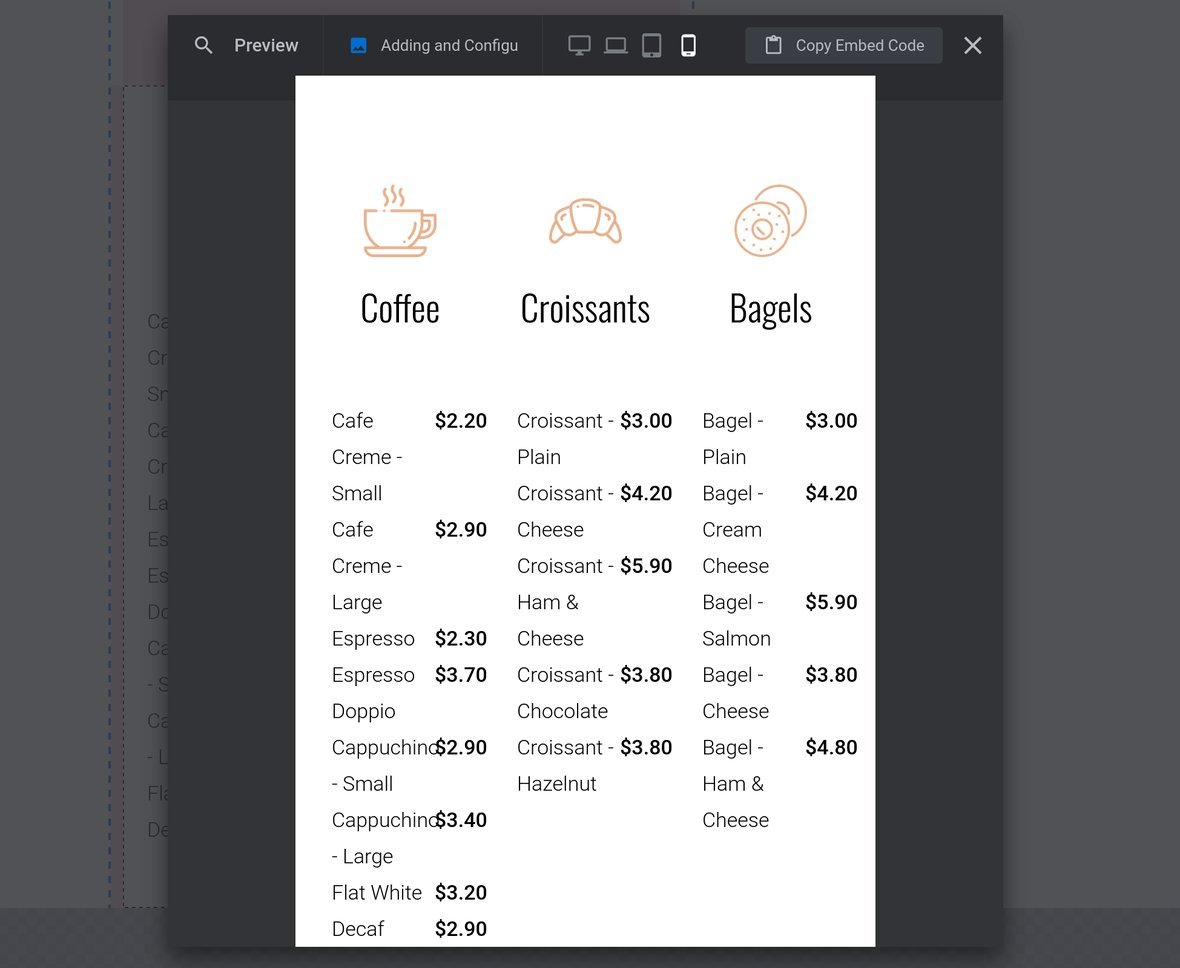
The Break At option sets the device size at which the Row should collapse into a single column layout, i.e. column layers stacked one on top of the other.
This layout collapsing is done to ensure content legibility at smaller viewport sizes. For example at Mobile device size this three column layout is cramped, making it difficult to read:
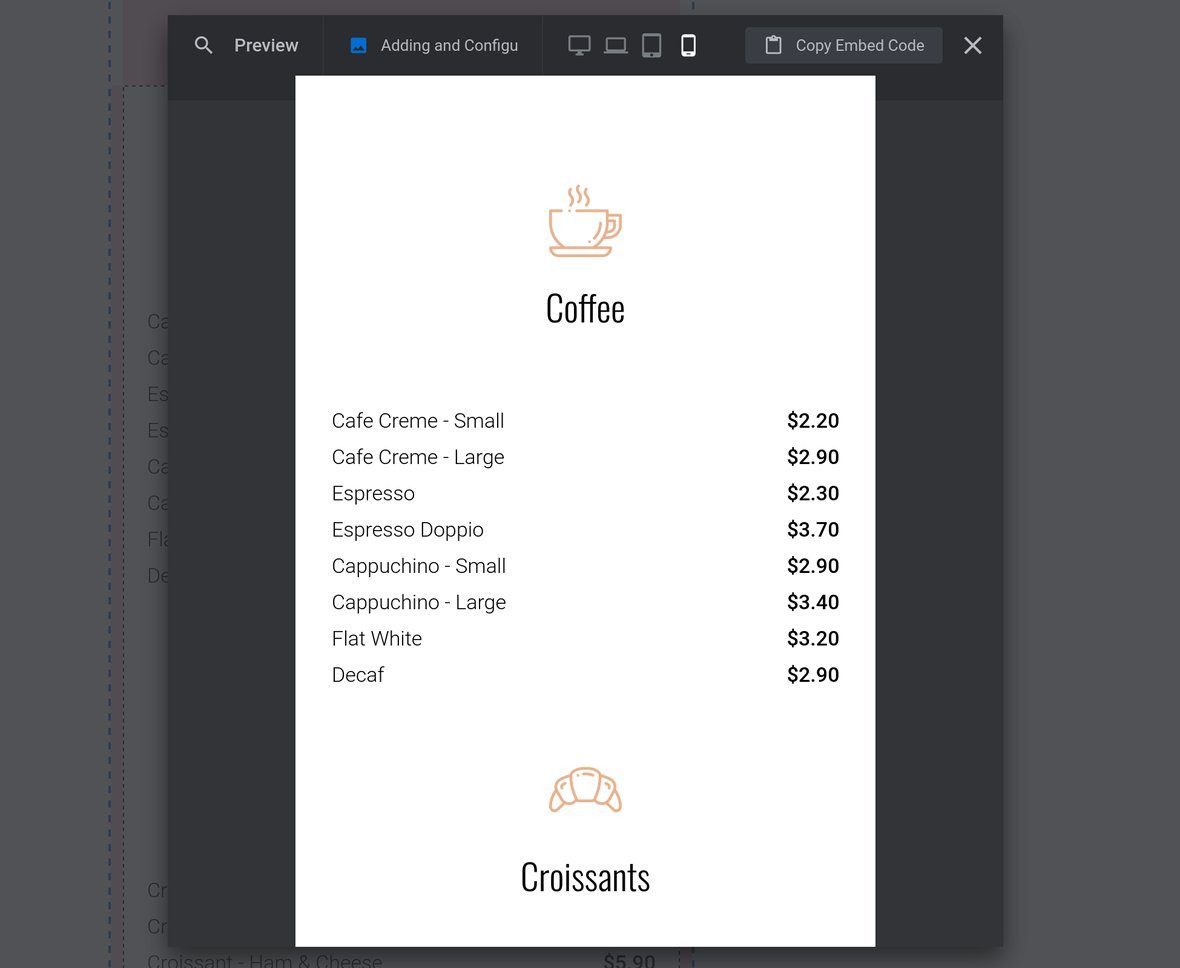
So it is instead collapsed to a single column layout to restore legibility:
You can set the layout to break at either Laptop, Tablet or Phone size by clicking the corresponding icon in the Break At option:

Or if you don’t want the layout to break into a single column at all, you can click the “no break” icon at the end.
Row Position
Use the Row Position option to vertically align the Row by clicking either the top, middle or bottom alignment button:

Column Content Behavior
With a Column layer selected, the Content Behavior panel appears below the Row Settings panel:
Text Align
Use the Text Align option to set either left, center or right alignment of any nested layers that have their Display option, (found in the Content sub-section), set to Inline-Block:

You can also use this option to control the alignment of other layer types, such as images or shapes.
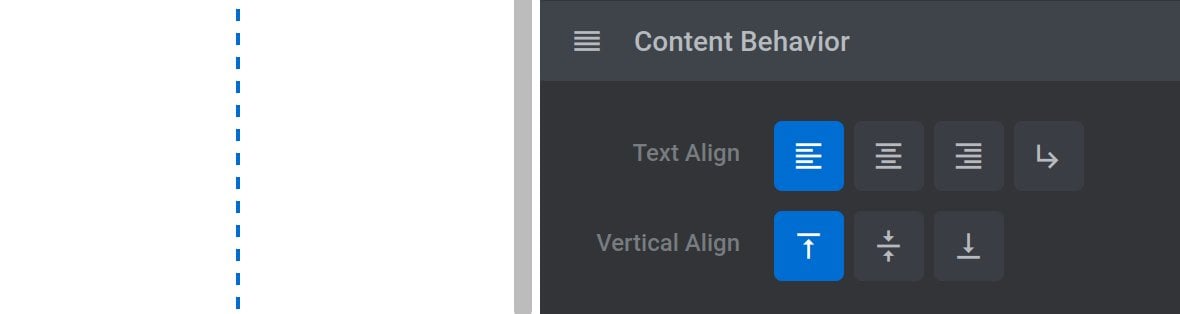
Vertical Align
Use the Vertical Align option to vertically align the column content by clicking either the top, middle or bottom alignment button:

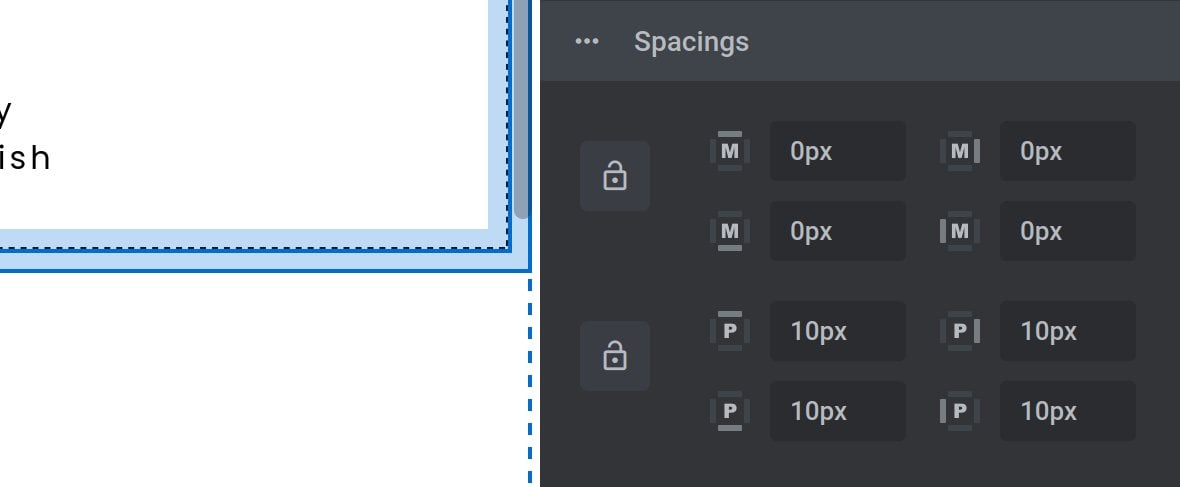
Configure Spacing
Both rows and columns can have the spacing in and around them modified by configuring their padding and margins, respectively.
The relevant options can be found by selecting the row or column layer, and going to the Layer Options tab, Style sub-section, Spacings panel. Margin options are at the top, and Padding options at the bottom: