
Slicey Addon Guide
Use enhanced pan and zoom effects to add stand-out 3D visuals to the background image of any slide.
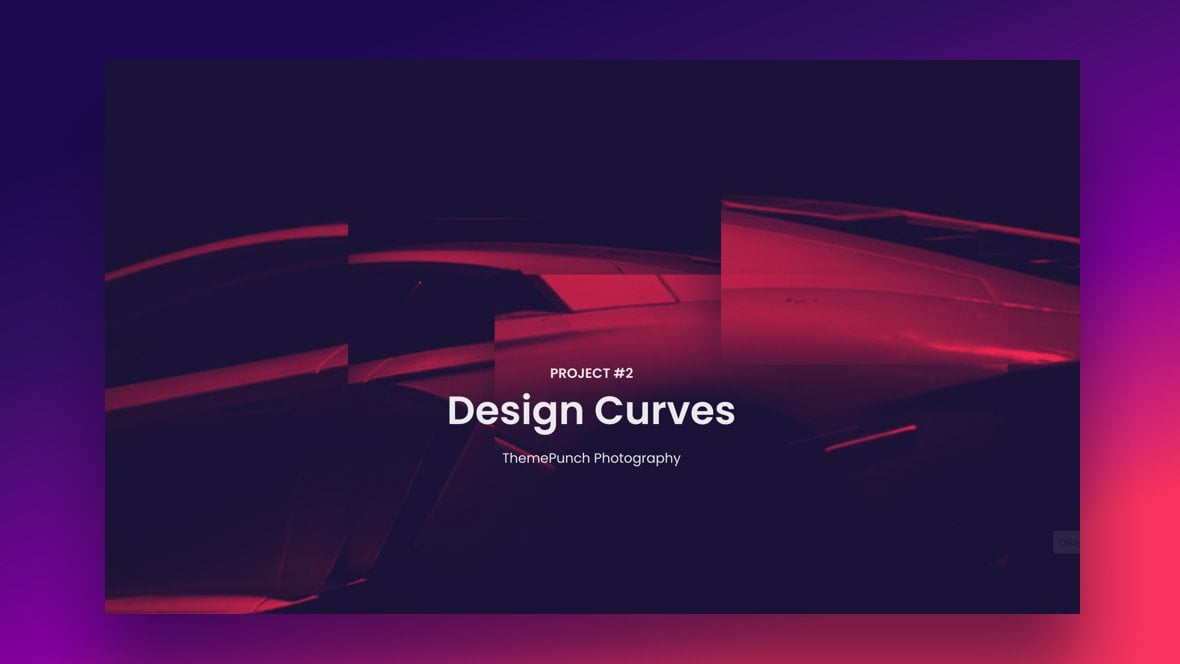
Table of Contents
What does the Slicey Addon do?
The Slicey addon [?]
Addons extend the functionality of Slider Revolution, adding new controls to the module editor and allowing you to do extra things with your design.
For example, using the particle addon you can create effects such as falling snow, and using the distortion addon you can create shimmering effects such as simulating being underwater.
There are dozens of addons available, all included with the full version of Slider Revolution. allows you to easily create 3D-style effects using a slide’s [?]
A "slide" in Slider Revolution is a container into which multiple layers can be added, with layers in turn acting as containers for various forms of media such as images, text, video, audio, buttons, and special effects.
Slides are added to modules and edited via the module editor.
Within the module editor, each slide has its own animation timeline, background and collection of layers.
A single module can have one or many slides. A module with one slide is called a scene, and a module with multiple slides is called a slider or carousel. background [?]
A "background" in Slider Revolution is a type of layer that is always present in every module, and is always visually behind all other layers.
A background can be transparent, a flat color, a gradient, an image, or a video. It can be animated in the same way as other layers can be, however it cannot be deleted. image.
With Slicey you can ‘slice’ up a background image into one or more pieces, each of which can then be individually animated to create captivating 3D-style visual effects:
Getting Started
To get started with the Slicey addon you’ll first need to install and enable it:
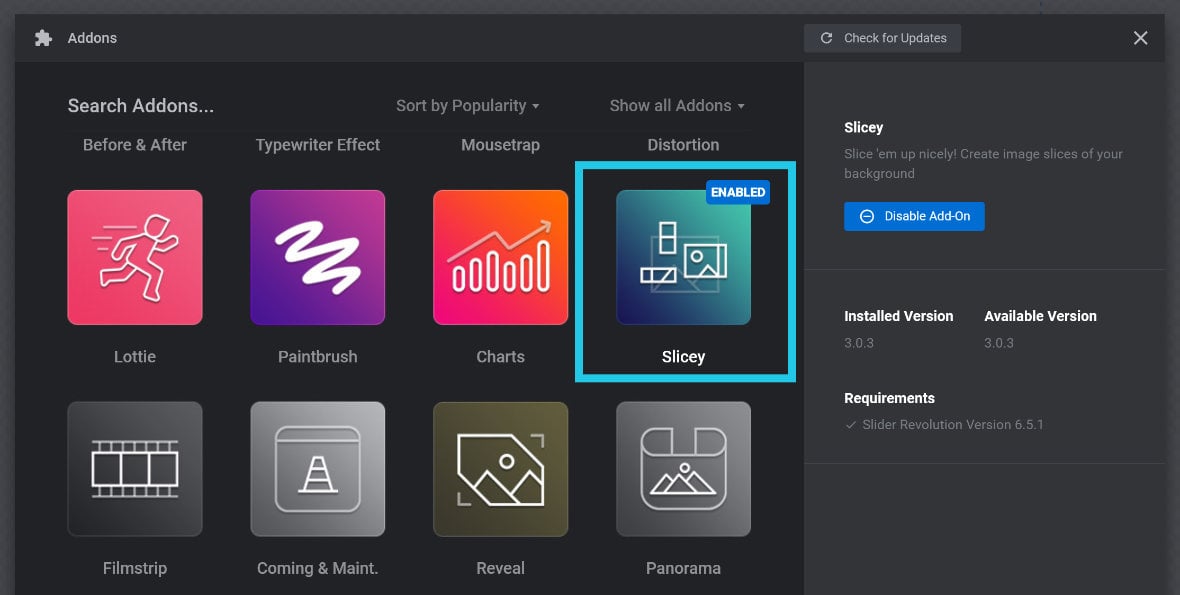
The process for doing this is the same as with all addons, so please begin by following the steps in our guide on how to Browse, Install and Enable Addons.
After installing and enabling the Slicey addon, go to the Layer Options tab and you’ll see the Slicey sub-section there:
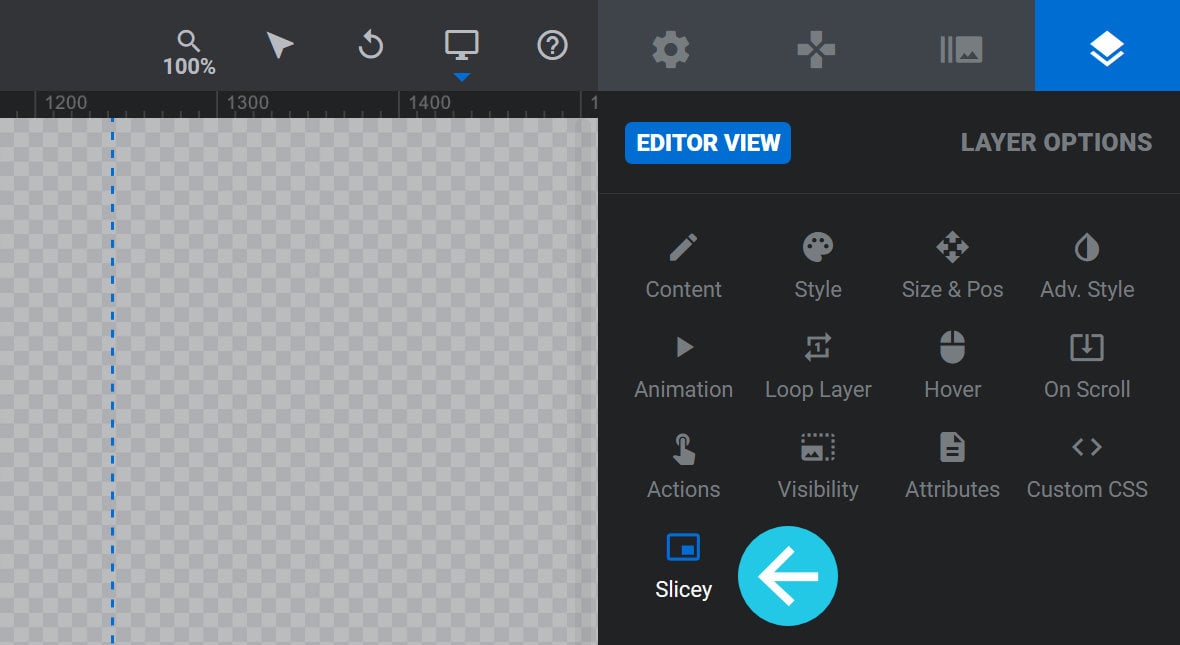
However, there will be nothing visible in this sub-section until you add your first Slicey Layer.
Slicey Layers
A Slicey layer [?]
Layers are containers for visual, audio or layout items and are added to slides. For example, text, button, image, audio, video, group and row are all types of layers.
Layers are added to slides via the module editor. is a rectangular shape that takes a snapshot of an equally sized section of the background image, then applies a zooming effect to it, as well as an optional blurring effect.
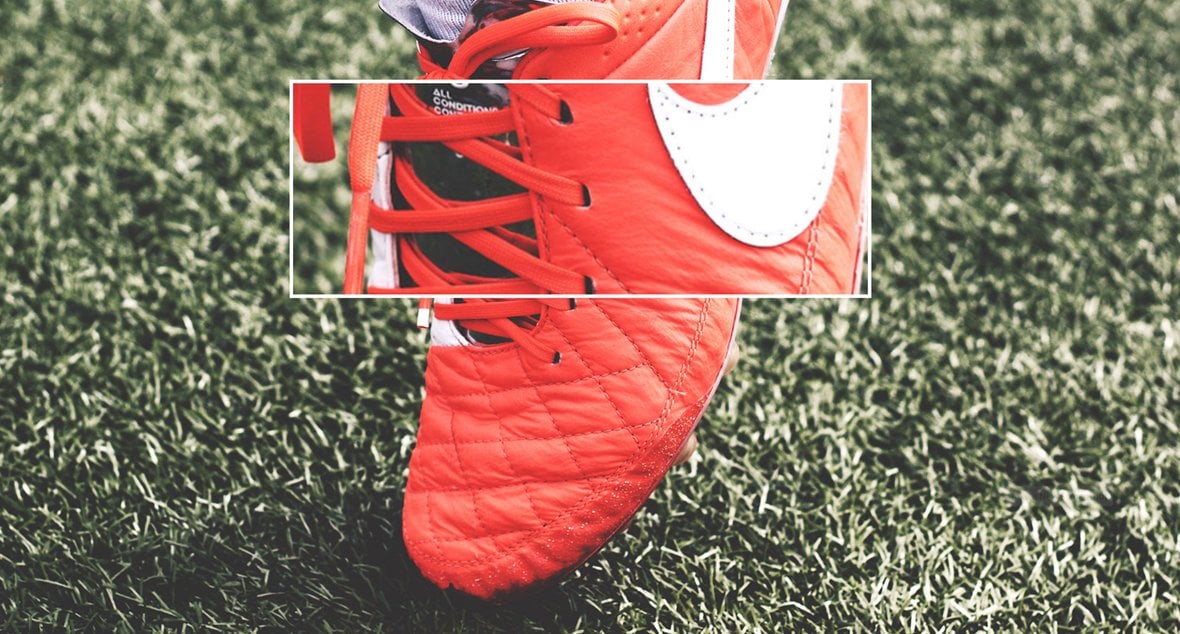
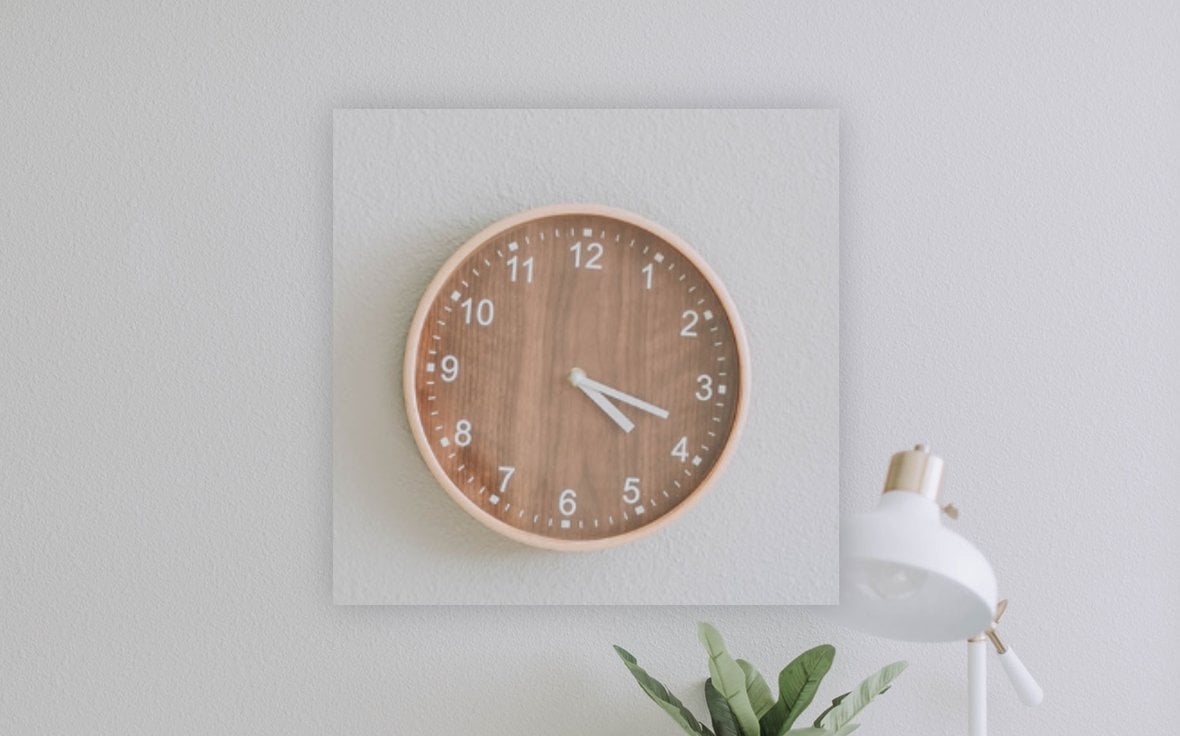
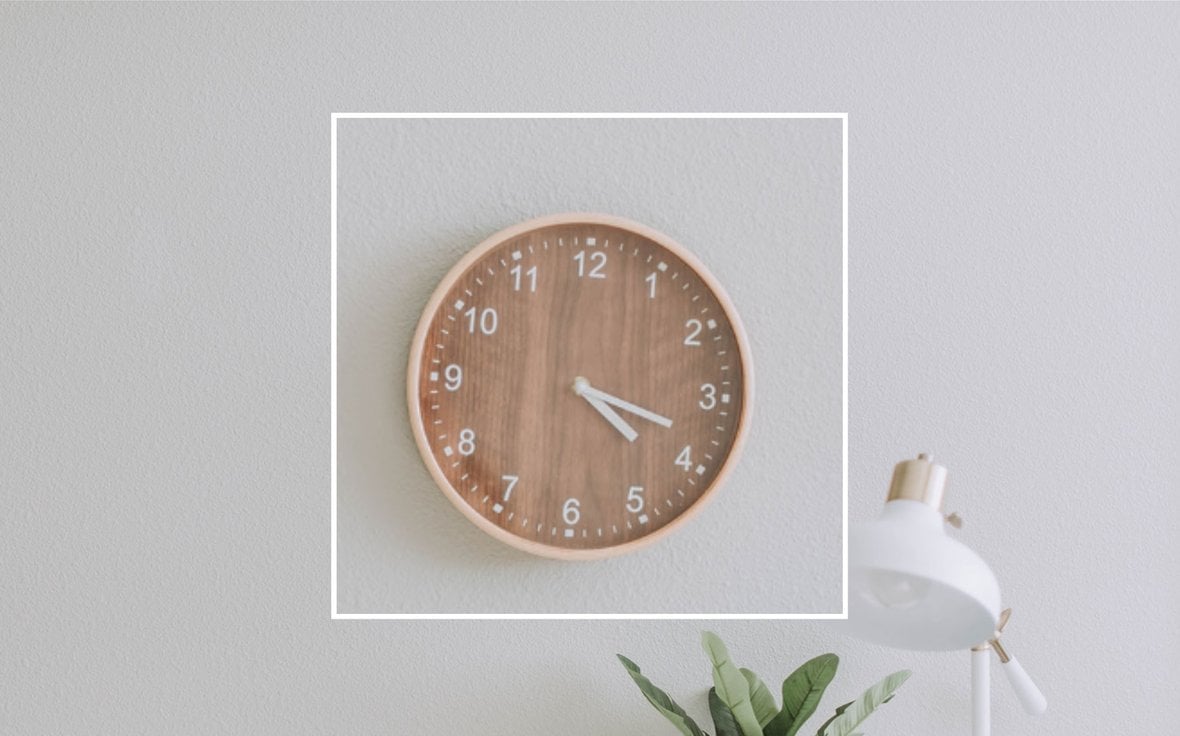
For example, here you can see a Slicey layer sitting over the top of a background image:
And here is how that Slicey layer looks when previewed:
Adding a New Slicey Layer
To add a Slicey Layer, in the module editor [?]
The "Module Editor" is the tool used to create & modify modules.
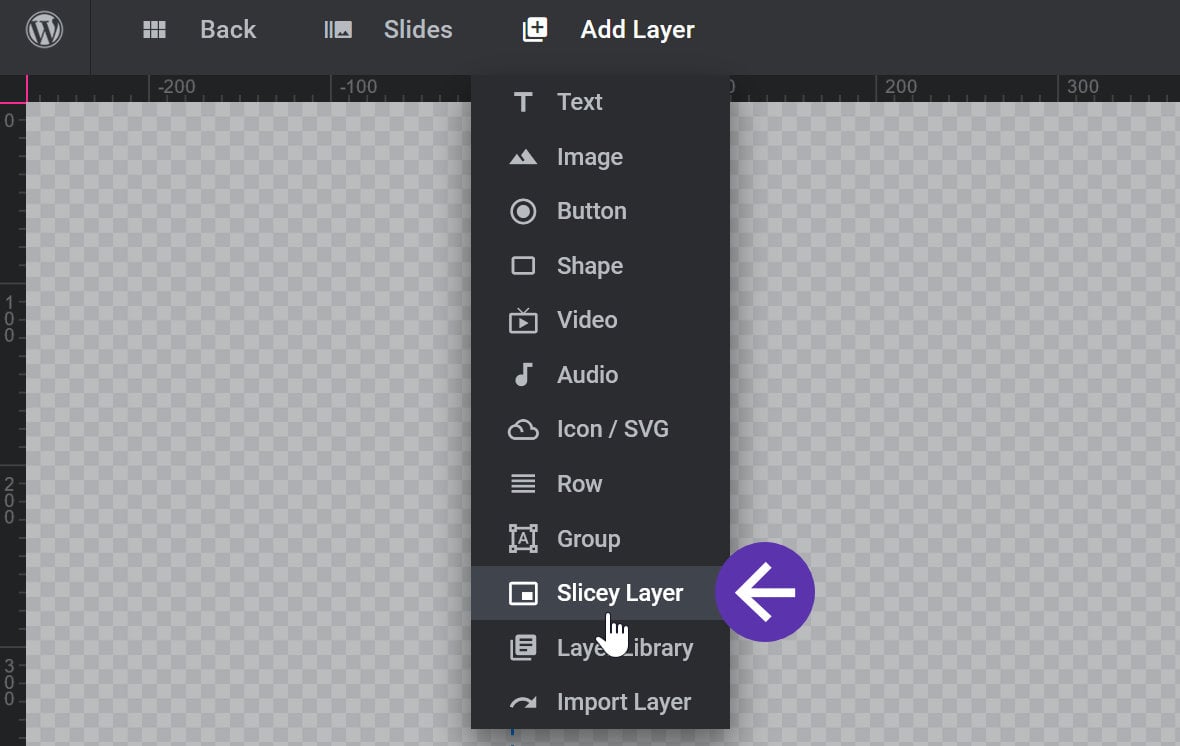
Through this visual, drag & drop, no-code interface you can add various types of layers, animation and special FX to your modules, as well as managing slides and configuring options. editor go to Add Layer in the top menu, then click Slicey Layer:
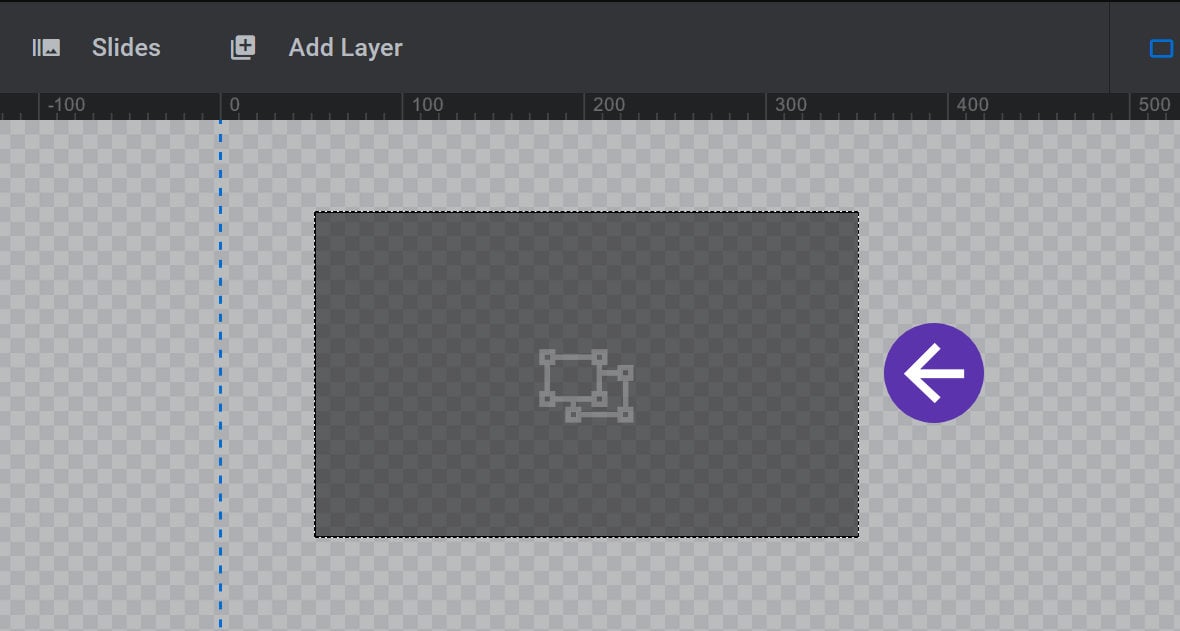
You’ll see the Slicey Layer appear as a dark rectangular shape on the canvas [?]
The canvas is the point and click design space in the module editor. It forms the largest area of the module editor.
In this area layers can be selected, moved and resized. Animations can also be previewed.:
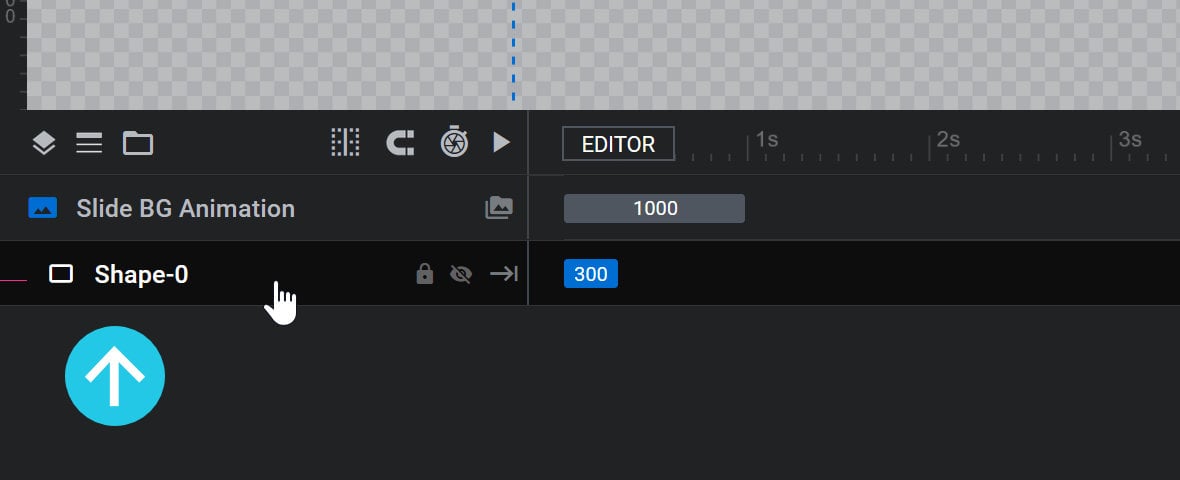
The Slicey Layer will have a corresponding track [?]
A track is one of the horizontal spaces in the module editor's timeline. It is the representation of a layer within that timeline, used for controlling the animations and sorting order position of that layer. in the timeline [?]
The timeline is the section of the module editor dedicated to animation and controlling the stacking order of layers.
From this part of the editor animations can be added, adjusted and previewed. Additionally, layers can be selected from the timeline, and can be dragged and dropped up and down on the timeline to modify which appear in front and which behind.
It can be equally compared to both a timeline in a typical video editing application, and a layers panel in a typical graphic design application:
Each Slicey Layer has its own dedicated layer. Because of this you can place multiple Slicey Layers onto the canvas to create some really interesting 3D-style effects, such as those seen in our Parallax Zoom Slices template.
Note: A Slicey Layer uses the image from a slide’s main background for its effect. Add a background image by going to the Slide Options tab, then the Background sub-section, and then in the Source panel click either Media Library to use your own image, or Object Library to choose an image from Slider Revolution’s [?]
Slider Revolution is a website content creation tool with a focus on captivating animation and stunning visual effects.
It began its life as a plugin for creating slideshows, but has evolved into a fully fledged piece of design software. free image library.
If you need further help with background images, refer to our guide on Changing Template Background Colors and Images to learn more.
Resize and Reposition the Slicey Layer
A newly added Slicey Layer has a default size and default position on the canvas. You’ll likely want to resize it and move it to the area of your background image where you want to create your slicey effect.
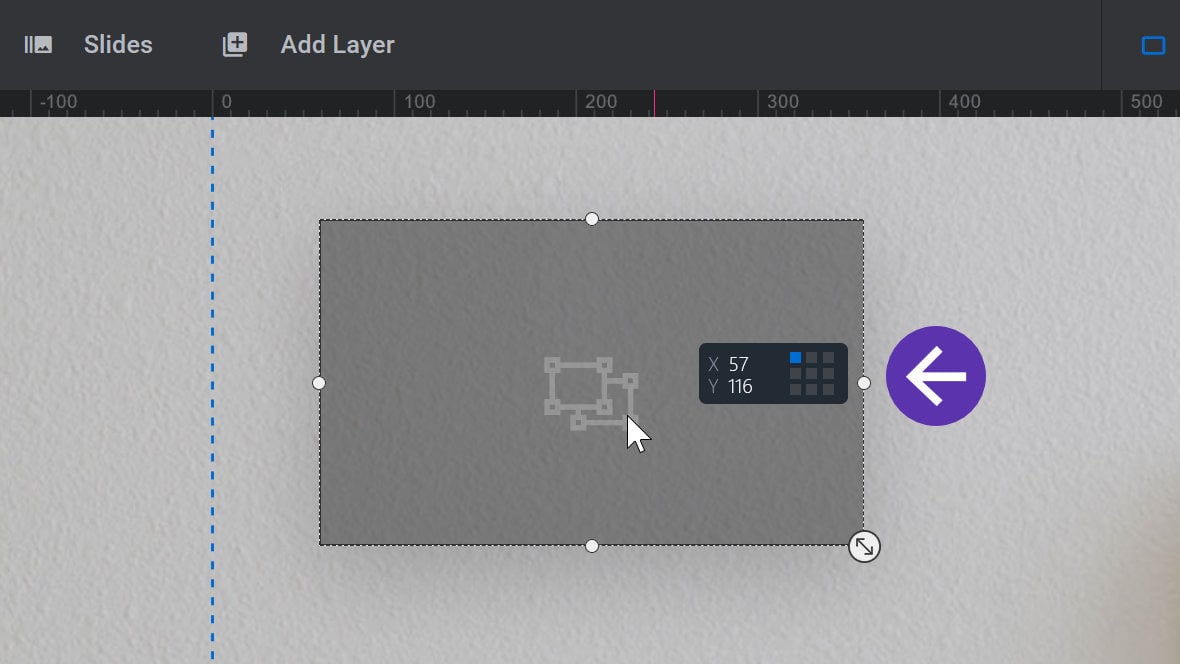
To reposition it, click and hold your left mouse button anywhere on the shape. It will appear slightly lighter and you’ll see an indicator that displays the X and Y coordinates for the layer’s current position, which will update in real time as you reposition the shape:
Once you have moved the shape to where you want it to be, release your mouse button.
To resize it, make sure the Slicey Layer is selected, then look for the small white-circle handles along the sides of the shape.
To resize width, click and hold your left mouse button on the left or right white circles:
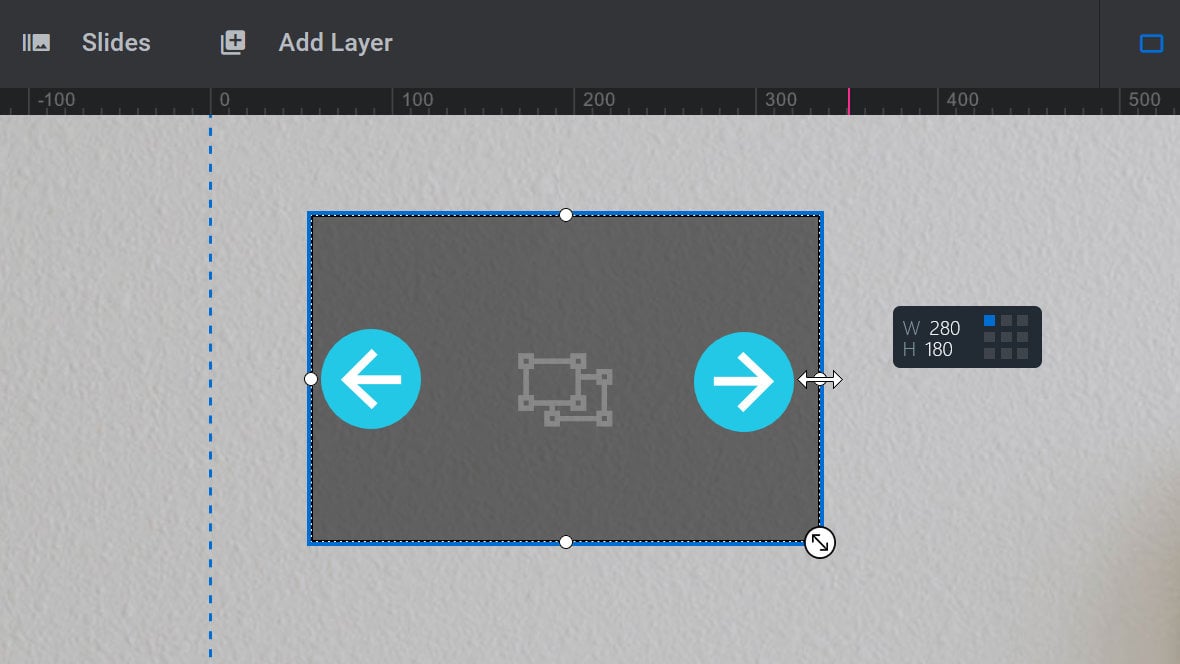
Move your mouse left or right to resize, then release the mouse button. You’ll see an indicator that displays the W (Width) and H (Height) of the shape in pixels. When resizing width, the width of the shape will update in real time without affecting the height.
To resize height, click and hold the left mouse button on the top or bottom white circles:
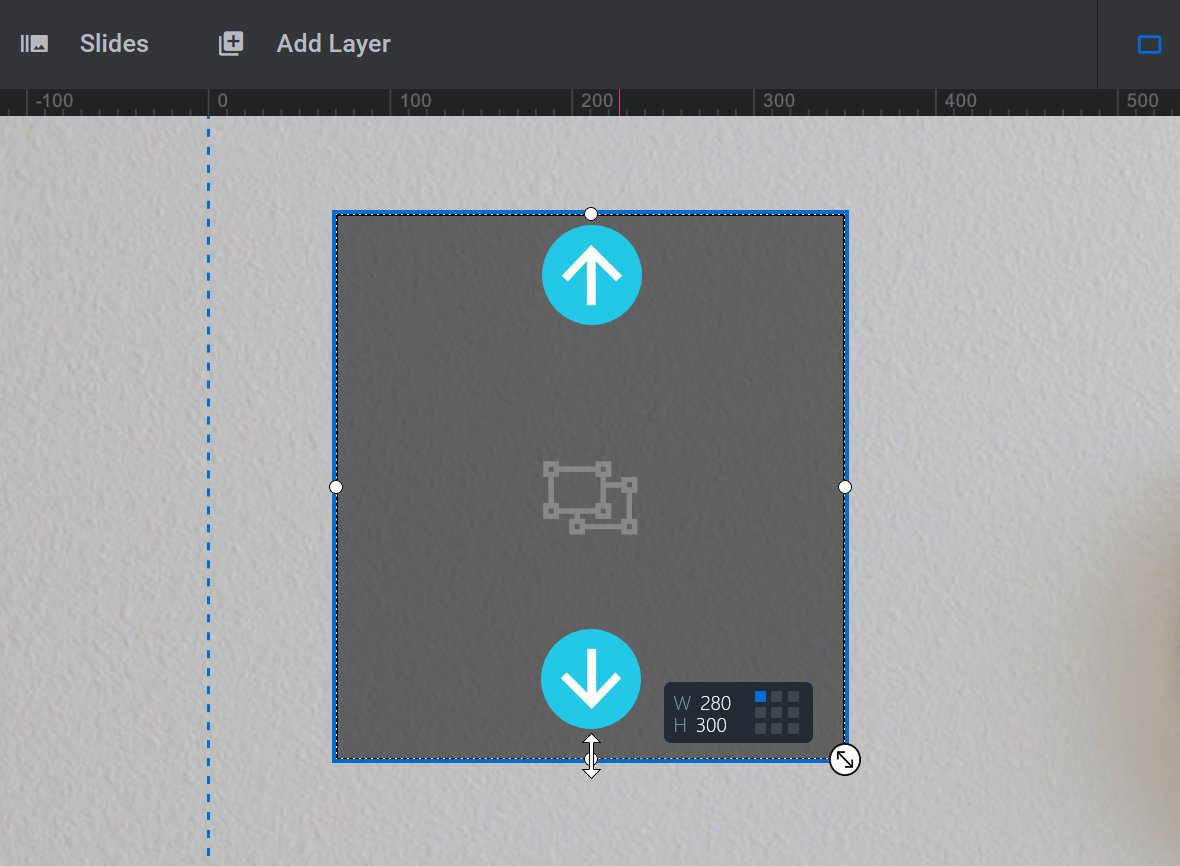
Move your mouse up or down to resize, then release the mouse button. You’ll see an indicator that displays the W (Width) and H (Height) of the shape in pixels. When resizing height, the height will update in real time without affecting the width.
You can also manually resize all sides at once while maintaining the layer’s aspect ratio. Click and hold the left mouse button on the large white circle visible on the bottom right corner of the Slicey Layer:
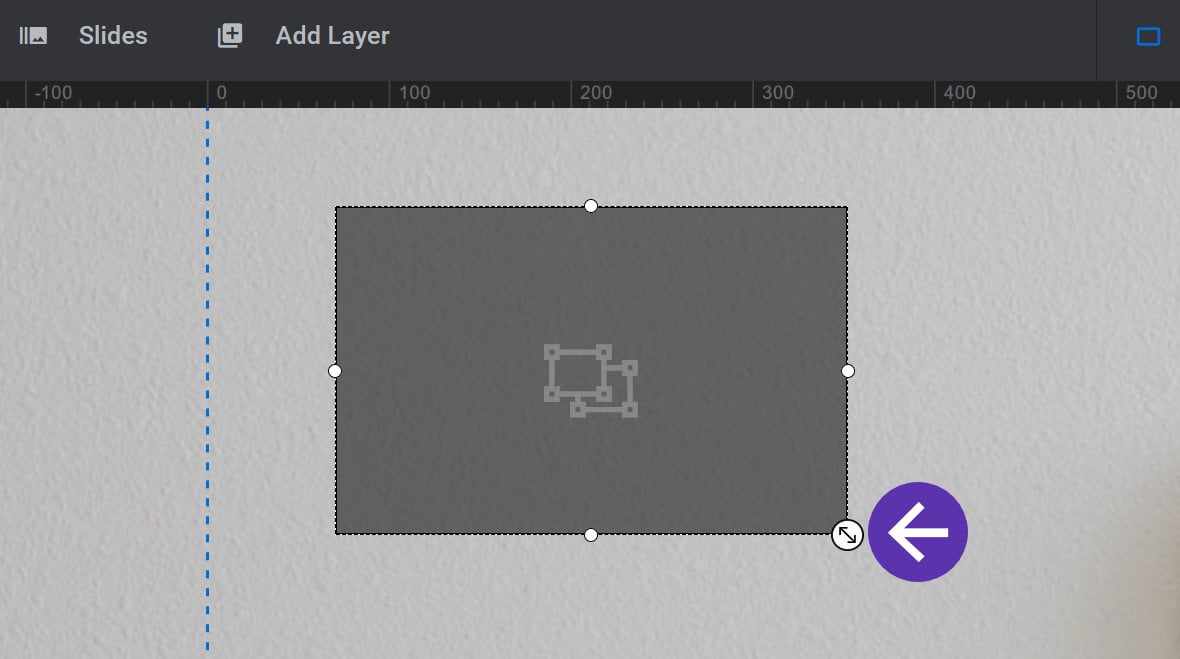
Move your mouse diagonally to resize, then release the mouse button
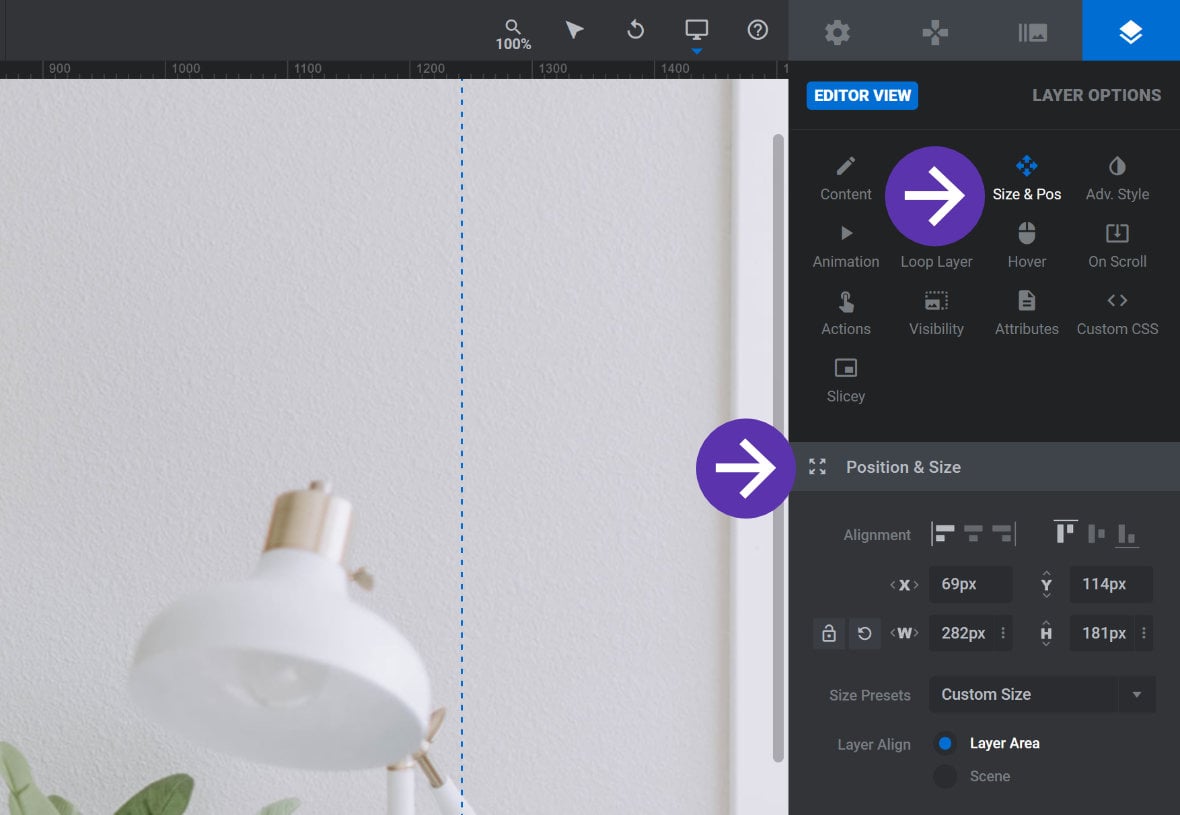
Alternatively, repositioning and resizing can both be performed from the sidebar. Go to the Layer Options tab, then the Size & Pos sub-section, and then adjust the fields in the Position & Size panel as required:
Slicey Layer Settings Panel
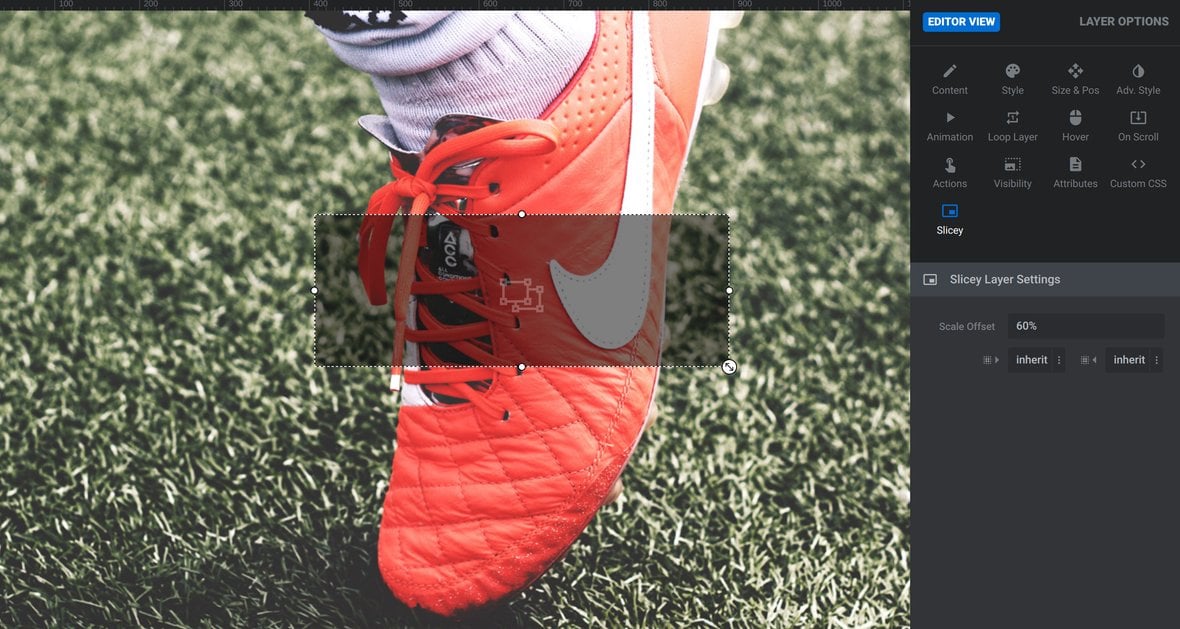
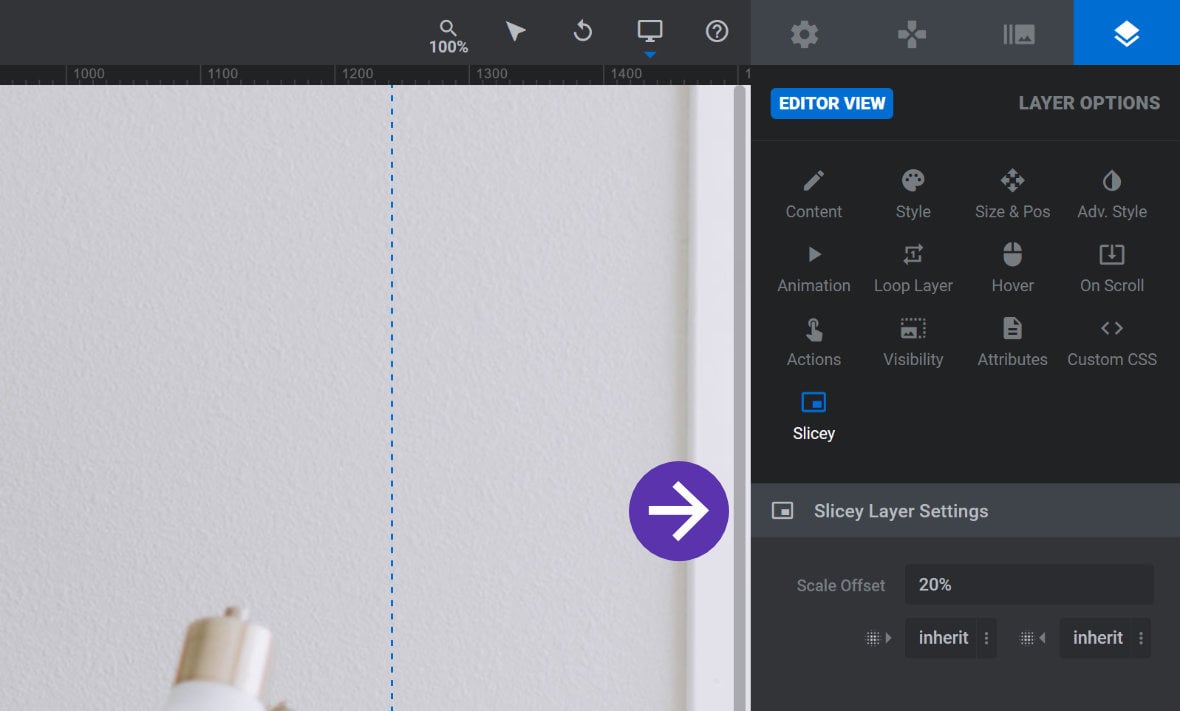
Once a Slicey Layer has been added, the Slicey sub-section in the Layer Options tab will be updated with a new Slicey Layer Settings panel:
Scale Offset
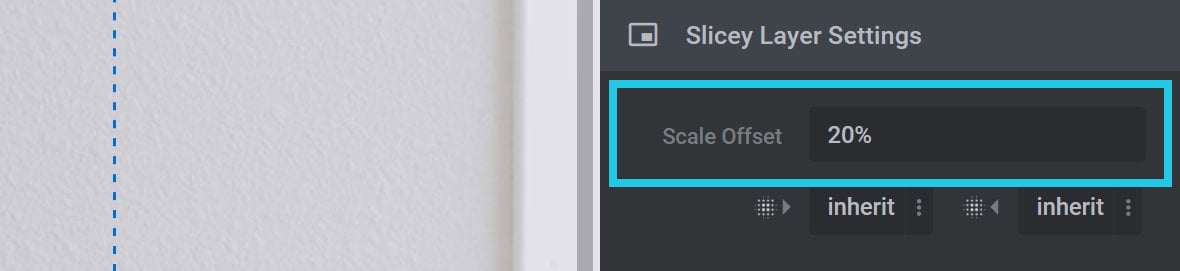
The Scale Offset field allows you to choose a percentage (%) by which the Slicey Layer will offset itself from the background image as part of its panning and zooming movement:
To offset your Slicey Layer from that of the background image, the percentage value in the Scale Offset field is added by Slider Revolution to the percentage value in the Zoom To field of the Slicey Update on Pan Zoom panel, which you can find in the Slicey sub-section of the Slide Options tab:
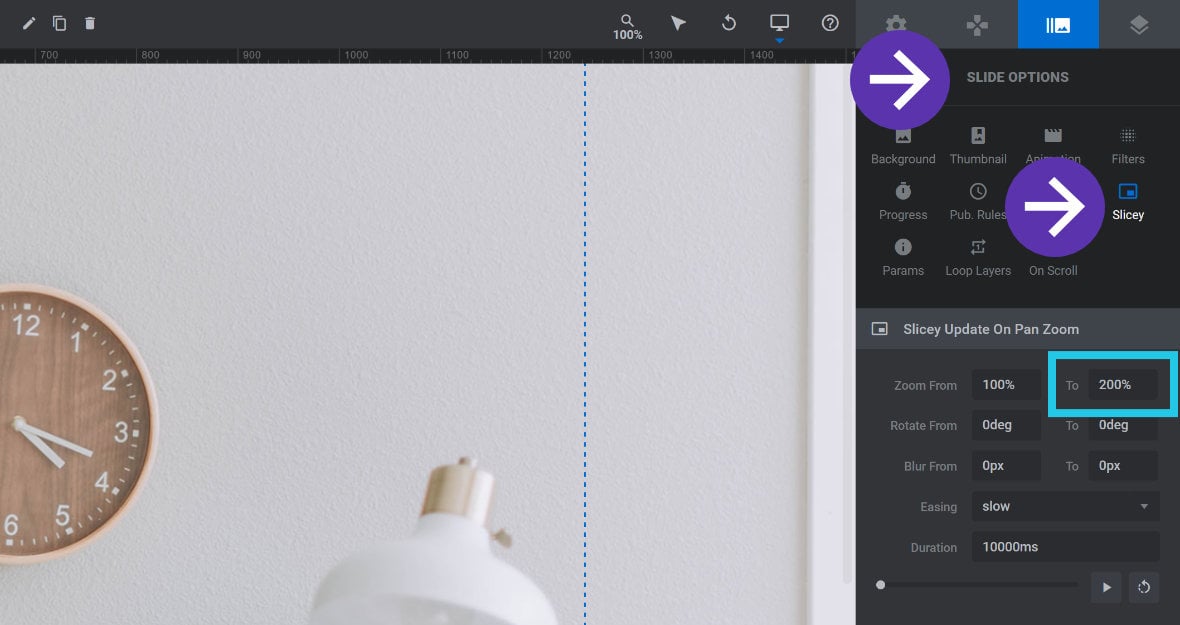
For example, if the Zoom To field has a value of 200%, and the Scale Offset field has a value of 50%, then the Slicey layer will zoom to an offset scale of 250% during its animation. In the preview below you can see such an offset in progress as the Slicey layer area zooms to 250% while the background zooms to 200%:
Slicey Blur From & To
The Slicey Blur From field allows you to set the level of blur the Slicey Layer will have at the start of its animation:
The Slicey Blur To field allows you to set the level of blur the Slicey Layer will have at the end of its animation:
During the Slicey Layer’s animation, the blur applied will adjust from the value in the Slicey Blur From field to the value in the Slicey Blur To field.
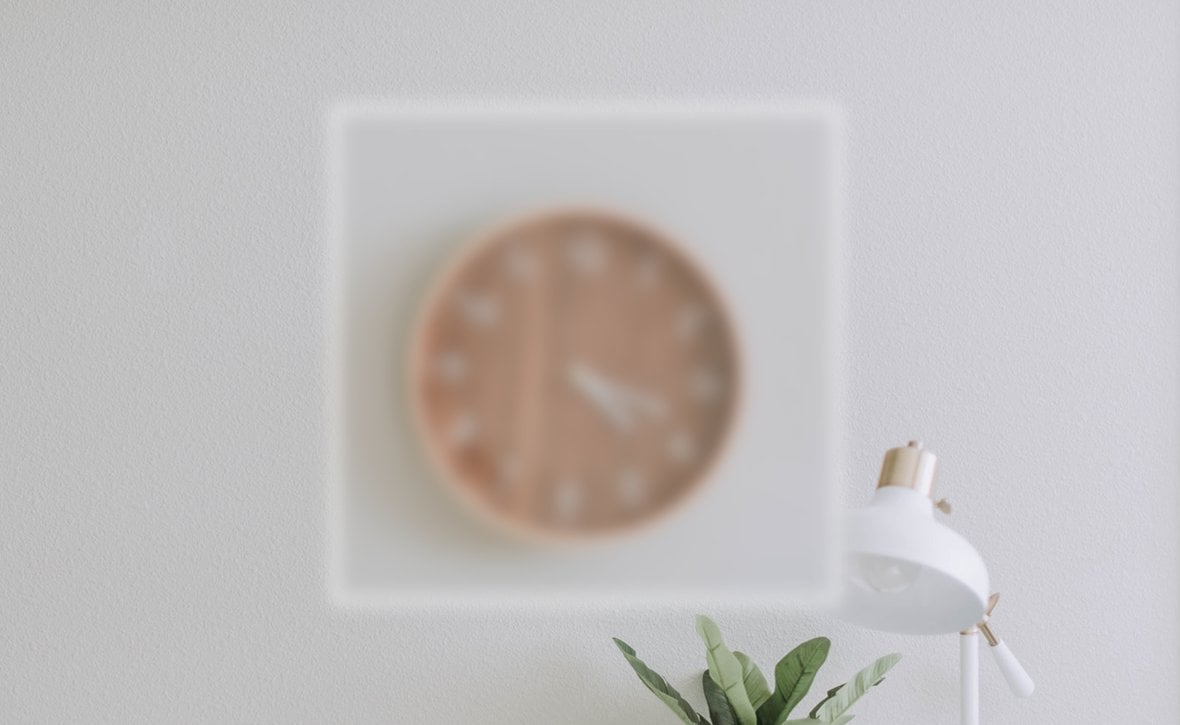
The blur itself applies to the area of the slide’s background image that the Slicey layer covers. For example, this Slicey layer has a blur of 5px applied to it:
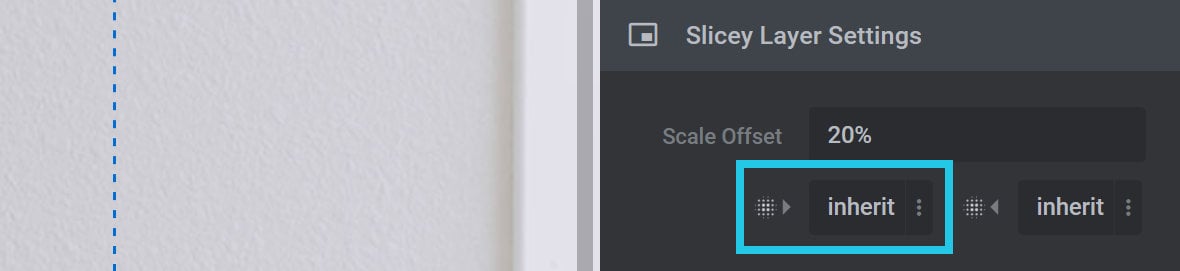
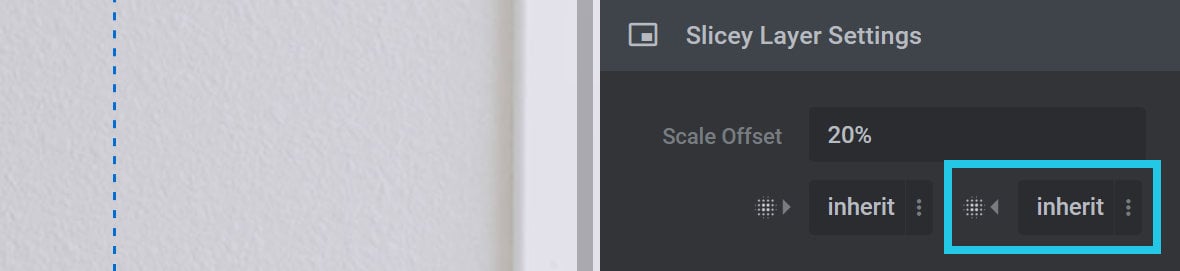
Note: Both the Slicey Blur From and Slicey Blur To fields are set to inherit by default. This means both fields will use the values in the Blur From and Blur To fields in the Slicey Update on Pan Zoom panel until you modify them directly.
Slicey Update on Pan Zoom
To further customize the visual effects around your Slicey Layer, go to the Slide Options tab and select the Slicey sub-section. You’ll see the Slicey Update on Pan Zoom panel:
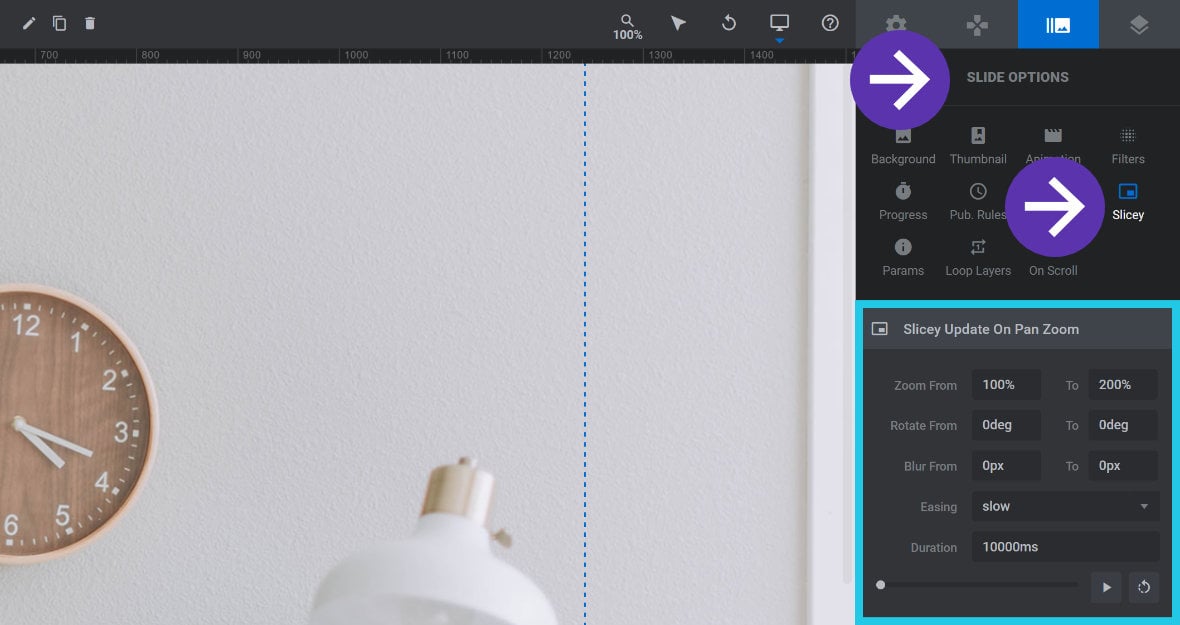
The settings available here help you control the behavior of your slide’s background image. It is through modifying the movement of your background image and your Slicey layers separately that the 3D-style visual effects of the Slicey addon are achieved.
Zoom From & To
The Zoom From and Zoom To fields allow you to set how much the background will be scaled from the start to the end of the Slicey animation:
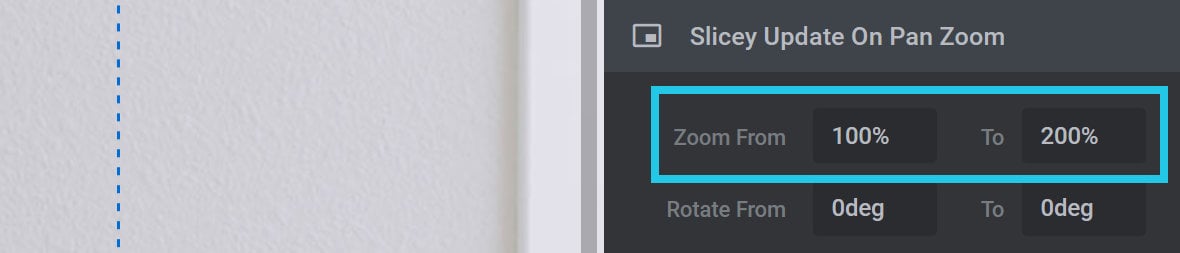
For example, if you set Zoom From to 100%, and set Zoom To to 200%, the background image will begin at a scale of 100% and will animate through to a scale of 200% by the end of the Slicey animation.
Note: If there is a value in the Scale Offset field, it will be added to the value in the Zoom To field when Slicey calculates its ending zoom value. For example, if the Zoom To field has a value of 200%, and the Scale Offset field has a value of 50%, then the Slicey Layer will zoom to 250% by the end of its animation.
Rotate From & To
The Rotate From and Rotate To fields give you control over the 2D rotation of the slide’s background image during the Slicey animation:

For example, if you set Rotate From to 0deg and Rotate To to 5deg, the background image will rotate clockwise from 0 to 5 degrees over the course of the Slicey animation.
To rotate anti-clockwise, set the Rotate To field to a negative value, ie. -5deg.
Blur From & To
The Blur From and Blur To fields allow you to apply an amount of blur to the start and end states of the slide’s background image during the Slicey animation:
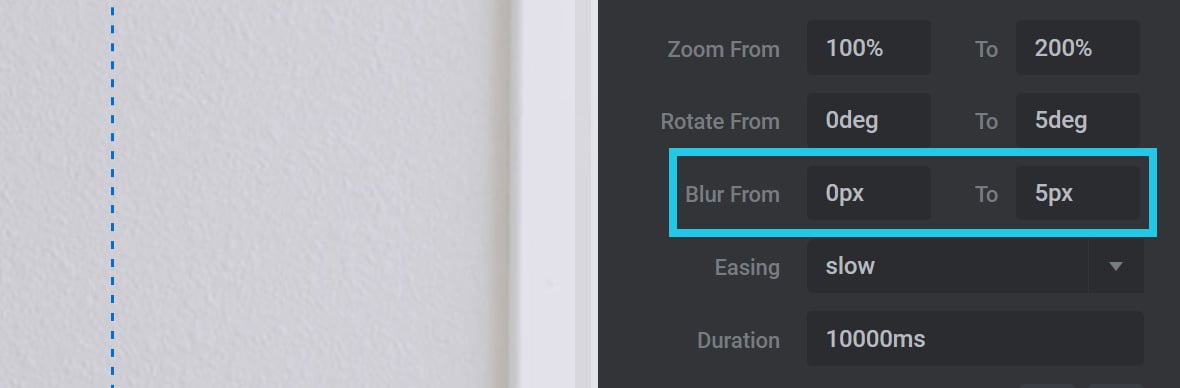
The Blur From field allows you to set the level of blur that the slide’s background image will have at the start of its animation.
The Blur To field allows you to set the level of blur that the slide’s background image will have at the end of its animation.
For example, if you set Blur From to 0px and Blur To to 5px, the background image will transition from zero (0) to 5 pixels of blur over the course of the Slicey animation.
Easing
The Easing option can be used to smooth out the start and end of the Slicey effect. Click the Easing drop-down, then select your preferred easing preset:

Note: Certain Easing presets can significantly change or override certain Slicey animation settings. For this reason, it is a good idea to set Easing to None until you have configured all other options, and then play around with Easing settings until you achieve the desired effect.
Duration
The Duration setting allows you to specify in milliseconds(ms) the total amount of time that the Slicey animation will run for:

The time in the Duration field applies to the animation of each Slicey Layer as well as the slide’s background image.
Preview
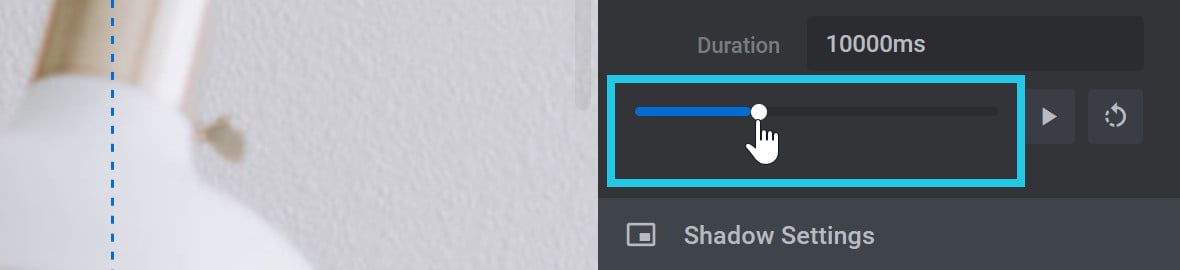
Your Slicey Update on Pan Zoom panel settings can be previewed directly on the canvas by using the triangular play button in the sidebar:

You can also select and drag the white circle play head on the preview bar to manually scrub through the animation:
Note: The sidebar preview function is used for previewing changes to the Slicey background image animation only. To preview the slide’s background image animation and the animations of all your Slicey Layers together, use the main module [?]
A module in Slider Revolution acts as a container for slides, which in turn act as containers for layers. Modules are created and edited with the module editor.
A "module" is a single, self contained piece of content. You can think of this as being similar to the way a post or page in regular WordPress is a self contained piece of content.
A module can represent any kind of content Slider Revolution is capable of creating, such as a slider, carousel, hero unit, navigation menu, posts display and so on.
Multiple modules can be combined to form rich content such as complete sites and landing pages. Preview. Always be sure to Save before selecting Preview.
You can learn more about previewing animations in our section on Previewing Animations.
Shadow Settings
Directly below the Slicey Update on Pan Zoom panel you’ll see the Shadow Settings panel:
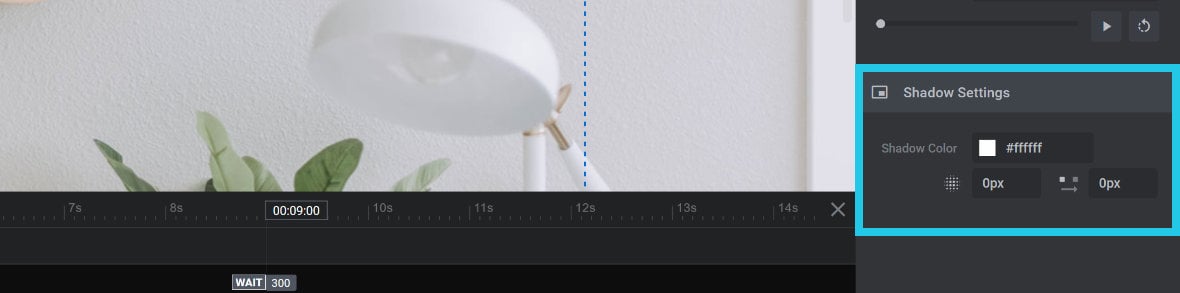
The options here allow you to add either a shadow or border effects to your Slicey Layers.
Shadow Color
You can change the color of your Slicey Layer’s border here. Click the little color swatch to the right of the Shadow Color option text:

Then choose a color using the color picker that opens. If you need more assistance with using the color picker, refer to the Selecting Colors section of the Slider Revolution manual.
Note: A shadow or border will not be visible around your Slicey Layer until a value is set in the Blur and/or Border Size fields.
Blur
The Blur field allows you to apply a blur to any shadow added to a Slicey Layer:

By default the Blur field is set to zero (0), meaning no blur will be applied. Set any value from 1px to 500px, and the higher the value the softer the shadow will be.
In this example, a transparent black color is applied along with a blur of 20px:
Note: When using this panel to create a shadow effect the Border Size option behaves as an intensity setting for that shadow.
Border Size
The Border Size option has a dual functionality, and can be used to specify the size of the border you want to apply, or the intensity of your shadow:

By default the Border Size field is set to zero (0), meaning the Slicey Layer will not have a border applied. A size value of 1px to a maximum of 500px can be set.
Borders set to a value of 1px or higher are solid by default, utilizing the color as set in the Shadow Color field. For example, this Slicey layer has a 3px white border applied, with a blur of 0px:
You can then optionally use the Blur field to apply a blur to the solid border, generating a shadow effect.
You can also control the transparency of the border by adjusting its opacity in the color picker, accessed via the Shadow Color field.
Learn More from Templates
To learn more about working with the Slicey addon, one of the best things you can do is explore with some of our ready-made templates [?]
A "Template" is a premade module. It has pre-configured layers already in place.
It is designed to be ready for use, either as is or after being modified in the module editor.
Slider Revolution comes with several templates you can use, or alternatively you can create your own templates, thereby allowing you to easily reuse modules you have produced. that put the addon into action. Try starting with the Parallax Zoom Slices template.