
Progress the Timeline by Scrolling
Create dynamic, visitor controlled animation effects with a scroll powered timeline.
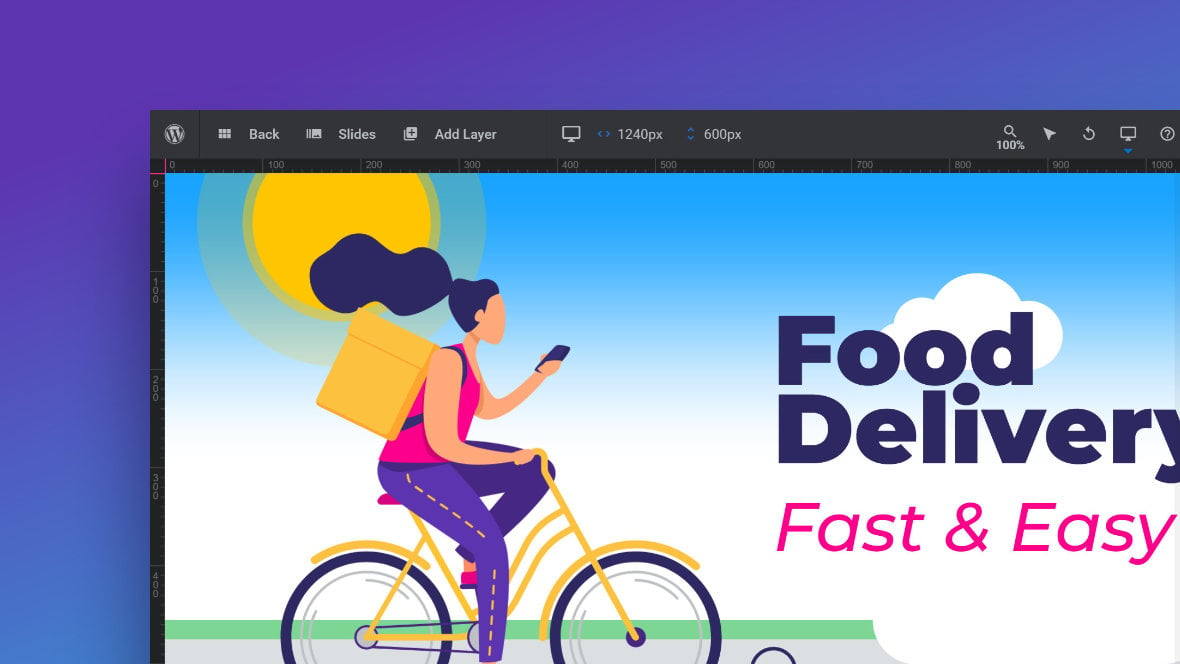
Table of Contents
What is a Scroll Based Timeline?
By default, the animations on the timeline of a slide [?]
A "slide" in Slider Revolution is a container into which multiple layers can be added, with layers in turn acting as containers for various forms of media such as images, text, video, audio, buttons, and special effects.
Slides are added to modules and edited via the module editor.
Within the module editor, each slide has its own animation timeline, background and collection of layers.
A single module can have one or many slides. A module with one slide is called a scene, and a module with multiple slides is called a slider or carousel. automatically progress over time. However, you can instead have them progress only when the visitor scrolls the page. Scrolling down will move the animations forward, and scrolling up will reverse them.
In order to make your timeline scroll based there are two key steps. First, enable scroll based timeline progression for the entire module [?]
A module in Slider Revolution acts as a container for slides, which in turn act as containers for layers. Modules are created and edited with the module editor.
A "module" is a single, self contained piece of content. You can think of this as being similar to the way a post or page in regular WordPress is a self contained piece of content.
A module can represent any kind of content Slider Revolution is capable of creating, such as a slider, carousel, hero unit, navigation menu, posts display and so on.
Multiple modules can be combined to form rich content such as complete sites and landing pages.. Then, decide which individual layers [?]
Layers are containers for visual, audio or layout items and are added to slides. For example, text, button, image, audio, video, group and row are all types of layers.
Layers are added to slides via the module editor. will use scroll based animations.
In this guide we’ll learn how to complete those two steps, how to configure the additional options that relate to scroll based timelines, and some extra tips & tricks for working with this functionality.
Enabling Scroll Based Timeline
Let’s start by completing the two fundamental steps of enabling scroll based animations at first the module and then layer levels.
Enable at Module Level
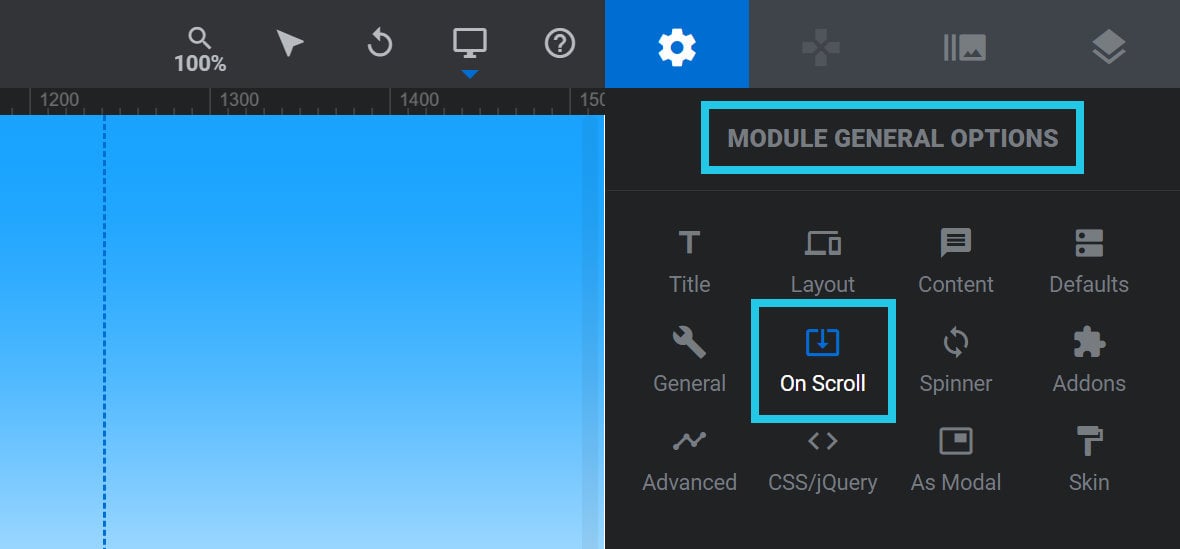
Go to the Module General Options tab, and into the On Scroll sub-section:
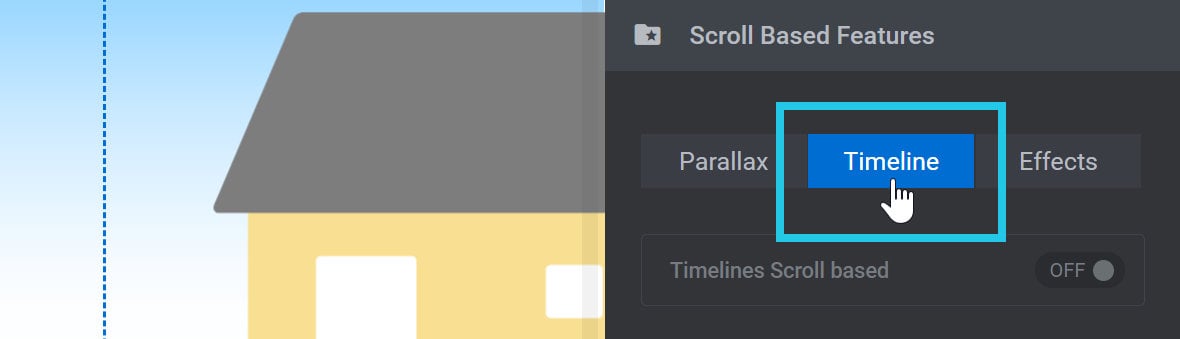
Then in the Scroll Based Features panel, click the Timeline tab:
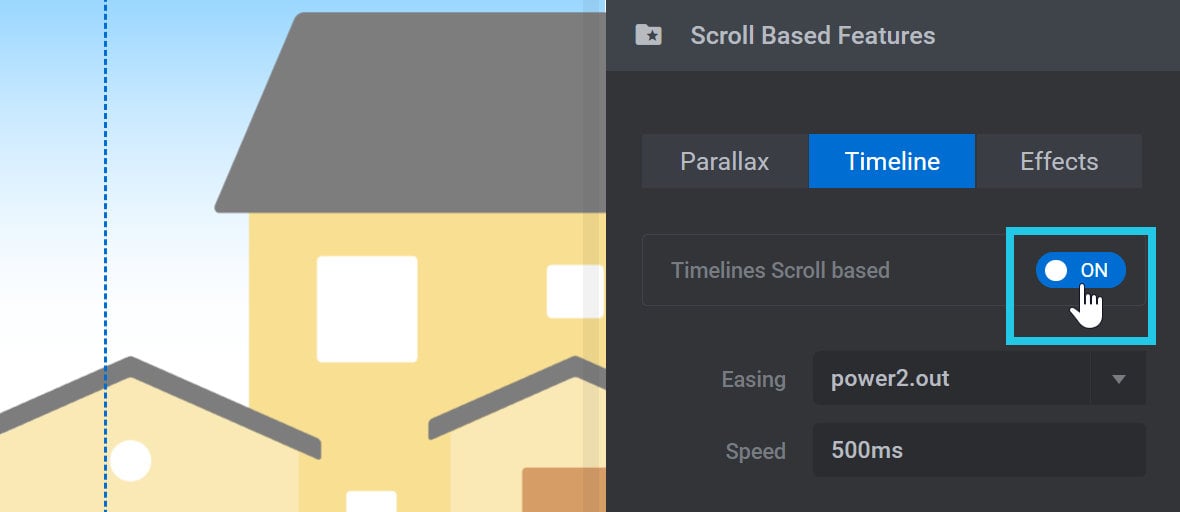
Toggle the Timeline Scroll Based option to ON:
Enable at Layer Level
By default, when you enable a scroll based timeline your layer animations will still be time based. They won’t respond to scrolling until you explicitly tell them to.
There are two ways you can activate scroll based animation on your layers. You can either activate it for each layer manually, or you can activate it for all layers at once.
Enable for All Layers
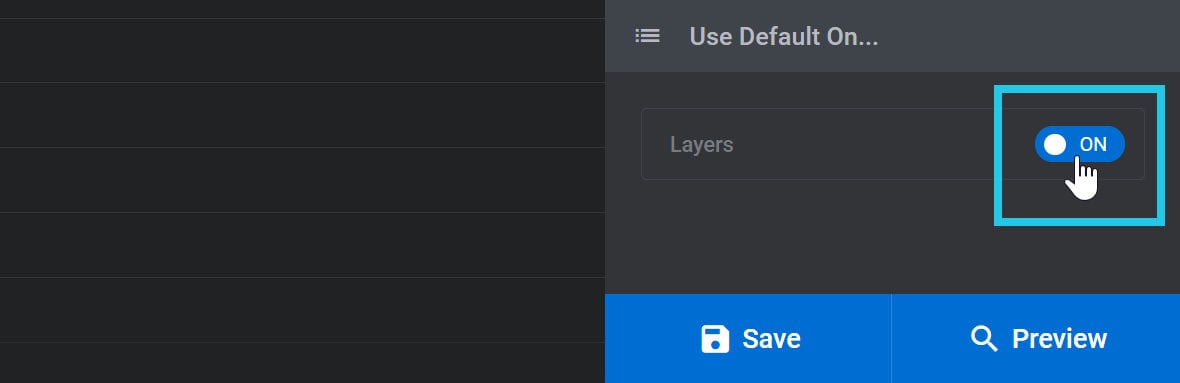
If you want to activate scroll based animation for all layers at once, then before leaving the module level On Scroll sub-section, look in the Use Default On panel and toggle Layers to ON:
Enable for Individual Layers
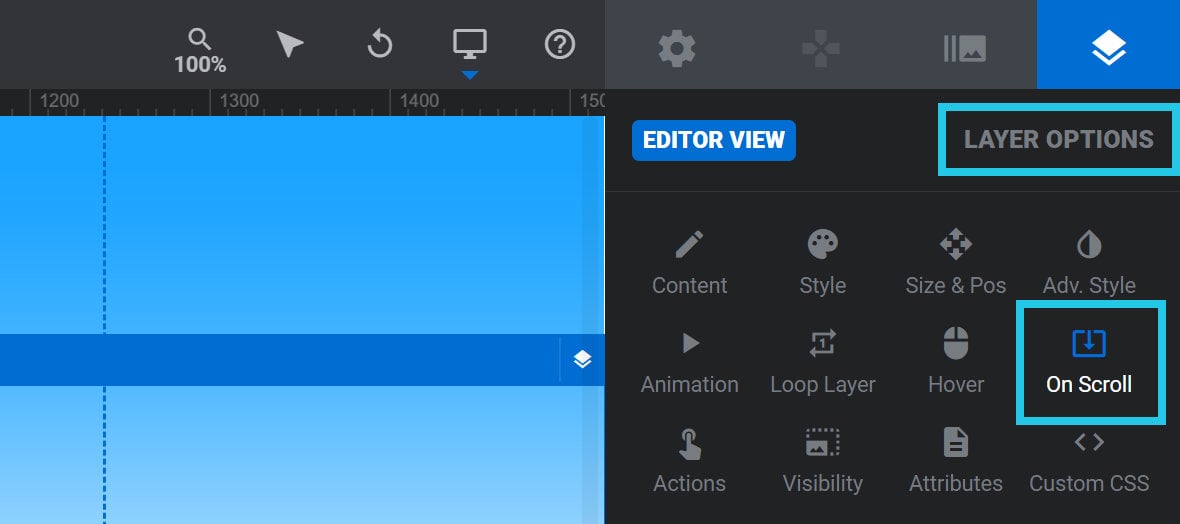
To enable scroll based animations for a single layer, select the layer, then go to the Layer Options tab, On Scroll sub-section:
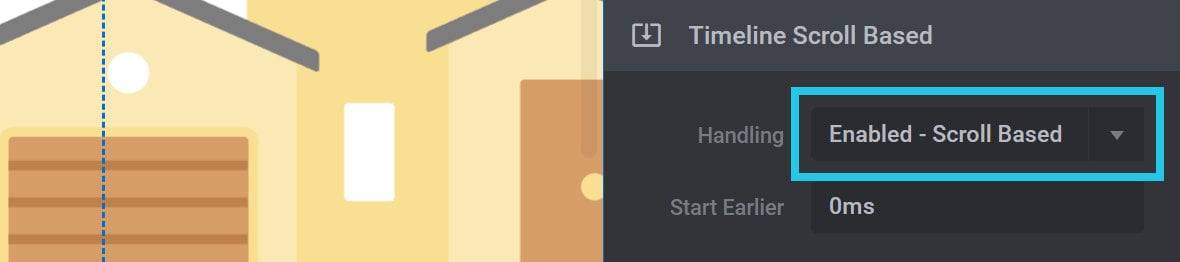
In the Timeline Scroll Based panel set the Handling option to Enabled – Scroll Based:
Note: If you already set scroll based animation to be the default for all layers, but you want to override that for specific layers, you can set Handling to Disabled – Time Based.
Extra Module Level Options
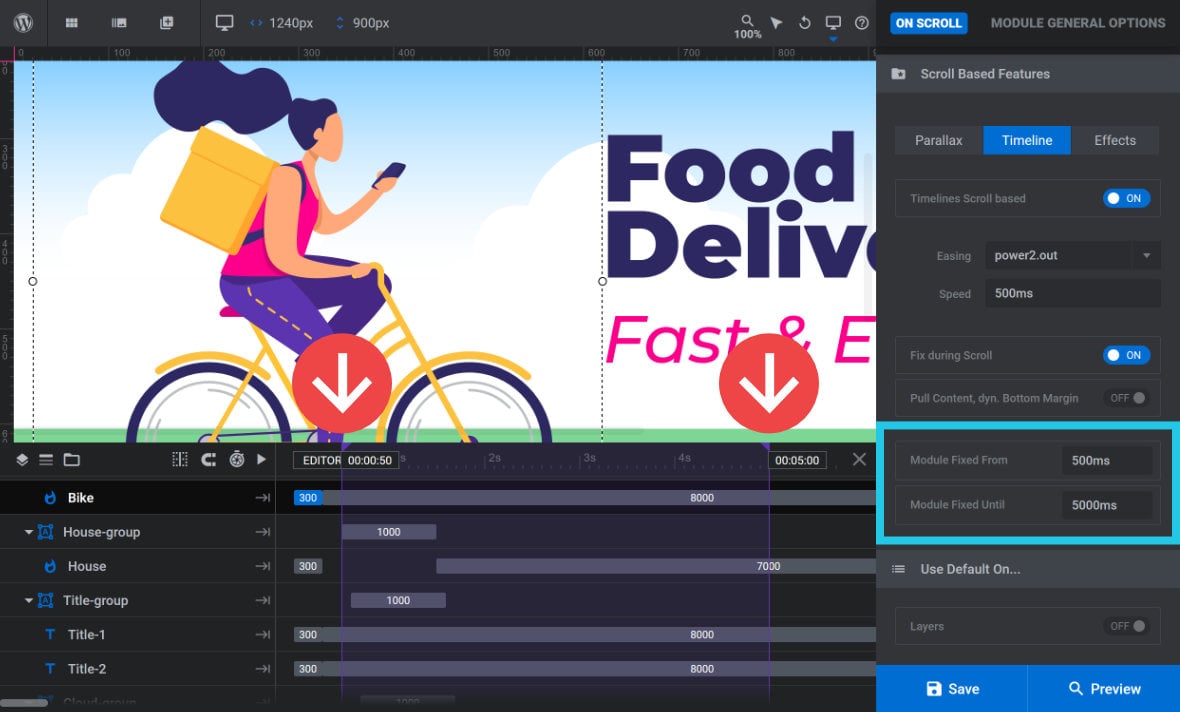
If we go back to the On Scroll sub-section of the Module General Options tab, and then in the Scroll Based Features panel toggle the Timeline Scroll Based option to ON, a number of additional options become available.
Let’s take a look at them.
Easing
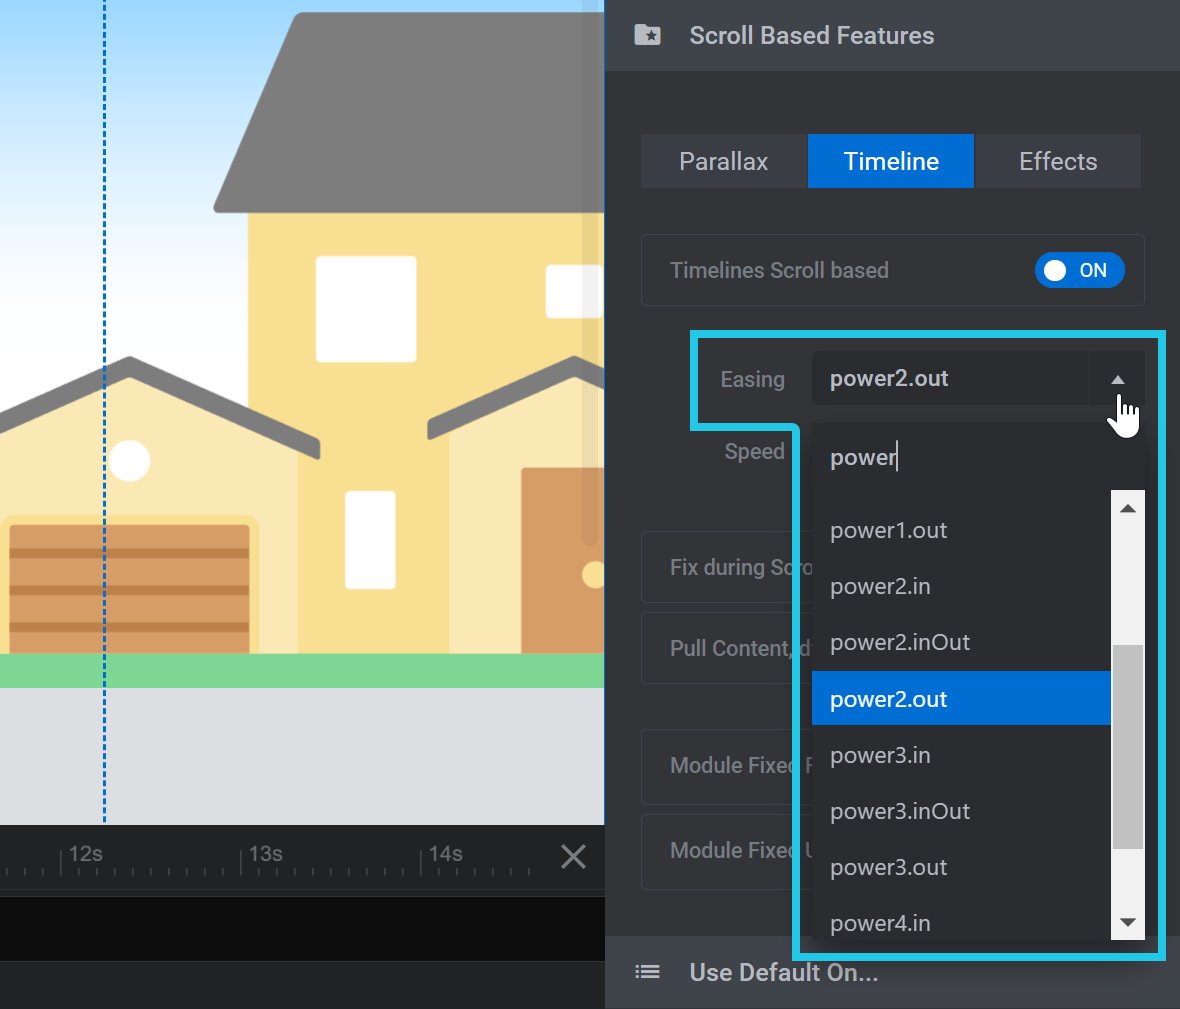
The Easing option can add some smoothing to how animation starts and stops in response to scrolling.
Click the Easing dropdown, then select your preferred easing preset:
Speed
The Speed option controls how quickly animations will play in response to scrolling:

The lower this option is set, in milliseconds(ms), the faster the animations will respond. For example, if it is set to 0ms you will see immediate and sharp animations as you scroll. However if a value of 5000ms is used the animations will be slower and smoother.
Fix During Scroll
By default, scrolling will progress animations but will also move the page down. In some cases this will suit the design, such as with the Big Bold Fullscreen Slider template [?]
A "Template" is a premade module. It has pre-configured layers already in place.
It is designed to be ready for use, either as is or after being modified in the module editor.
Slider Revolution comes with several templates you can use, or alternatively you can create your own templates, thereby allowing you to easily reuse modules you have produced.:
However with other designs this means longer animations will not have time to complete before the module scrolls off screen.
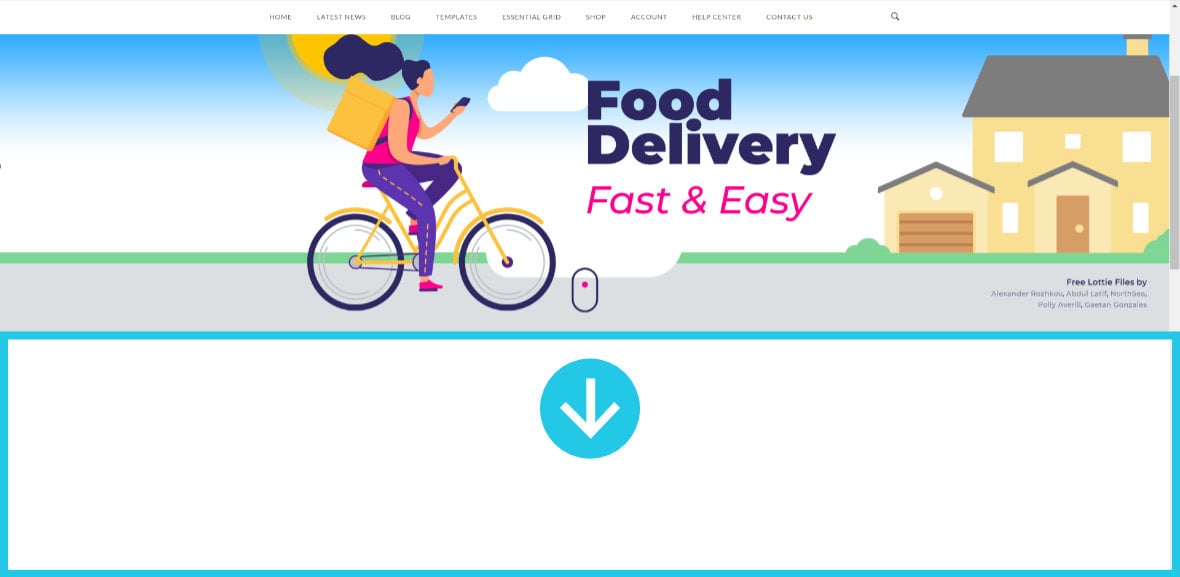
In such cases you want the module to start in a fixed position long enough for those animations to complete, such as with the Food Delivery Lottie Scroll template:
To make this happen, toggle the Fix During Scroll option to ON, and the module & page will stay fixed in place to allow animations to play out as required.
Module Fixed From/Until
When you set Fix During Scroll to ON, the new options Module Fixed From and Module Fixed Until will appear below:
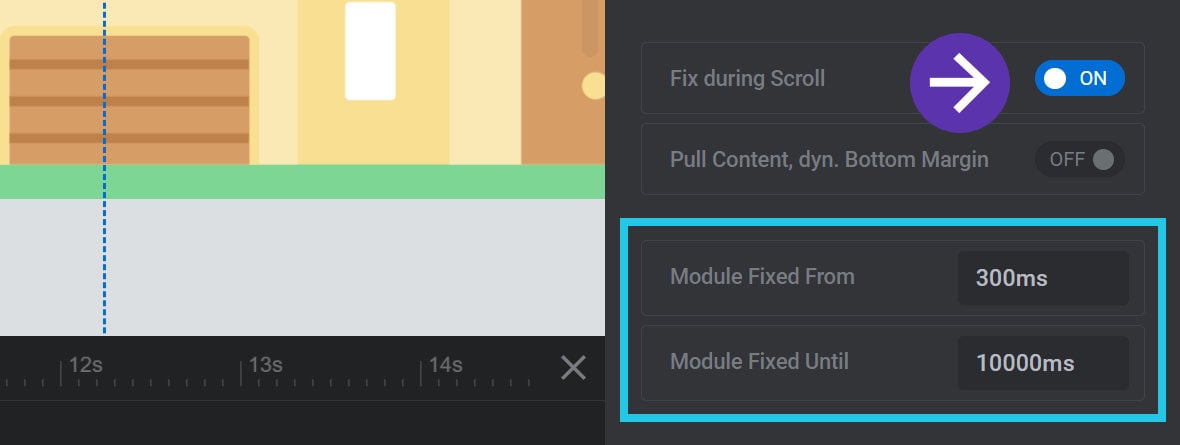
These options allow you to control when and for how long the module should stay fixed in place during scrolling. Module Fixed From sets the time when page movement should stop, and Module Fixed Until sets the time when it should start moving again. Both are set in milliseconds(ms).
You will see these options reflected on the timeline [?]
The timeline is the section of the module editor dedicated to animation and controlling the stacking order of layers.
From this part of the editor animations can be added, adjusted and previewed. Additionally, layers can be selected from the timeline, and can be dragged and dropped up and down on the timeline to modify which appear in front and which behind.
It can be equally compared to both a timeline in a typical video editing application, and a layers panel in a typical graphic design application as two purple time markers. The left-most one represents Module Fixed From and the right-most one represents Module Fixed Until:
You can drag ether marker and the corresponding option will update in real time.
Pull Content, dyn. Bottom Margin
The Pull Content, dyn. Bottom Margin option is designed to be used if the Fix During Scroll option is set to ON:

If the Pull Content, dyn. Bottom Margin option is also set to ON:

Then a dynamically sized margin will be added to the bottom of the module, and the content below the module will be pulled up as you scroll. This will create an effect whereby at first there will appear to be no content below the module:
But then as the page is scrolled the content will be pulled closer to the bottom of the module. It will reach its normal place below the module at the exact time scrolling starts to move the page again:
Adjusting Layers
There are some additional options in the On Scroll sub-section of the Layer Options tab that you can use to adjust your layers and better tune them for scroll based animation.
Let’s check them out.
Start Earlier
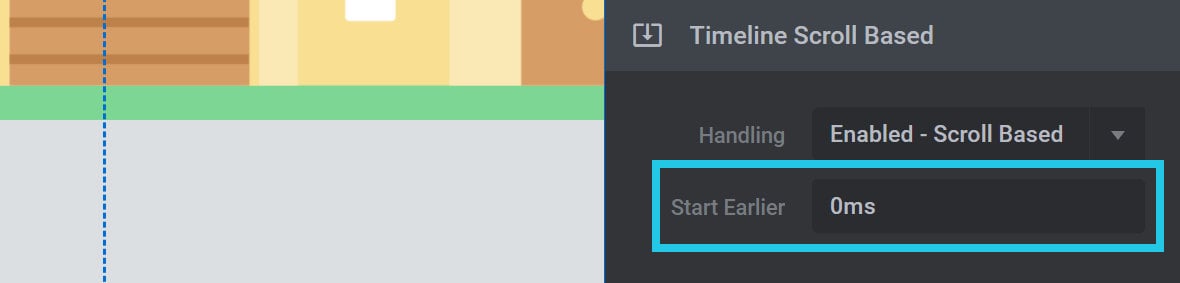
The Start Earlier option can be found in the Timeline Scroll Based panel. This option can be used to shift all of a layer’s animations start times back by an amount set in milliseconds(ms):
This gives you a way to fine tune the timing of scroll based animations without needing to manually move all the animation strips [?]
Animation strips look like little grey bars in the module editor's timeline:
A strip represents something about a layer changing over time, animating the change along the way. For exmple, a strip might animate a layer changing from being completely transparent to fully opaque.
The width of the strip determines how long the animation will run. The wider the strip, the longer the animation will take to complete..
The Effect of Module Height
The height of the module determines how scroll based animations play out. This is because the greater the height of the module, the more scrolling it takes to move past it.
This produces two important factors that will affect how you construct your animations.
The first is that short modules will play out faster than tall modules. You should bear this in mind when deciding how much animation will work in the space you have.
The second is that you can change the Slide Duration setting for your slide, i.e. the timeline length, without directly affecting how long playback takes. The playback of that timeline will then be mapped out proportionately to the height of the module, i.e. how much vertical scrolling there is to work with.
This effectively means you can adjust Slide Duration to whatever gives you a comfortable amount of room to edit your animations on the timeline, without worrying about the effect on playback.
Using Groups to Add IN Animations
When you activate scroll based animations for a layer, its IN animation will no longer work in the usual fashion. As a result, it will seem to suddenly appear when the module loads.
For example, here is an icon of a bike that has a 3 second fade-in as its IN animation. Notice how it fades in as expected:
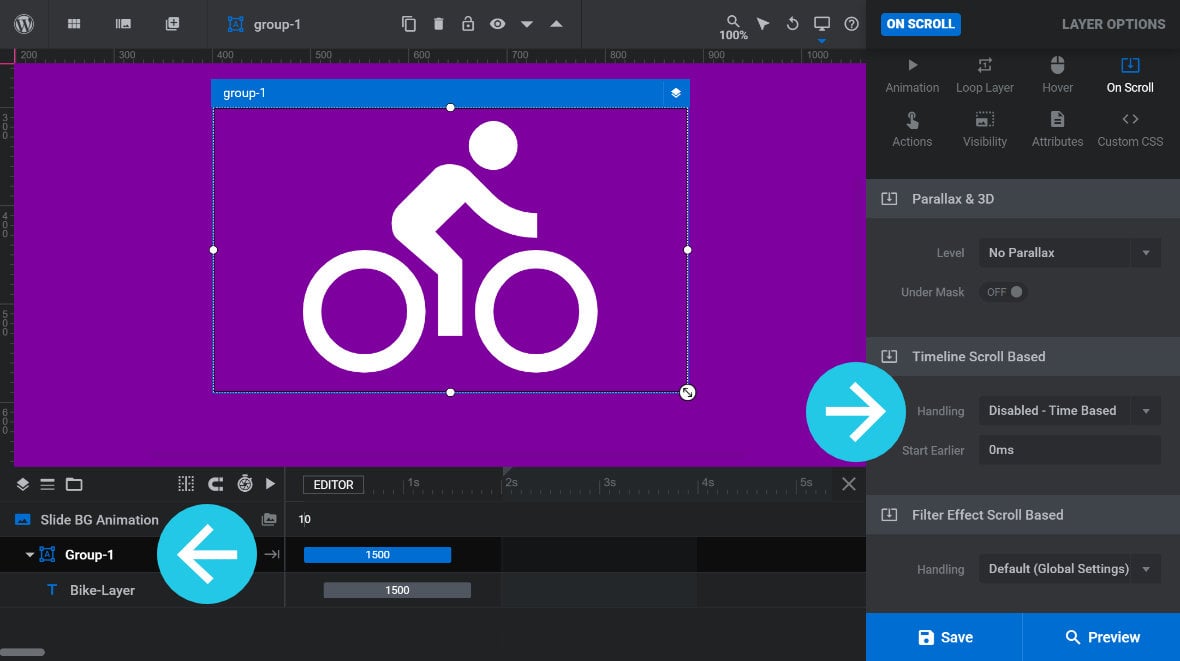
If we now set Handling for the layer to Enabled – Scroll Based, its IN animation will no longer work as expected. Instead of fading in nicely, it now just suddenly appears after the module loads:
You can solve this problem by nesting the layer inside a Group layer and then disabling scroll based animation for that group.
To do this, set Handling for the Group layer to Disabled – Time Based:
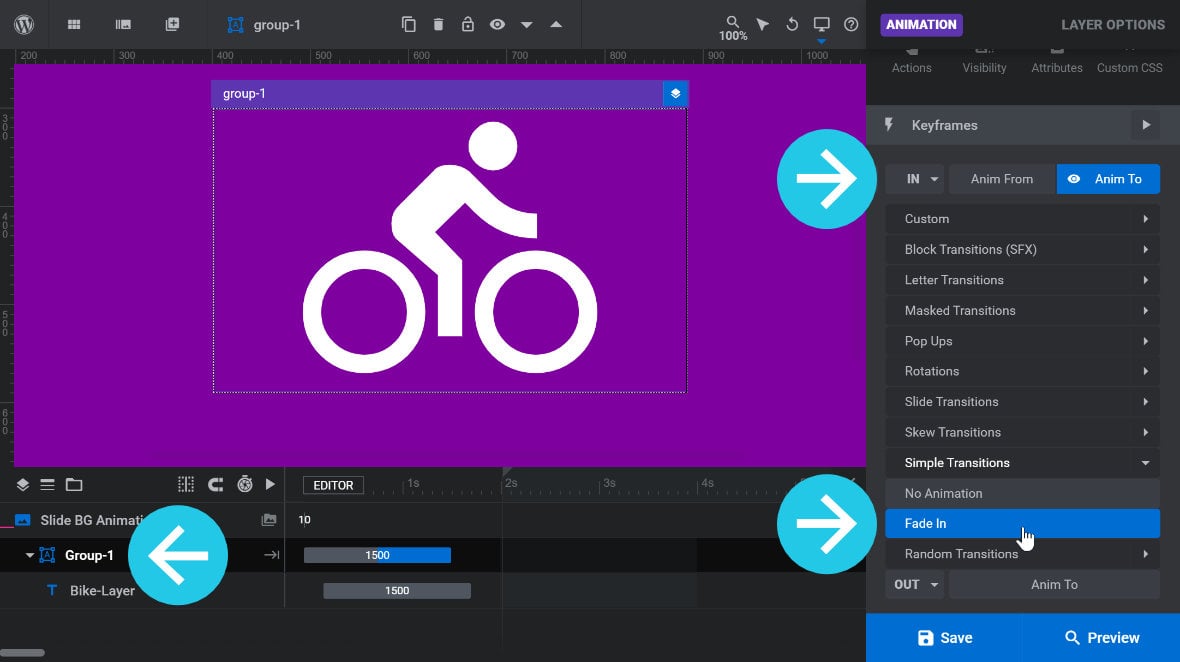
Next, apply the IN animation that you wanted on the original layer to the Group layer. In this example, we have applied a Simple Transitions Fade In:
If you haven’t already activated scroll based animation on the layer you have nested under the Group layer, you can still do that now.
Just remember, only set the nested layer’s Handling to Enabled – Scroll Based. The Group layer must remain set to Disabled – Time Based.
Now, the layer will appear to smoothly animate in as expected: