

It’s not just businesses that can afford the designers or tools that allow them to create beautiful, dreamy visuals for their websites. If you’re building a website for a personal pursuit or side hustle, Slider Revolution makes it fast, easy, and affordable to create expertly-crafted web designs on your own.
In this tutorial, we’ll show you how to use the Wedding Photo Slider template to create a beautiful image slider for the home page of your website.
Table of Contents:
- Step 1: Install the photo slider template
- Step 2: Create an extra slide
- Step 3: Update the photos
- Step 4: Adjust the slide transition effect
- Step 5: Update the particles
- Step 6: Edit the photo slider text
- Step 7: Remove unwanted global layers
- Step 8: Add slider navigation elements
How to create a beautiful photo slider for your personal pet project
You can use image sliders to show off all kinds of personal pursuits — from hobbies to home projects, and side hustles to fun adventures. This template demonstrates how you might announce upcoming nuptials or commemorate the occasion with a beautiful photo slider:

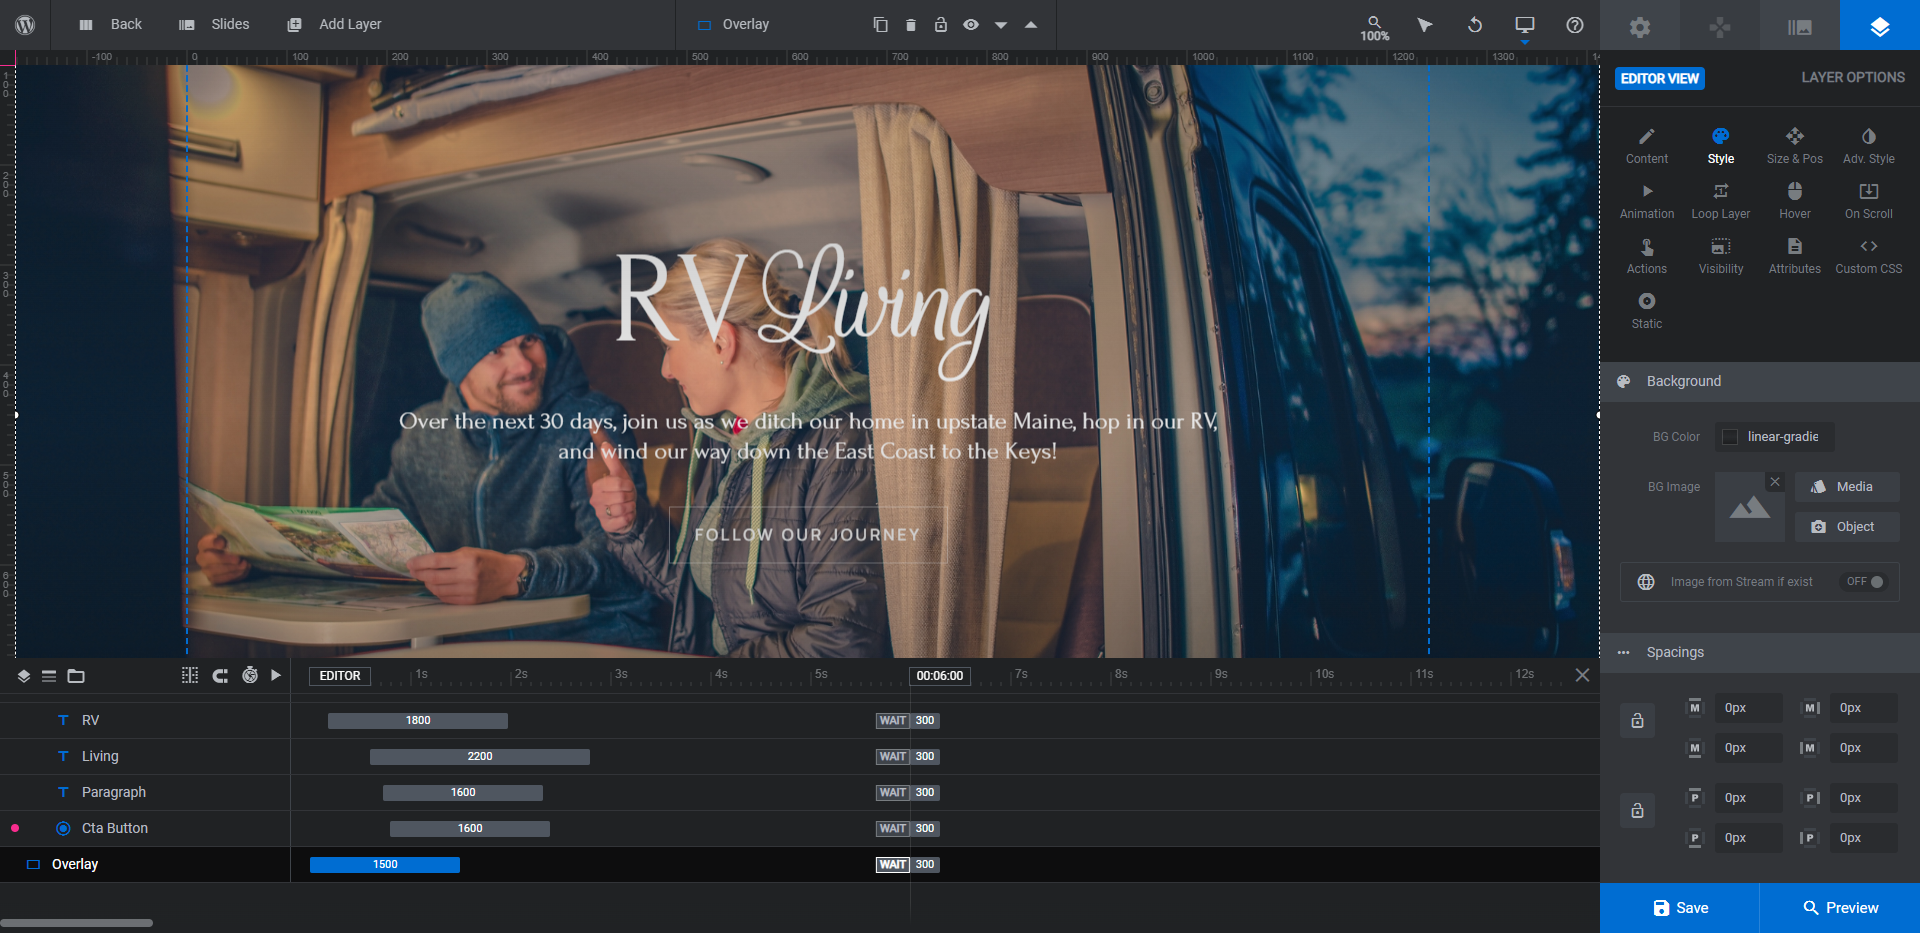
In the following tutorial, we’re going to repurpose this slider for our personal website that documents our RV adventure. The photo slider will serve as an introduction to the East Coast journey we’ve set off on:
If this is your first time using the Slider Revolution, these quick-start guides will introduce you to the basics of the editor:
Step 1: Install the photo slider template
You can use this photo slider template as an introduction to the rest of the content on the site. Or you can use it as a gateway to a much larger photo album.
The latter is a good option if you don’t want to build out a full website. Instead, use this template to create a microsite. The photo slider will greet visitors on the home page. To see more of your photos, they can click the “View Photos” button and it will open a scrollable lightbox like this one:
However, if you’d prefer to tease out photos from your personal venture in the hero section and then build out pages with other content (like blog posts about your project or journey), that’s easy to do with this template as well.
There are different files to install depending on which option you choose. First, open “New Module from Template”. Do a search for “wedding photo”. You’ll find three:

To build out the microsite with the pop-up photo gallery: Select the Wedding Photo Slider Template marked with the yellow “PACKAGE” label. Click the plus-sign and install the template package and addons.
To build out just a photo slider hero section: Select the Wedding Photo Slider Template marked with the purple “MODULE” label. Click the plus-sign and install the template only.
Note: The rest of this tutorial will demonstrate how to create an inspiring photo slider hero section from this template. If you want to go the microsite route, you can still follow along. You’ll just have some additional work to do afterwards to add your images to the modal template.
Learn more:
Step 2: Create an extra slide (or more)
The template’s slider has four images in it. You can take away or add more if you’d like.
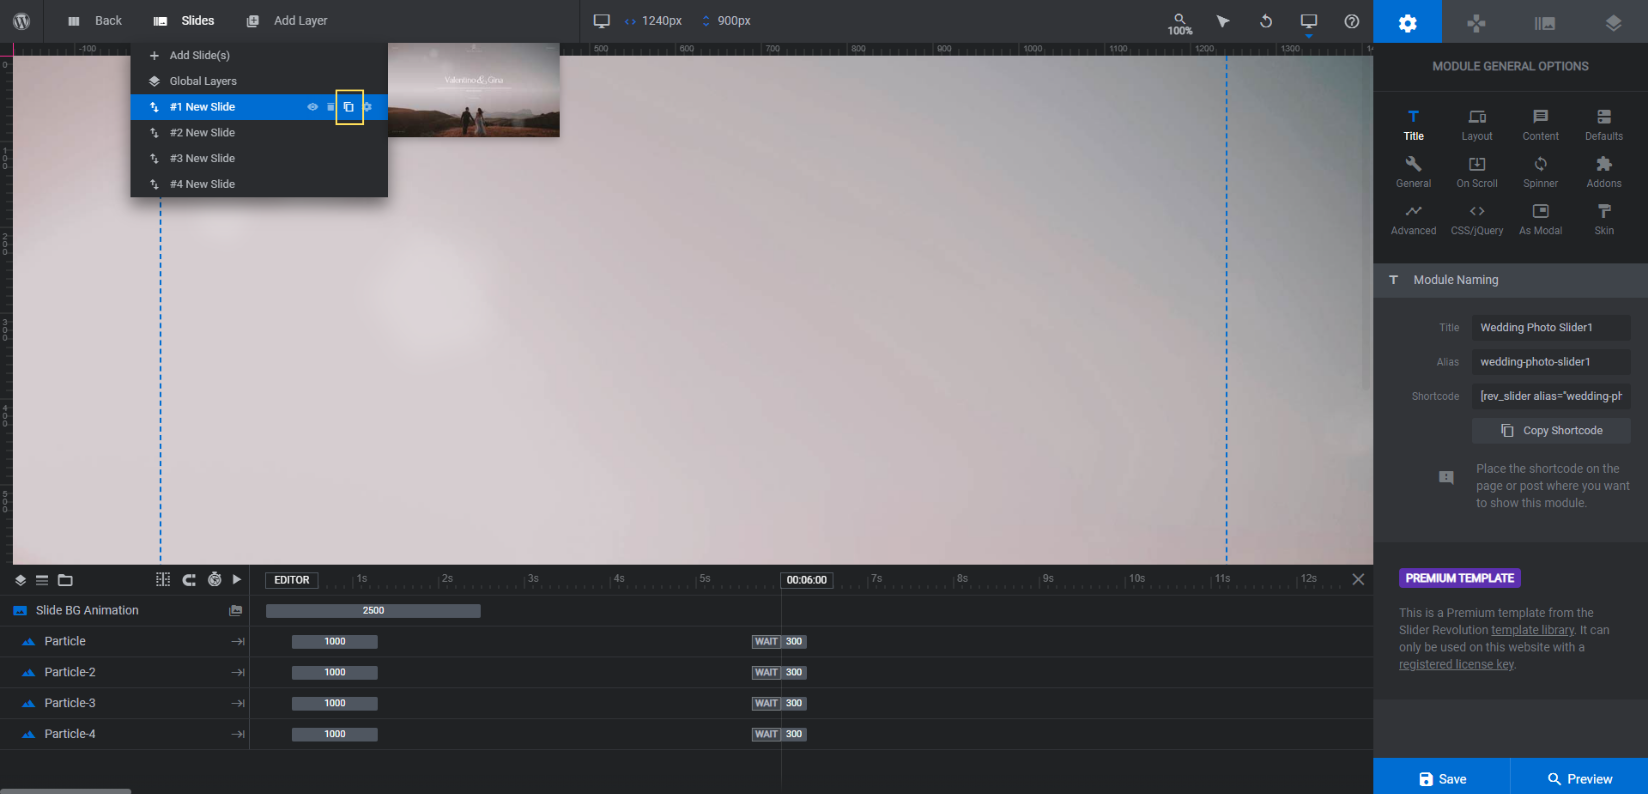
We’re going to add just one more slide to give us an odd number of photos. To do the same, go to “Slides” in the toolbar and hover over any of them. Click the duplicate icon to create a new one:
Note: Keep the number of slides within reason. The more photos you add, the more weighed down the web page will get. And you want your slider to load and respond as quickly as possible for your visitors.
Learn more:
Step 3: Update the photos
Open up your first slide. Go to “Slide Options” and “Background”. Click on the Media Library button and upload your replacement photo:
Pro tip: Go into the Thumbnail tab and update your thumbnail to match the new photo. All you need to do is “Reset” each and it will pull in the new background photo. This will make it easier to see which slide you’re editing when you open the “Slides” menu in the toolbar.
Save your changes. Then repeat this process for each of your slides.
Learn more:
Step 4: Adjust the slide transition effect
There are a number of transition effects applied to this photo slider. Go to “Animation” to make changes to them.
Under “Transition Presets” you’ll find that a Fluid Effect called Color Flow is applied. You don’t need to leave Slider Revolution to see how this effect or any of the others look. Just hover over the name of the effect and a preview will appear in the canvas to the left:
Note: The new setting we’ve applied to our slider is a “Base” transition effect under Effects called Fly Horiz. This is what gives the slider the look of someone flipping through physical photographs.
Once you’ve found the transition preset you like, select it. Apply the same setting to each of your slides before moving on.
Learn more:
Step 5: Update the particles
There are particle layers and effects that give the photos a dreamy, ethereal look. You can keep the particles if they fit with your overall visual motif or you can strip them out.
For our purposes, we’ll be taking them out of the slider so that visitors can focus on the colorful visuals from our travels.
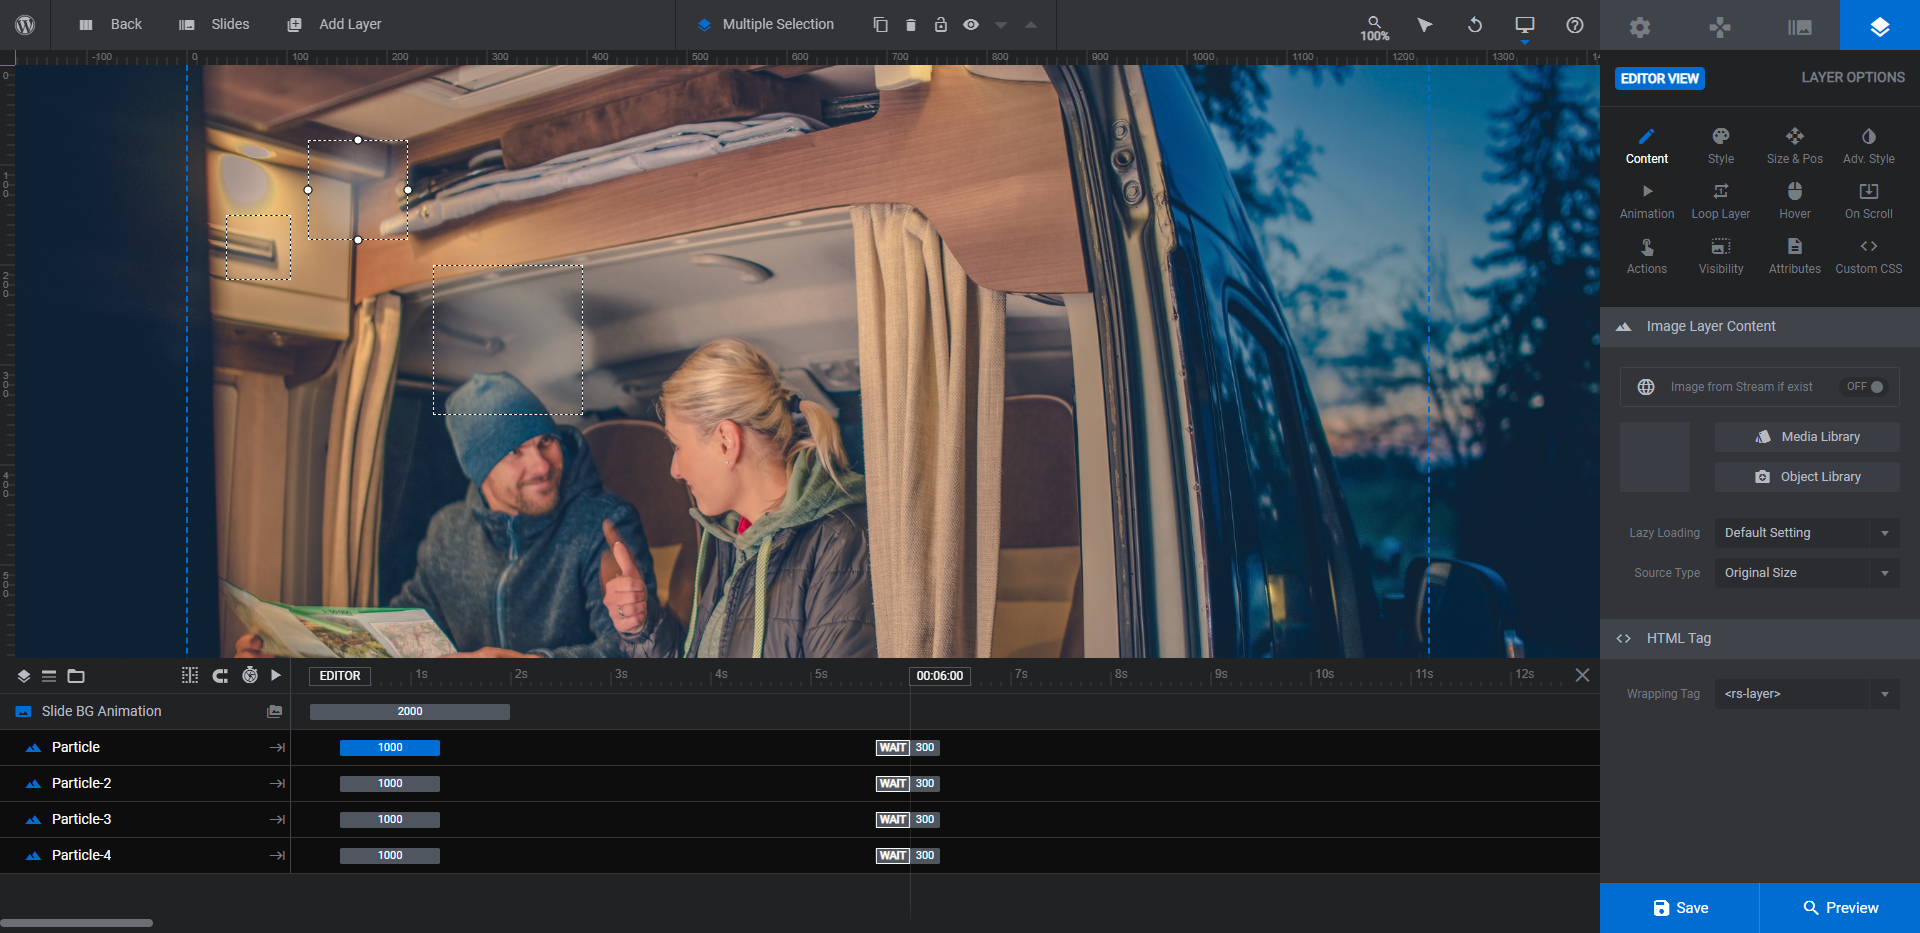
To update the floating particle orbs, turn your attention to the timeline editor at the bottom. Particle, Particle-2, Particle-3, and Particle-4 are the floating semi-transparent orbs.
To delete them, hold down the Ctrl or command key and select them one at a time. Hit the Backspace or delete button to remove them:
Repeat this process for all the other slides.
The Particle Effects AddOn is also enabled. It adds a subtle particle animation to the background images. You’ll find this setting under “Slide Options” and “Particle Eff”:
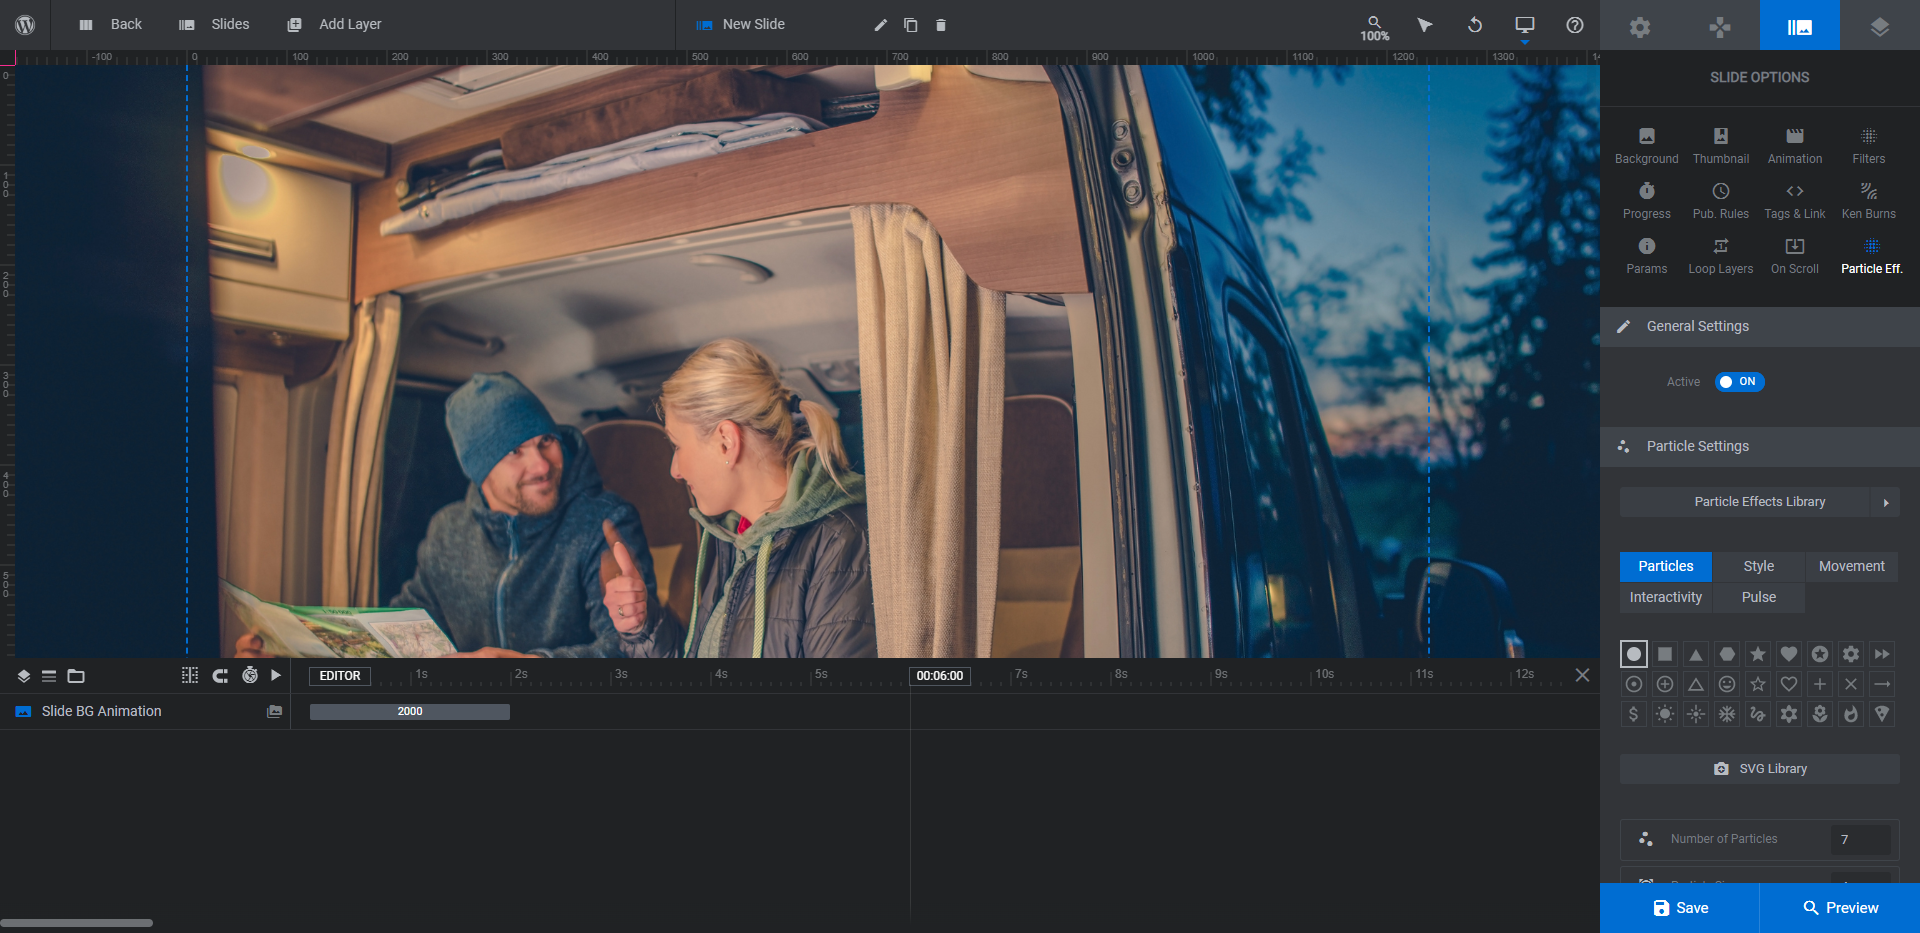
Either switch the toggle to “OFF” to deactivate the particle effects or use the settings down below to modify how they look. Whatever changes you make here will need to be repeated in all the other slides.
Learn more:
Step 6: Edit the photo slider text
In this particular template, there’s just one set of text that appears over the slider instead of custom text within each slide. To locate this text, go to “Slides” in the toolbar and select “Global Layers”.
We’re going to focus on the text layers under the group called Middle-Row:
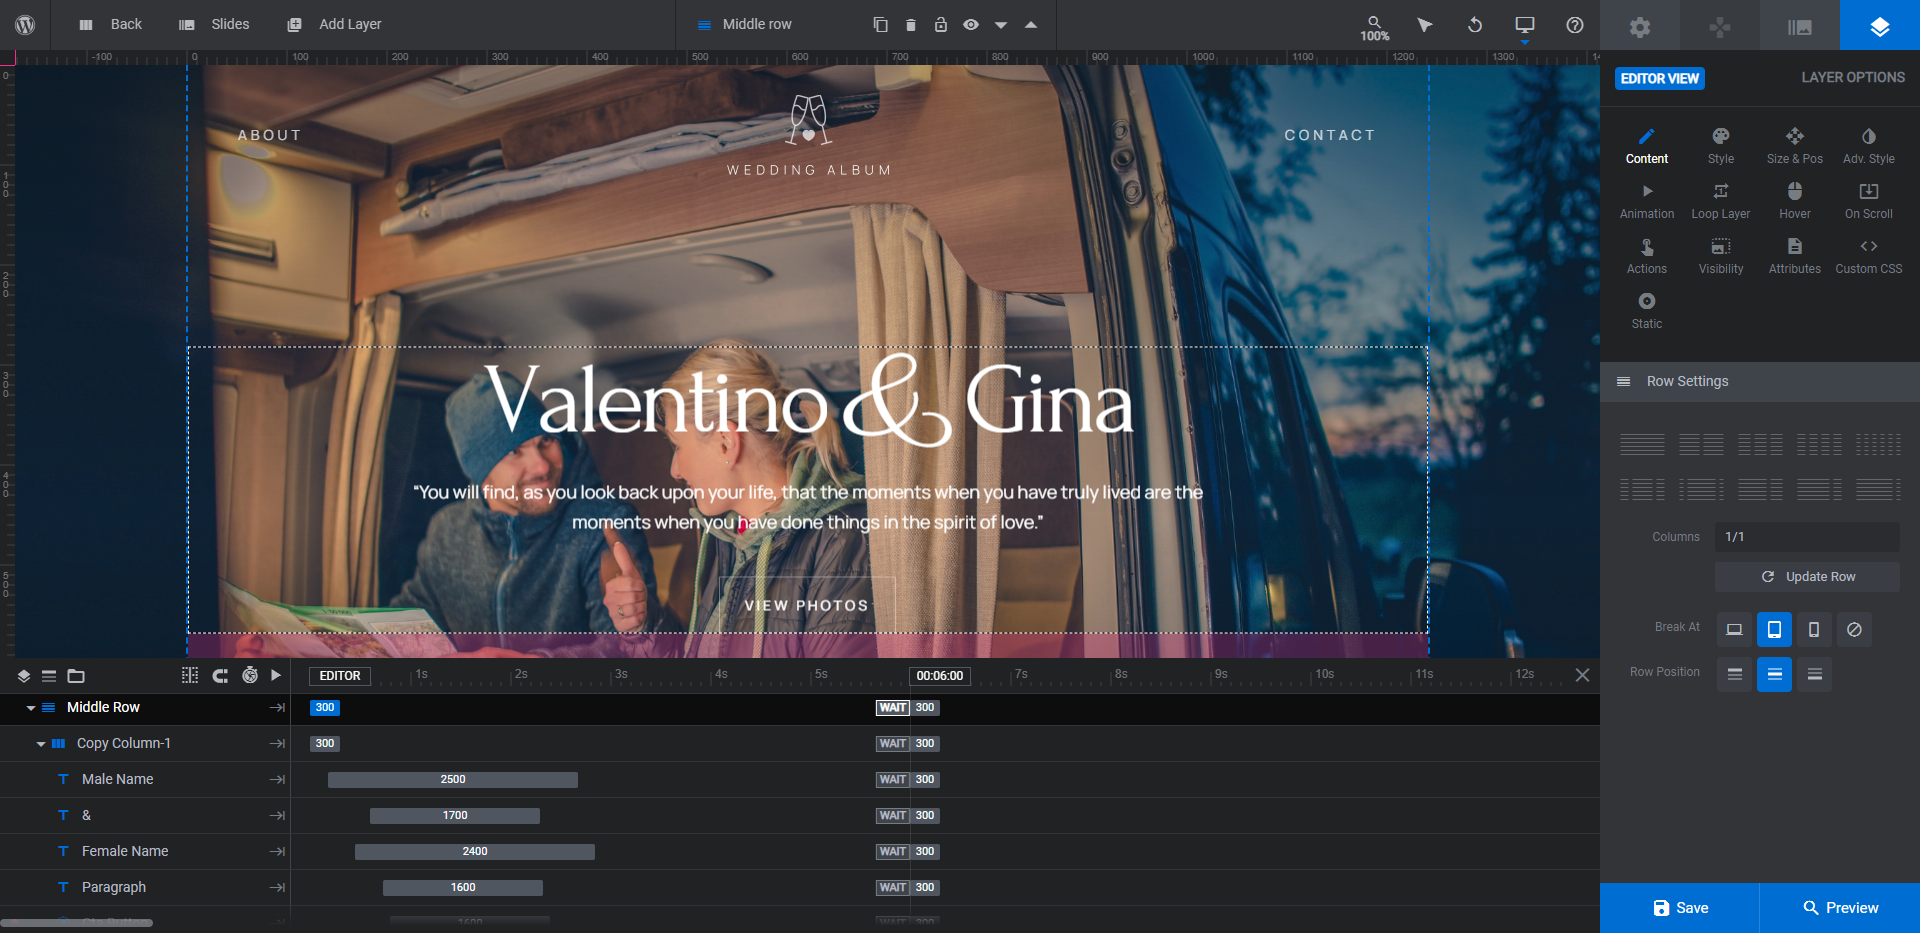
There are three sections of text to update:
- Male Name + & + Female Name make up the headline.
- Paragraph is the subsequent description.
- Cta Button is the “View Photos” button at the bottom.
Note: You don’t need to keep the headline broken up into three text layers the way it is here. This was done in order to stylize the ampersand between the couple’s names. If you have a standard headline, delete the & and Female Name layers and enter your text in the remaining Male Name layer. You can also delete just one of the name layers and keep the & layer where it is to stylize part of your headline as we’ve done.
To edit what the text says, select the layers and go to “Layer Options” and “Content” to enter your replacement copy.
To edit the appearance of the text layers, use the “Style” settings to modify the font, color, weight, and more.
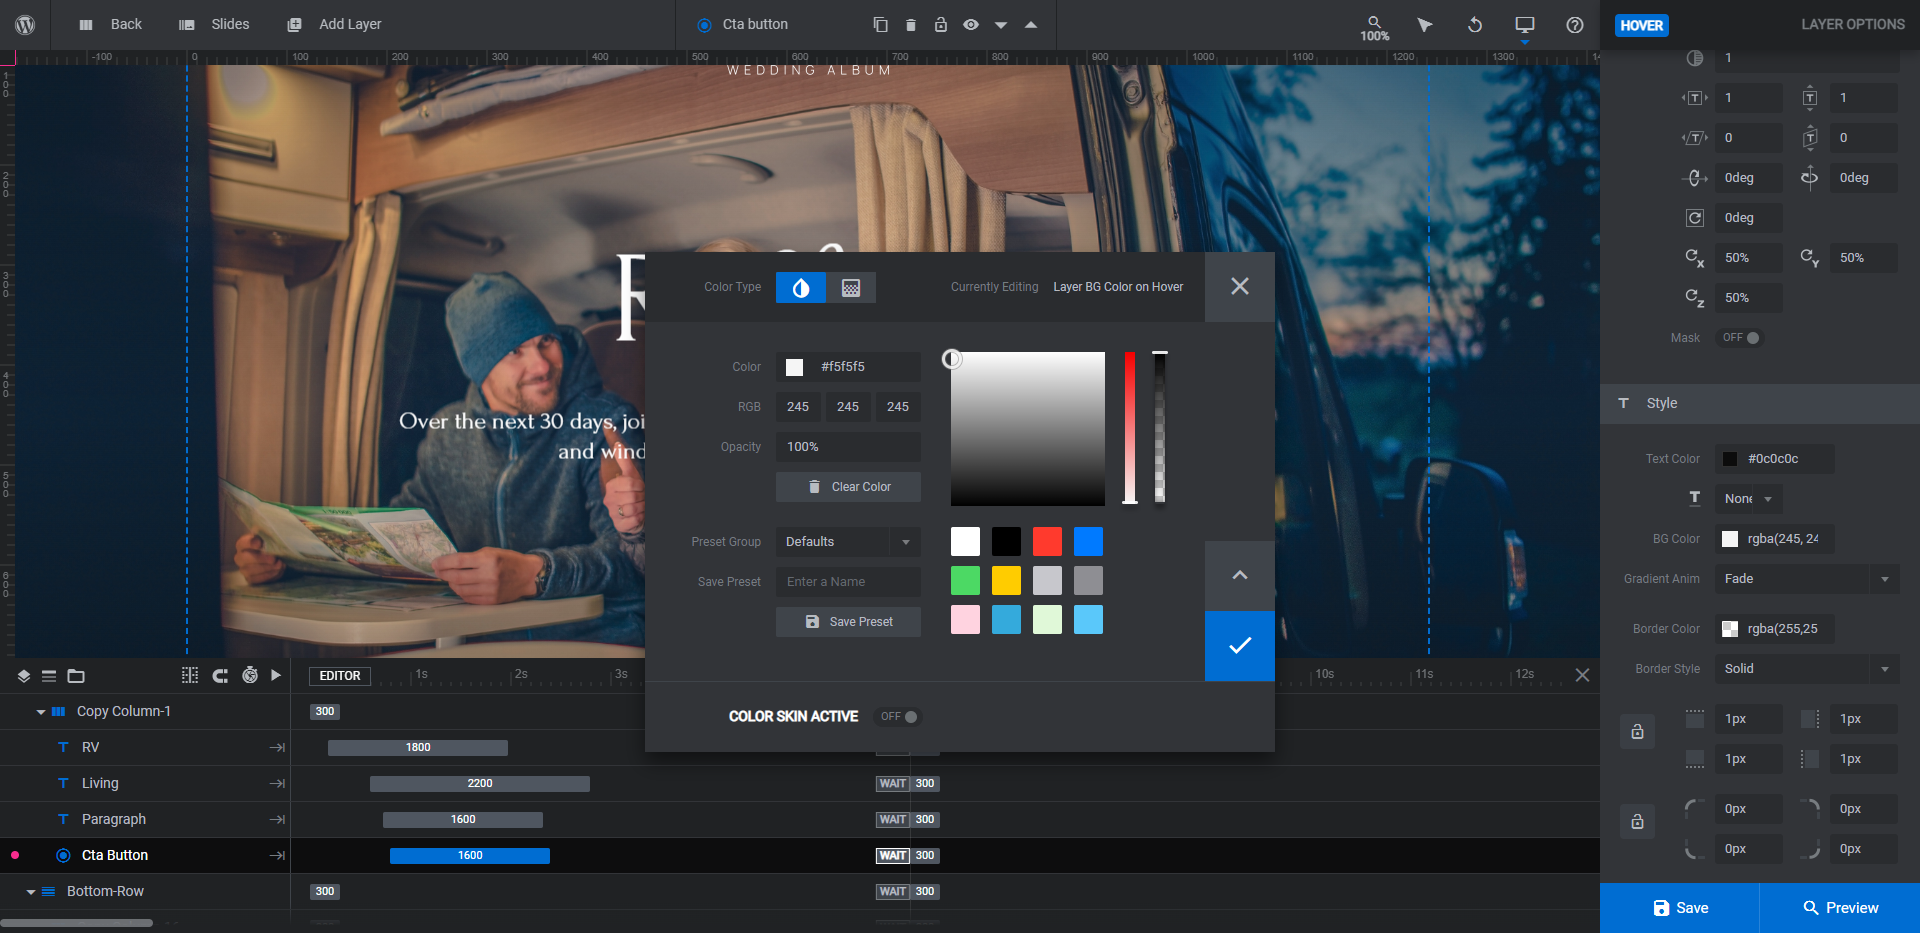
There are a couple more steps to take with the Cta Button layer. Use “Hover” to update the button’s hover-triggered appearance:
Then go to “Actions”. If you’re not creating a photo gallery lightbox, delete the existing actions here:
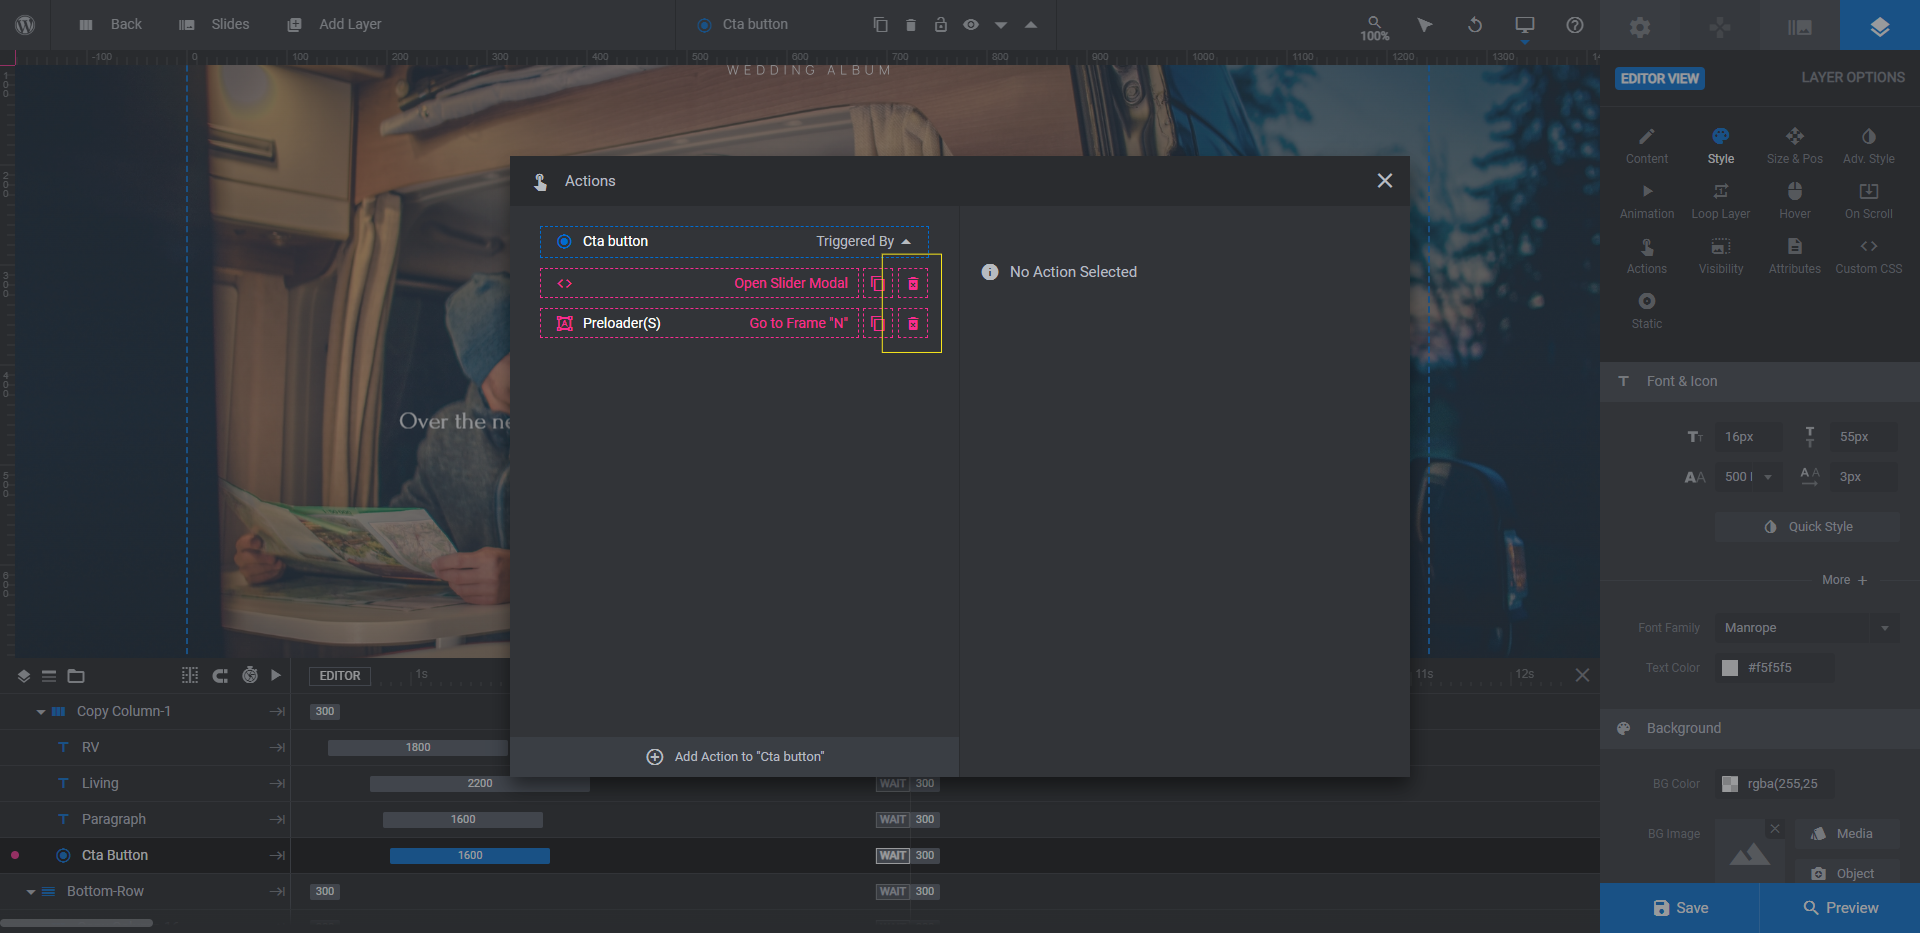
Then create a simple link so you can point the button to another part of the home page or to a different page on the site.
Note: If you make changes to the size or placement of any of the text layers, it’s a good idea to confirm that the text is still visible and readable on smaller screens:
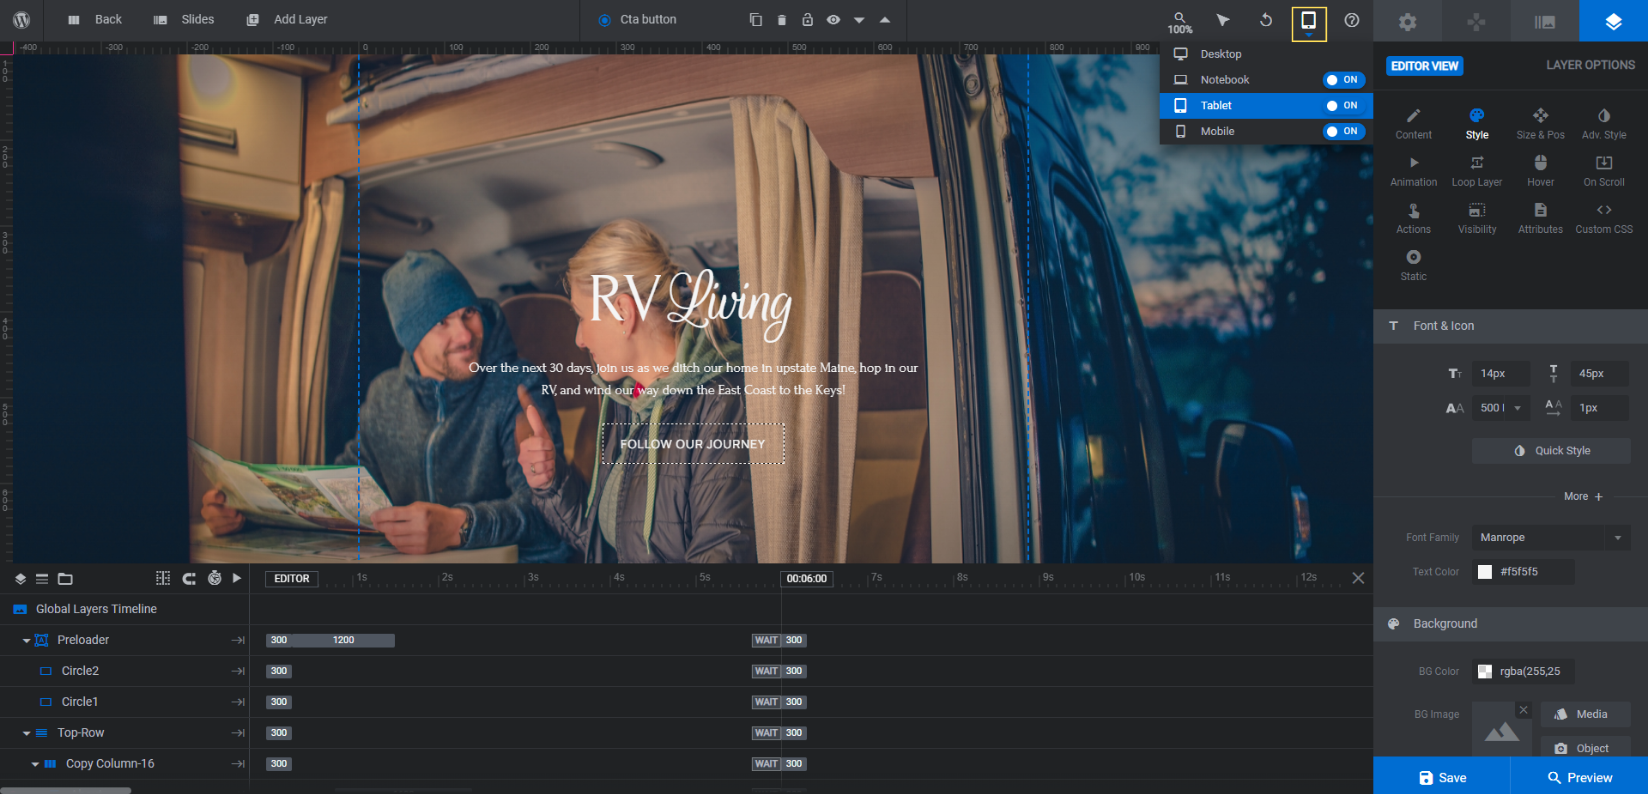
If there are issues, fix them within the settings of the responsive variant you’re looking at. Any changes made from this view won’t affect what you did in the default Desktop view.
Learn more:
- Editing Text from Template Modules
- Editing Links in Template Modules
- Checking to Ensure Modified Content Is Responsive
Step 7: Remove unwanted global layers
There are other global layers besides the slider’s copy layers.
The Preloader shows a brief loading animation as each photo moves into place.
The Top-Row consists of menu links like:
- About
- Logo
- Contact
The Bottom-Row consists of other information:
- Photo Slider
- Slide Counter
- Social media icons (Fb, Line, Ig, Line2, and Yt)
If you’re building a microsite, keep these layers where they are and customize them so they’re relevant to your personal website. If you’re building a hero section from this template, then you can delete all of these layers.
The easiest way to do this is to select Preloader, Top-Row, and Bottom-Row. Then hit Backspace or delete. This will remove all the layers within those rows.
You’ll be left with the Middle-Row of copy as well as the Overlay which provides a semi-transparent gradient layer over the slider.
Learn more:
Step 8: Add slider navigation elements
The last thing to do is update the slider’s navigation. Even though we stripped out the slide counter in the global layers, the navigation arrows remain along with a progress bar at the bottom of the slide.
To edit them, first exit Global Layers and open any of your slides. Then go to “Navigation Options” and “Arrows”. You can modify the placement, appearance, and style of the arrows from this panel:
You can also make changes to the progress bar from “Navigation Options” as well as activate other types of navigation, if you prefer.
When you’re done, save your changes and preview your work to make sure you’re happy with the end result.
Learn more:
Give your personal website a professional polish with this photo slider
Personal websites are a great way to document what you’re doing with your life and to share it with others. While you might not have anywhere near the budget that companies spend on websites, that doesn’t mean you can’t create something just as attractive and fun to engage with.
With the Wedding Photo Slider template, bring your personal pursuits online with a beautiful photo slider and let others share in your joy and accomplishments.


