
While storytelling and marketing typically revolve around real photos of products and people, your website’s design and imagery can be just as impactful when it’s abstract. This would be a really good approach if your company provides more of an experience than it does tangible goods or services to users.
In this tutorial, we’re going to demonstrate how to create a hero image that’s mesmerizing and interactive with the help of the Hero Template with Cursor Animation.
Table of Contents:
- Step 1: Replace the background video
- Step 2: Edit the title text
- Step 3: Customize the button
- Step 4: Adjust the cursor animation
How to create a beautiful and mesmerizing hero image for your site
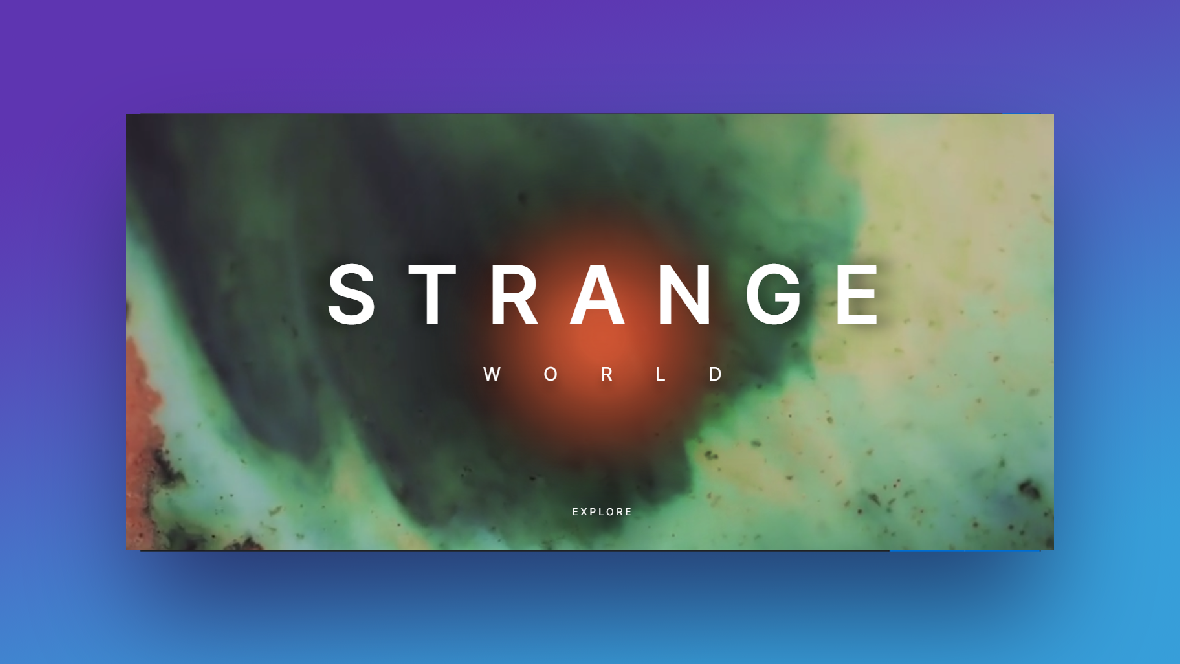
This is one of our simplest templates in terms of components, but there’s nothing simple or minimalistic about its impact.
We’ll show you how easy it is to edit this template and create your own mesmerizing hero image design. We’ll be repurposing ours for a life coach:
Here are some Slider Revolution resources to get you started if this is your first time using this page builder:
Step 1: Replace the background video
When choosing a video for your hero image, aim for something that’s full of color and unpredictable movement. That’ll make your users’ experience of scrolling the cursor animation over it more exciting.
Once you’ve found your video, select the Full-Bg layer in the timeline editor or click on the background in the canvas. Then go to “Layer Options” and “Content”. Upload your MP4 video file to the media library.
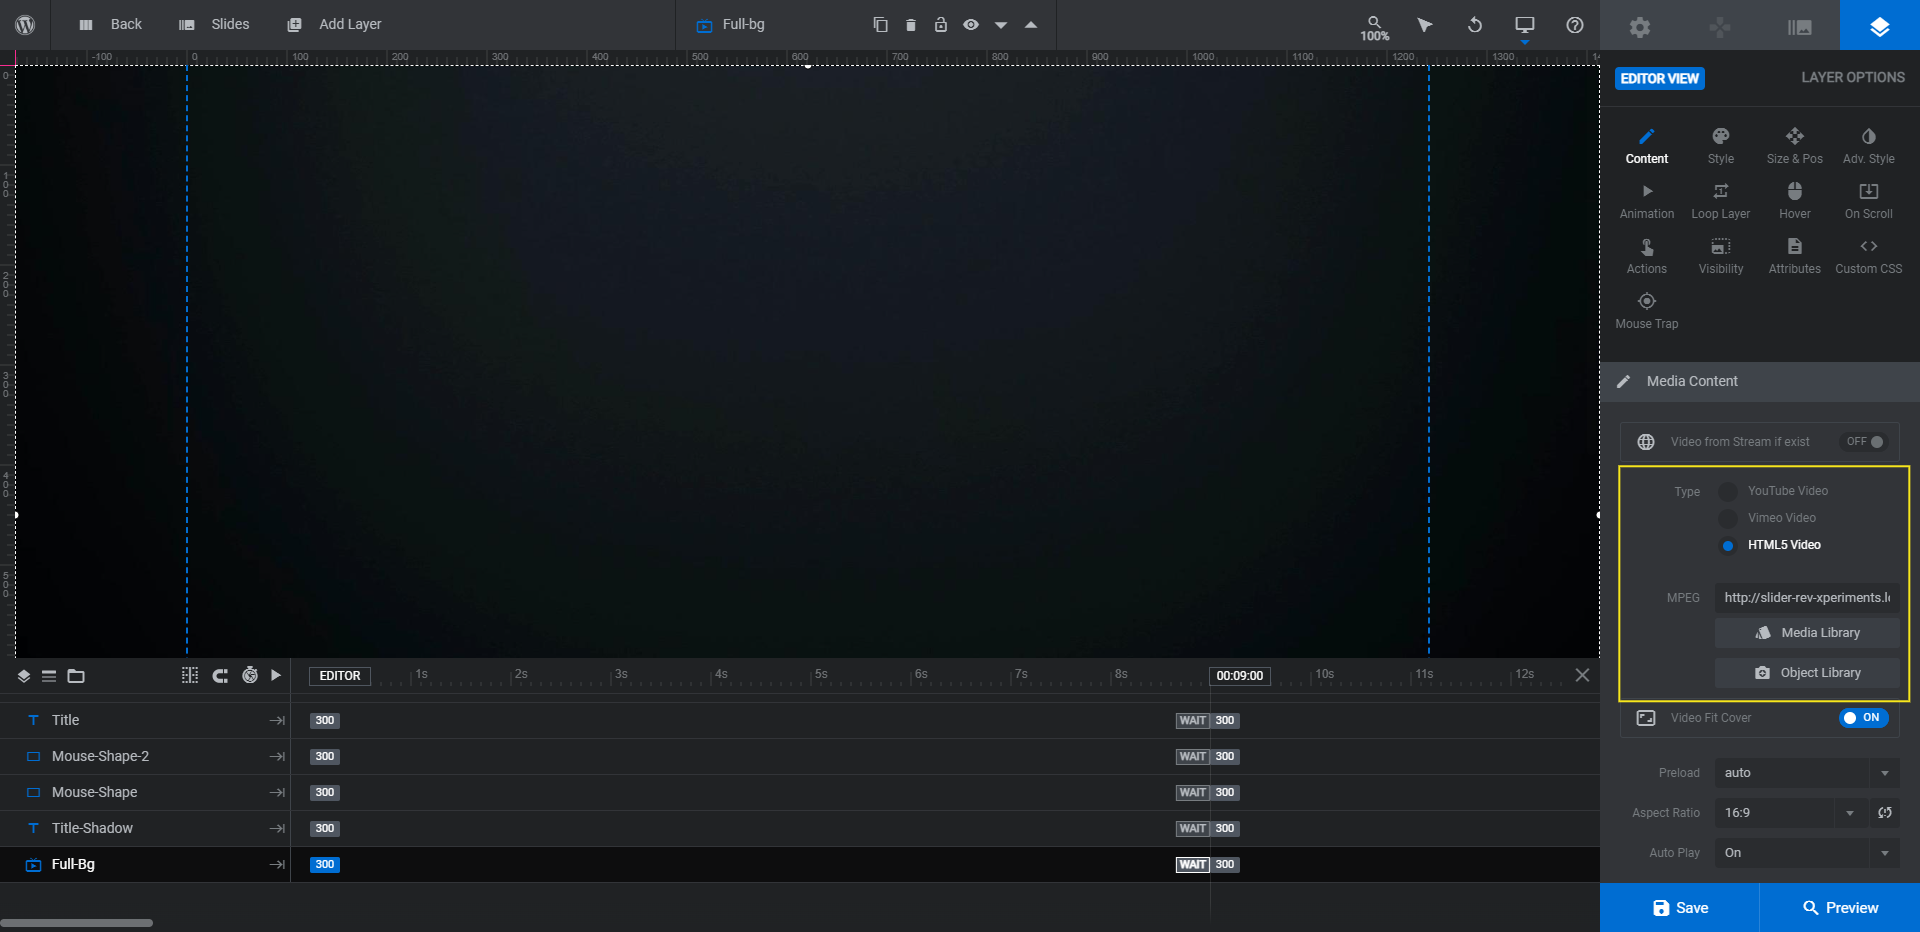
Save your changes when you’re done.
Learn more:
Step 2: Edit the title text
There are two lines that make up the headline text in this hero image. There are three layers you’ll need to edit for them though.
- Title is the big “Strange” lettering at the top.
- Title-Shadow is the semi-transparent “Strange” shadow that appears behind the white lettering.
- Sub-Title is the smaller “World” text below these two layers.
To edit these layers, use “Content” to update what the text says. Then use “Style” to change the font, color, spacing, and styling. If you want to adjust the shadow of the Sub-Title layer, the setting is under “Adv Style”.
Because we added extra words and modified the size of the text, a responsive check is in order.
To do the same, go to the top toolbar and open the responsive variant options. Select them one at a time to preview what your edits have done to the hero image on smaller screens.

Editing the text in the responsive view will only impact the device you’re looking at. For instance, edits made in the Tablet view above will only change the text sizing and spacing on those devices.
You can also use Preview mode to confirm that your design and content remain responsive.
Learn more:
Step 3: Customize the button
There are three components in this design that make up the button’s design and functionality. So it’s best to edit them together:
Button-Text is the “Explore” text link. Button-Bg is the dark radial gradient that appears behind the button when the cursor goes near or over it.
Button-Detector is the area surrounding the button that detects the visitors’ cursor. When the cursor enters the field, the pointer turns into a hand and the Button-Bg gradient appears.
Start by editing the Button-Text layer the same way you did the title layers. Change the button text under “Content” and the font and styling under “Style”.
Then select the Button-Bg layer and go to “Content” or “Style”. Click the radiant block next to BG Color.
To preserve the gradient shape and effect, modify only the colors along the gradient. To do this, click the markers below the gradient bar. Then add a new HEX code in the Color field for each.
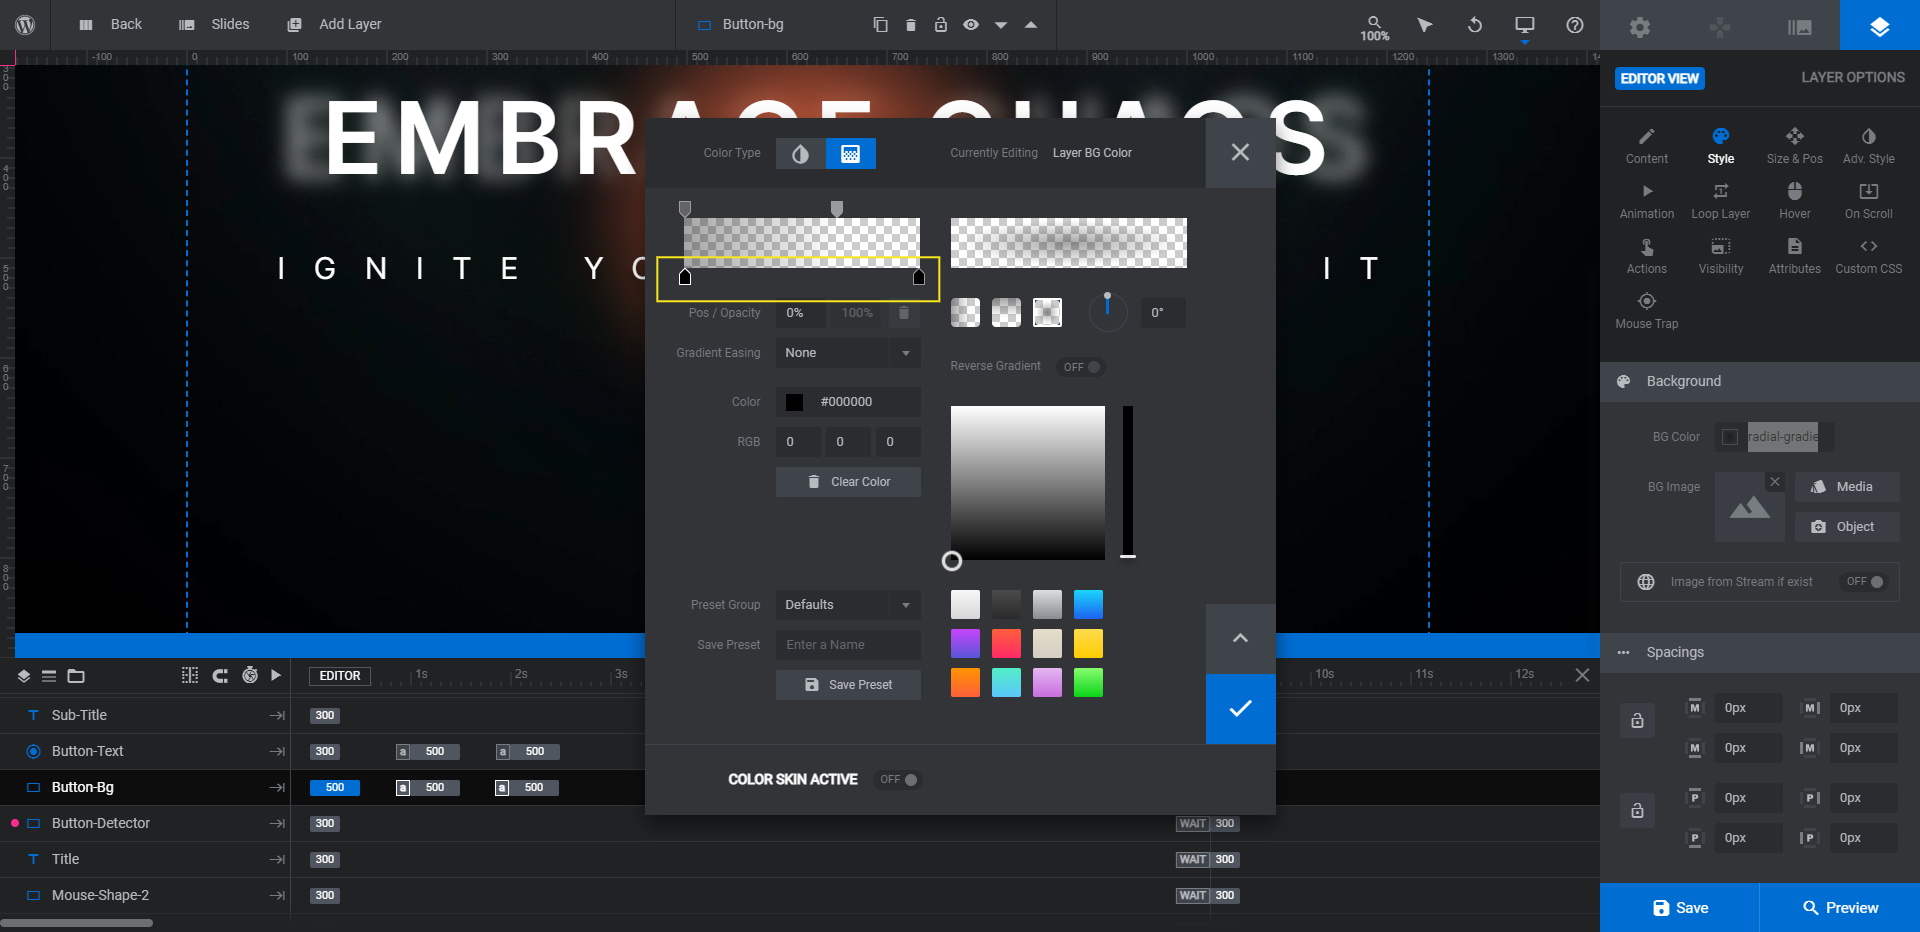
Pro tip: If your video background is lighter or brighter like in the template, keeping the black radial design should be fine. If you’re moving to a darker background like in this tutorial example, you might want to make it white or another lighter color.
You can also adjust the filter/blur that appears behind the button text when someone hovers around it. You’ll find this setting under “Animation”. Click the bigger keyframe and then scroll down to “Layer Back-Drop Filter”.
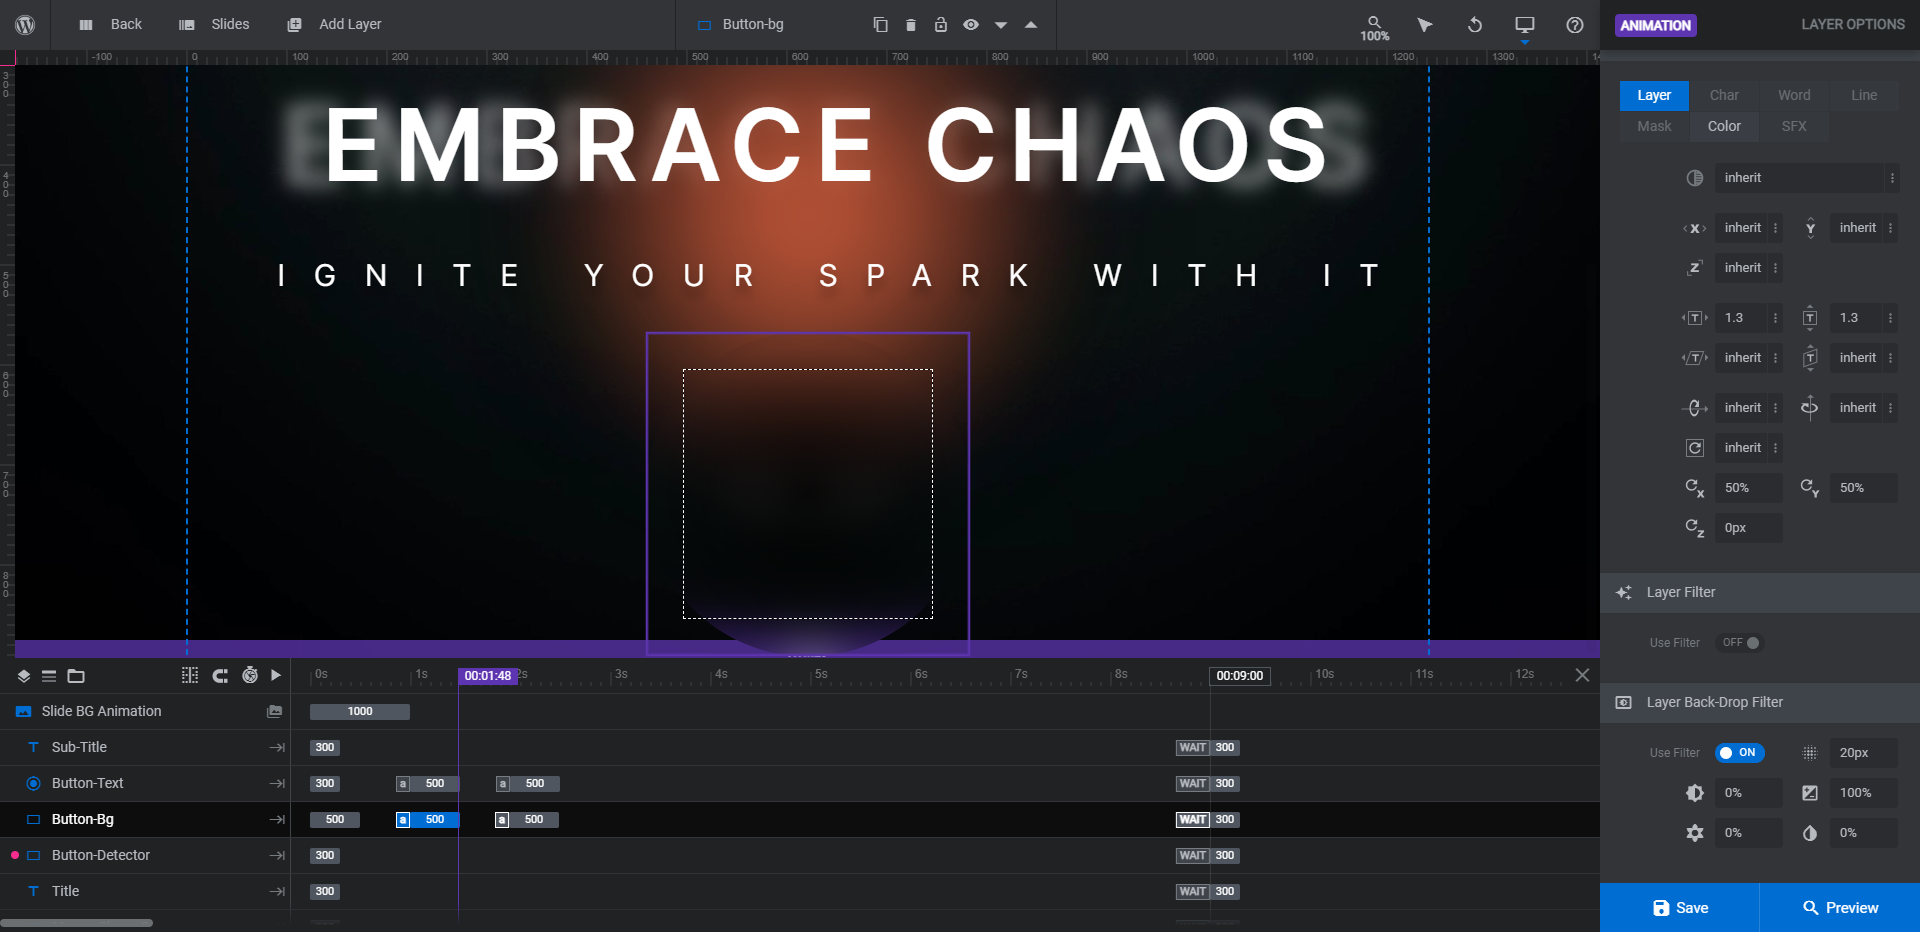
If you want the filter/blur to be less dense, reduce the number of pixels.
You can leave the Button-Detector layer as is if you’re satisfied with the size of the hover-activated field around the button.
Learn more:
- The Tools of the Color Selection Dialogue
- Inserting “TO” Animations Between the “IN” and “OUT” Animations
Step 4: Adjust the cursor animation
The last bit to customize is the colorful cursor animation. There are two layers that make up this effect.
Mouse-Shape is a broad, dark radial gradient shape that moves as your visitors’ cursors move. Mouse-Shape-2 is a smaller, brighter gradient that also moves in time with the visitors’ cursor.
The cursor also has a push-pull effect on the Title-Shadow layer. You’ll notice it being repelled as your cursor moves.
Another thing that makes this cursor effect so special is that the radial gradients have blend mode enabled. This setting creates a blending of colors in overlapping layers. In this case, it’s the video background’s colors and the radial gradient colors.
You’ll find the “Blend Mode” setting under “Adv Style”.
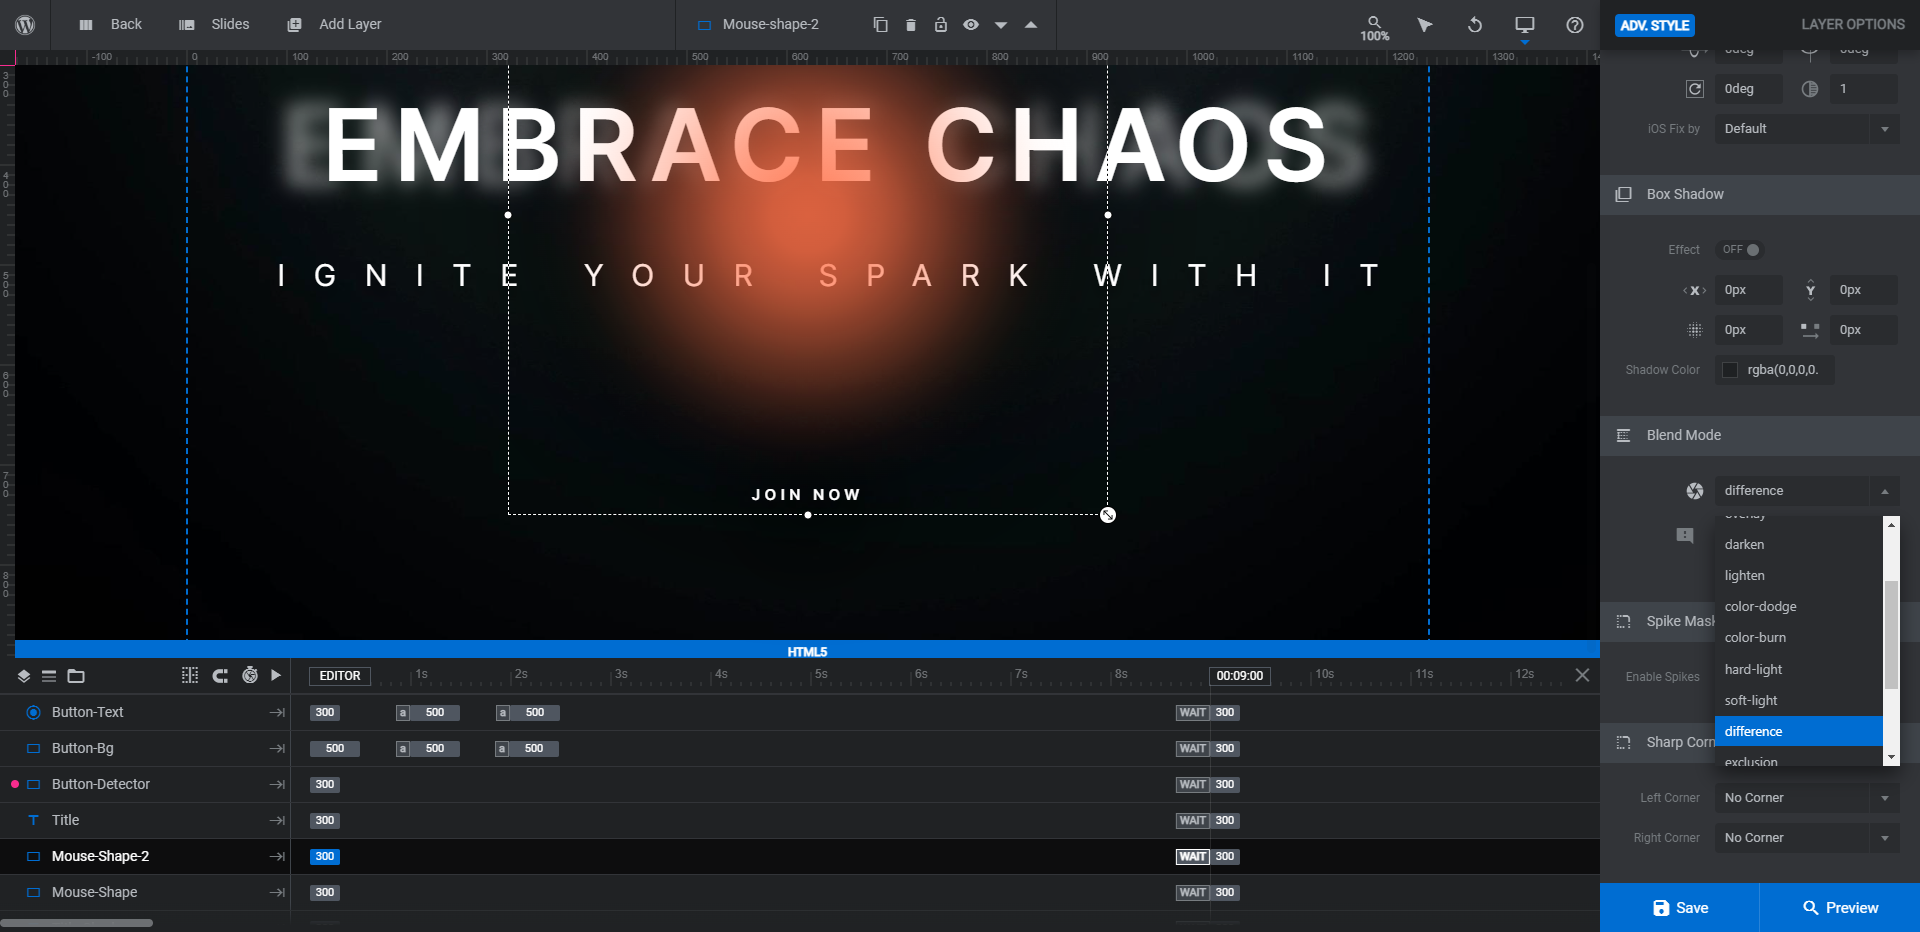
If you’re new to what the difference blend mode does, it essentially inverts color values the way a photo negative does.
You can play around with different blend modes if you’d like. Otherwise, the only thing to do in this step is to choose your radial colors. You can edit the gradient under “Content” or “Style”.

Same as with before, it’s better to swap out the existing colors for your own (as opposed to choosing a gradient from the presets). This way, you won’t have to try and reproduce the radial shape or effect.
When you’re done, save your changes and preview your work to ensure you’re happy with the resulting effect.
Learn more:
Use this hero image design to capture your visitors’ attention within seconds
Your hero image should get visitors sucked into your website and brand the second they enter the home page. The easiest way to do this? Take the basic structure of this hero image template and put your own spin on it. All you’ll need is a mesmerizing background video, some high-impact text, and custom colors to create a hero image of your own.


