
Some of the greatest stories ever told take place against surreal and outlandish backdrops. Take something like Star Wars. Strip away the interplanetary environments and alien facades, and you have a story of good vs. evil that could be set in our own time and place. Without the strange and surreal environment it takes place in, though, the story might not have been as memorable.
We’re going to leverage a similar juxtaposition of the real and the surreal in this tutorial. We’ll demonstrate how to use the Artistic Parallax Slider template to create a jaw-dropping, surreal design for your hero image.
Table of Contents:
- Step 1: Choose one slide to keep
- Step 2: Remove the globally layers
- Step 3: Upload a new background image
- Step 4: Add in your foundational images
- Step 5: Delete floating layers you don’t need
- Step 6: Add in your custom floating images
- Step 7: Review responsive mode
- Step 8: Customize the text
How to create a beautifully surreal design for your site
You don’t need to be an abstract artist or futuristic tech company to make surreal imagery work for you. In this tutorial, we’re going to demonstrate how to take the basic components from this template:
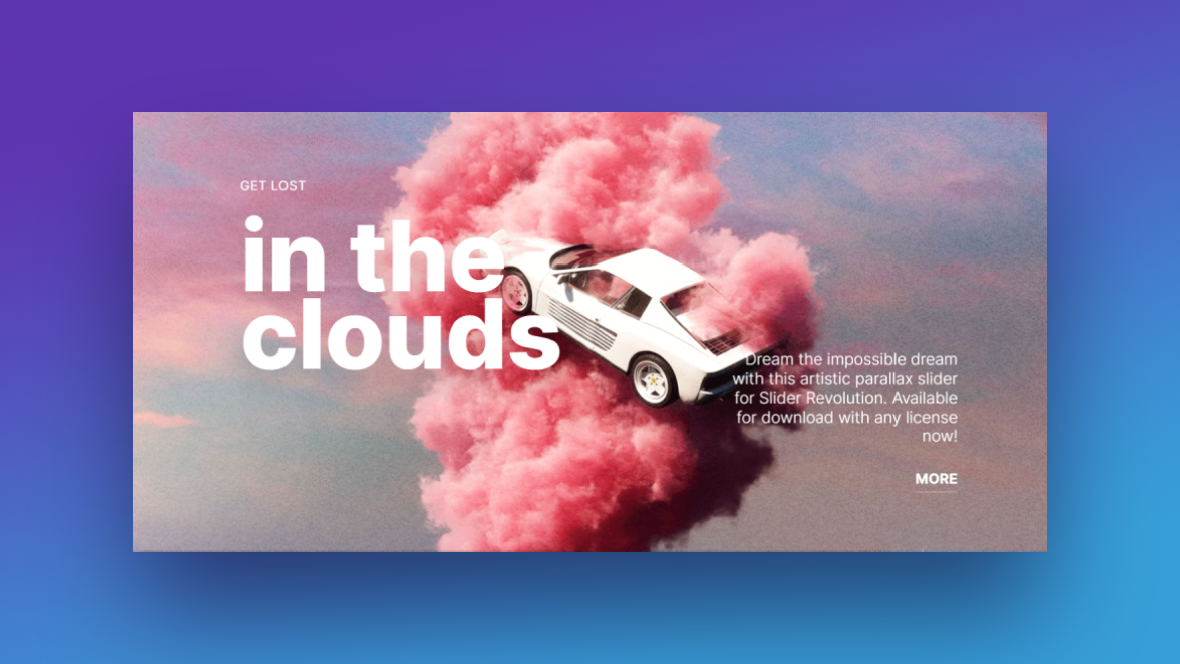
And use them to create a surreal design for a hero image that your ecommerce customers won’t be able to forget:
But first, if you’re new to Slider Revolution, you’ll find these quick-start guides useful before you step inside the editor:
Step 1: Choose one slide to keep
All you need is just one of the slides in this template to create an impactful design. Which slide you use will depend on what you envision for your hero image.
For instance, Slide #1 has only two visual components in it — the dreamy atmospheric background and the car in the pink clouds. If you don’t have a lot of moving pieces in your design, this might be a good one to start with. So would Slide #3.
If you want to create something with more moving parts — like our example from this tutorial — you’d be better off using Slide #2 or Slide #4.
For reference, Slide #4 is the one we’re using to piece ours together. Even if you choose another, you can still follow along with the rest of the tutorial. There may be steps you can skip (like Steps 4 and 5), but for the most part, you’ll follow the same overall process.
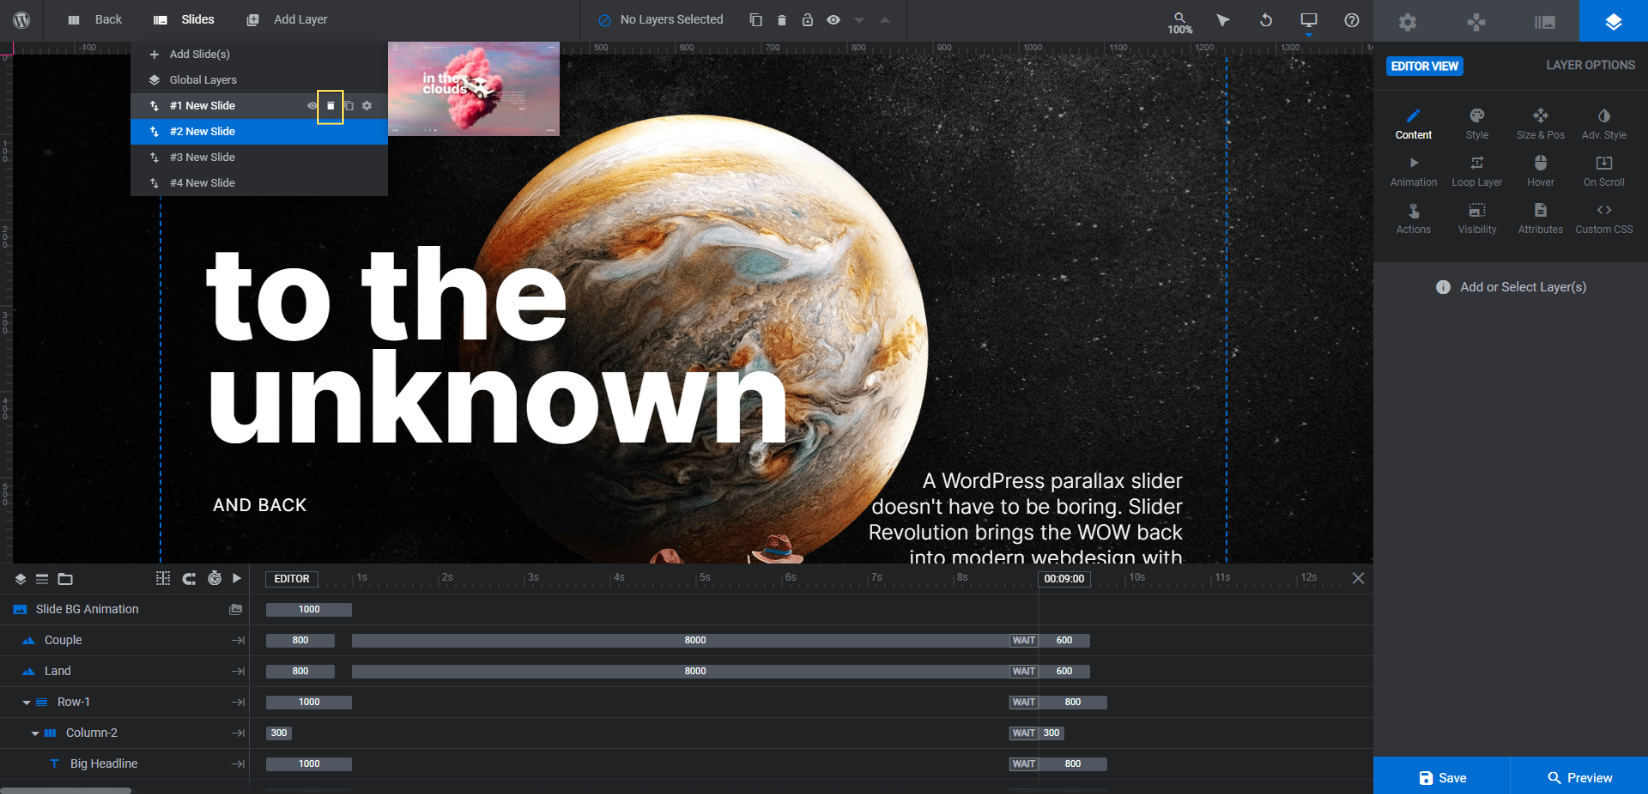
To delete the slides you don’t need, go to the top toolbar and hover over “Slides”. Click the trash can icon that appears next to each of the slides to remove them:
When you’re done, save your changes.
Learn more:
Step 2: Remove the global layers
We’re turning this slider into a single hero image. Because of this, we don’t need the global layers that appear on the slider.
To access these global layers, go back to the “Slides” menu and select “Global Layers”:

The global layers consist of header elements like the logo and navigation links, slider controls, and social media links.
To delete these layers, go to the timeline at the bottom. Hold down the Ctrl or command button on your keyboard. Then click on the following layers:
- Slide Counter
- Contact
- About
- Logo
- Row-10
- Row-15
Hit the Backspace or delete key to remove them from your design.
Learn more:
Step 3: Upload a new background image
Return to your slide and go to “Slide Options” and “Background”. From here, you’re going to upload a new background image for your design:
Note: When creating a surreal landscape, you don’t need to overwhelm the design with abstract and strange imagery. An otherwise normal-looking landscape can feel eerie or trippy if you add surreal elements in front of it.
So play around with this juxtaposition. You might find that the perfect combination for your design is normal objects in front of a surreal background… or a surreal scenario in front of a normal backdrop.
Learn more:
Step 4: Add in your foundational images
The Man+Land image layer forms the ground/foundation of our design. You won’t have this kind of layer in some of the other slides, so you can skip this step if that’s the case.
If you do have a ground layer, then here’s what you need to do to customize it:
First, create your image and strip out any background elements that appear in it. You only want the solid ground structure to be left so that your background photo from Step 3 peeks through.
Next, export the image file with the following specifications:
- 1920px width
- 400px height
- Transparent background
Note: If your image is taller than 400px, it might cover some of your text layers. That’s okay. We’ll show you how to work around this if it happens. However, it’s a good idea to use an image that’s no taller than 600px just so you can minimize how much text appears over it.
To replace the existing Man+Land graphic, select it in the timeline editor. Then go to “Layer Options” and “Content” to upload a new one to the Media Library:
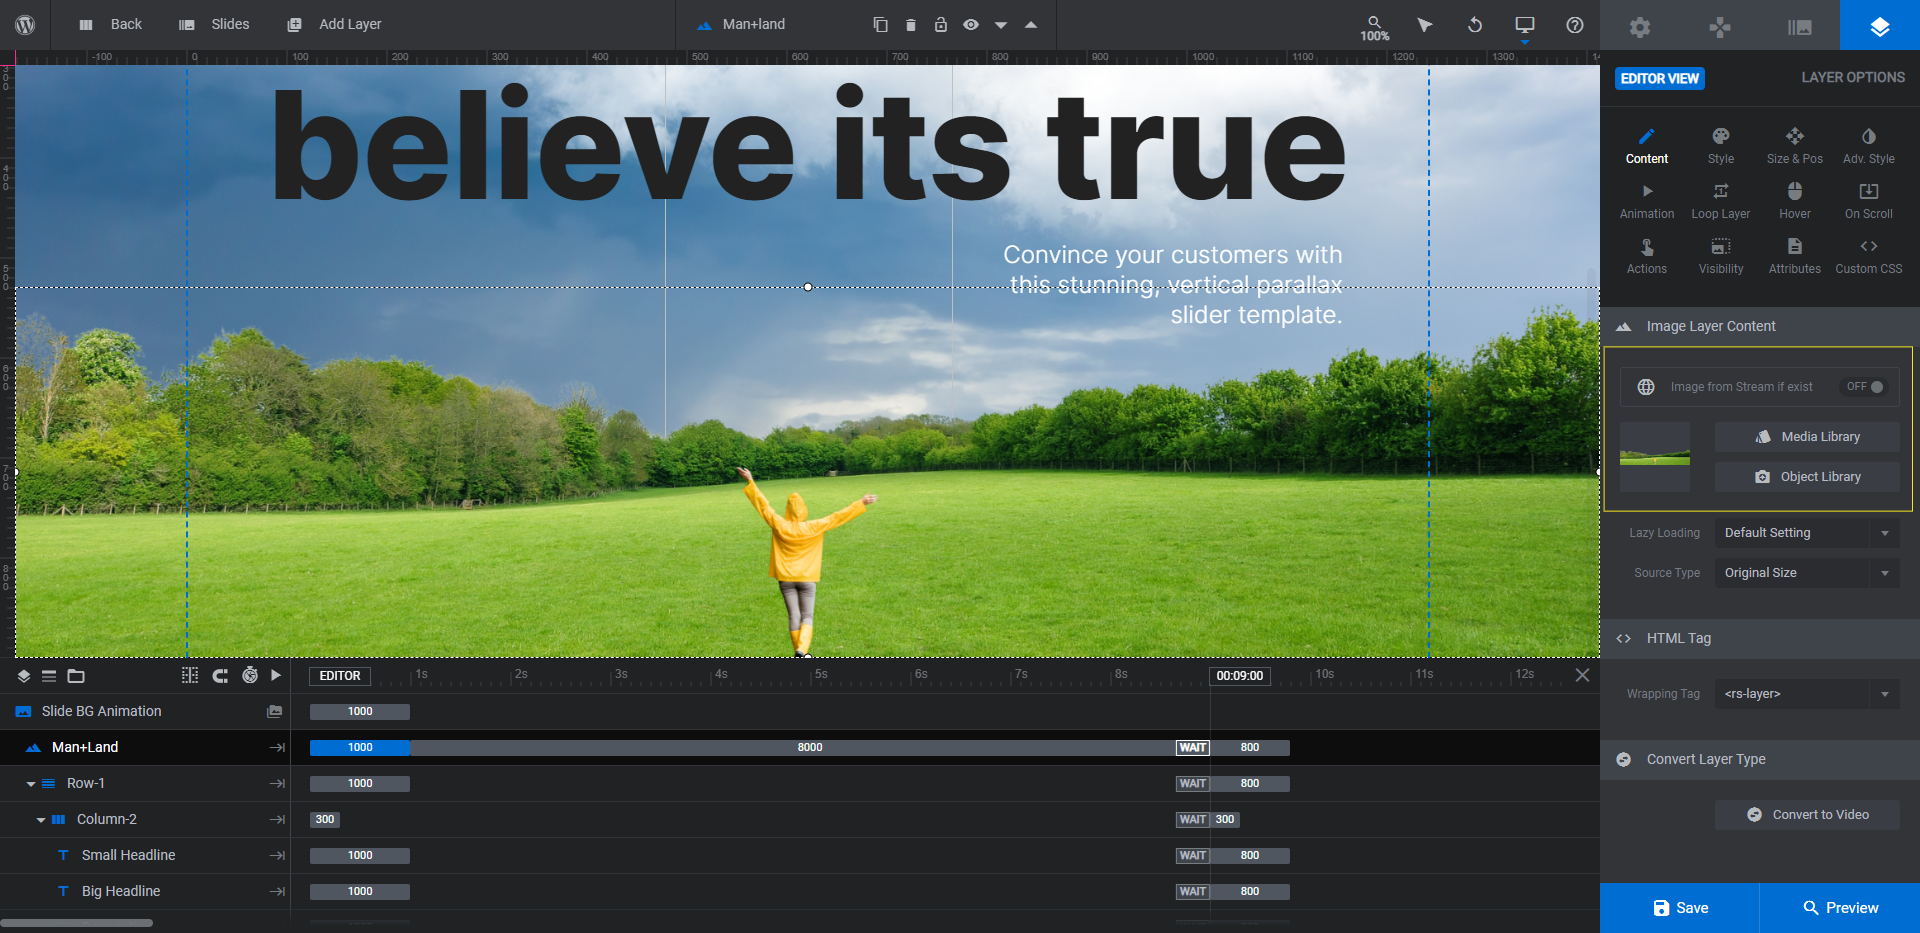
If your image covers any of the text (including the call-to-action), there’s no need to resize it. Instead, go to the timeline editor and move the Man+Land layer behind Row-1:
Pro tip: To ensure that Man+Land doesn’t get stuck inside the row or column above it, close up Row-1 first by clicking the drop-down arrow to the left of it.
The position in which the layers appear in the timeline editor dictates what their position is in the slide. So if Man+Land stays above Row-1, it will be positioned in front of whatever is in that row (which is why the Cta layer button isn’t visible in the canvas). By moving it below the row, the field image will appear just behind the text now.
Learn more:
Step 5: Delete floating layers you don’t need
Take a look at the remaining image layers in your slide. Slide #4 has six of them — two are clouds, three are UFOs, and one is a beam that appears beneath one of the UFOs.
If there are any of these layers you don’t need, delete them now. It’s the same process you used to delete the Global Layers.
We’ve deleted the two cloud layers along with the beam. We want to focus our efforts on adding floating elements to the sky.
Don’t stress about the number of layers that remain. You can always duplicate those layers to create new ones if need be.
Step 6: Add in your custom floating images
In this step, we’re going to replace the existing floating images and add new ones as needed. For us, that means editing Ufo1, Ufo2, and Ufo3. We’ll then be duplicating these images to create four more.
In terms of creating them, make sure to export each with a transparent background. And set them to a width of no more than 500px. You can make further adjustments to the size inside of Slider Revolution.
Start by replacing the existing image layers with your replacement graphics. Go to “Layer Options” and “Content” to upload your photos:

Pro tip: If you want to create floating objects, don’t add new ones from-scratch. Each of the existing image layers has been programmed with special effects that give them their floating and push-pull feeling.
To preserve the vibe of the slide, right-click on the layers you want to duplicate (it’s okay if they’re not the same size or shape) and then click “Duplicate”. Upload your new photo. Then drag-and-drop the images to wherever you want them to appear in the canvas:
When you’re done, select the images one-by-one and go to “Size & Pos” to make adjustments to their size and to refine their positioning in the hero image:
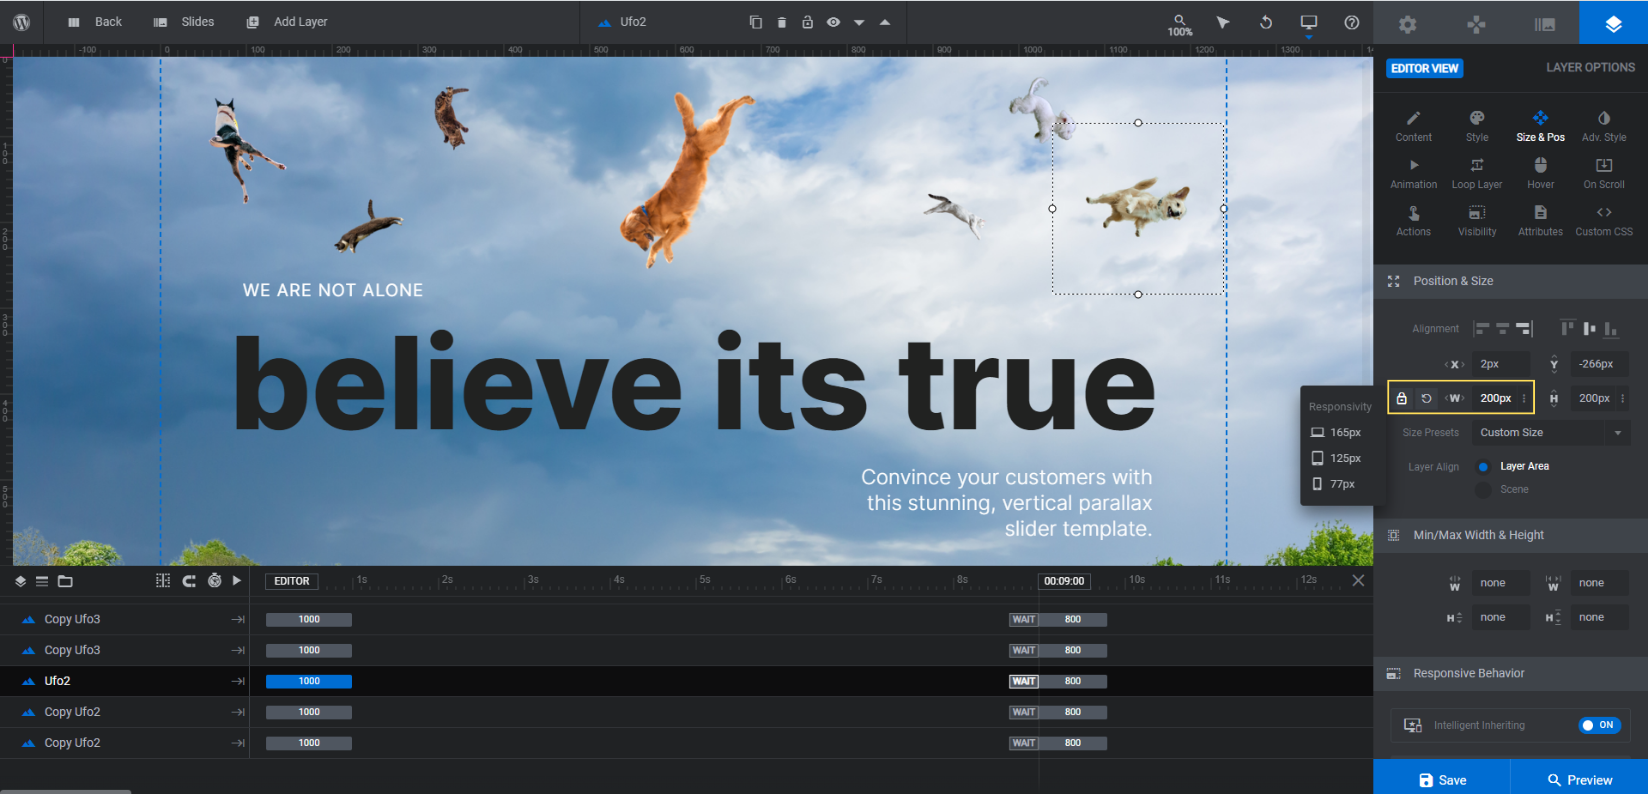
Use the first row of icons to quickly change their alignment on the screen. The second row allows you to move them around the X- and Y-axis. The third row allows you to alter the size of the image layer. All you need to do is edit the W(idth) field to get it to the size you desire.
Learn more:
Step 7: Review responsive mode
Because of the manual adjustments we made to the image layers in this slide, we need to spend some time in responsive mode. Go to the toolbar and open the variant dropdown:
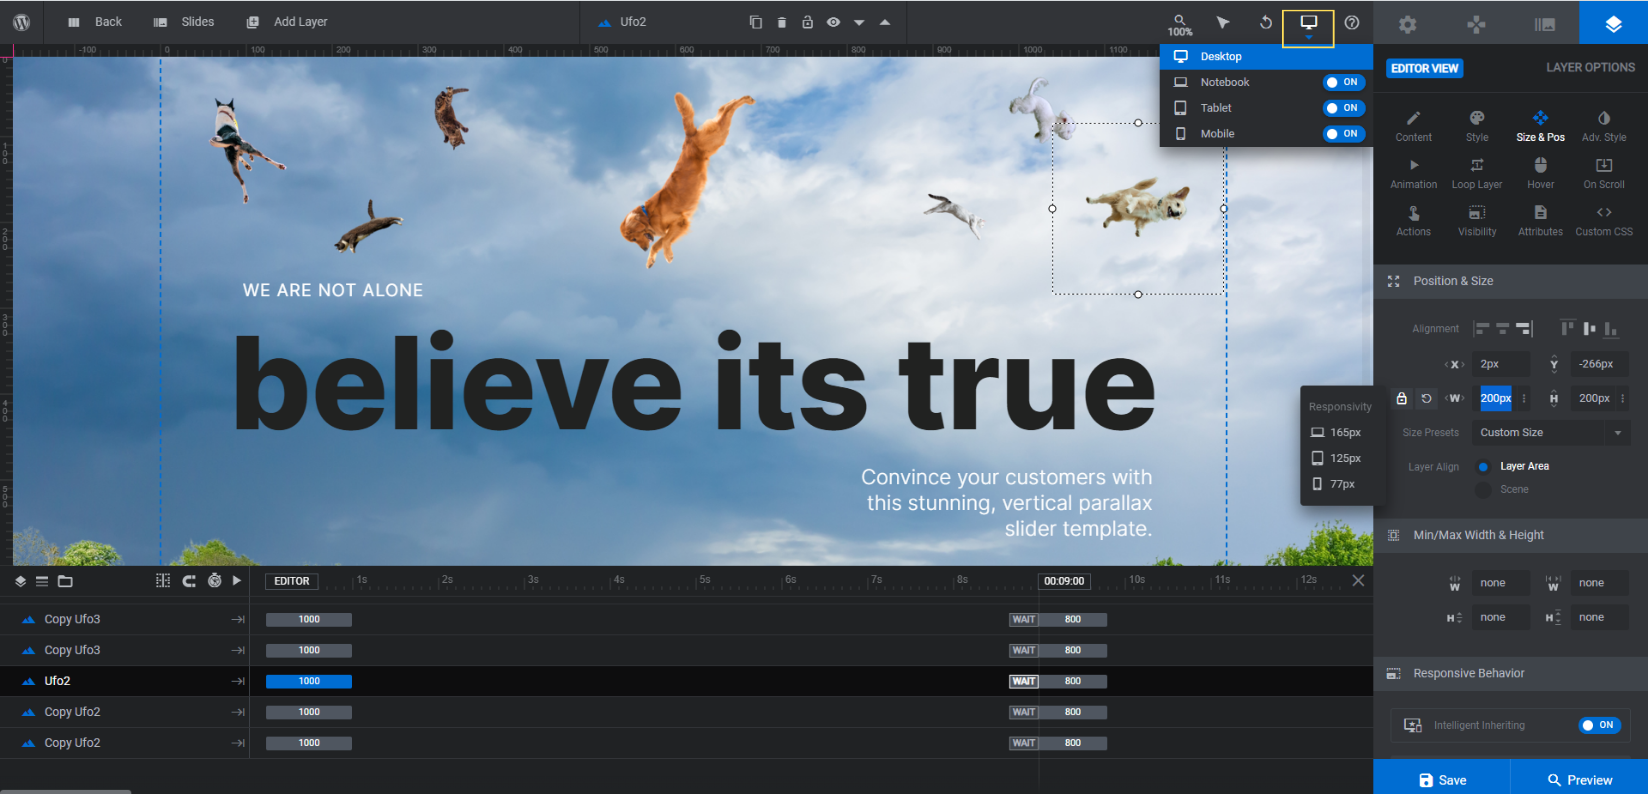
Switch between the different responsive views and you’ll see what your floating imagery looks like on smaller devices. To make changes, select the image in the timeline or canvas and go to “Size & Pos”:
If your images look distorted, edit the W value. This should restore the image’s proportions. You can also use the W value to resize the image.
Use X to move images left or right if they ended up outside the bounds of the small screen (i.e. the dashed lines). Use Y to move them up or down if they aren’t exactly where you want them to be between the text and the top of the screen.
Note: When you make edits in responsive mode, only the device you’re viewing will be impacted by the changes. The design you originally created in Desktop view will be preserved.
Before you save your changes, click on Preview and check your designs in responsive mode. Make sure that what you did in the visual editor looks good on the frontend of the site.
Learn more:
Step 8: Customize the text
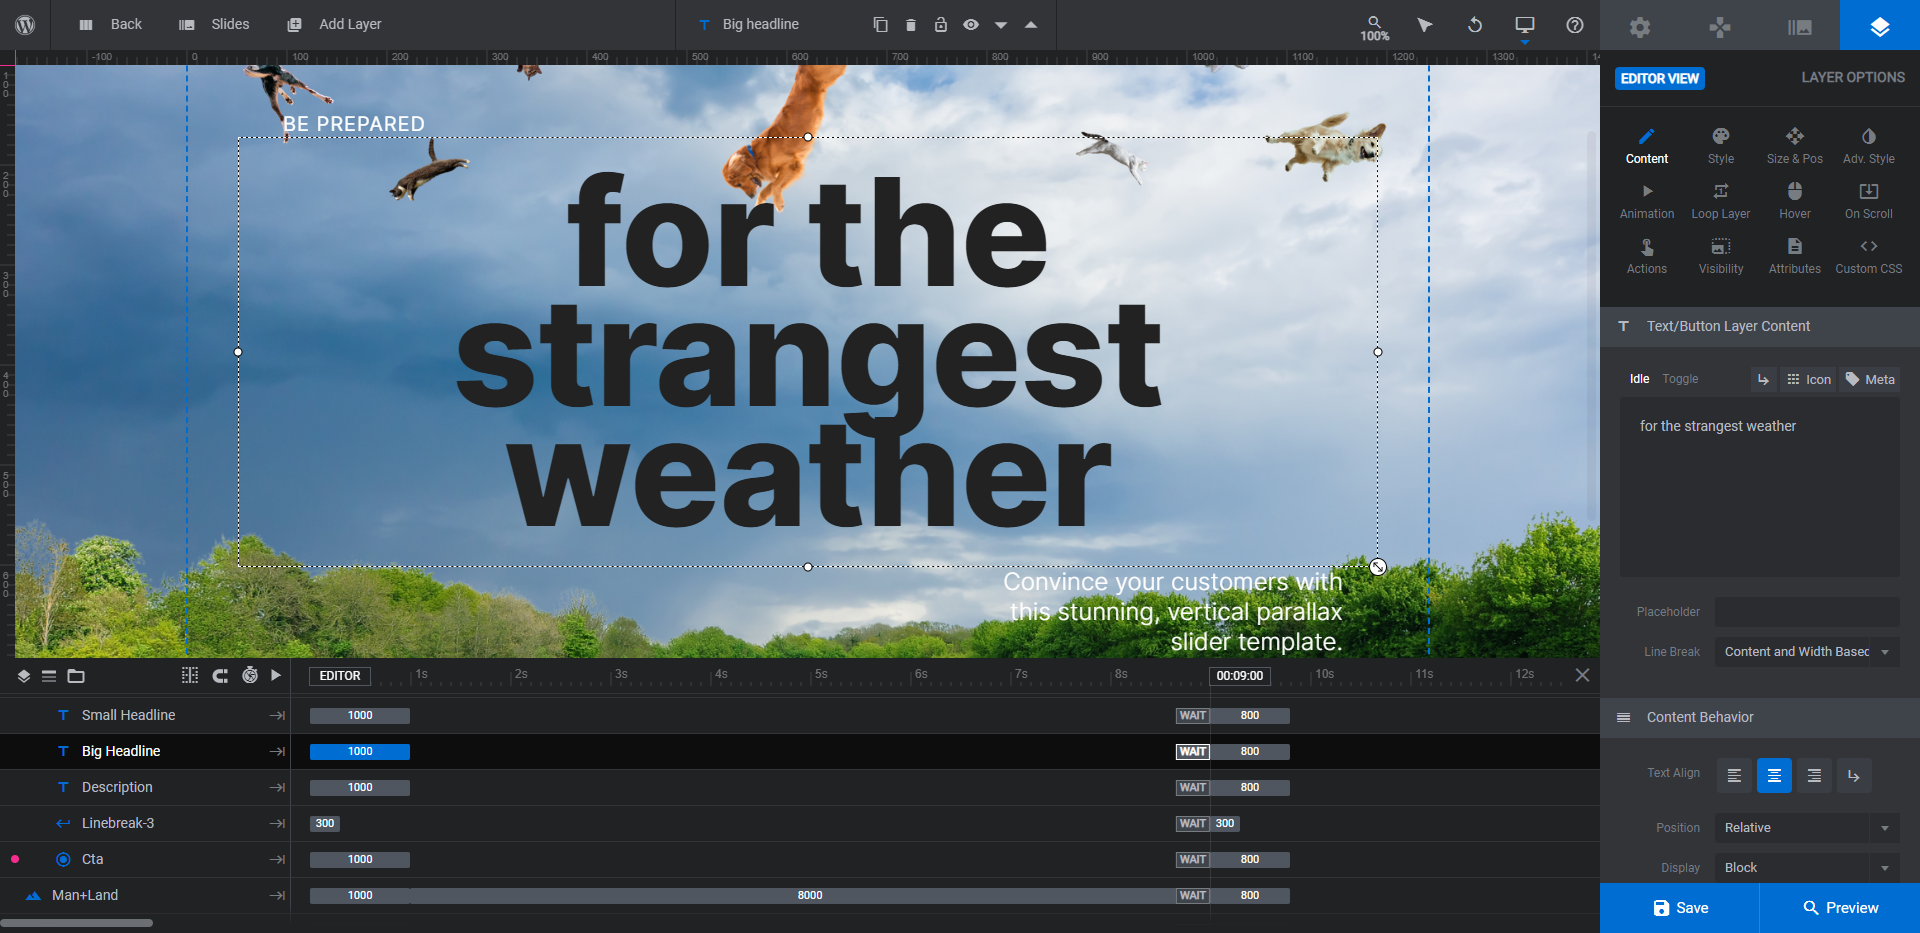
The text layers are the only ones that remain:
- Small Headline is the tagline at the top of the text layers.
- Big Headline is the big bolded text in the center of the hero image.
- Description is the right-aligned text below the main headline.
- Cta is the text link in the bottom-right.
To edit what they say, locate them in the canvas or the timeline editor. Then go to “Layer Options” and “Content”:
To modify the way the text looks, go to “Style”. You can change the font, weight, size, color, spacing, and more from this tab:
If you make changes to the size or position of any of these layers, make sure to do one more responsive check.
When you’re done, save your changes and preview your work. Once you’re satisfied with your design, add an active link to the Cta and then add the hero image to your website.
Learn more:
Design an unforgettable surreal scene for your home page
First impressions matter and your hero image, more times than not, is where those impressions are formed. With the Artistic Parallax Slider template, you can make those first impressions count.
All you need to do is come up with a fun and abstract way to promote your brand or product. As you can see here, creating a surreal design around a well-known idea like “raining cats and dogs” is not only possible, but easy to do.


