
Because it’s the entrepreneur that people connect with (as opposed to, say, a company’s products or services), their face is an integral part of their branding. As a result, an entrepreneur’s site needs to be designed around their image.
In this tutorial, we’re going to show you one way to kick things off with a bang. We’ll demonstrate how to use the Creative Portfolio Website Slider template to create a hero image design that will have people yearning to learn more about this mysterious entrepreneur.
Table of Contents:
- Step 1: Install the module template
- Step 2: Delete the global layers
- Step 3: Delete all the slides except the hero
- Step 4: Create entrepreneur images
- Step 5: Edit the text
- Step 6: Create your custom particle wave
- Step 7: Update the background colors
How to create an awesome hero image design for entrepreneurs
You could do what other entrepreneur and influencer sites do and embed full-width videos or image blocks into the hero image. While that’s an effective way to handle imagery throughout the site, the hero image should be handled differently.
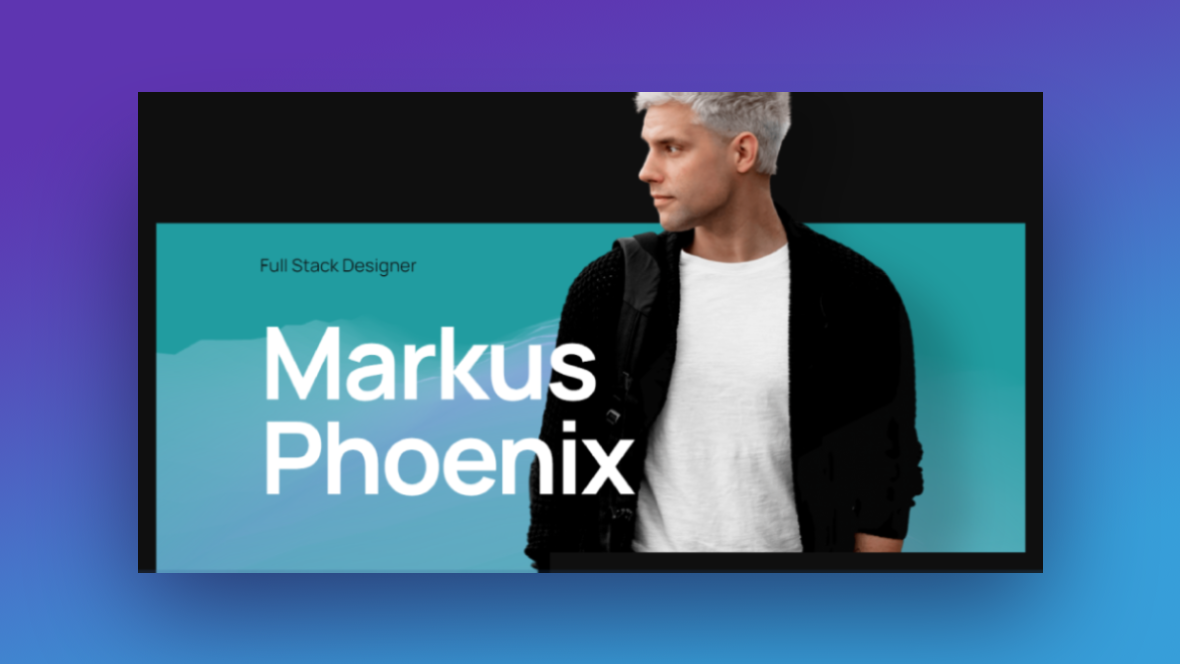
For example, this is what the hero section in the Creative Portfolio Website Slider template looks like:

In the following tutorial, we’ll show you how to modify the template and put a unique spin on it:
Want some help getting started with Slider Revolution? Read through these guides first:
Step 1: Install the module template
Go to New Module from Template and do a search for “creative portfolio”. You’ll find nine templates to choose from:
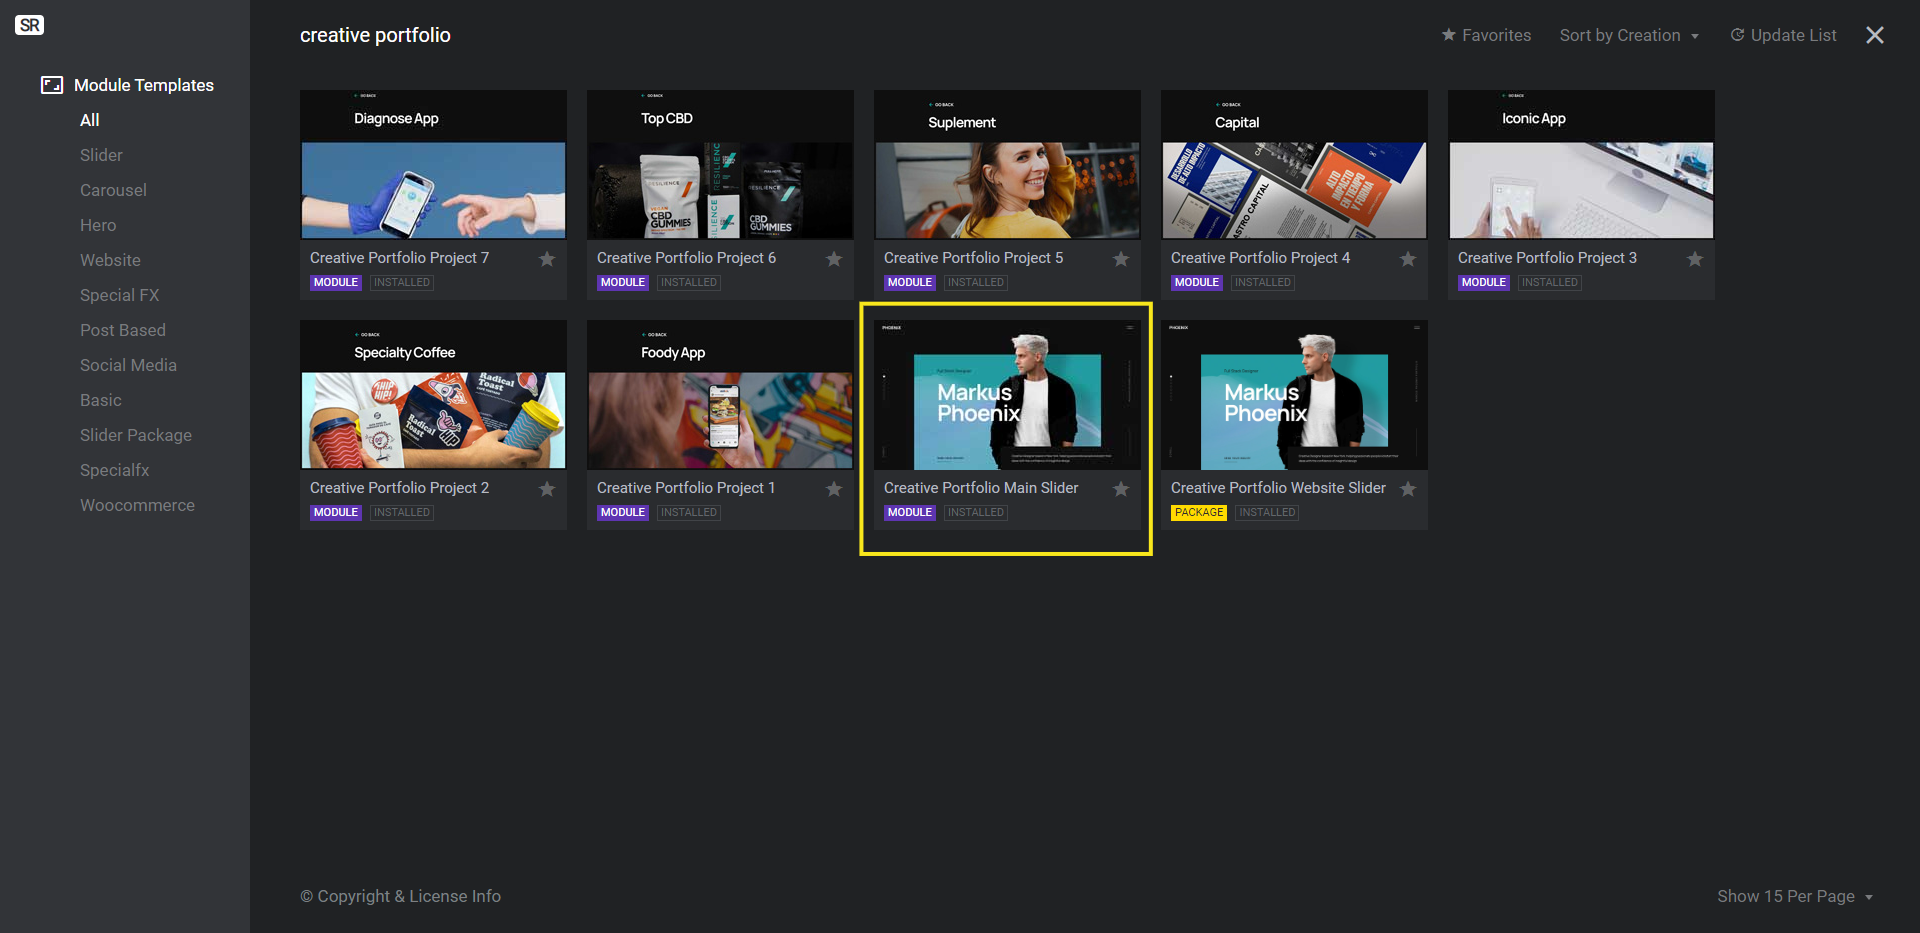
The one you’ll need is called Creative Portfolio Main Slider. It has a purple MODULE tag underneath it.
Click on it to install the template (not the package).
Note: If you want to use this one-page website template to build out your home page or website, the PACKAGE option might be a better choice. That template includes all the content for the full-site as well as a pop-up portfolio.
Learn more:
Step 2: Delete the global layers
Go to “Slides” in the top toolbar and open the Global Layers.
If you’re building your entire site with Slider Revolution, you may want to keep the global layers so you won’t have to build out a header and navigation with WordPress. If you only need this template in order to create your hero image, then delete them.
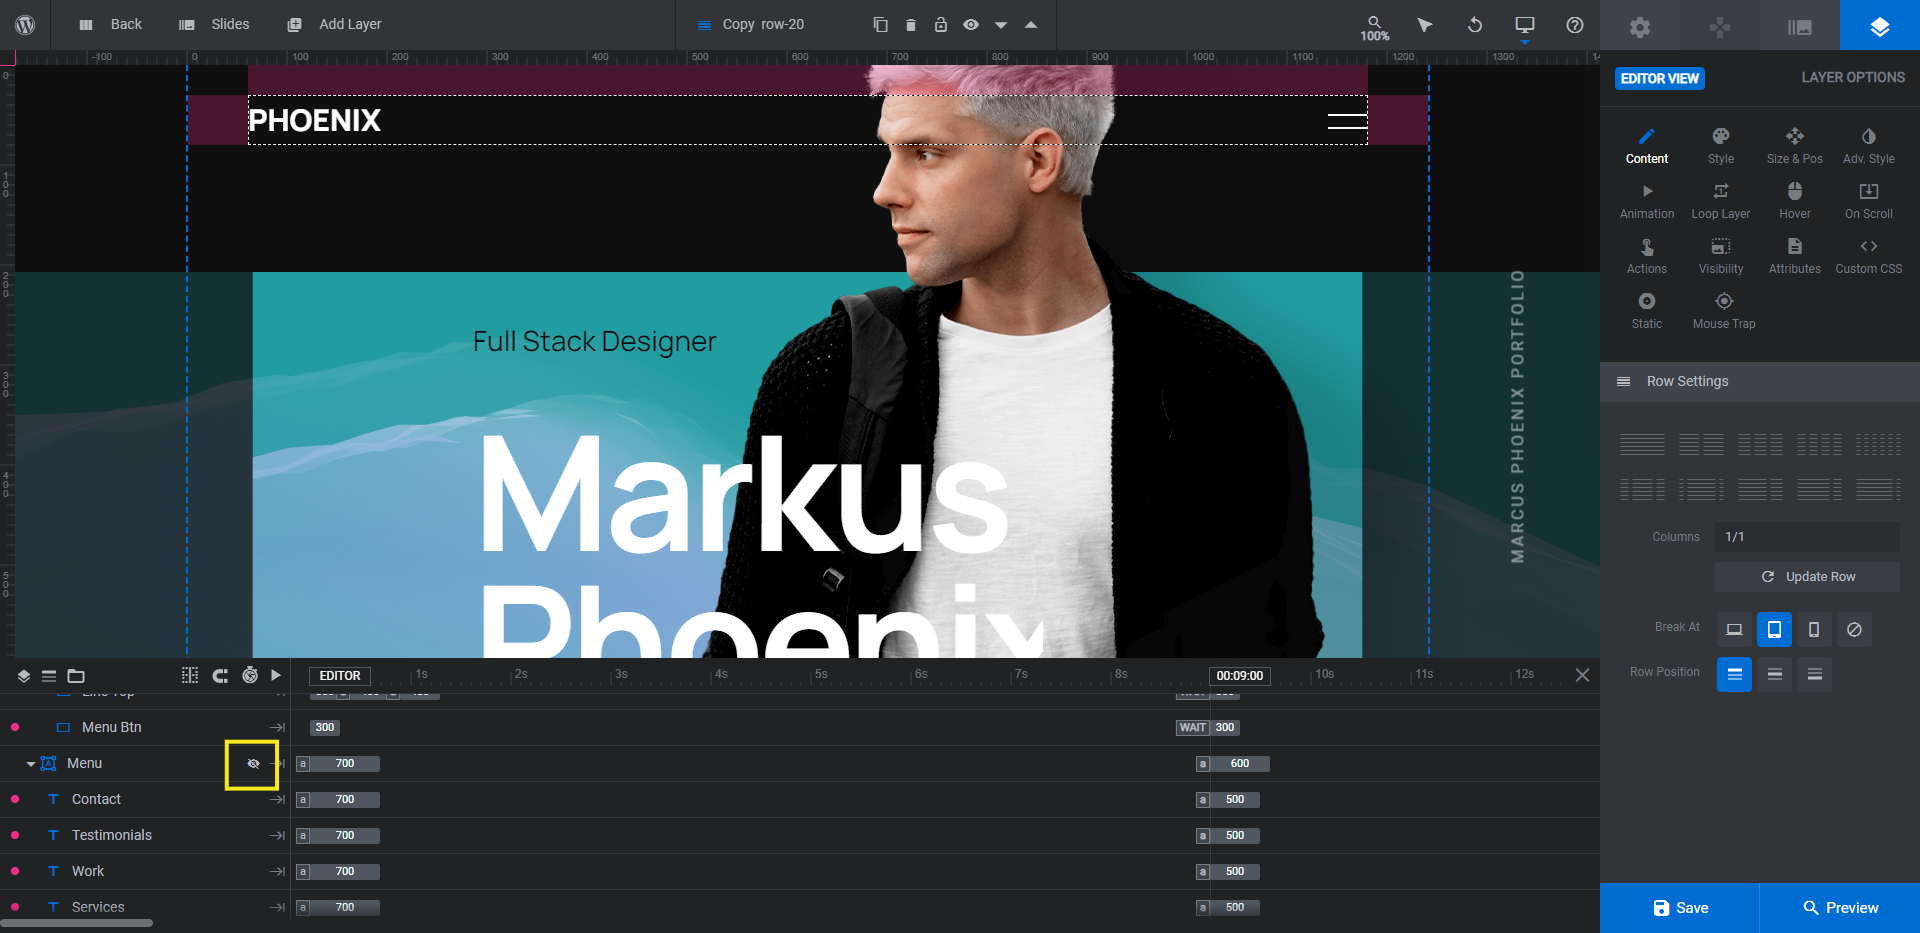
To delete layers, start by making all of them editable. Right now, the Menu group is hidden. Hover over the eyeball icon that appears next to Menu and click it:
You can now delete all of the layers at once. Hold down command or Ctrl on your keyboard and select:
- Copy-Row-20
- Menu
- Portfolio
- Line
- Scroll
Hit delete or Backspace. This will clear out all the global layers.
Learn more:
Step 3: Delete all the slides except the hero
Because this module is built for a full portfolio website, you’re going to find eight slides in it. Each one represents a different section of the one-page website. You only need the first one to create your hero image design.
Go to “Slides” and open the hero slide.
To delete slides 2 through 8, hover over each and click the trash can that appears to the right:
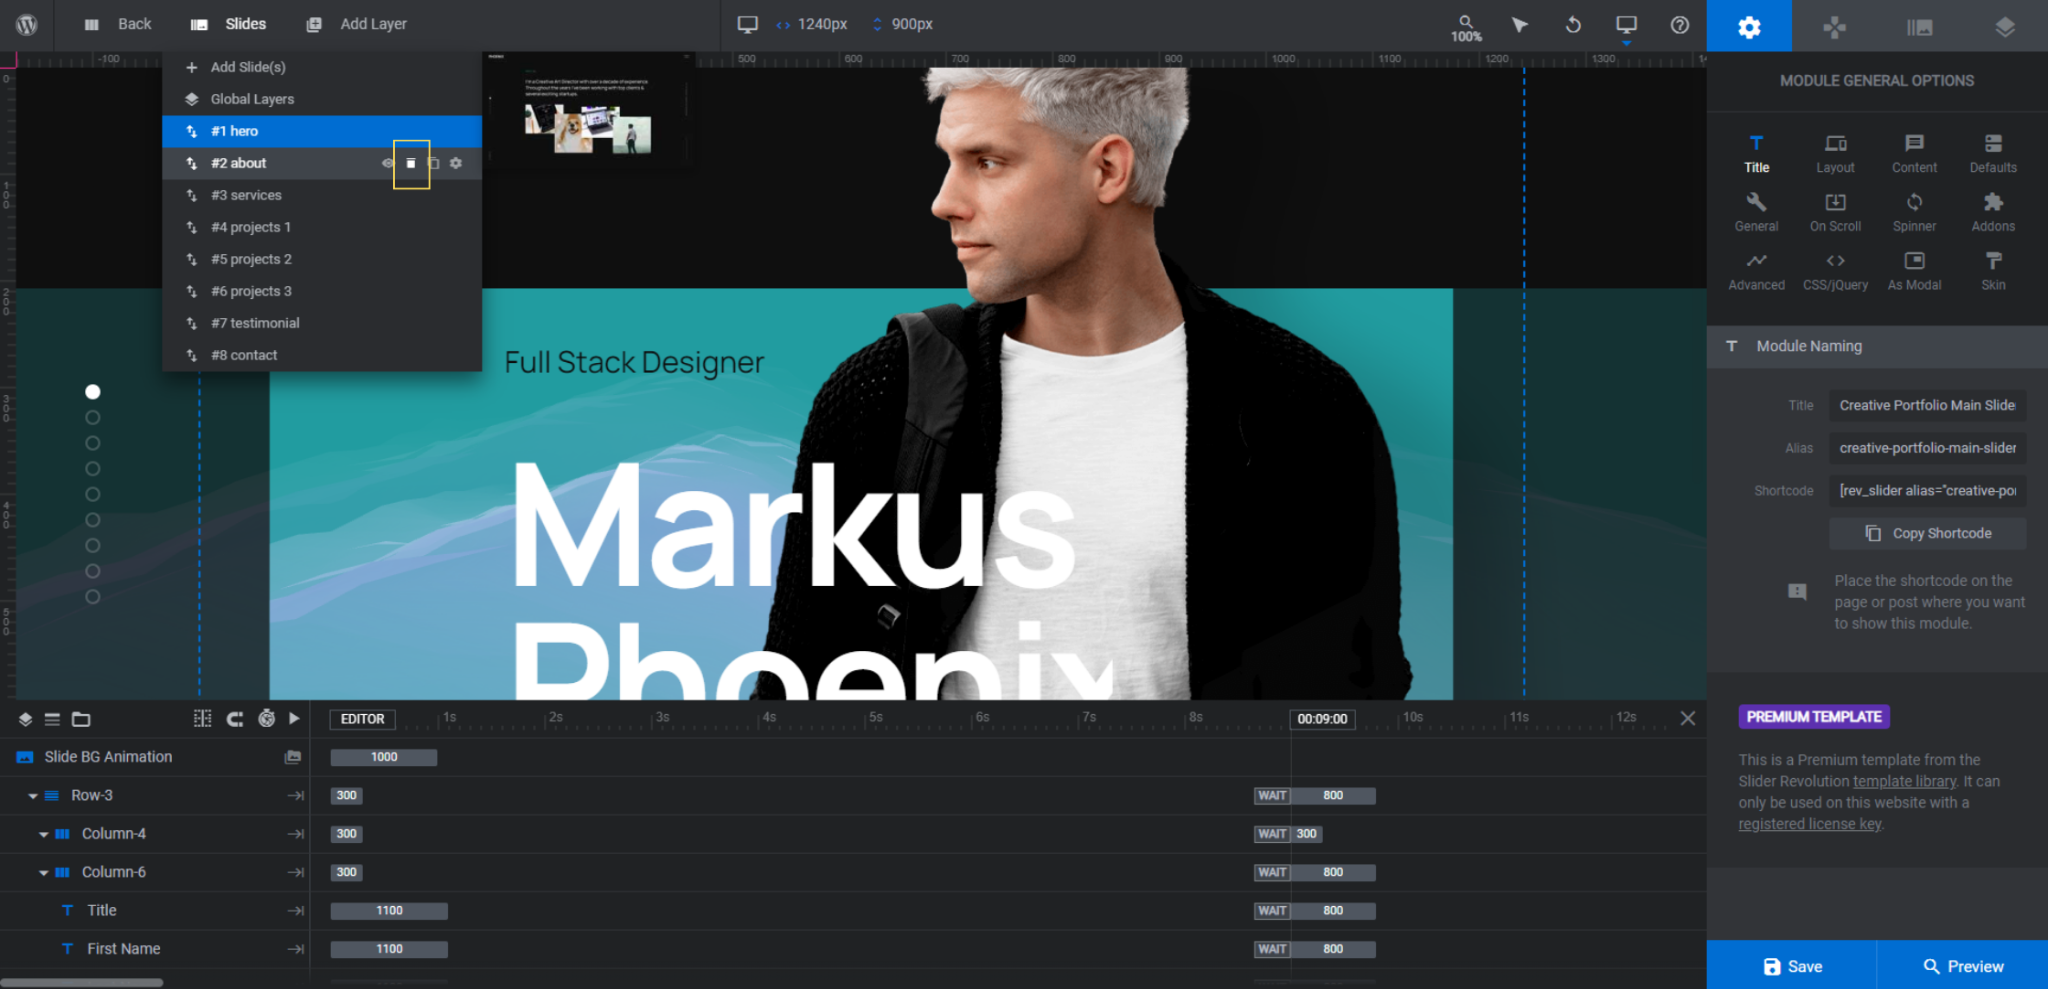
Repeat this until all you’re left with is the hero slide.
Learn more:
Step 4: Create entrepreneur images
There are two image layers to edit in this step:
- Man is the photo of the entrepreneur.
- Shadow is the shadow layer behind the entrepreneur.
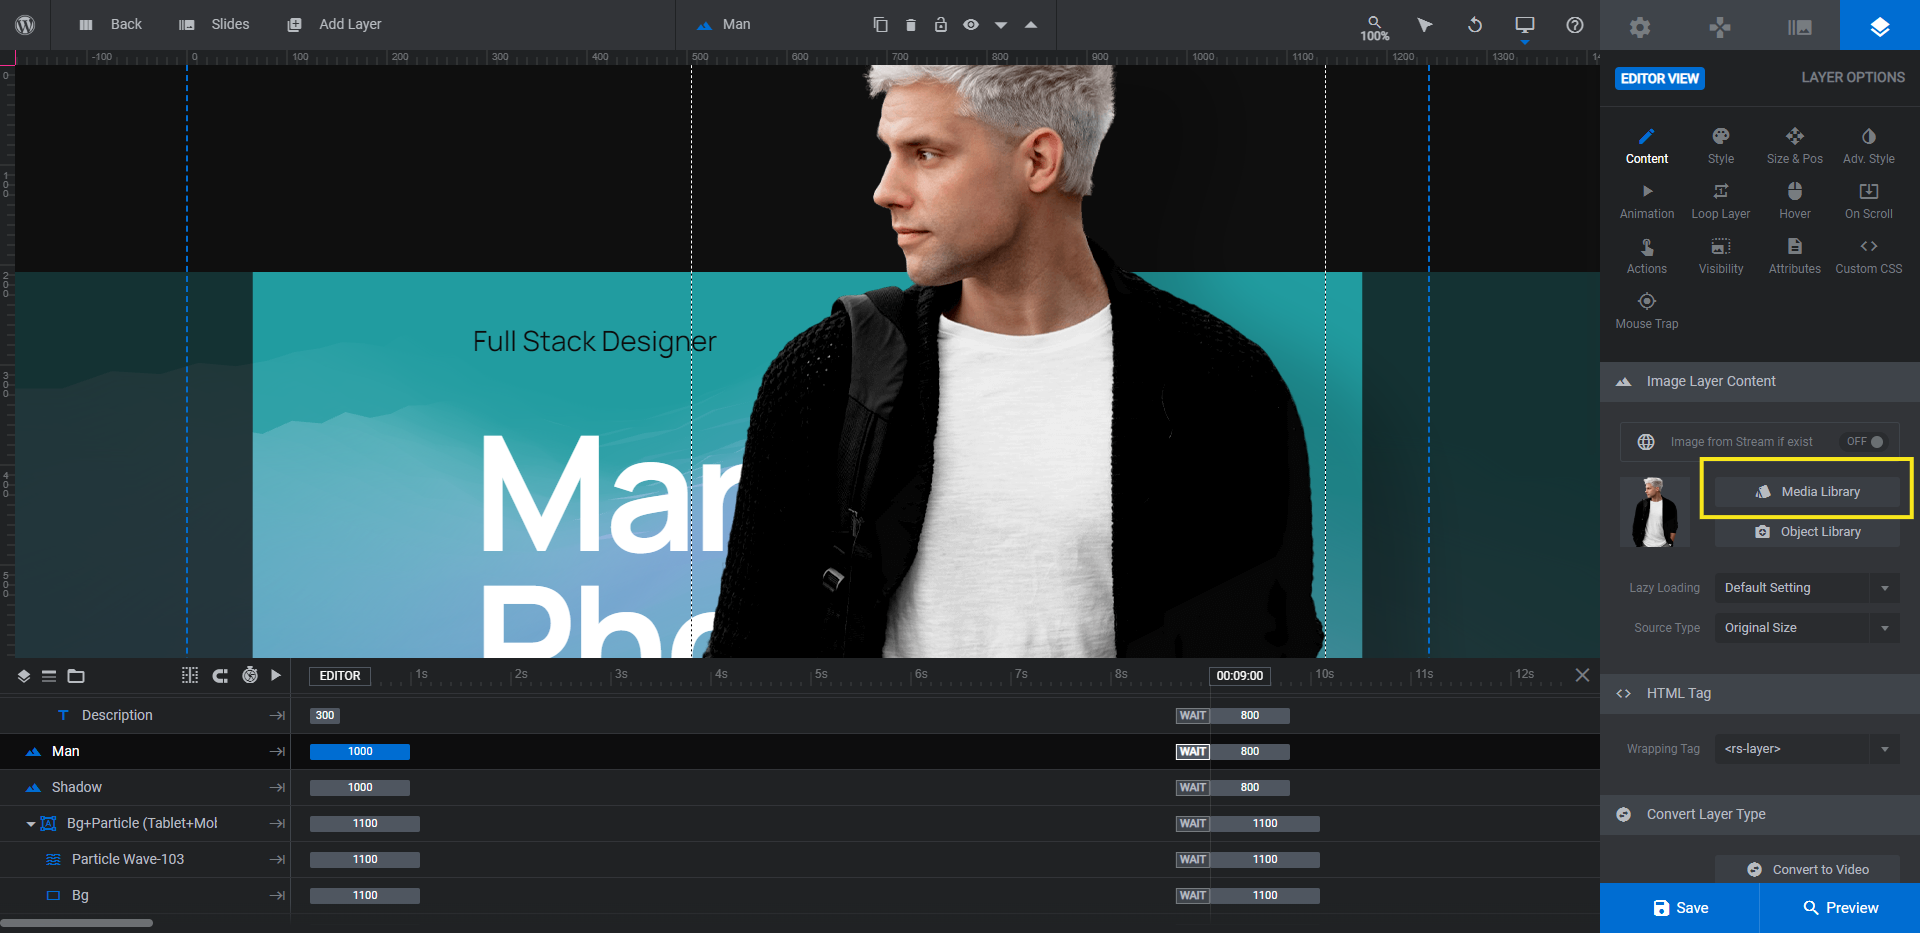
Start with Man.
Pro tip: The image that’s currently there is 635px by 975px. Try to size your new image as close to those dimensions as possible to cut down on editing. Also, make sure to export the photo with a transparent background.
To replace this image, select it from the canvas or timeline editor. Then go to “Layer Options” and “Content”. Click on the Media Library button and upload your new photo:
Move to Shadow next.
To create the shadow of your entrepreneur photo, open your design software. We’re going to use Canva in this example.
Create a canvas that is 765px by 986px. Add your entrepreneur image to it.
Using your image editing tools, do the following:
First, apply an all-black duotone. If you have pre-made duotone settings, choose any of them to start with. Then go into the settings and change both colors to black (#000000). This will turn your photo into a silhouette.
Next, go to the image adjustment settings. Add a slight blur (we set ours to 5). Then make the image transparent (we set ours to 60). This will turn it into a blurry shadow.
Here’s how the process looks in Canva:
Export the image with a transparent background. Then, upload it to the Media Library and replace the current Shadow layer with it.
If you feel as though the shadow is too far away from your photo, edit the X position under “Size & Pos”:
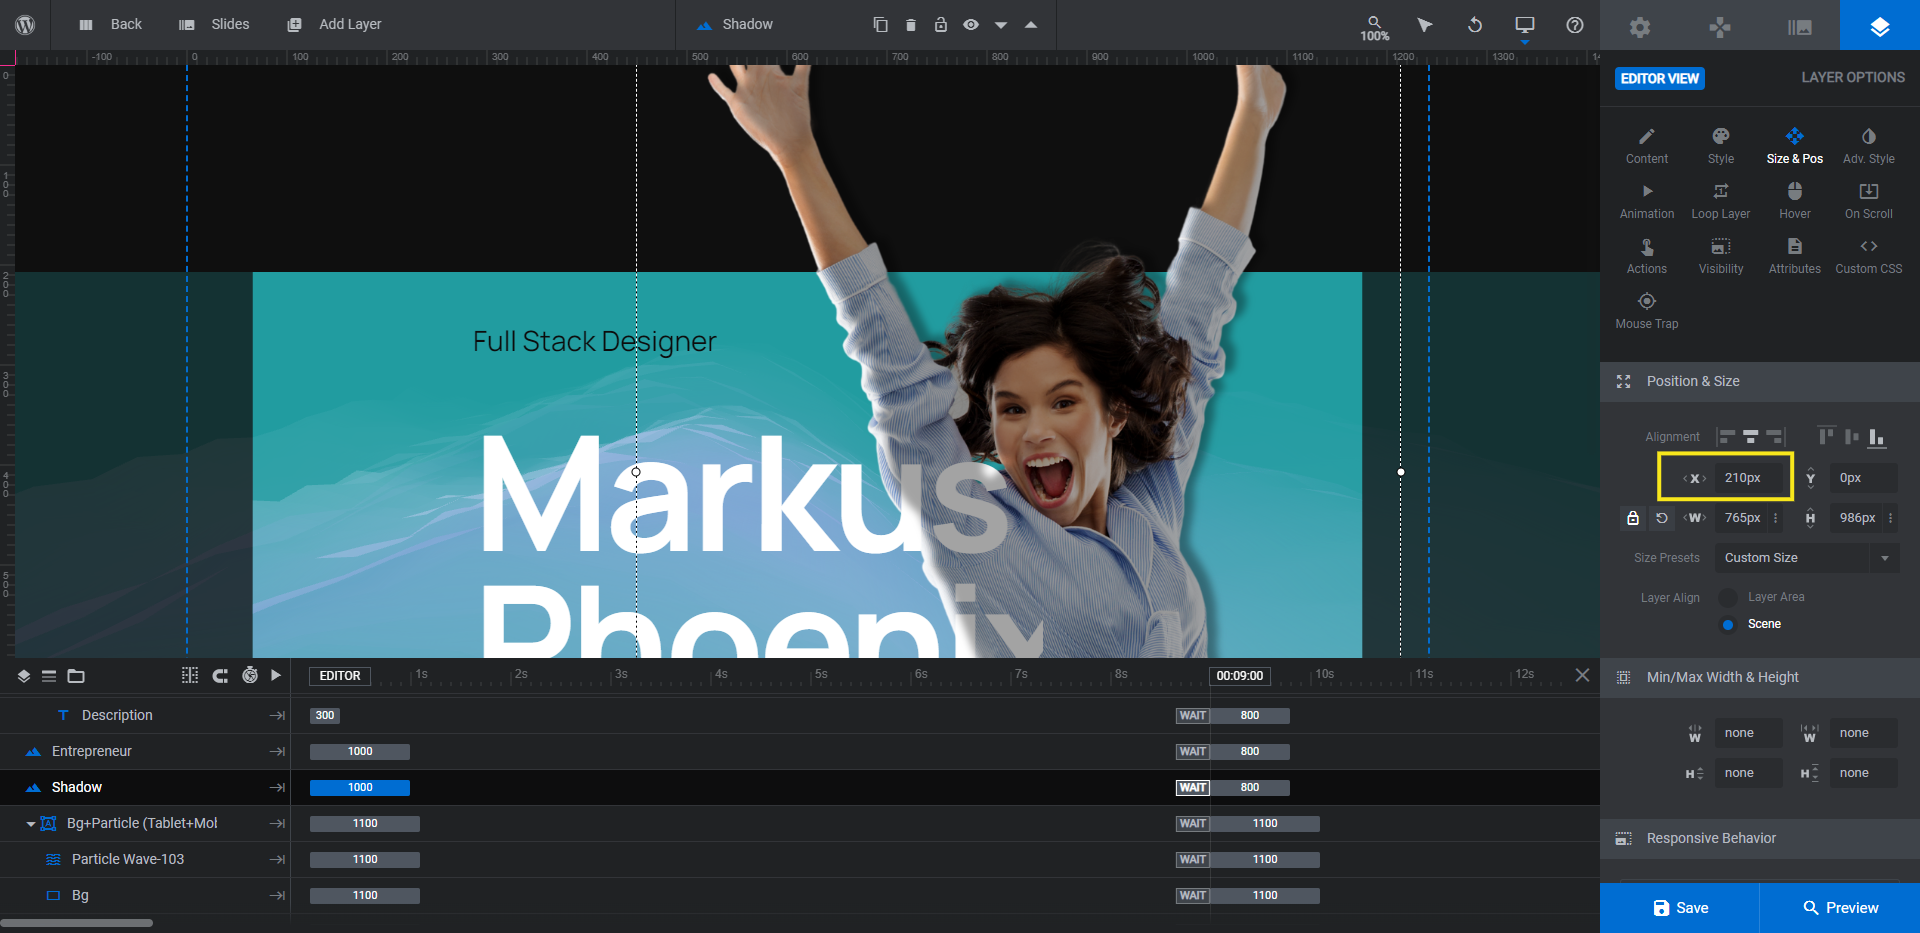
For instance, because our entrepreneur photo isn’t as tall or wide as the template’s image, we moved the shadow closer — to 210px.
Learn more:
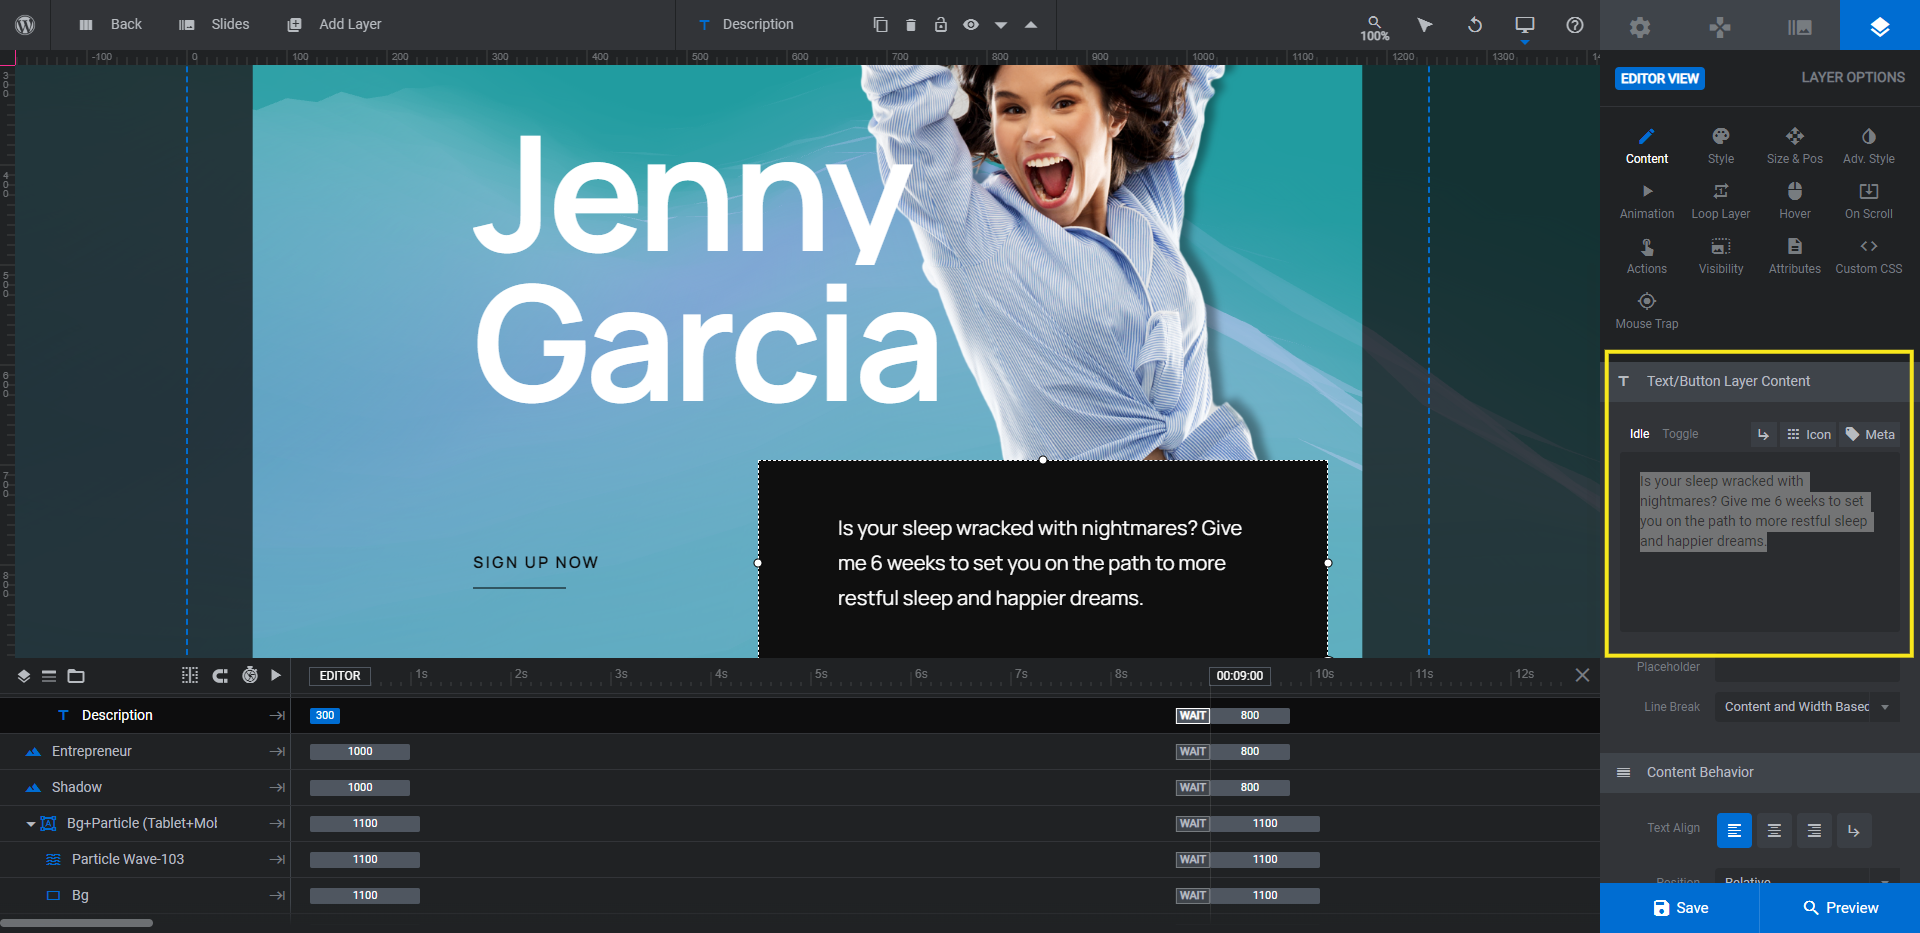
Step 5: Edit the text
There are five layers of text to edit in this hero image:
- Title is the text at the top. You can use this to explain what the entrepreneur does or give them a catchy tagline.
- First Name and Last Name are the name of the entrepreneur in big, bold font.
- Inquire is the call-to-action link/button.
- Description is the one-sentence description in the bottom-right.
The first thing to do is edit what these layers say. To do that, click on the text in the canvas or the timeline editor. Then go to “Layer Options” and Content” to rewrite the text:
Next, you can go in and stylize the text layers under “Layer Options” and “Style”. Change the fonts. Play around with weight, height, and spacing. Adjust the colors.
Pro tip: To maintain the balance and layout of the hero image, try to keep the font sizes and positions where they are. If you need to make changes, use the responsive editing tools to ensure that everything looks okay on smaller screens.
It’s okay if you can’t get the colors perfect just yet. You can always come back here and change them after you’ve set up your particle wave and background colors.
One last thing to do in this step is to edit the Inquire button link. Go to “Layer Options” and “Actions”. There are three actions there.
You can ignore the Line actions as that’s what animates the line beneath the button when someone hovers over it. Instead, click on the Simple Link and then add in the page you want to direct visitors to:
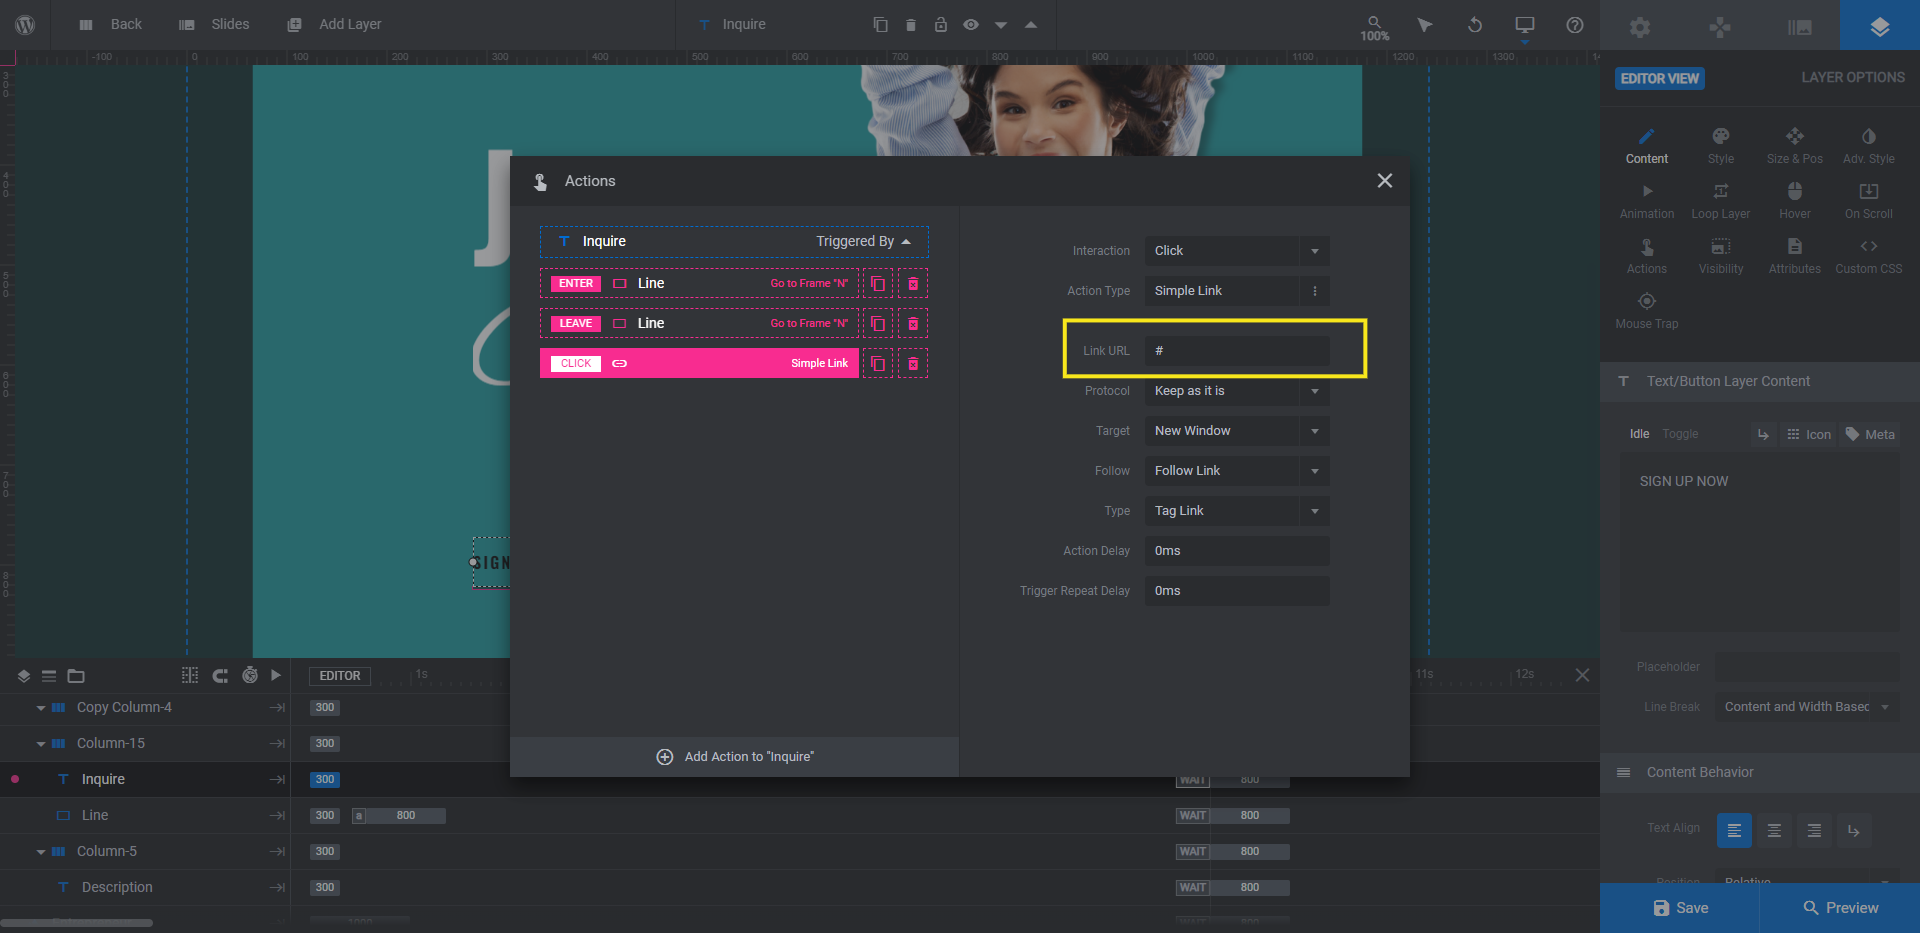
To save your changes, close the pop-up.
Learn more:
Step 6: Create your custom particle wave
There are two particle wave layers in this template. They’re both named Particle Wave-103.
The one under the Bg+Particle group will appear on desktop devices. The one under the Bg+Particle (Tablet+Mobile) will appear on tablet and mobile.
Note: Identical settings have been applied to both in terms of the particle wave. The main difference is in how they’ve been configured for the screen sizes. So when editing these layers, focus on the “Particle Wave” settings under “Layer Options” and leave the rest alone.
To customize the particle wave animation, you can do a couple things:
- Keep the wave animation from the template and customize the settings.
- Choose a different default preset and customize it to your liking.
Many of these presets have different themes. So open up the Default Presets dropdown in the library to see if there’s one that fits your hero image concept better.
Pro tip: You might not be able to see the previews clearly in the canvas because there are two particle waves going at once. To see what each of the presets looks like, click the eyeball icon next to Bg+Particle (Tablet+Mobile) to hide it from the canvas. This will allow you to only see one at a time.
Once you’ve found the one you like, click on it. Then use the tabs beneath the presets to customize the particle wave settings:
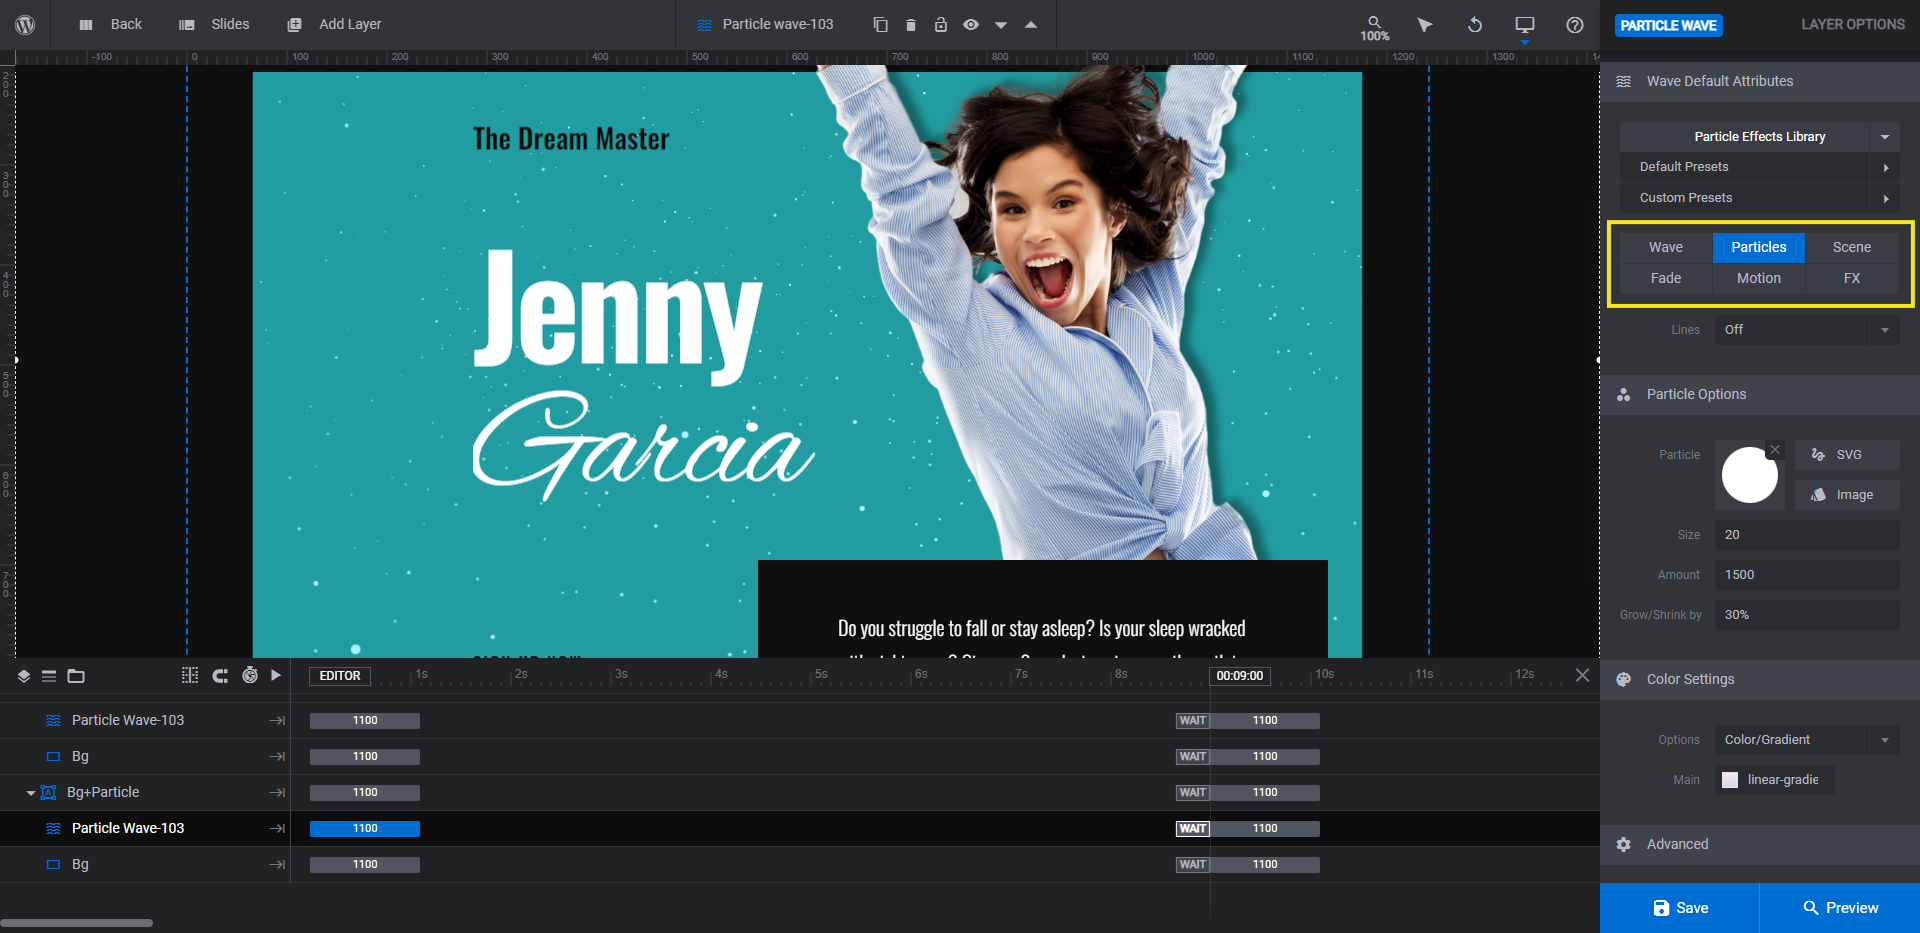
Apply the same changes to the other particle wave layer.
For reference, we made our new particle wave with the Galaxy setting and made minor adjustments to the particle colors and scene settings.
Learn more:
Step 7: Update the background colors
There are four areas in this template that make up the background.
The first two are shape layers that are grouped together with your particle waves. They’re both called Bg.
To change the color of each, select them in the canvas or timeline editor. Then go to “Layer Options” and “Content” to choose a new BG Color.
You can either use a solid color like in the template or you can create a gradient. There are plenty of pre-made gradients to pick from in the bottom-right corner of the color selection dialogue or you can create your own.
Note: If you’re going to create your own gradient or color, save it as your own preset at the bottom of the color selector:
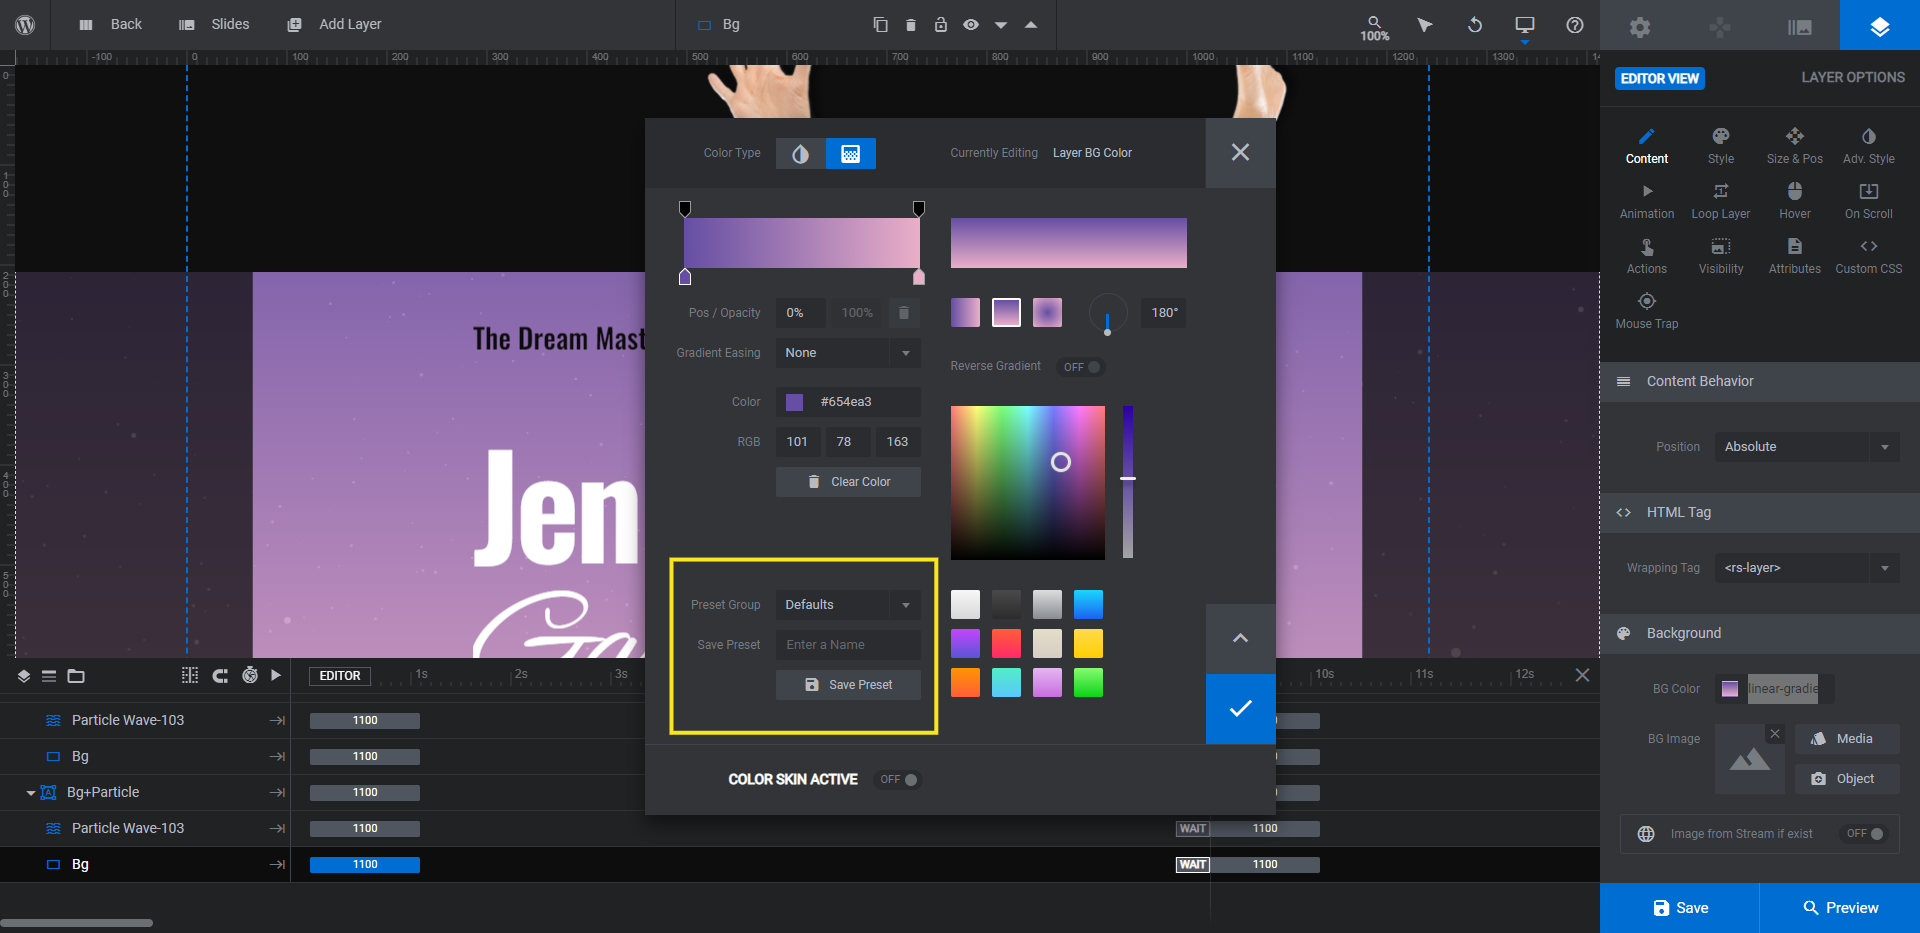
That way, you’ll be able to quickly apply it to the other areas of the page where it needs to go. Like the other Bg layer.
One other area where this color applies is the module background.
To modify the module, go to “Module Options” and “Layout”. Switch the “Layout” from Slider to Scene. This will disable the navigation.
Then scroll down to “Module Background”. Click on the color swatch next to BG Color.
This is the color that appears when the hero section first loads, so it needs to match the new color that will sit behind your particle wave.
The last color to change is under “Slide Options” and “Background”. If you want the border around your hero image to be something other than black, change the BG Color there.
Learn more:
- Changing Template Background Colors and Images
- Adding and Configuring Shape Layers
- The Tools of the Color Selection Dialogue
Get creative with your hero image design
Every entrepreneur and influencer has something that makes them different from the rest. Rather than create a hero image design that looks like what everyone else has on their sites, create one that makes you stand out with the Creative Portfolio Website Slider template.


