
With everyone talking about ChatGPT right now, there’s going to be a big rush to get into the AI game. Whether you have a client that’s developing AI products or providing services that are adjacent to them (like AI writing), they’re going to need really cool looking websites.
In this tutorial, we’ll show you how to use the AI Particle Cluster Hero template and the special effects built into it to design the perfect hero image for AI businesses.
Table of Contents:
- Step 1: Delete two of the slides
- Step 2: Change slide background color
- Step 3: Customize the copy
- Step 4: Edit clusters
- Step 5: Change line colors
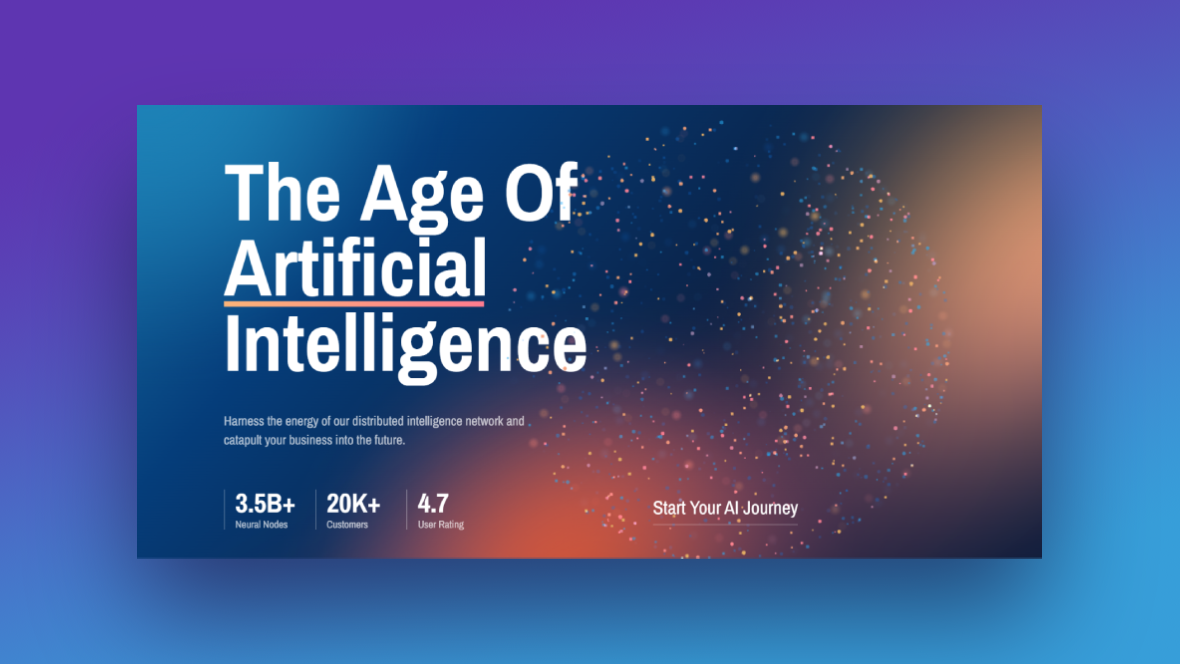
How to design the perfect hero image for AI companies
AI isn’t the easiest concept to represent with stock photography. So what better solution for it than to combine particle cluster effects with bold colors?
In this tutorial, we’ll keep the main components where they are. All we really need to do is make stylistic adjustments in order to design the perfect hero image.
If you’re a first-time Slider Revolution user, check these out before you begin:
Step 1: Delete two of the slides
This slider template has three different particle cluster slides you can use to design your AI hero image. In this tutorial, we’re going to use Slide #2.
To delete the other slides, go to “Slides” in the top toolbar. Hover over Slide #1 and click the trash can icon that appears to the right of it.
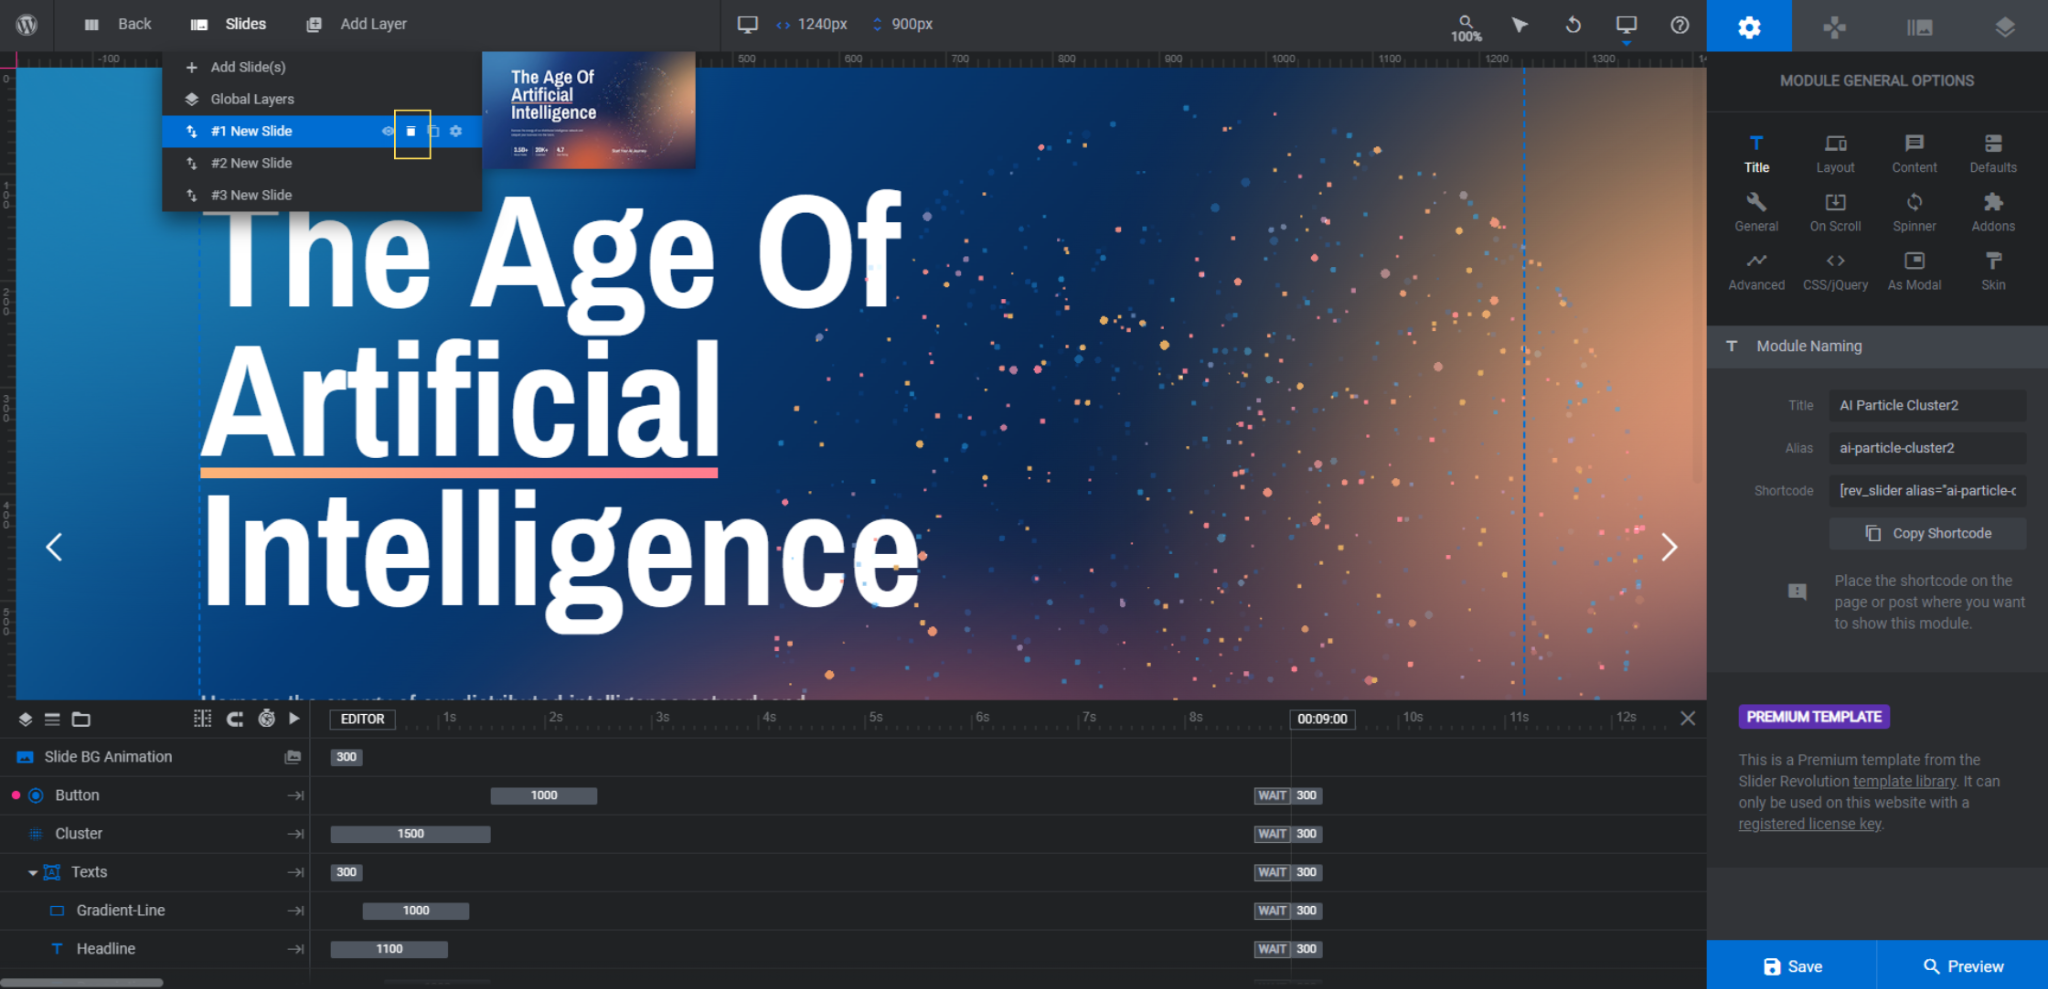
Do the same for Slide #3.
While you’re working on converting this slider into a single slide, go to “Module Options” and “Layout”. Change the “Type” to Scene. This will disable the navigation.
By the way, if you’d rather use the first slide to design your hero image, follow this tutorial.
Learn more:
Step 2: Change slide background color
We’re going to be using a dark theme to design our AI website, so we want to give the hero section the same look.
To modify the background color, go to “Slide Options” and “Background”. Click on the color block next to BG Color to set your new background.
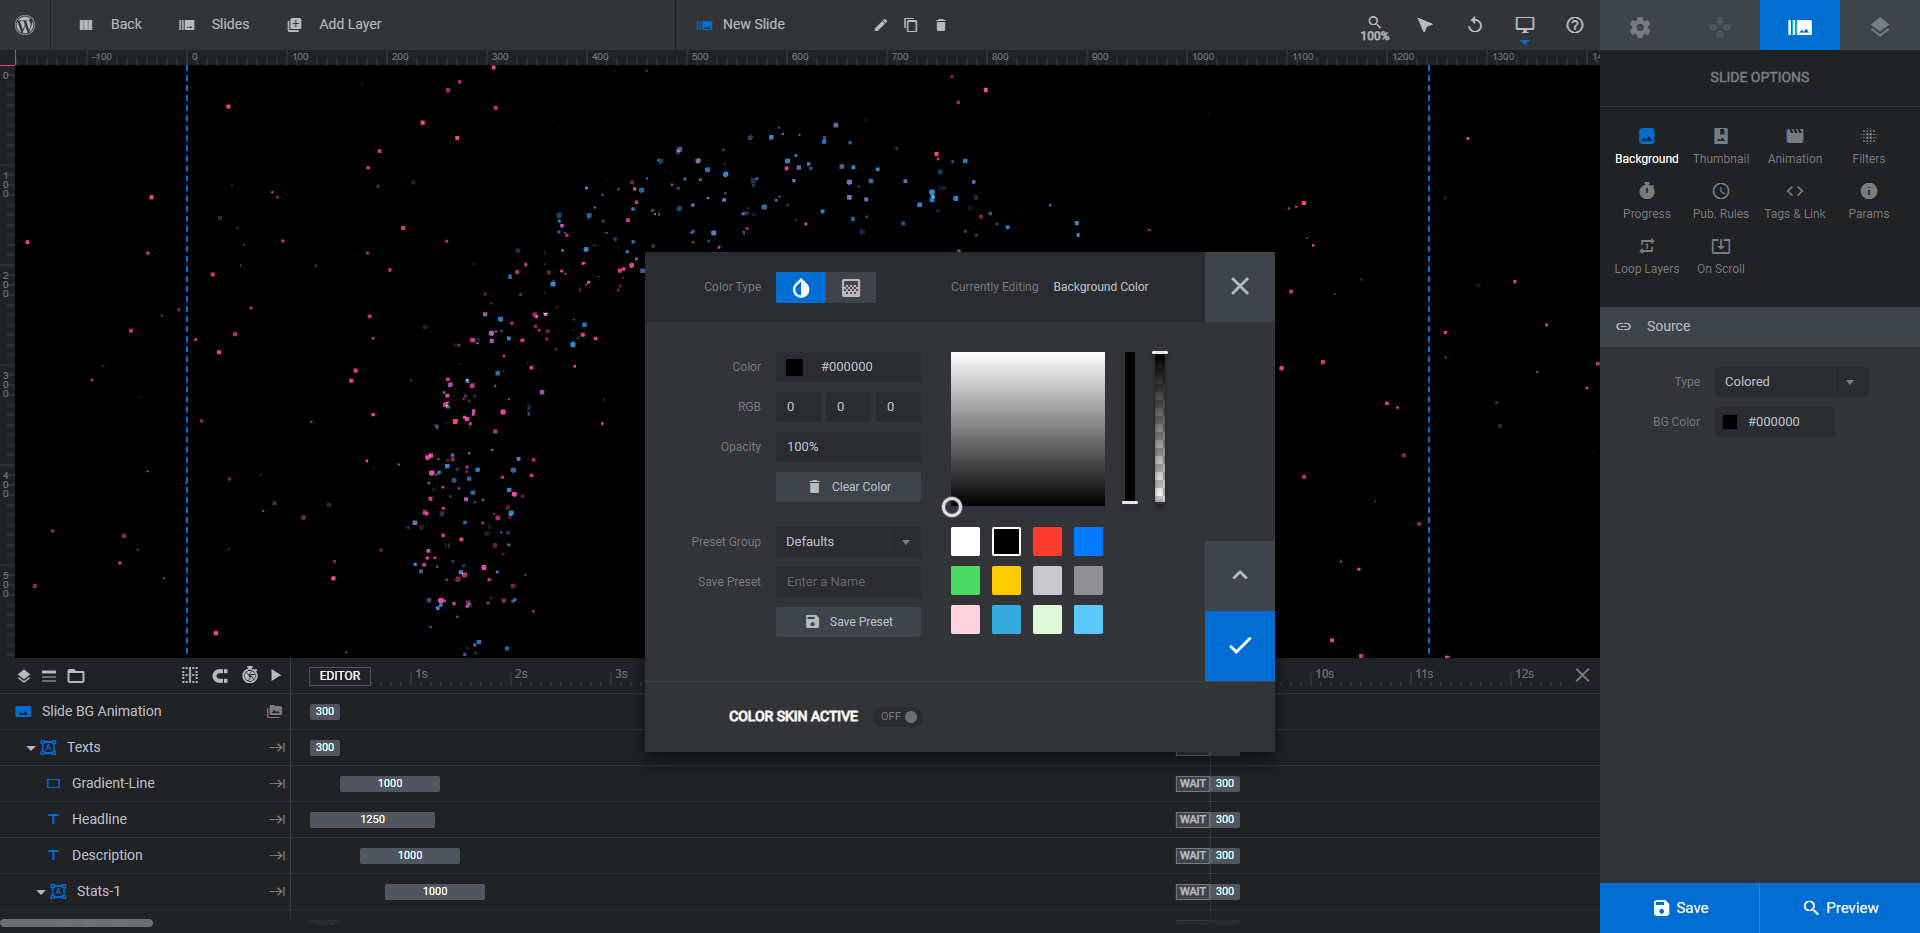
Keep with the solid color (as opposed to an image or gradient) since you want the particle cluster colors to stand out.
Learn more:
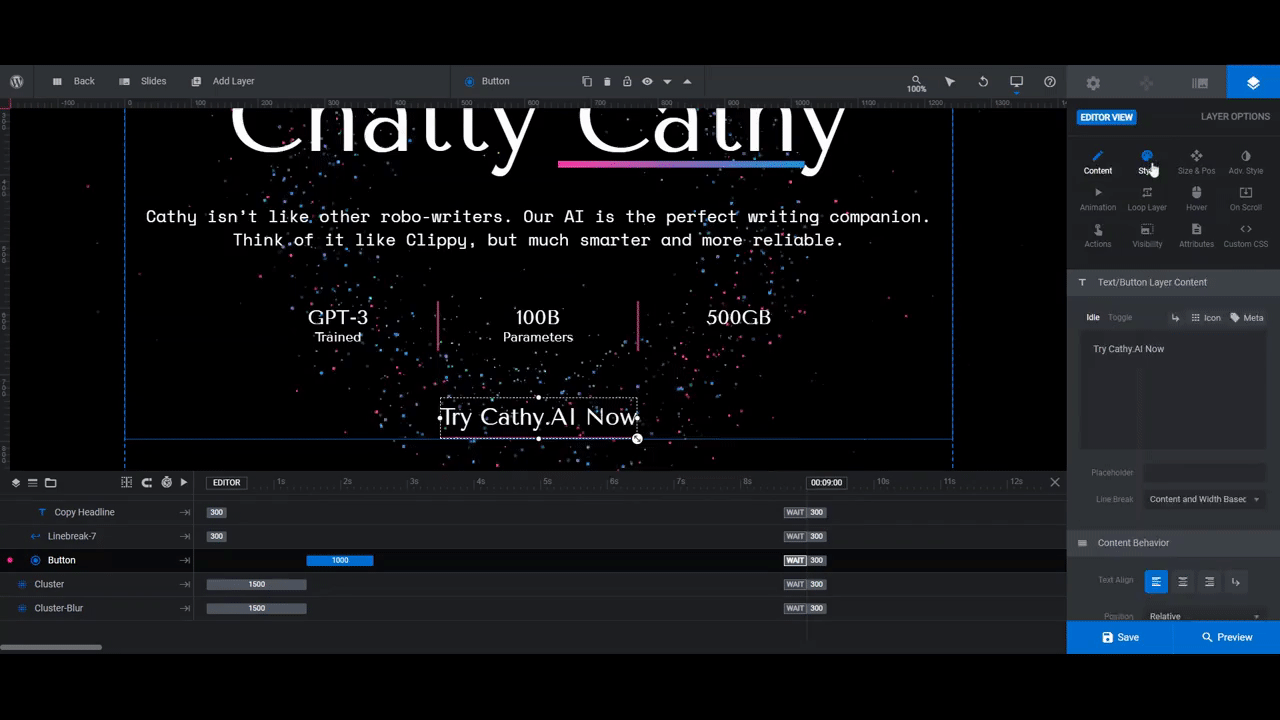
Step 3: Customize the copy
There are nine text layers to edit in this step:
- Headline
- Description
- Copy Headline x6
- Button
To edit what the text reads in each layer, select them in the timeline editor. Then go to “Layer Options” and “Content” to modify the text.
Note: If you changed your background to black as we did, you won’t be able to see the text in the canvas until you modify the color.
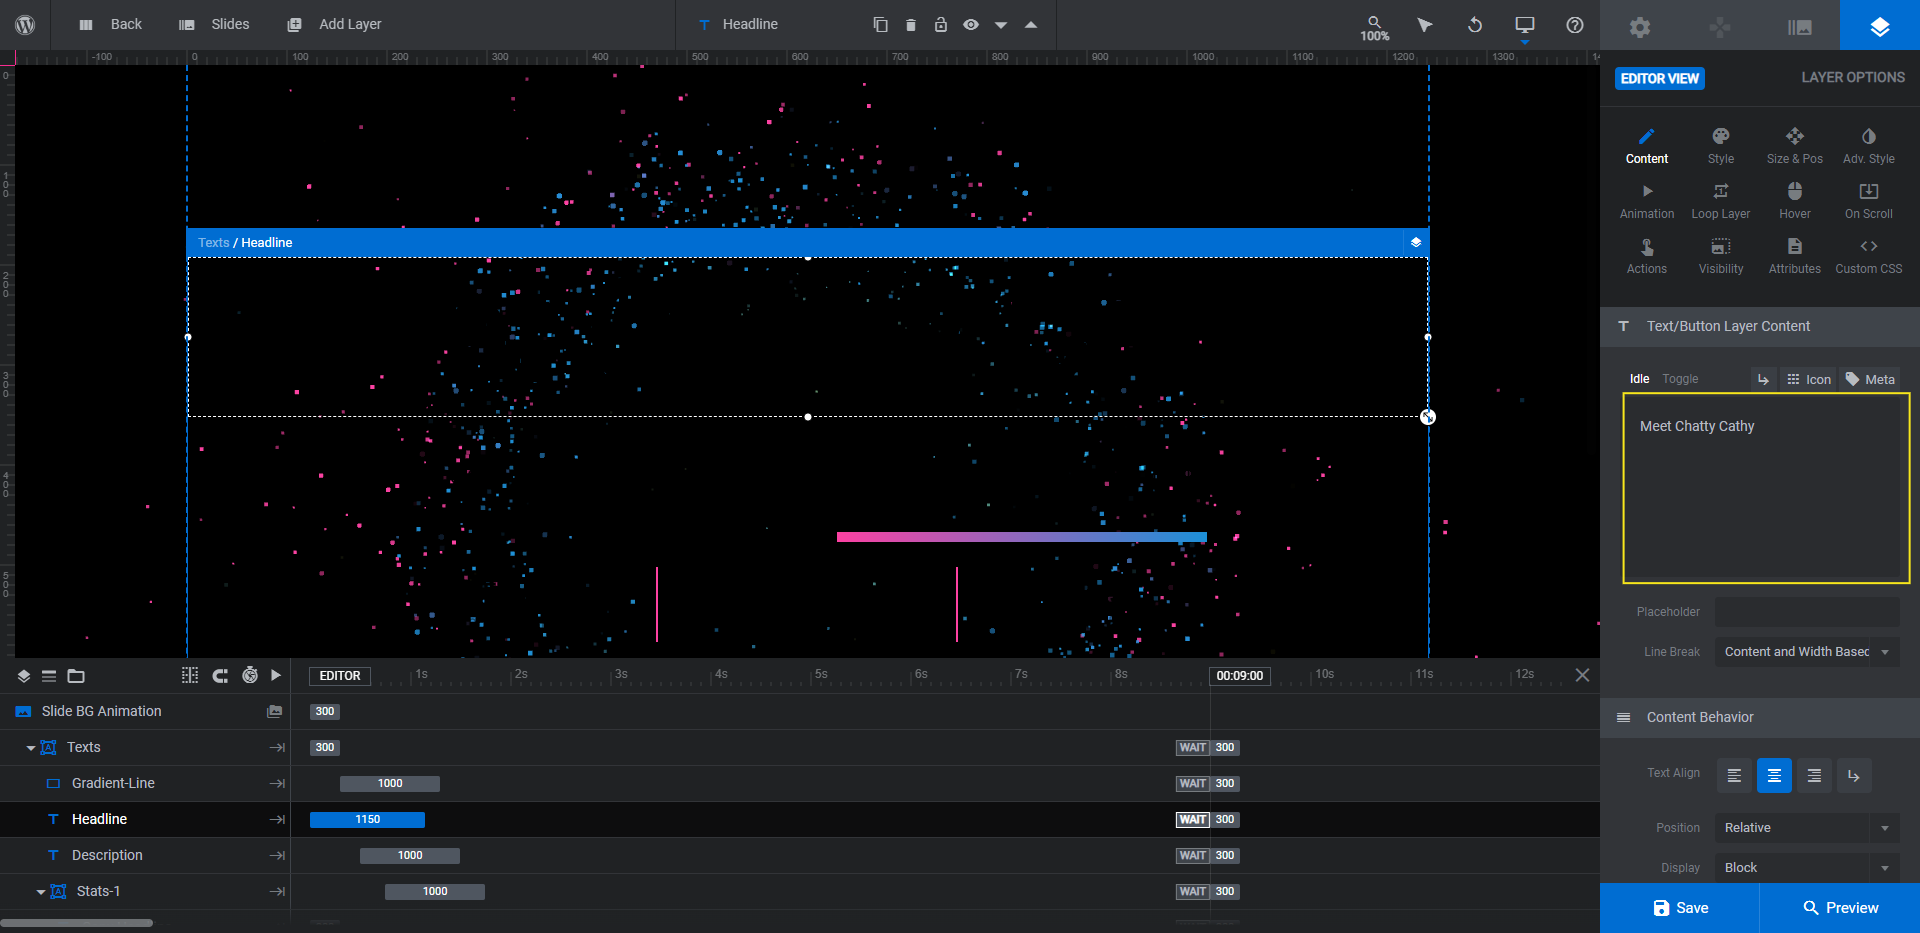
To edit the font and text styling in each layer, go to “Style” to make your changes.
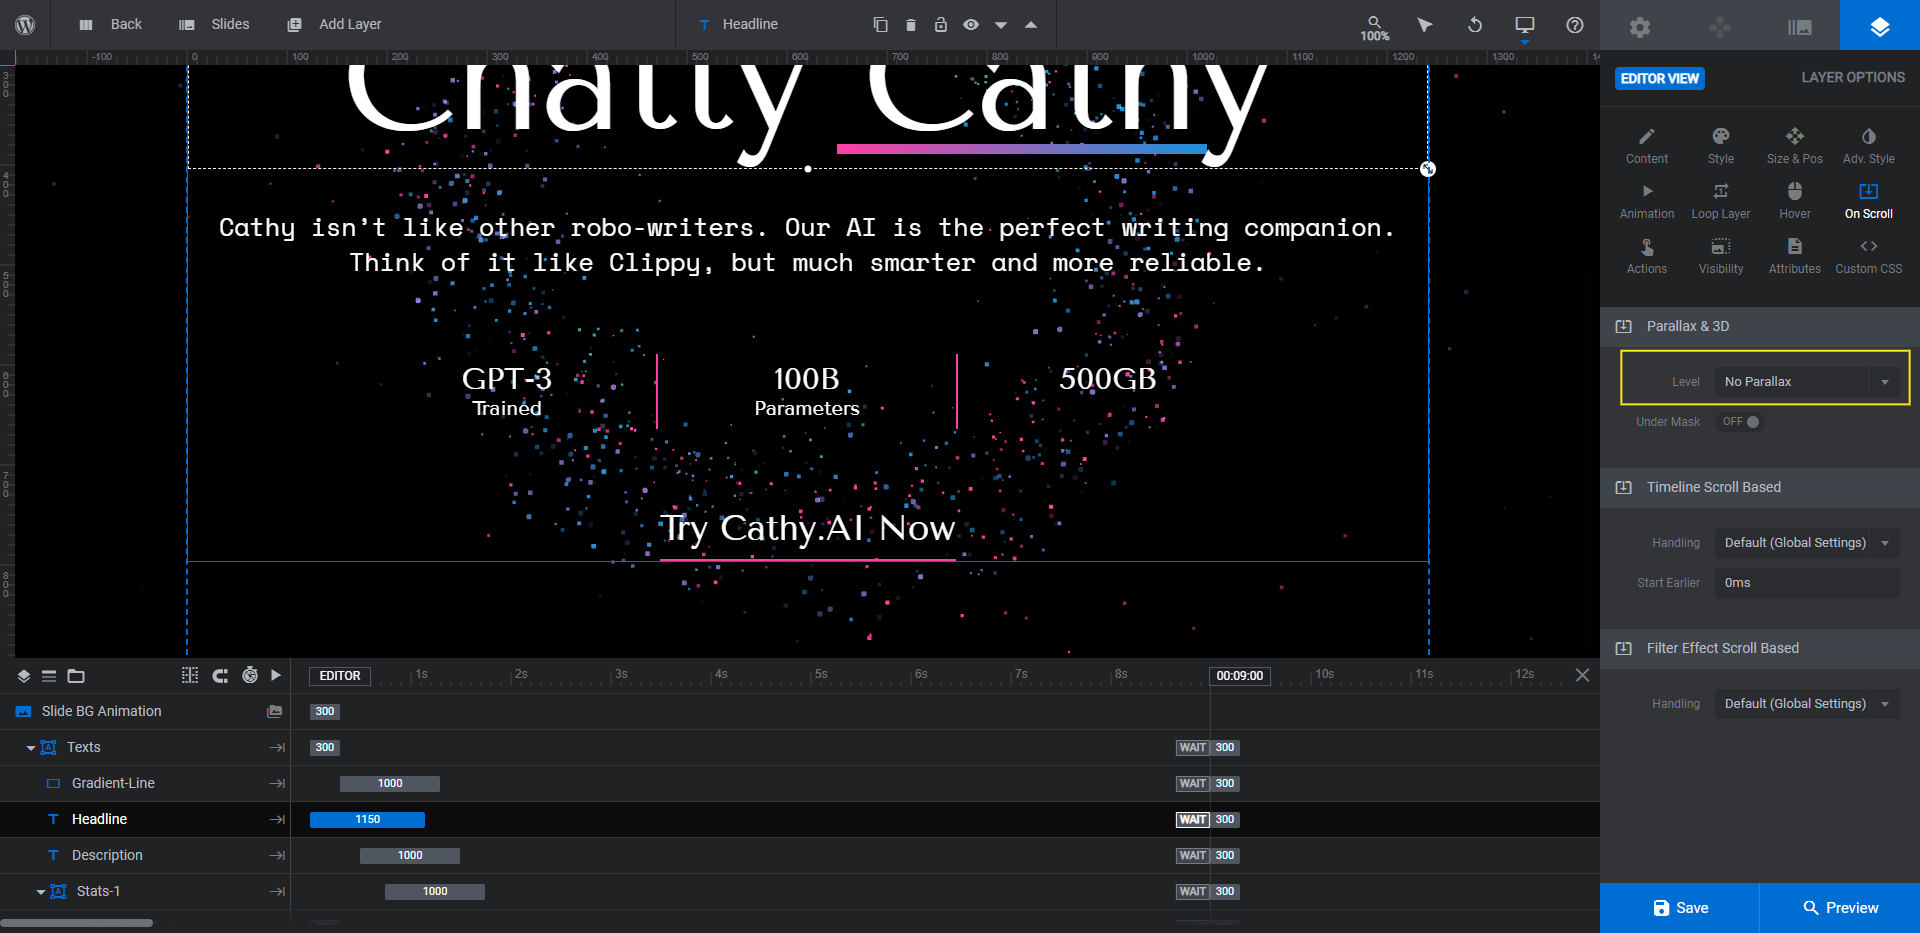
When you open the preview of the hero image, you’ll see that the Headline moves to the left or right as your cursor moves around it. So another thing we’re going to do is disable the parallax setting.
To do the same, go to “On Scroll”. Change the Level under “Parallax & 3D” to No Parallax.
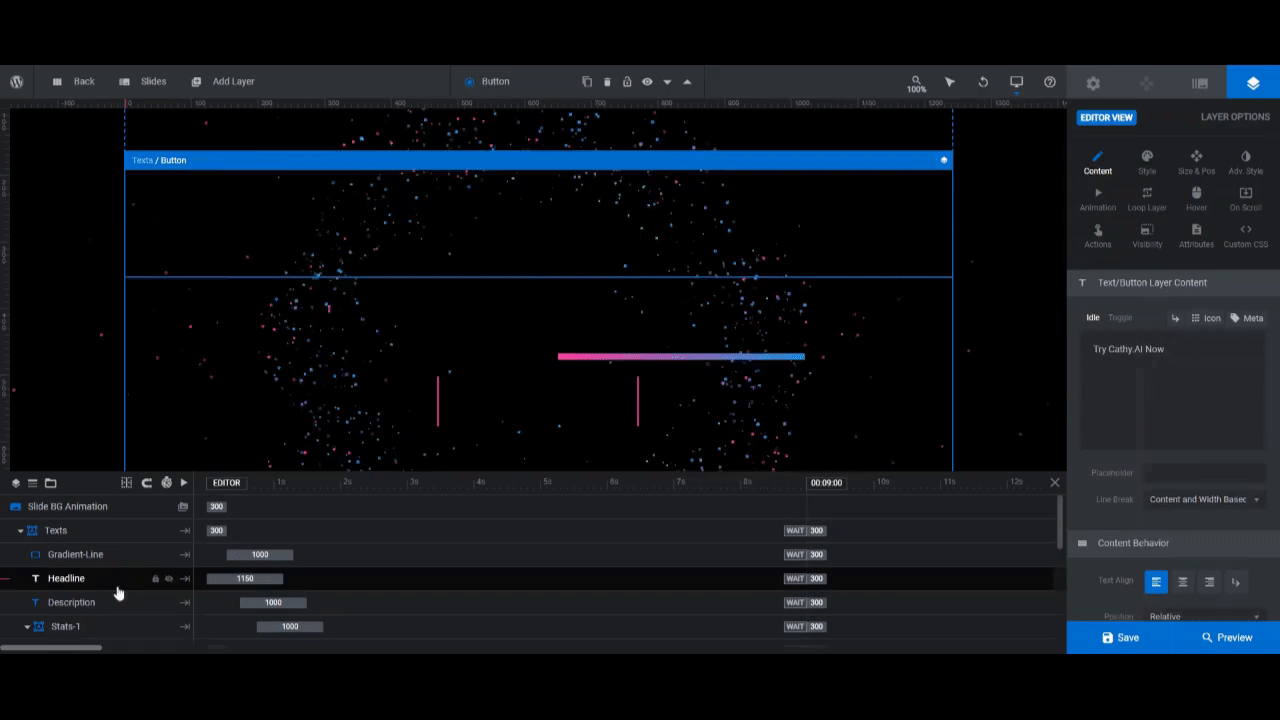
One last thing to do is customize the Button layer.
In addition to styling the text that visitors see when looking at the hero image, you also need to style the line beneath it along with what it looks like when they hover over it.
To modify the line color, select the Button layer and go back to “Style”. Scroll down to “Border”. Then change the bottom border color to your new one.
Next, go to “Hover” settings. Update the font color (if needed) as well as the bottom border color.
The last thing to do is configure the Button link. Go to “Actions”. Currently, when a visitor clicks the button, it’s set to Scroll below Slider.
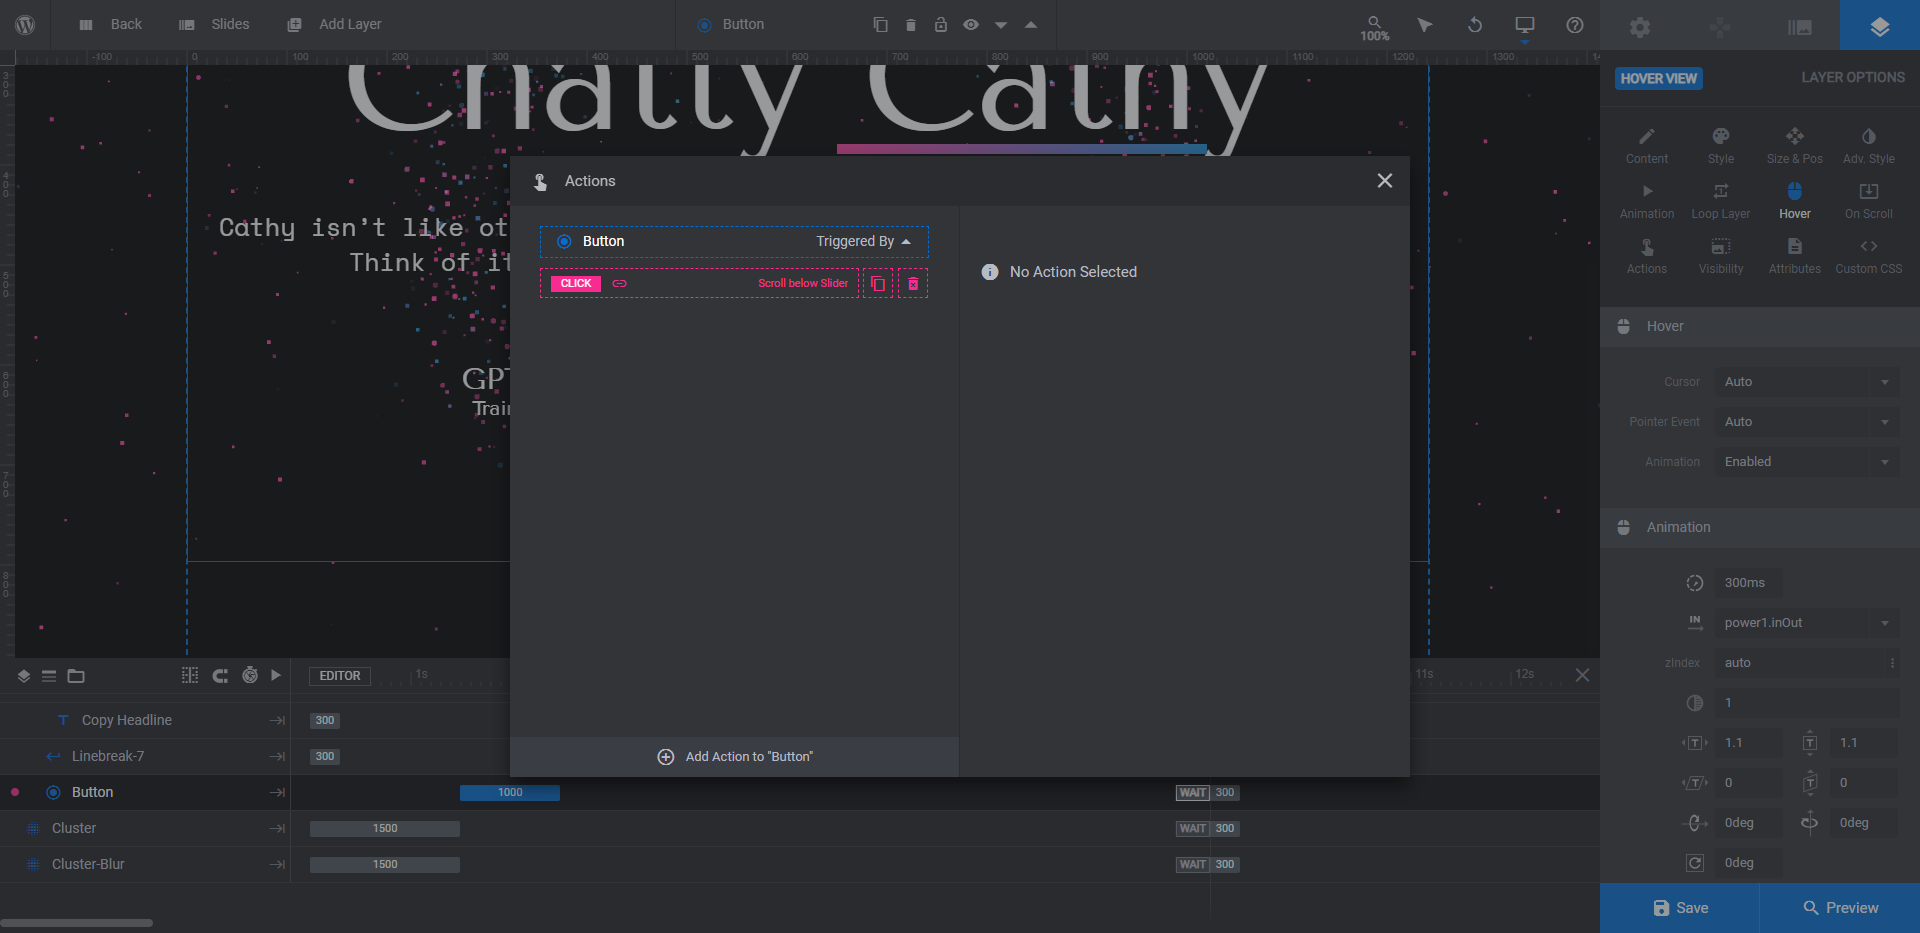
If you’re happy with that action, leave it be. If you want to direct visitors to a different page, click the trash can icon next to the Scroll below Slider action. Then create a Simple Link in its place. Close the pop-up to save your changes.
Learn more:
Step 4: Edit clusters
There are two particle clusters in this hero image. Cluster is the swirling mass of dots in the foreground.
To edit this cluster, select the layer in the timeline. Then go to “Layer Options” and “The Cluster”.
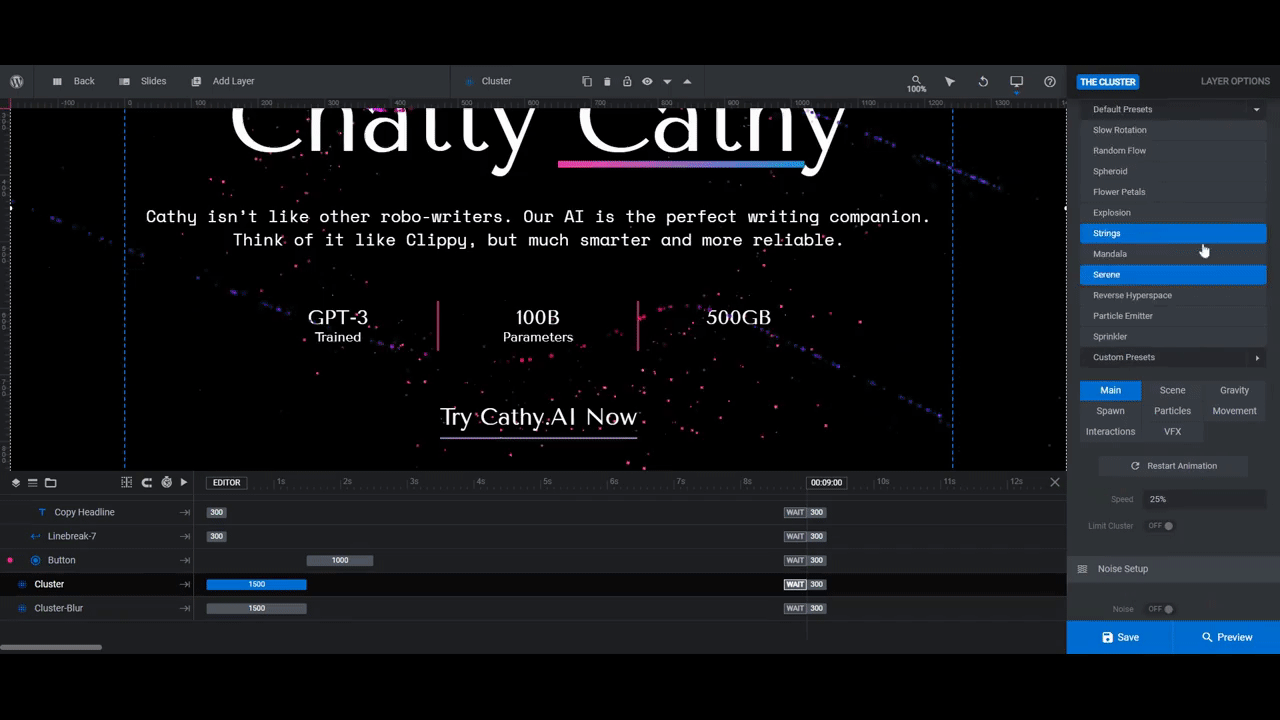
To choose a different cluster type, click the arrow next to Cluster FX Library. Then peruse the Default Presets. Each has a different theme and animation style.
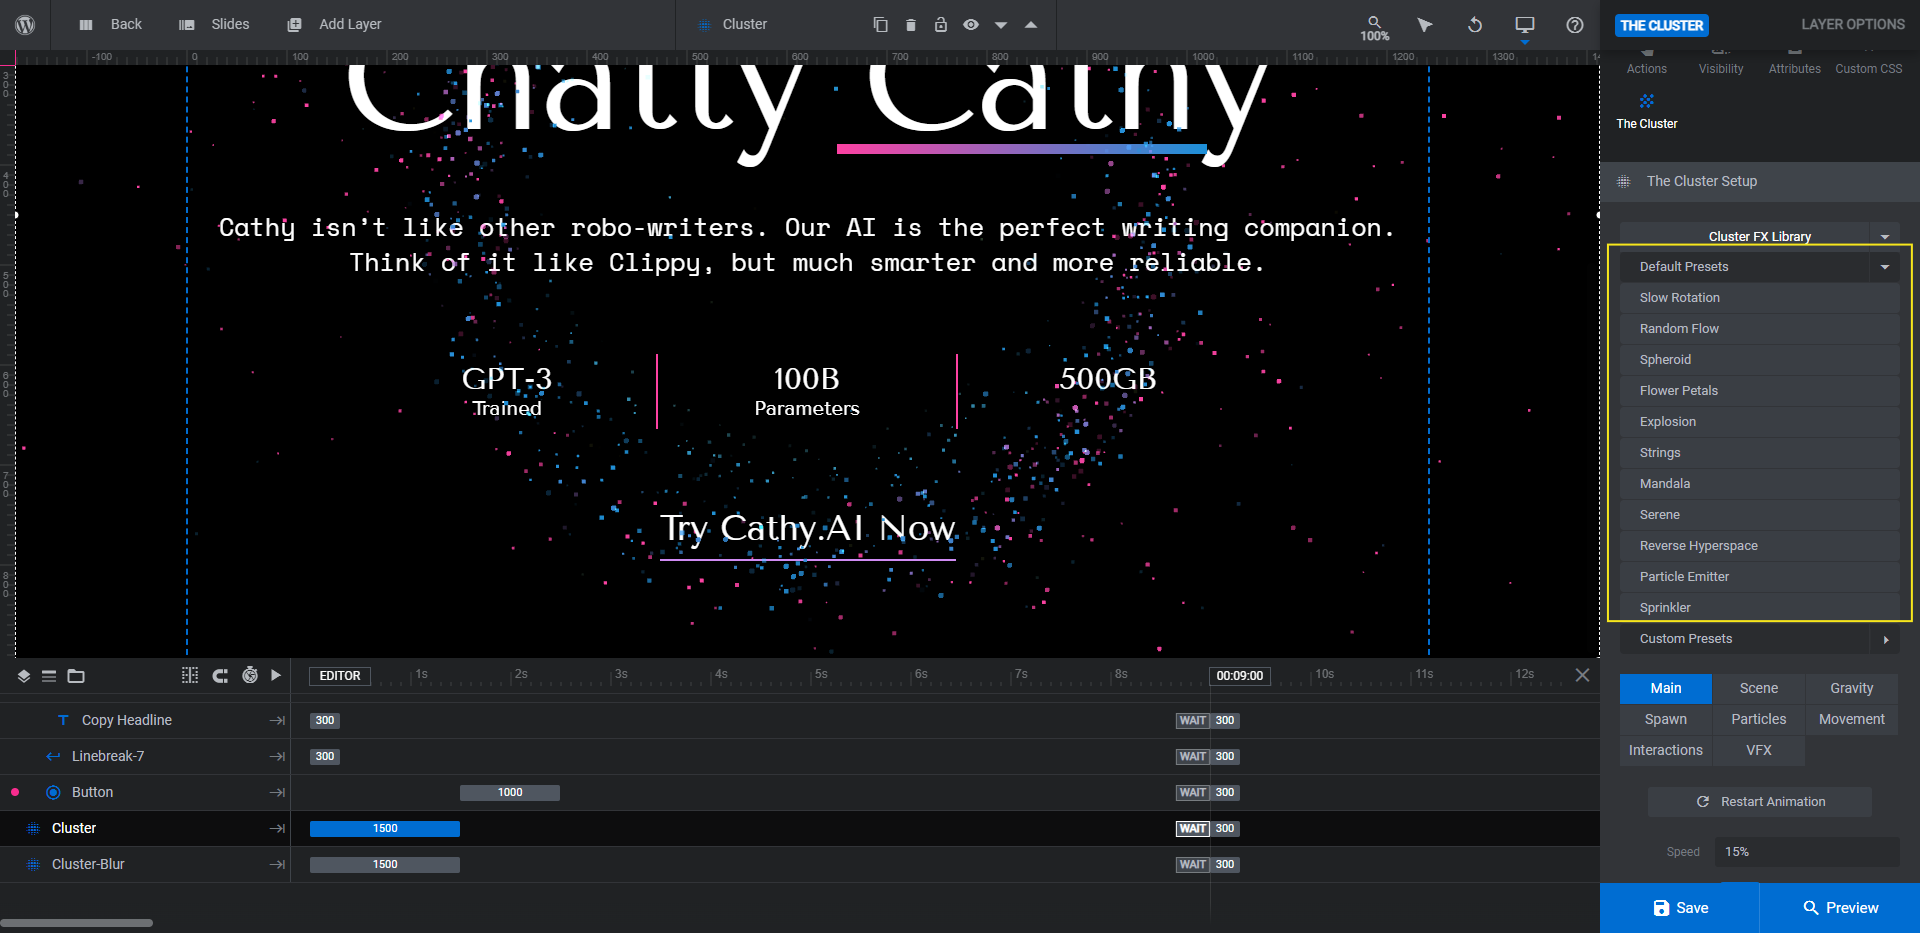
Select the one you want to use. Then scroll below to customize how the animation works, the colors and size of the particles, the cluster’s center of gravity, and more.
When you’re done, save your changes. Then select Cluster-Blur.
This is the blurry particle cluster in the background of the hero image. You can use “The Cluster” settings to customize it. You’re also free to delete the layer if you want to keep the main cluster the focal point of your design. That’s the option we’ve taken.
Learn more:
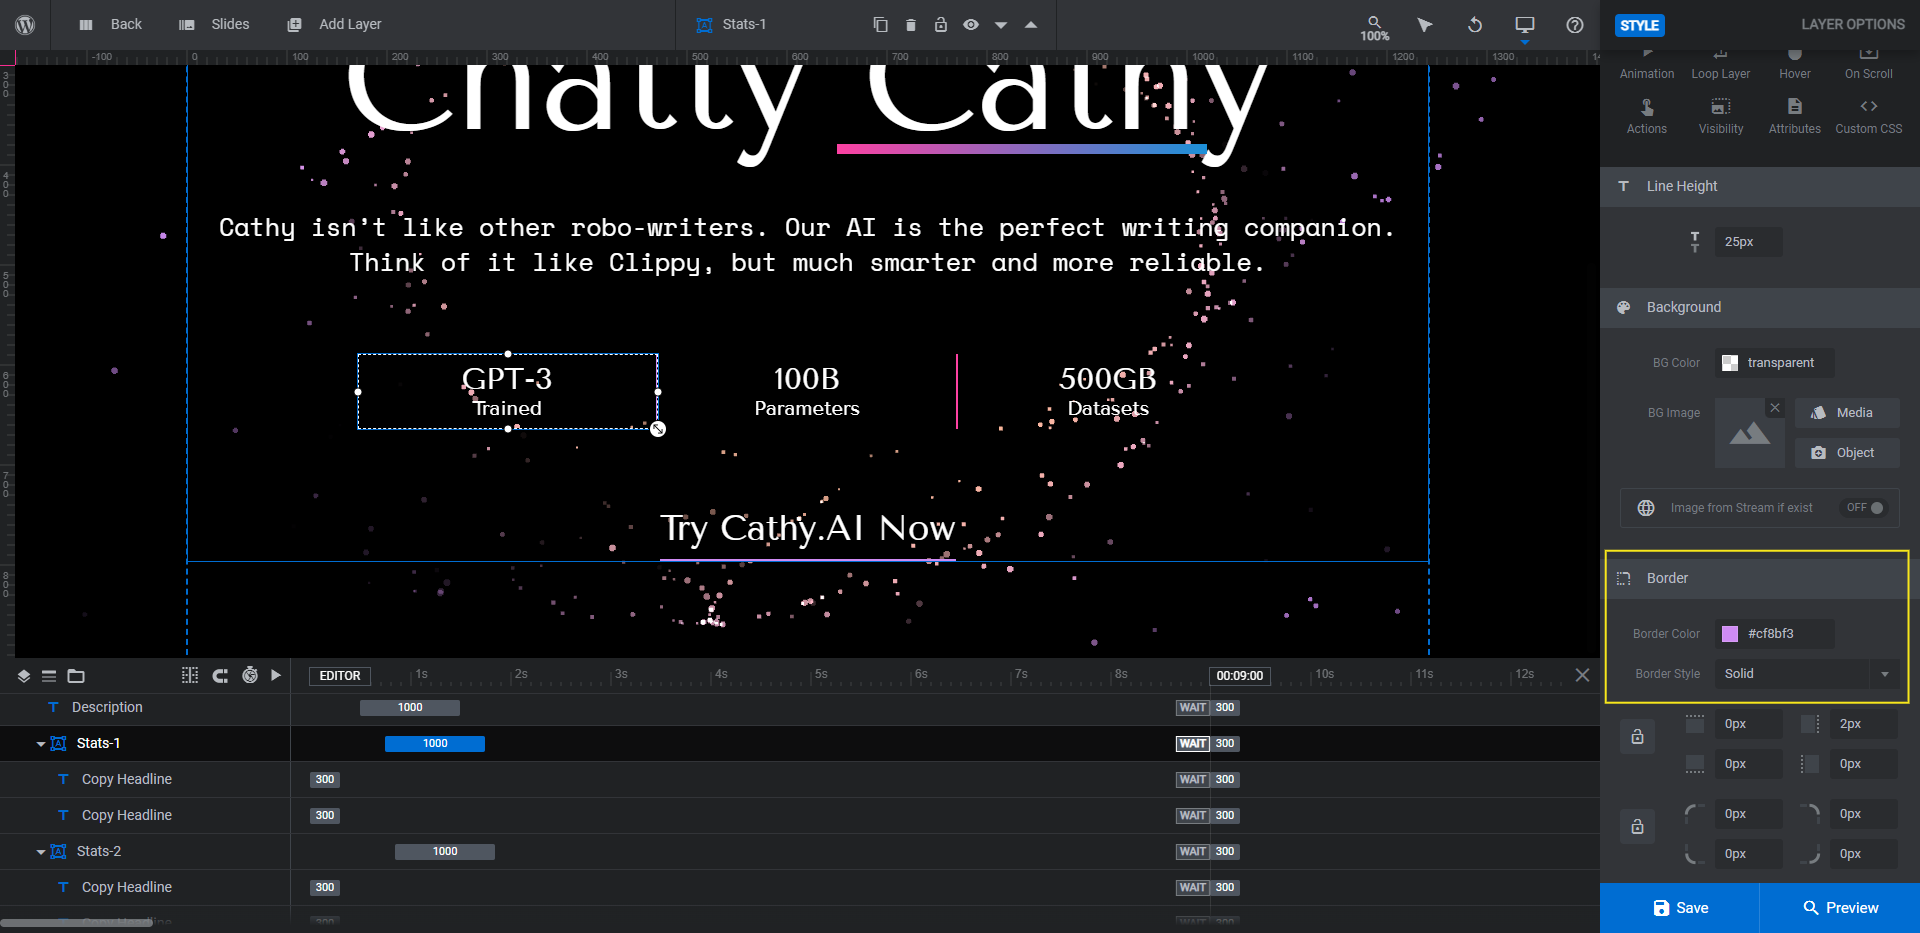
Step 5: Change line colors
If you change the color of the Button line, you’ll need to modify the line color between the Stats layers. The editing process is the same, except you’ll select the group name instead of the text layer.
So look for the groups in your timeline called Stats-1, Stats-2, and Stats-3. Select them one at a time.
Go to “Layer Options” and “Style”. Then change the border line color for each.
The last color to modify belongs to the line under the Headline.
Select the Gradient Line layer in the timeline editor or in the canvas. Then go to “Style” to modify the color.
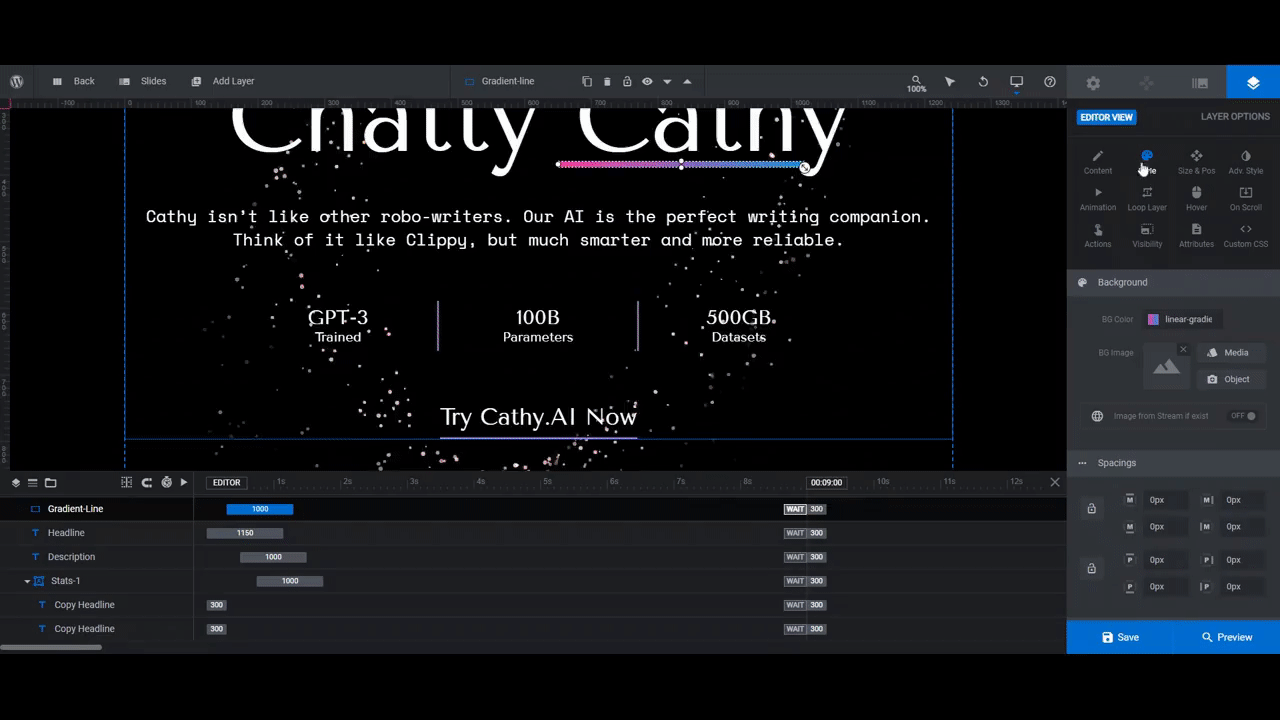
There’s one another change we want to make to this line. We’re going to change how the parallax effect works.
To do this, we’re first going to center the line under our Headline. To do the same, go to “Size & Pos” and set the X value to 0 (zero). Then go to “On Scroll” and change the Level to 30% (setting #6).
Preview your changes on the frontend to make sure you like how the line looks and responds to your cursor’s movement. When you’re done, save your changes.
Learn more:
Create an unforgettable hero image for AI
As we see more and more AI products hit the market, and businesses built to support those products, designers are going to need to get more creative with their designs. While we can’t easily visualize AI, there are ways to design eye-catching graphics for it.
With the AI Particle Cluster Hero template, you’ll now have an easy way to create the perfect hero image for any AI company going forward.


