
Particle effects on their own look really cool. You can add free-floating shapes and objects to enhance your designs or make the particle effects the main attraction.
In this tutorial, we’re going to demonstrate how to create a hybrid effect using the Particle Effect One Template. We’ll create a hero image that initially appears to be made up of particles. However, the second visitors move their cursor around, they’ll see hints of a video hiding behind it all.
Table of Contents:
- Step 1: Delete the slides you don’t need
- Step 2: Replace the background video
- Step 3: Customize the particle effects
- Step 4: Update the text
- Step 5: Edit the button text and design
How to blend particle effects with video in Slider Revolution
Slider Revolution has a Paintbrush AddOn that can be used to create a hover-triggered image or video reveal effect. However, a similar effect can be created using the Particle Effects AddOn and the advanced blend mode layer setting:
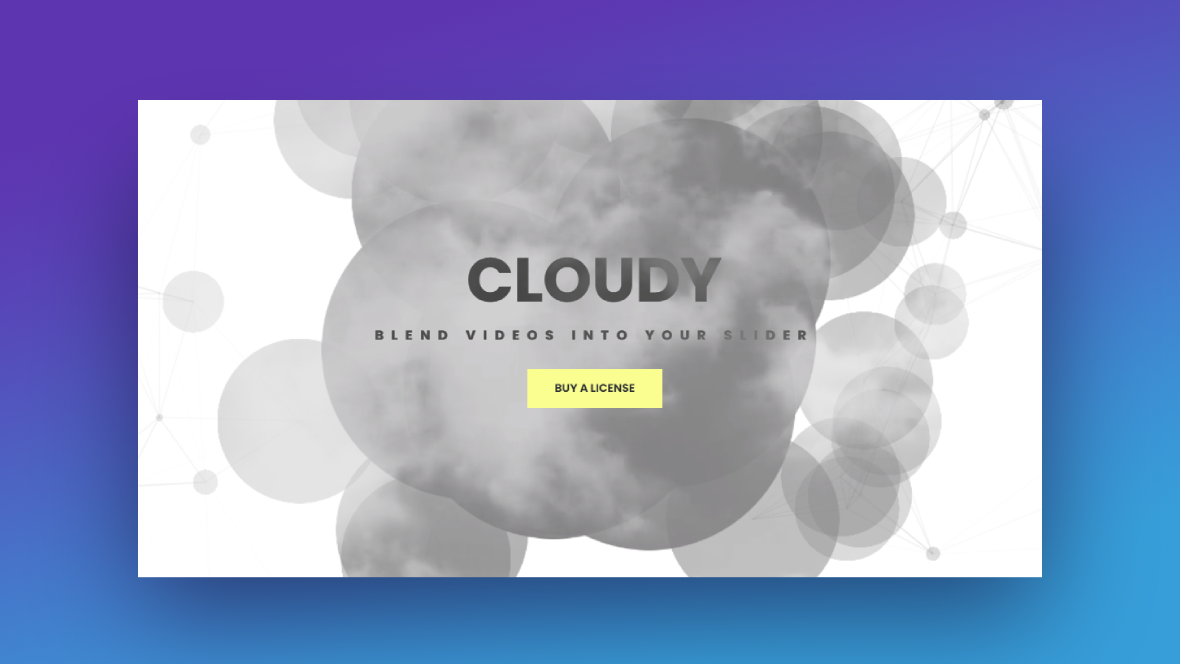
In the following tutorial, we’ll convert the “Cloudy” video hero design from this template into one we’ll use for our snorkeling tour company:
If you’re new to using Slider Revolution, review the following first:
Step 1: Delete the slides you don’t need
Because of the blend mode effect and the video background layer, we’re giving visitors a lot to look at and interact with. So you really don’t need more than a single hero image or video to effectively capture visitors’ attention.
There are three slides that come in this template:
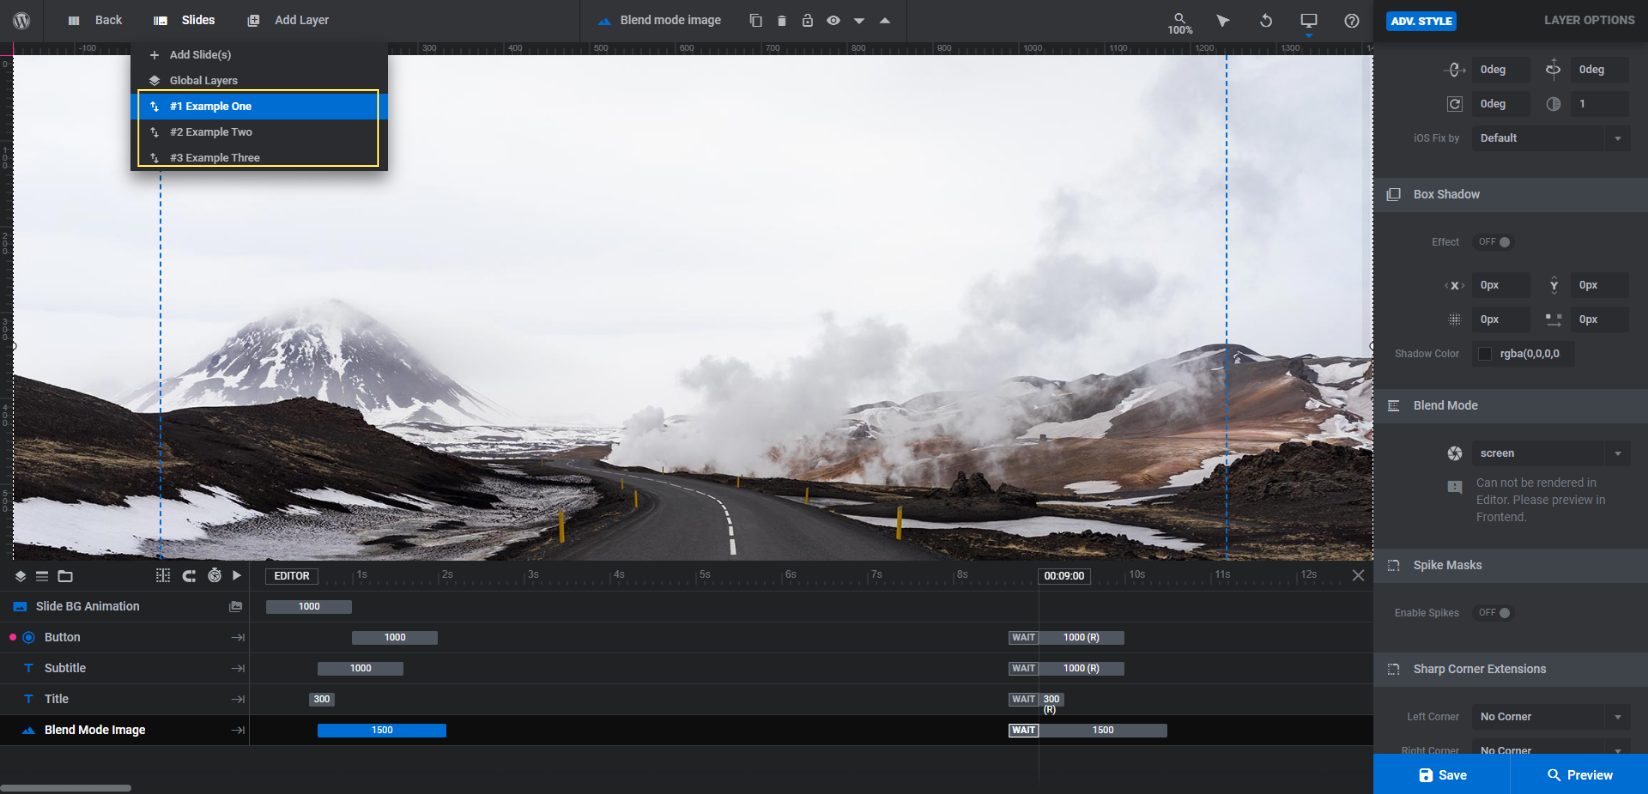
Example One and Example Two both use a photo background. If you’d prefer to do the same, then keep one of these slides.
Example Three uses a video background. This is the one we’re going to keep.
Note: Even if you go the photo route, you can still follow along with the steps in this tutorial.
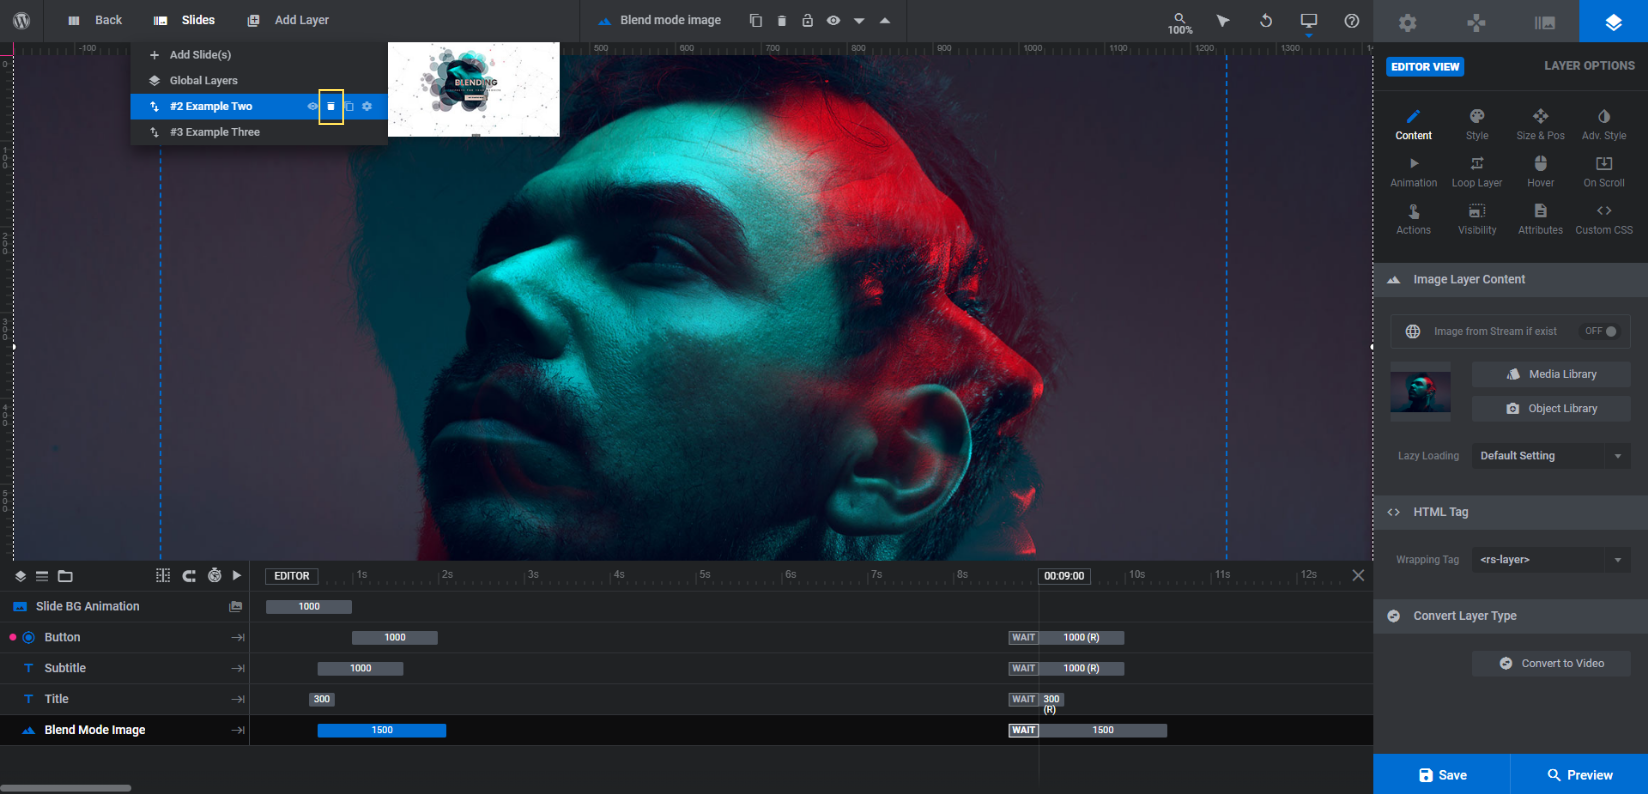
To delete the two slides you don’t need, hover over them one at a time in the “Slides” dropdown. Click on the trash can icon that appears to the right to delete:
You can now focus on customizing the remaining slide.
Learn more:
Step 2: Replace the background video
The first layer we’re going to edit is Blend Mode Video. When you preview the hero section, this is the cloudy background that appears when users hover over the particle scene.
To replace this video file with your own, select it from the timeline, and go to “Layer Options”. Under “Content”, you’ll be able to upload your MP4 file:
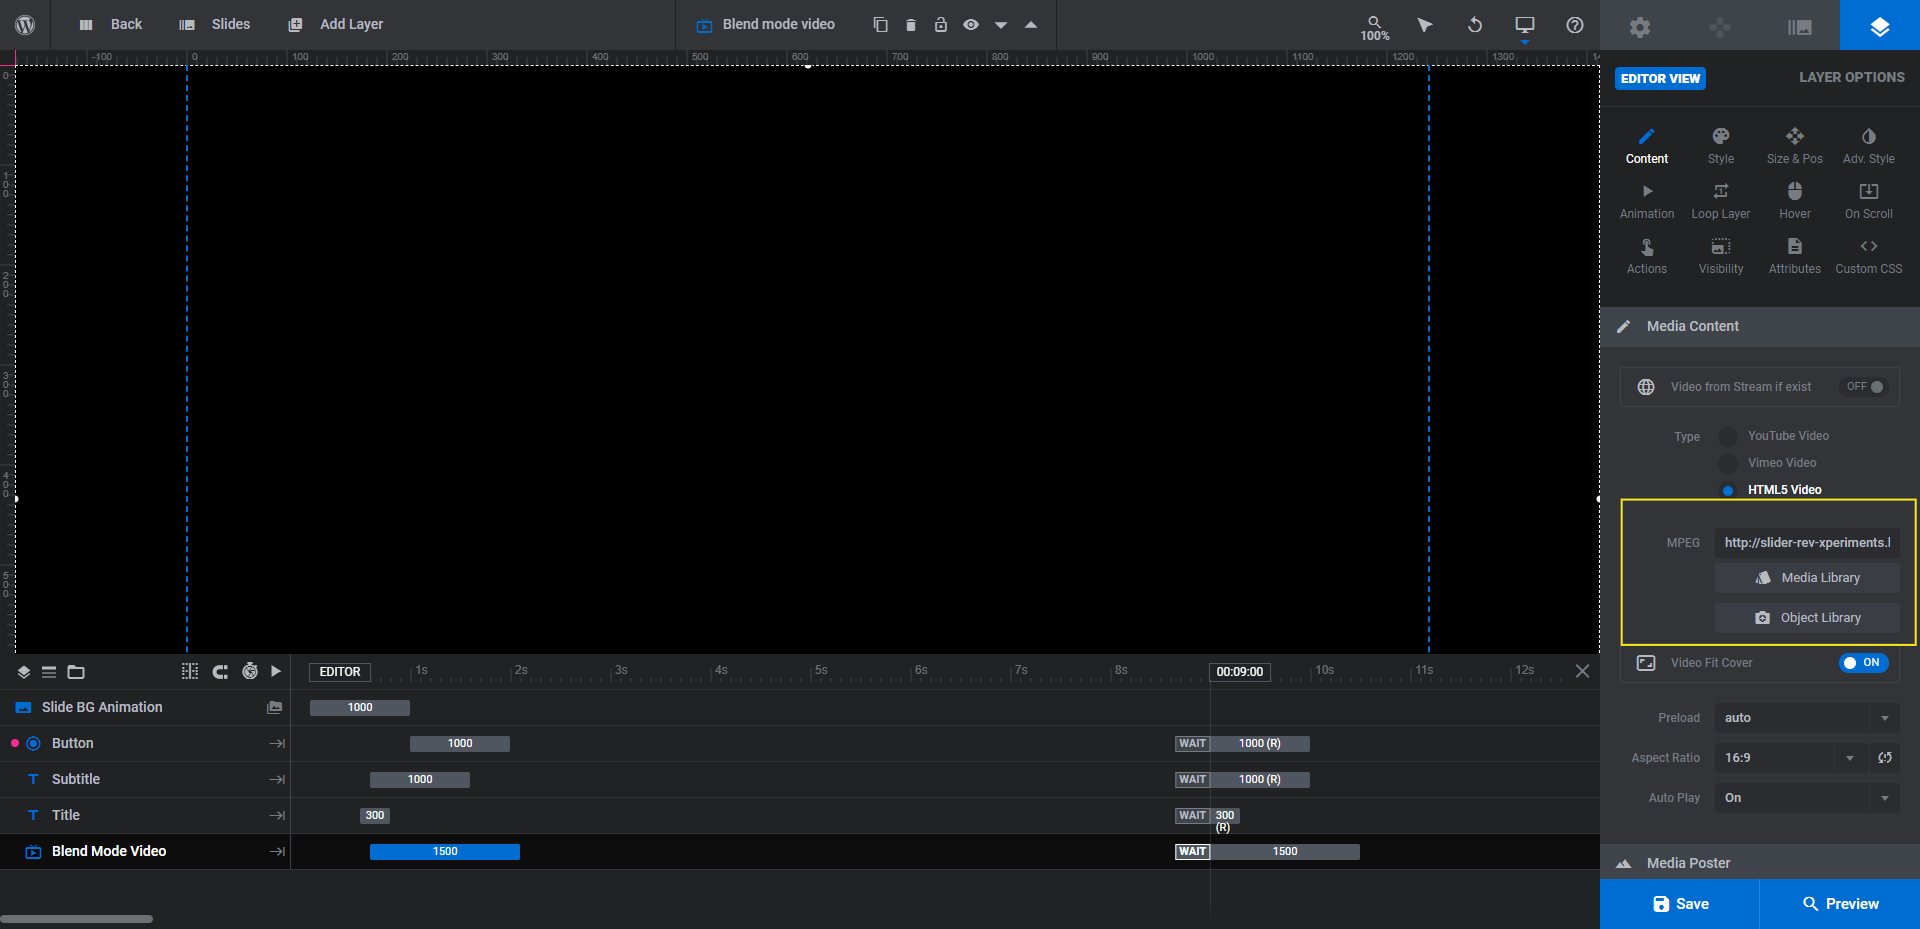
Don’t stress if you can’t see the video in the canvas on the left. When you click the Preview button, it will appear in the background of your design.
Learn more:
Step 3: Customize the particle effects
Go to “Slide Options” and you’ll find a section there called “Particle Eff”. This is where you’ll customize the particle effects that appear as the top layer of your hero section.
You can easily modify the particle effects from this panel. You can also select a preset particle effect from the library, if you prefer:

One thing to keep in mind, however, is that the existing settings are what allow for the video to peek through the particle overlay.
If you want to retain this effect, your best bet is to use the Particles, Style, and Movement settings at the bottom to make your customizations.
- Under Particles, you can change the particle shape (though a solid shape is best), default particle size, and density (amount) of particles.
- Under Style, you can add or remove connected lines, adjust the border and stroke, customize the opacity, and play around with color.
- Under Movement, you can adjust the speed, bounce, and direction of the particles.
The Interactivity settings are where the revealing bubbles are generated. You can customize the bubble settings, but you’ll need to leave the Bubble Hover mode intact as this creates our peekaboo effect
You won’t be able to see the particle effects in action from the canvas, so you’ll need to use the Preview to make sure you’re happy with the resulting effect you’ve created.
Learn more:
Step 4: Update the text
With the visual components of the hero image finalized, you can now turn your attention to the text layers. Title is the big “Cloudy” headline and Subtitle is the smaller text beneath that reads “Blend Videos Into Your Slider”.
Use “Layer Options” to make changes to these layers. Select the one you want to edit from the timeline or canvas. Then use the various settings to customize it:
- “Content” allows you to change what the text says.
- “Style” gives you the ability to customize the font, color, size, spacing, and more.
- “Adv Style” gives you control over additional stylings like rotation, shadows, text strokes, and more.
If you preview your work, you’ll notice an interesting effect that takes place when the bubbles appear behind your text layers. This is due to a Blend Mode setting under “Adv Style” called exclusion.
These settings alter the way a layer blends with its background. The Blend Mode Video uses a setting called scene, which produces a different type of color and blending effect.
We’re going to update this setting to overlay for the Subtitle layer in order to hide it away until the video appears. Here’s what that before-and-after difference looks like between the two kinds of blending:
Exclusion is the first example you see — it’s visible during the initial load of the screen and turns a sort of burnt orange color when the cursor hovers over it. Overlay is the second example you see — it’s not visible until the visitor hovers over it.
Learn more:
Step 5: Edit the button text and design
The last component to edit is the Button layer. Use the same “Layer Options” settings to customize what the button says and how it looks as you did the two text layers.
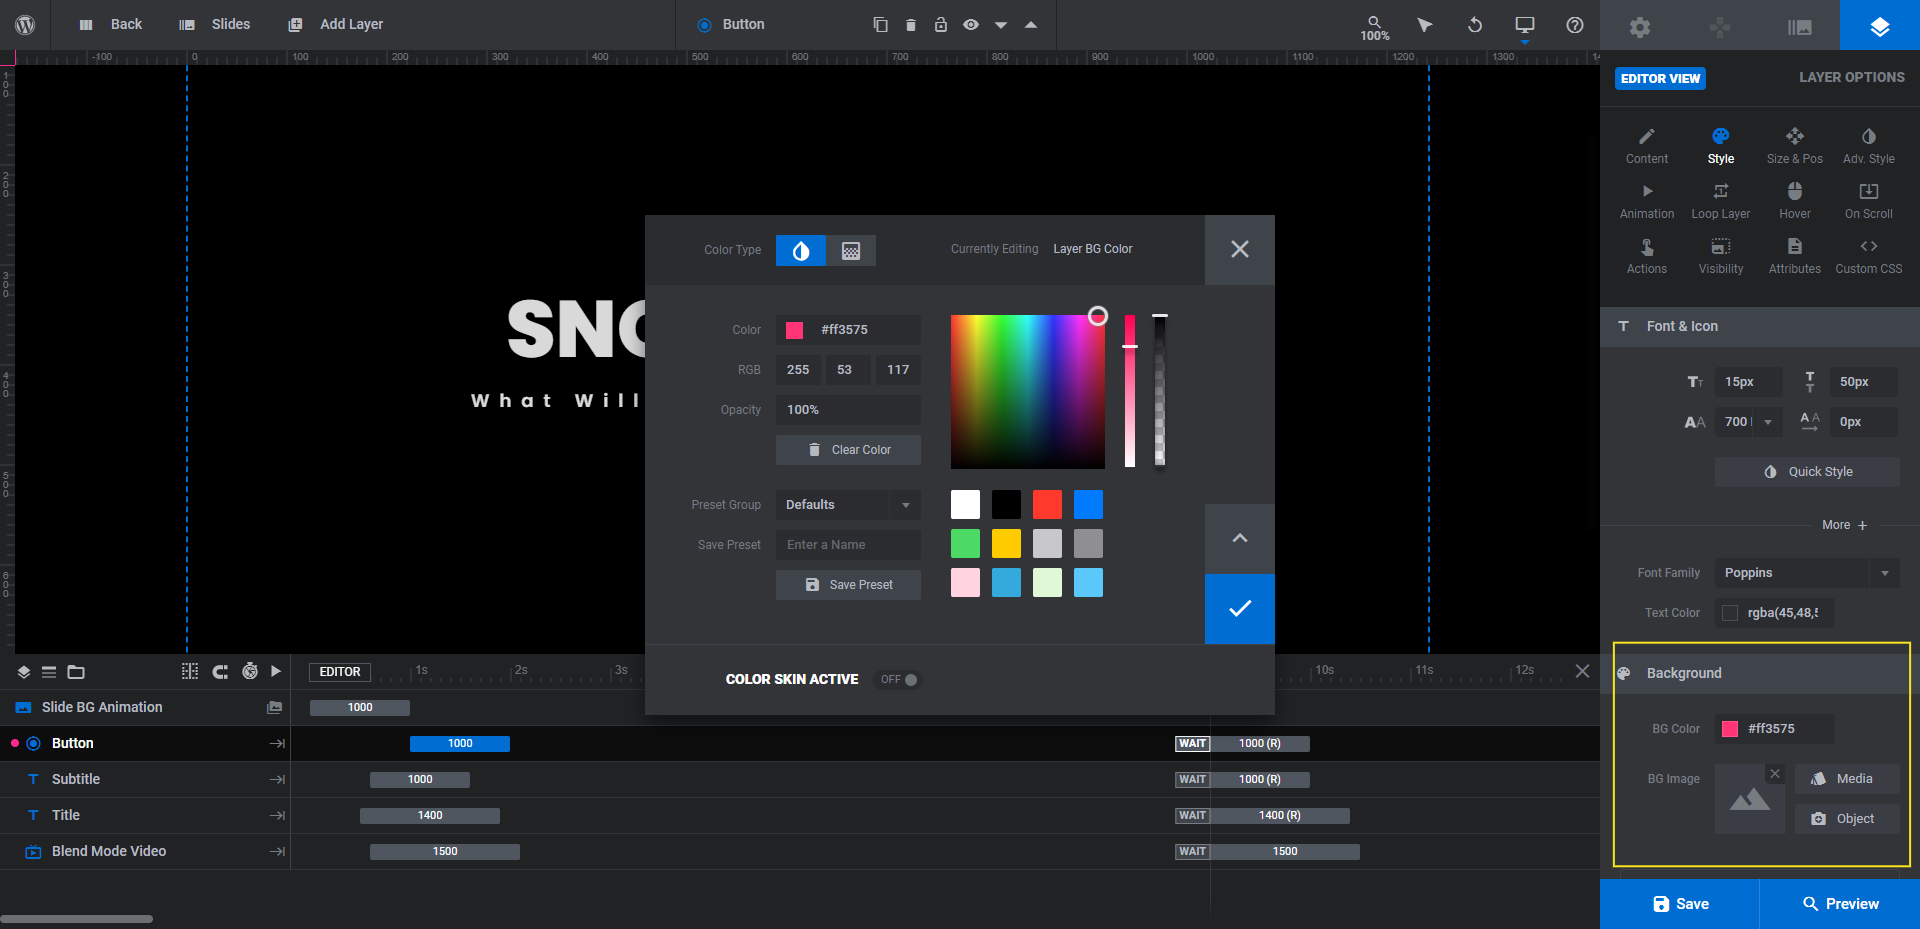
With button layers, there are additional adjustments you may need to make. For instance, under “Style”, you can change the button background color and border settings:
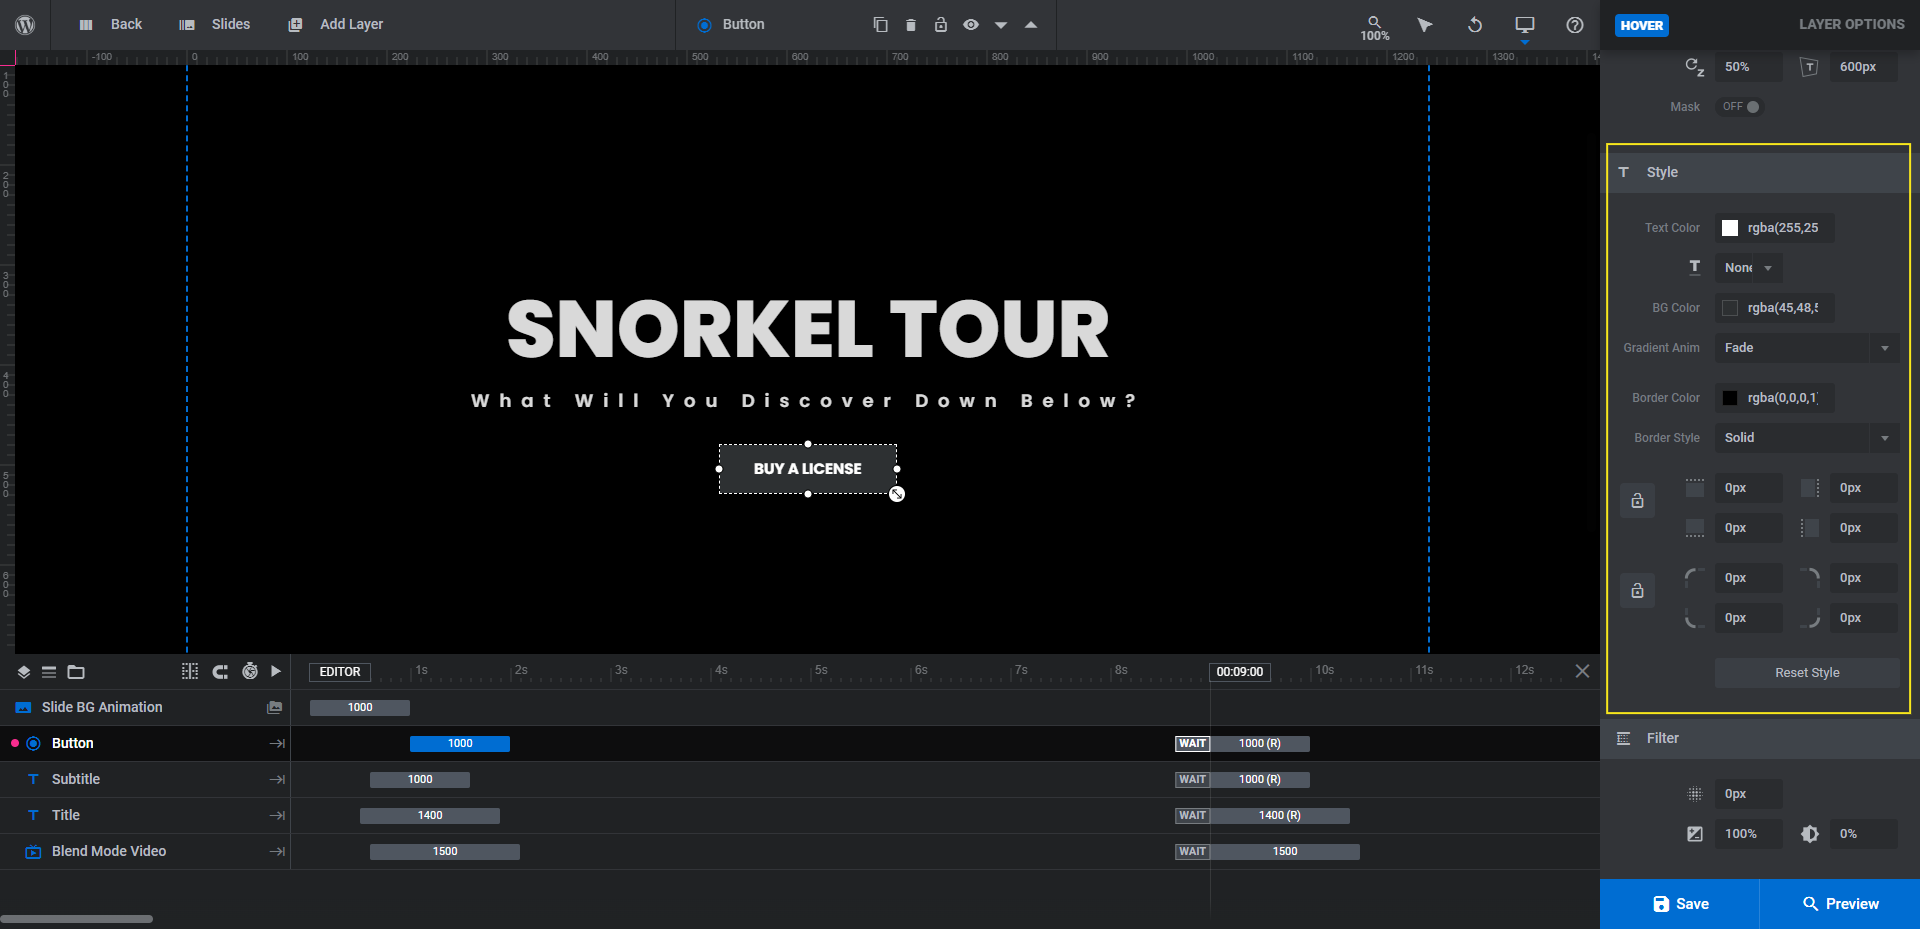
Under “Hover”, you can edit the button’s appearance when someone hovers over it:
Last but not least, you’ll need to use “Actions” to make sure the button link points to a relevant area on your website:
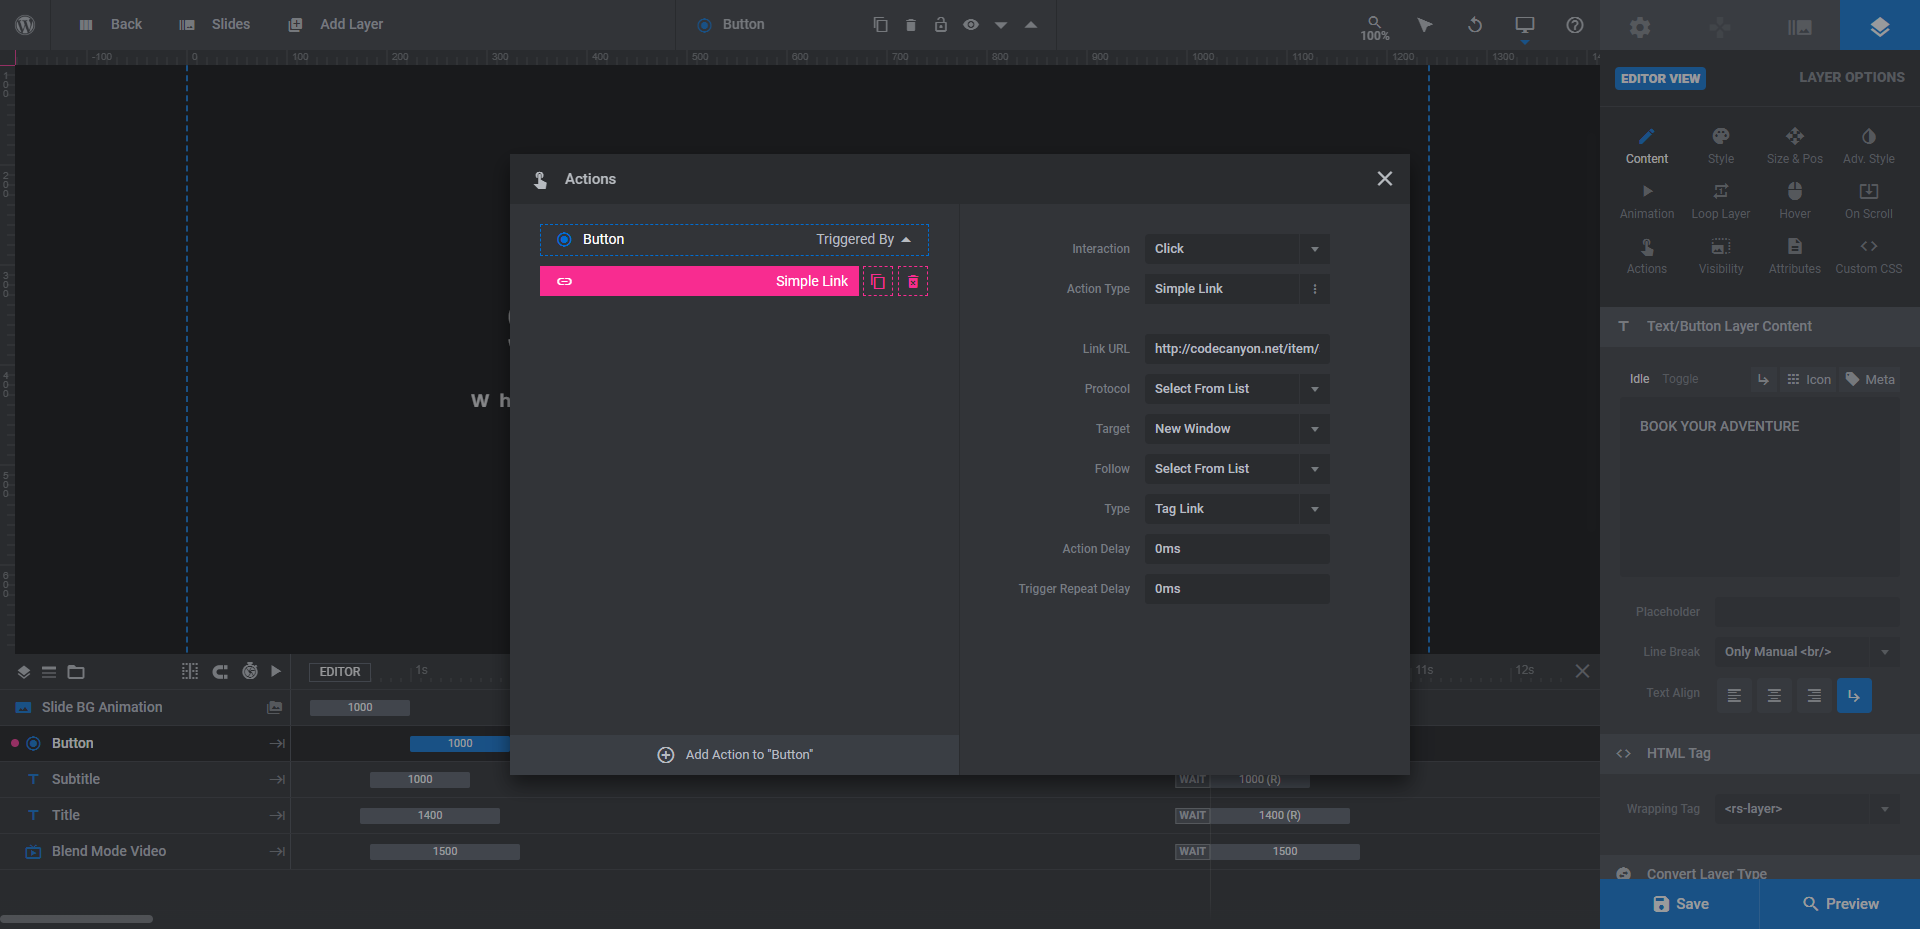
If the button links to another page, edit the existing Simple Link that’s in there with the URL. If the button links to a different section on the home page, change the action type to Scroll below Slider or Scroll to ID and then program in the necessary details.
Save your changes and preview the hero section design once more. If you’re happy with the changes, it’s time to publish it to your site.
Learn more:
A fast and easy way to use particle effects to increase engagement
When you look at the Particle Effect One Template, it’s certainly neat to look at and fun to interact with. However, by placing the right kind of content within your layers and learning how to use blend modes to your advantage, this creative design can be a highly effective way to impress visitors and improve your engagement and conversions in the process.


