
Color is a powerful tool for web designers, especially when it’s used to enhance the appearance of photos. But you can do more to liven up the colors of your website imagery than just playing around with brightness, contrast, and saturation.
In this tutorial, we’re going to demonstrate how effective duotones are at transforming the mood and theme of a website. We’ll use the Duotone Slider template to create three different call-to-action blocks for our home page.
Table of Contents:
- Step 1: Delete all of the slides but the first
- Step 2: Delete the navigation-related elements
- Step 3: Create your duotones image and add it to the background
- Step 4: Edit the slide’s text layers
- Step 5: Duplicate the slide and customize the new ones
- Step 6: Embed the duotone banners into your home page
How to use duotones to transform the entire mood of a website
Oftentimes when we see duotones online, they’re bright and funky or dark and moody. The Duotone Slider 3D Cube template does a good job of showing off common duotone trends:
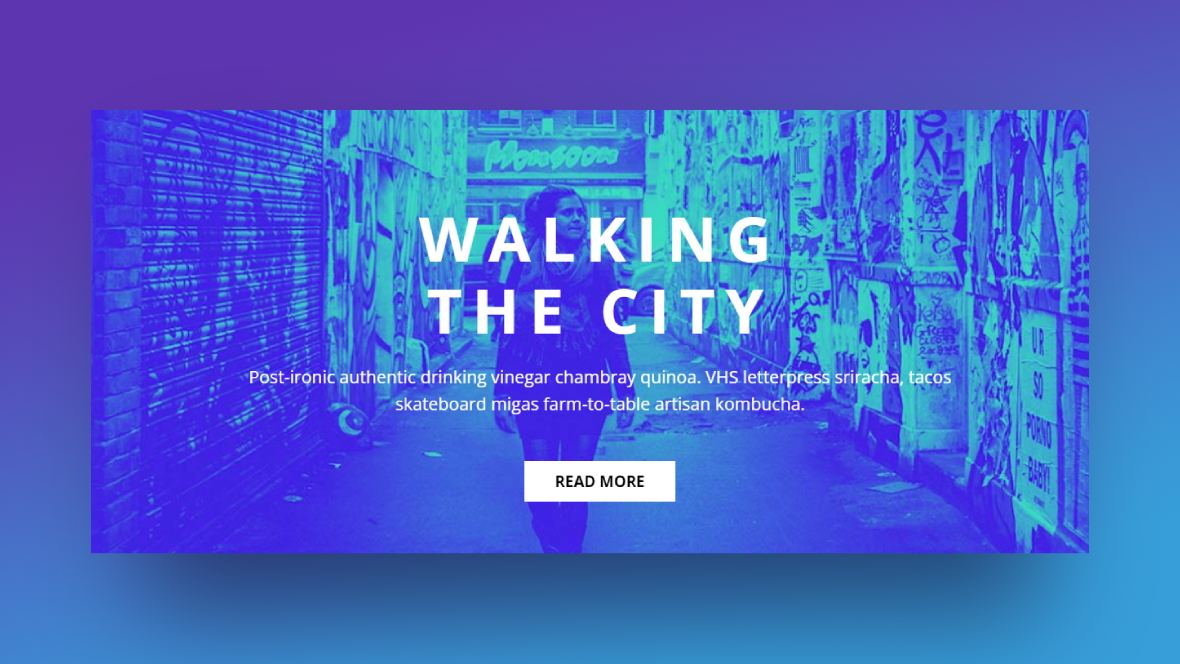
There are other ways to make an impact with duotones. In the following tutorial, we’re going to create three duotone banners to place throughout the landing page for our university’s forensic studies program:
If you need a Slider Revolution refresh before getting started, read these first:
Step 1: Delete all of the slides but the first
This hero slider template includes six slide designs. All of them have the same elements, laid out the same way, so it doesn’t matter which one you end up with.
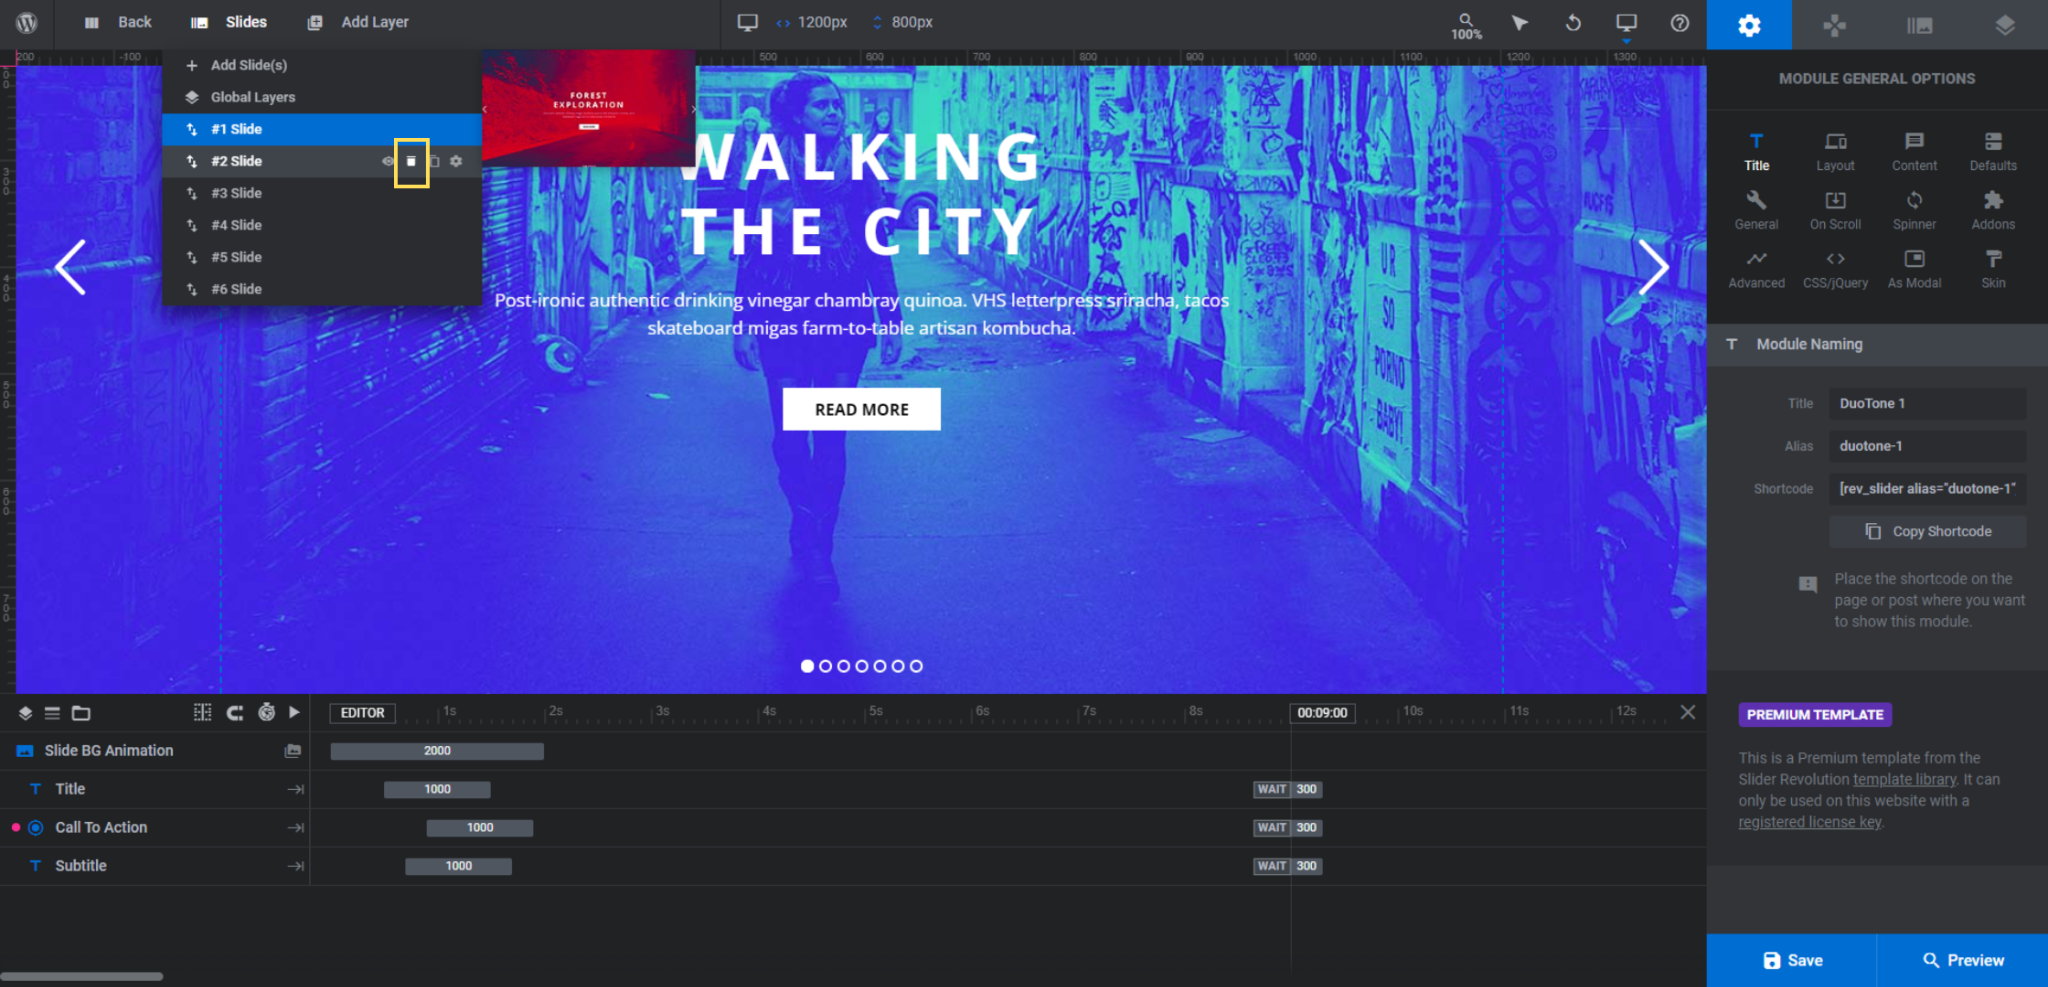
To delete slides, hover over “Slides” in the top toolbar. Then click the trash can icon next to the five slides you want to delete:
When you’re done, you’ll have only one slide remaining.
Learn more:
Step 2: Delete the navigation-related elements
Because we’re stripping this slider down and turning it into a single CTA banner, we don’t need the elements that give users control over the slider’s pace. There are two areas in Slider Revolution to focus on.
First, go back to “Slides” and click on “Global Layers”. This will open up the Global Layers that appear over the slider:
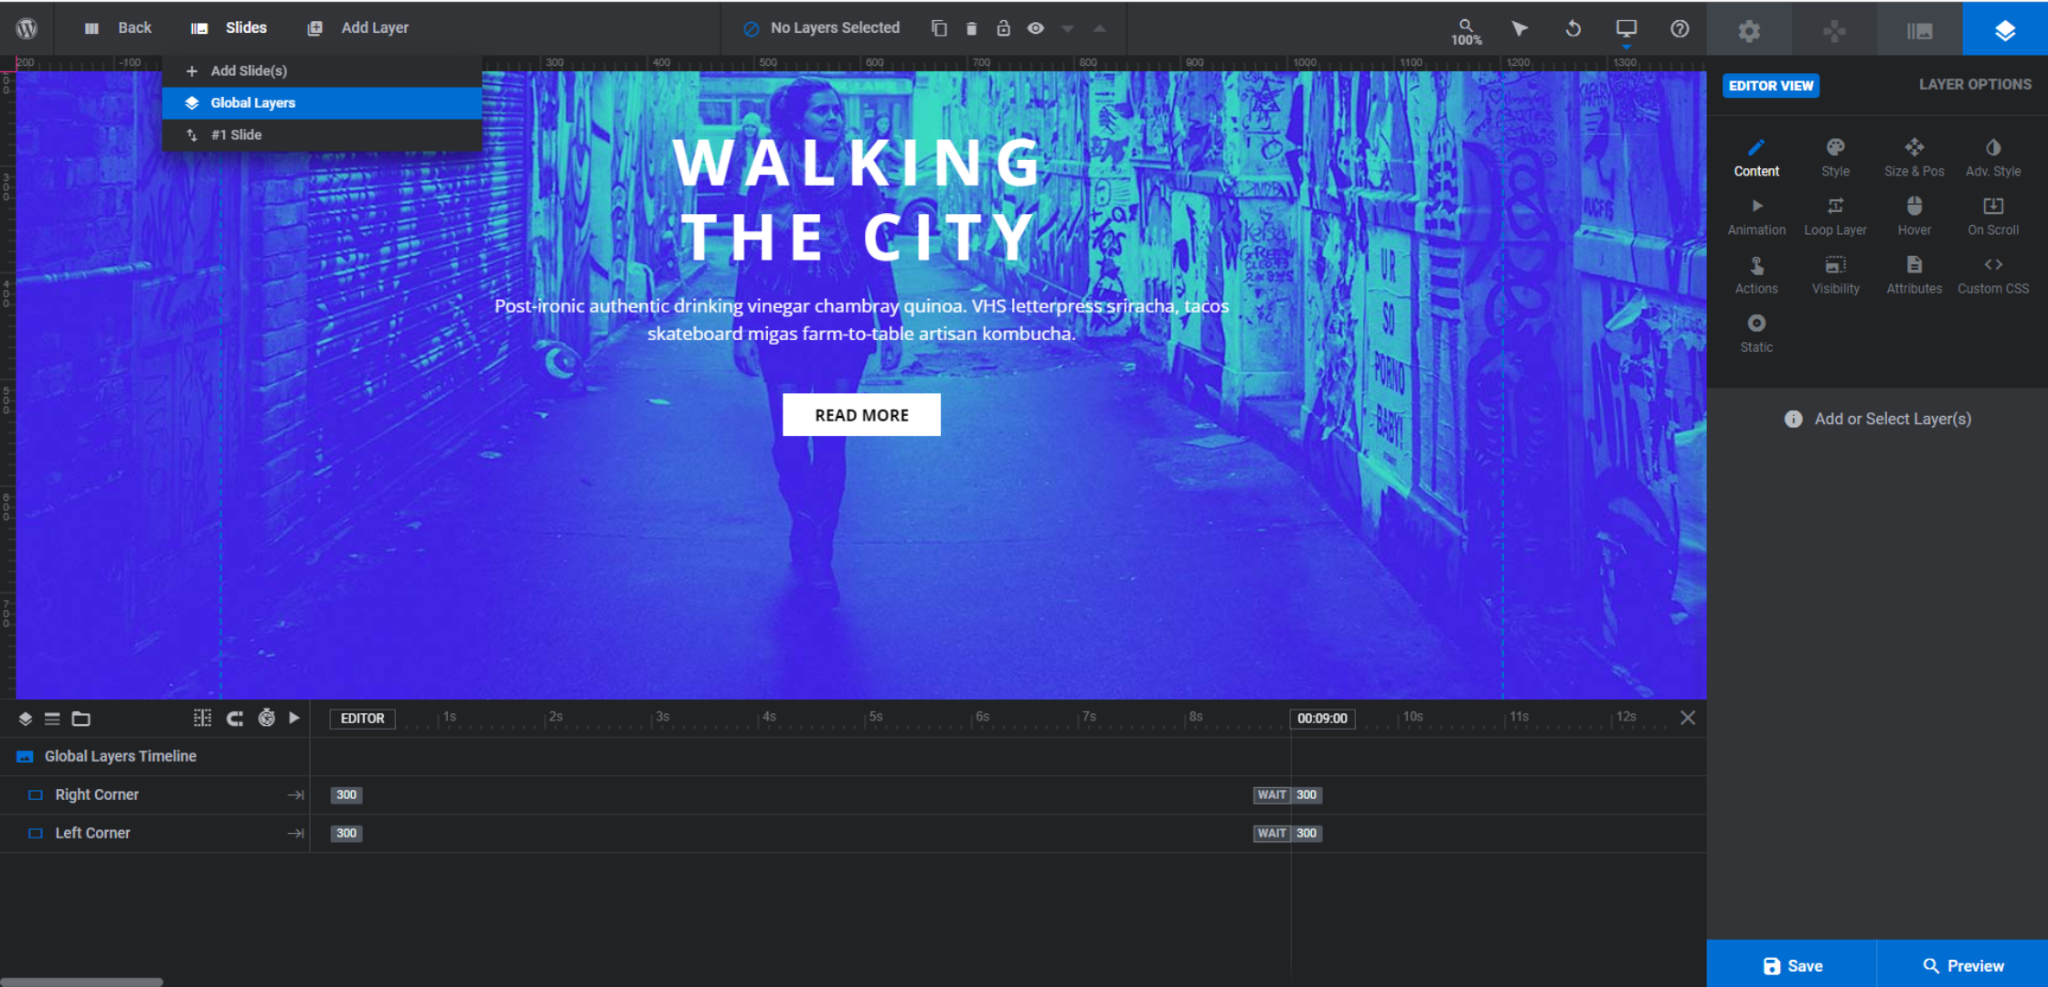
To delete the Right Corner and Left Corner layers, click on them in the timeline editor at the bottom. If you hold down the Ctrl or command, you can select them at the same time. Then hit the Backspace or delete key to remove them entirely.
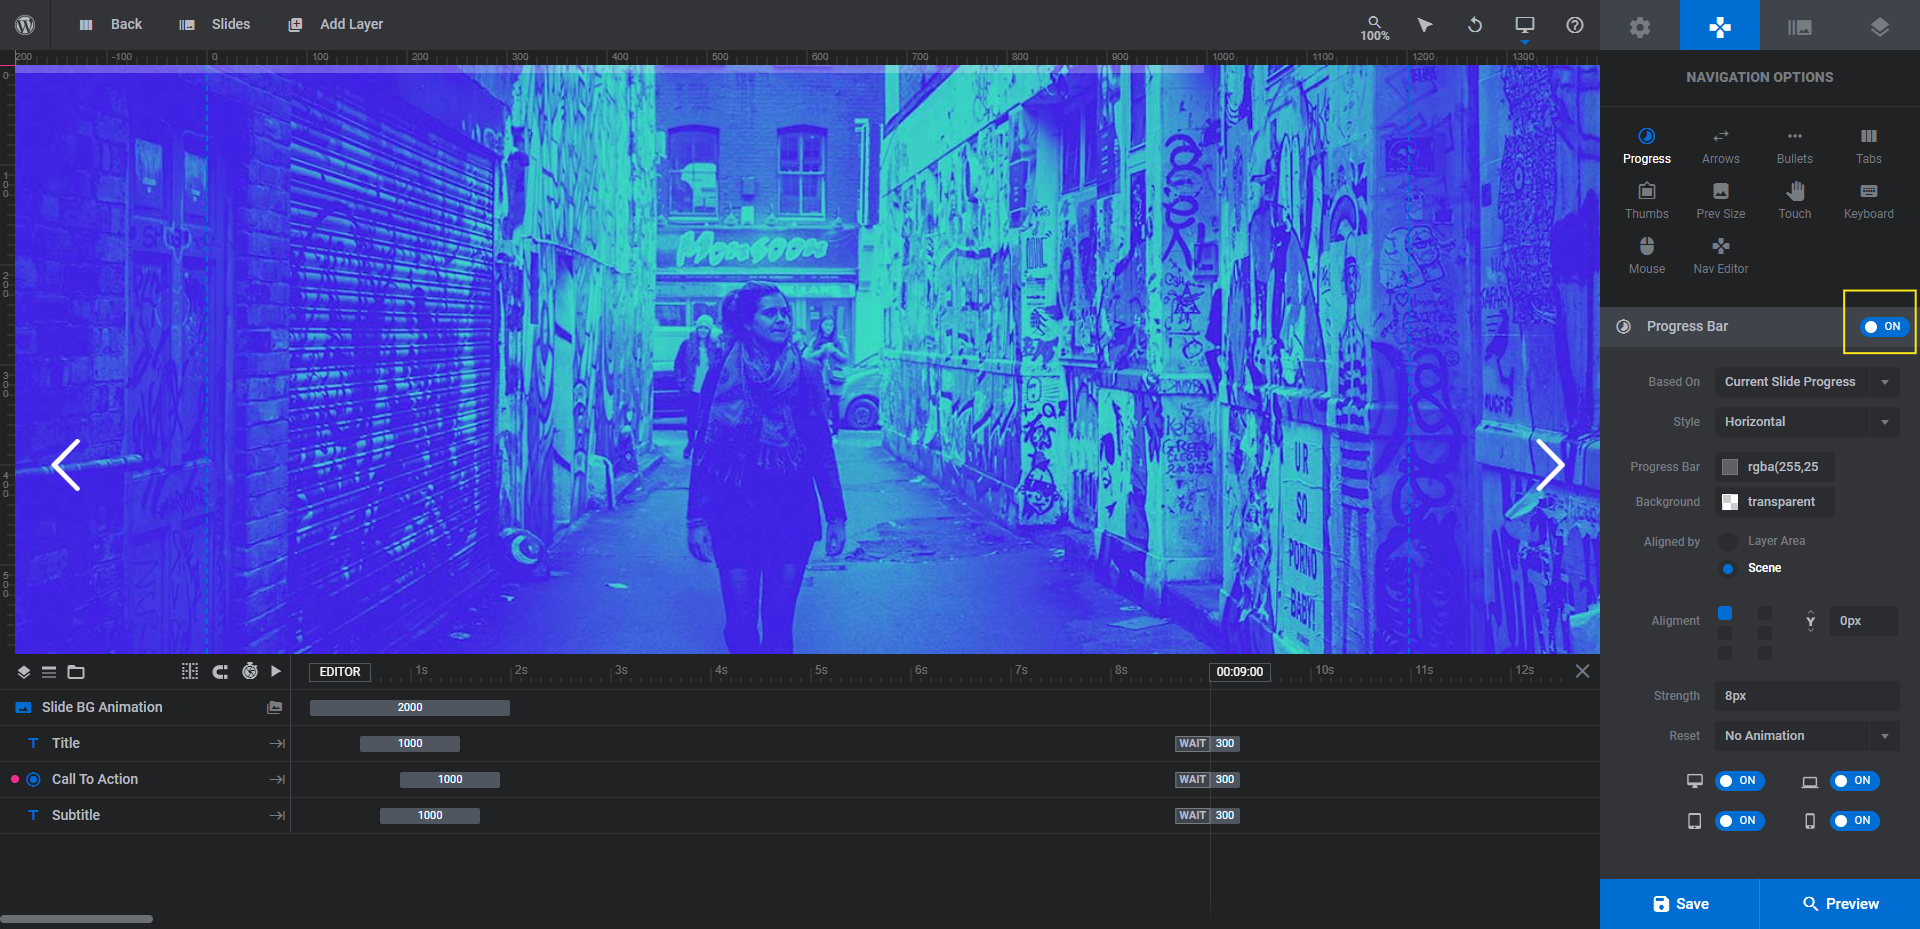
The other area you’ll need to update is Navigation Options. To access it, open up your slide. Then go to the “Navigation Options” editor on the right.
The following navigation settings are activated:
- Progress
- Arrows
- Bullets
- Touch
To deactivate them, click on the corresponding tabs. Then, click the toggle to turn the settings off:
Save your changes when you’re done.
Learn more:
Step 3: Create your duotones image and add it to the background
Before you upload the background image for this first slide, you have to decide how you want to create your duotones. There are two options:
Option #1
The first option is to enable the Duotone Filters AddOn, which you’ll find by going to “Module Options” and “AddOns”. Once enabled, a new setting will appear under “Slide Options” called Duotone:
Hover over each of the duotones — or select them from the BG Filter dropdown — and you’ll see them reflected in the existing background image:
If there’s a preset duotone setting that you like, go with this option as it’ll be the fastest one to take.
All you’ll need to do is go to “Slide Options” and “Background”. Upload your unaltered image to the Media Library. Then go back to “Duotone” and apply the one you want to use.
Option #2
You may want to create a custom duotone — for instance, one that matches your brand colors. For this, you’ll need to generate the duotones using a design tool like Canva.
First, you need to upload or add the photo you want to use to the blank canvas. Then select the image and click on “Edit Image”.
Open up the Duotones tool. To create a custom duotone palette, click on any of the premade duotones. Then, update the Highlights value with the lighter color you’re using and the Shadows value with the darker color:
Pro tip: Consistency in color usage can help website visitors easily find the most important content on a website — like the call-to-action banner. Consider applying the same duotones to your banner images if you want to play it safe. Otherwise, just make sure that the other content on the home page is minimal so that your vibrant duotones stand out more obviously than everything else.
Once you’ve created your duotone image, export it from the design tool. Return to Slider Revolution and upload the image under “Slide Options” and “Background”. When you’re done, save your changes.
Learn more:
Step 4: Edit the slide’s text layers
There are two text layers and one button layer to edit in this slide. The process for editing all three is similar:
Click on the text layer you want to edit either in the canvas or timeline editor. Title is the main headline. Subtitle is the accompanying description below it. Then go to “Layer Options”. From there, you can customize things like:
- What the text says under “Content”
- The style of the text (including the font, color, and weight) under “Style”
- Other types of styling (like shadows, strokes, etc.) under “Adv Style”
You may want to adjust additional settings for the Call To Action button layer as well. For example:
- The background color and border of the button under “Style”
- The button shadow under “Adv Style”
- The button’s hover-triggered colors and animation effects under “Hover”
Note: We are simplifying the special effects from the original template by turning this hero slider into single banners. If you feel like the designs need a little more oomph without the 3D box transition effect, feel free to jazz up your text layers with animation effects in this step.
The last thing to do before saving your changes is editing the button link. To do that, go to “Layer Options” and “Actions”.
In the template, each of the “Read More” buttons are programmed to Scroll Below Slider when clicked. We want to treat these links like call-to-action links and have them direct visitors to another informational or transactional page.
To change this, select the existing action setting and click on the trash can icon that appears next to it to delete it. Then go to the list of actions on the right and select Simple Link:
Enter the new Link URL. When you’re done, exit out of the pop-up and then save your changes.
Learn more:
Step 5: Duplicate the slide and customize the new ones
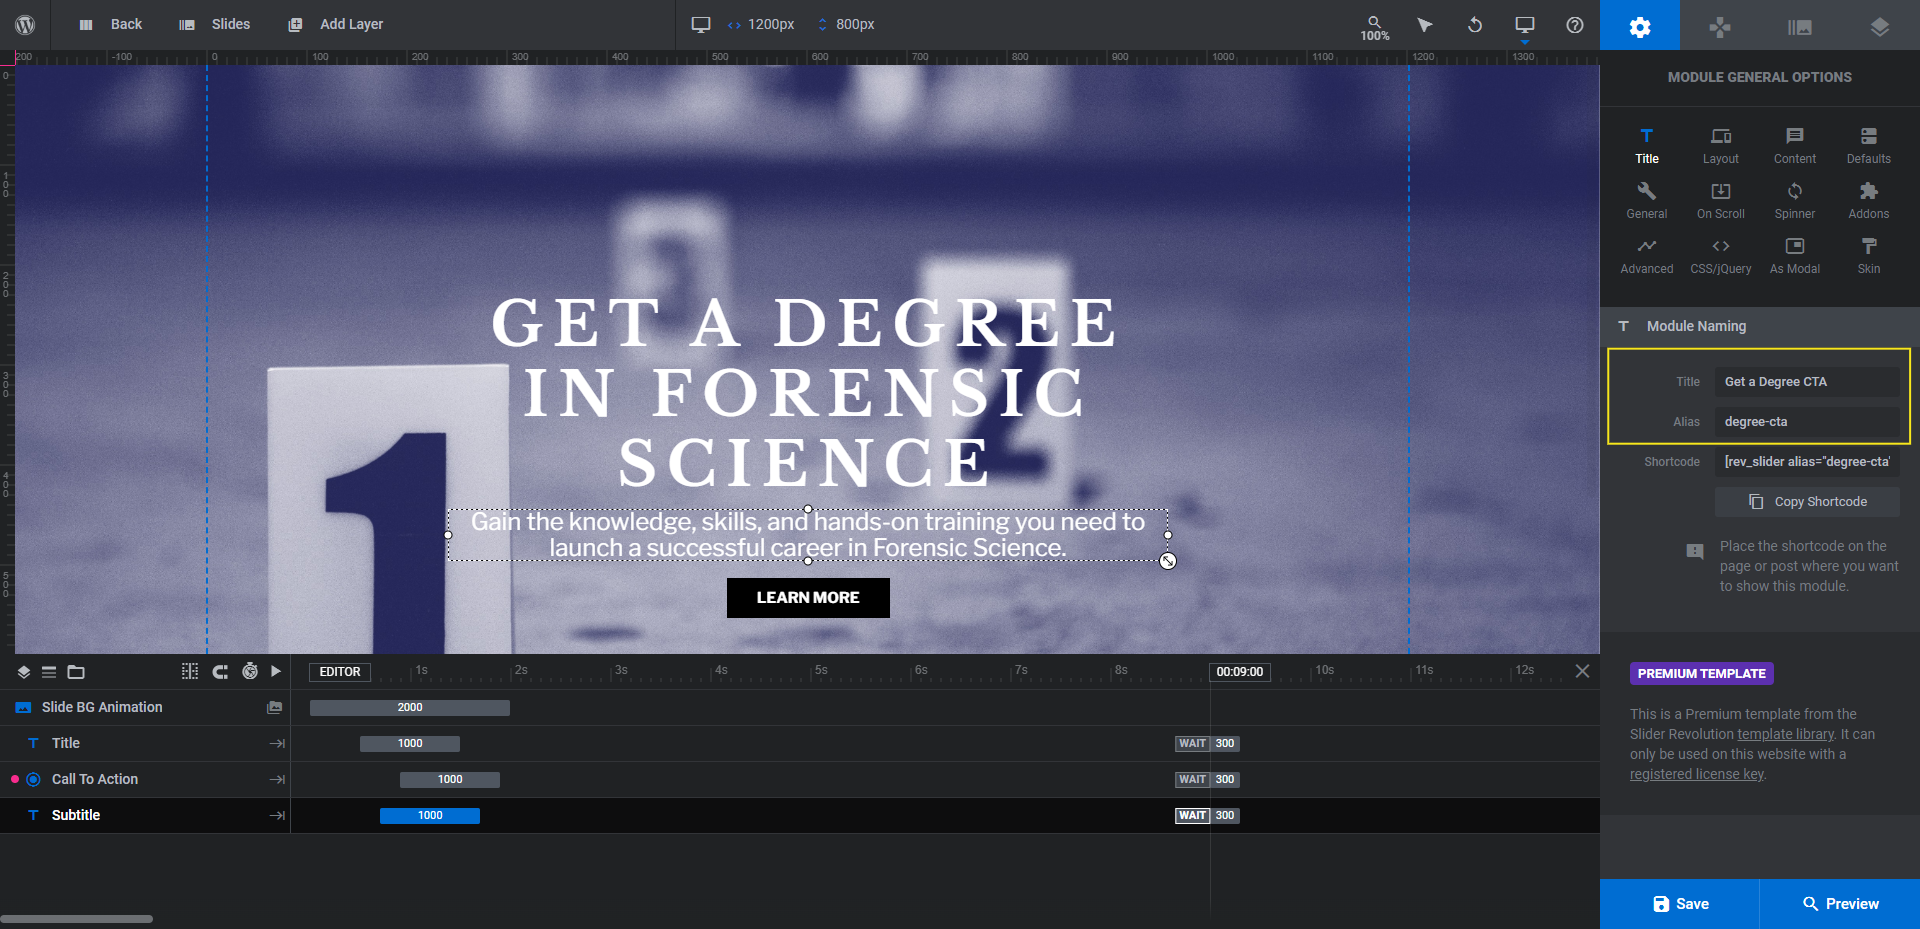
To build out the rest of our banners, we’re going to duplicate the duotone banner design we just created. But first, we need to give it a distinctive name.
Go to “Module Options” and “Title” to rename this banner:
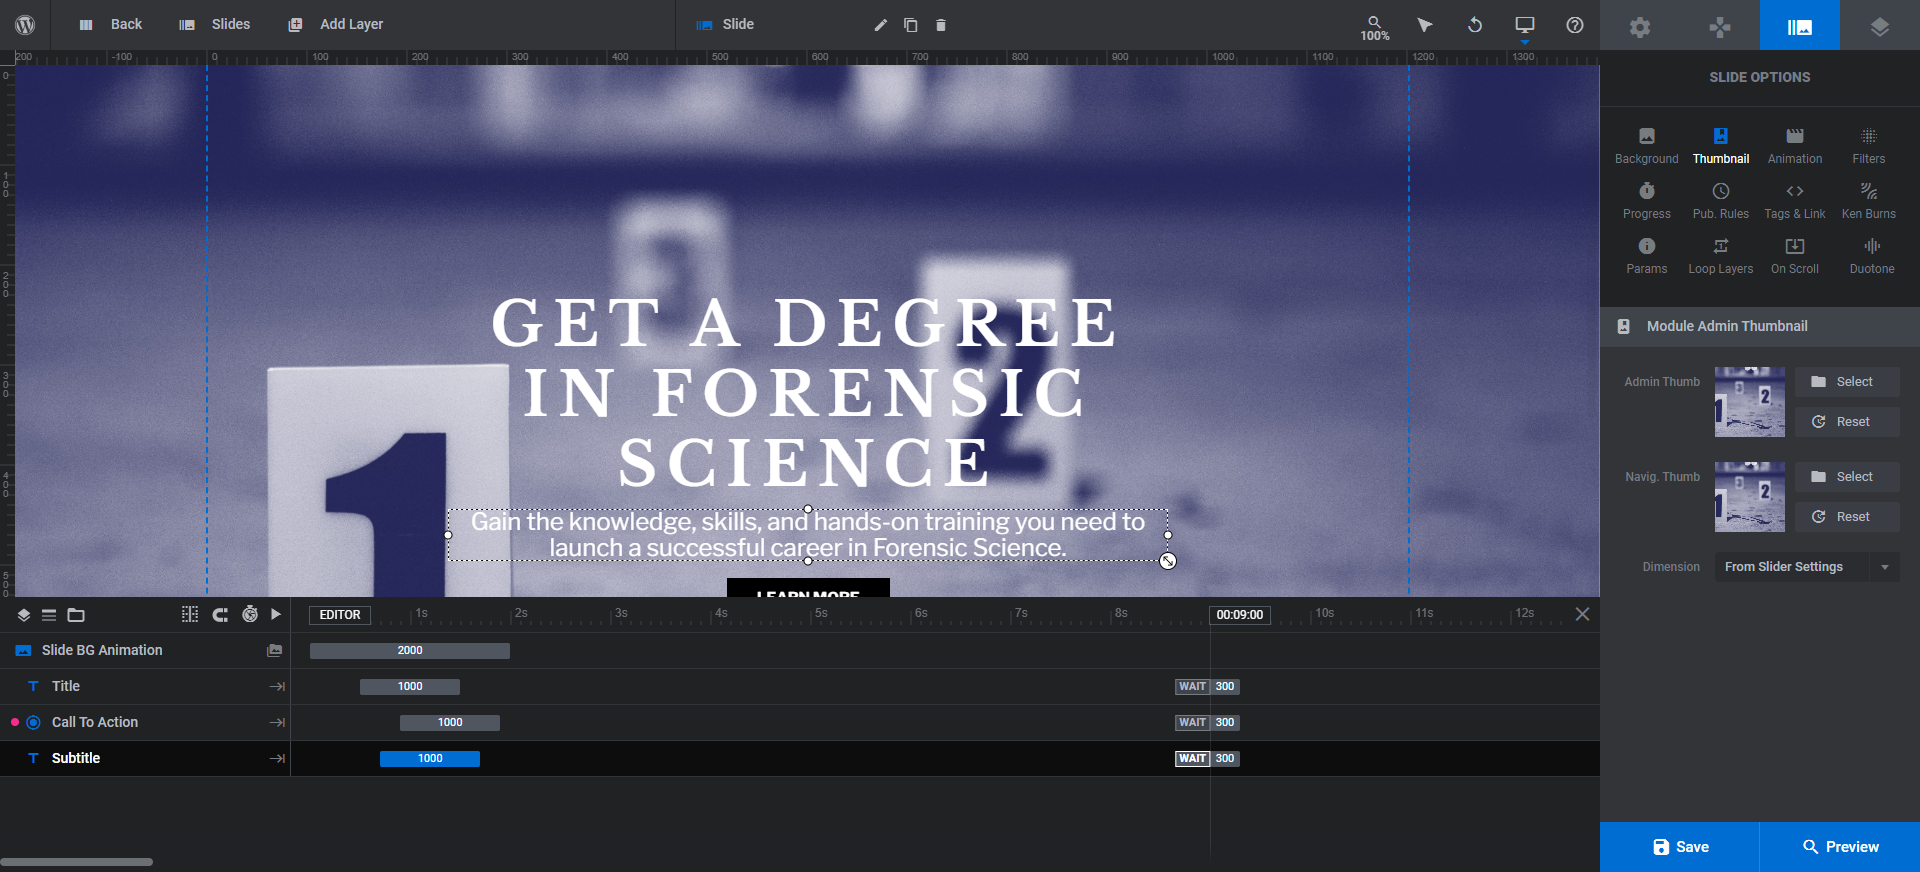
While you’re at it, update the thumbnail image so you can visually distinguish between your modules. To do this, go to “Slide Options” and “Thumbnail”. Click the “Reset” button for both the Admin and Navig. Thumbs to pull in your duotone background image:
Save your changes.
Next, exit out of the Slider Revolution editor by hitting the “Back” key in the top-left corner of the page. Locate the module you just created, click the down-arrow to open the options, and click on “Duplicate”:
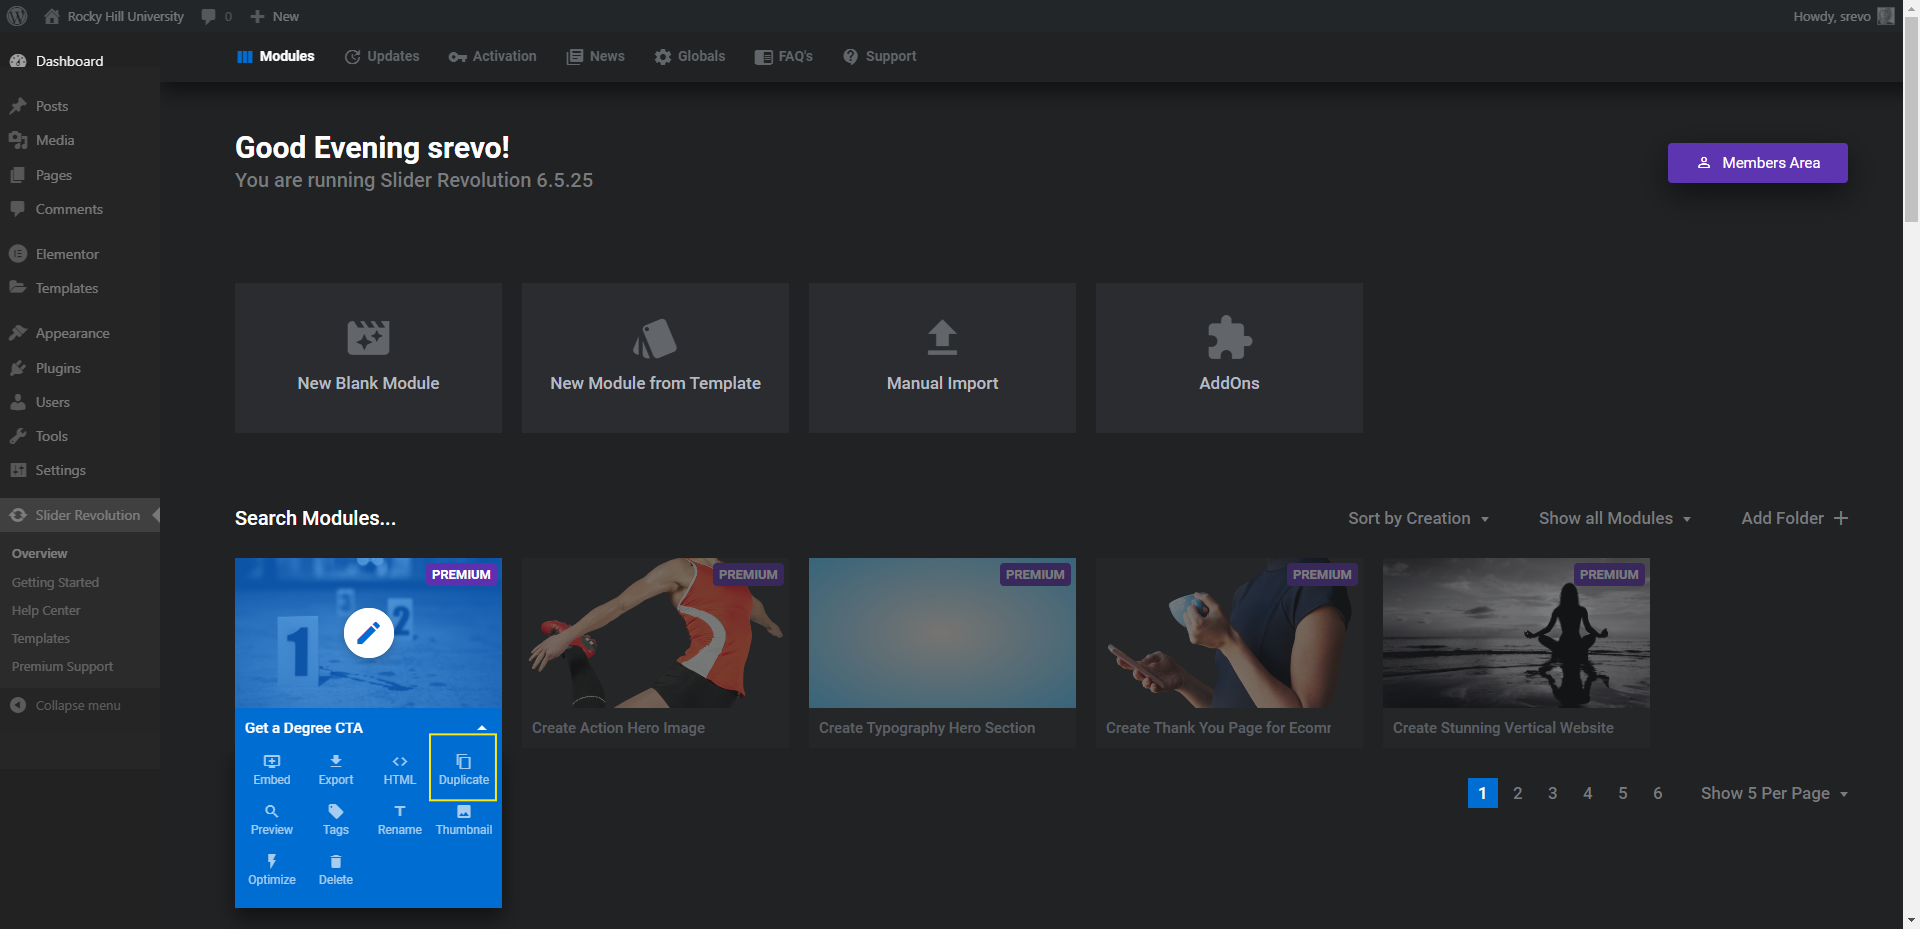
Do this for as many CTA banners you need to create.
Open up one of the newly created modules. With all of the styles and settings already configured, all you need to do is swap out the content:
- Replace the duotone background image
- Edit the Title, Subtitle, and Call To Action layers
- Configure a custom link for the button
Note: If you’re planning to use different duotones for each of the banners, you may need to alter the text and button layer colors so they stand out better.
Lastly, give the module a unique name and update the thumbnail before you save and move onto the next one.
Step 6: Embed the duotone banners into your home page
The last thing to do is add your new banners to the home page.
Go to Pages and open up your Home page using whatever page builder you originally created it in. Slider Revolution will work with all of them.
If these new CTA banners are replacing any existing content in your Home page design, delete the blocks you don’t need anymore.
To add the banners to the page, locate the Slider Revolution widget from the list and drag it into place. A pop-up will appear where you can select the module to embed:
Another option is to copy the module’s shortcode from the “Module Options” and “Title” page. Then add the shortcode to your page using the Shortcode widget.
Note: We’re using a basic wireframe to demonstrate the embedding process. That said, this wireframe isn’t too off base from what you should aim for in terms of minimalism of design. These CTA banners are designed with vibrant duotones in order to stop visitors in their tracks. If the entire website is full of colors and imagery, they won’t be as effective.
Preview your changes. When you’re done finalizing the Home page, publish it.
Learn more:
Get visitors to take action with custom duotone imagery
Colorful imagery can make a website feel more realistic and alive. But using colorful photos or videos isn’t the only way to increase visitors’ engagement with your website.
By applying eye-catching and on-theme duotones to your home page CTA banners, you can not only change the overall mood of the website, but also drive up user engagement with it. To save yourself time creating a Home page that does this, use the Duotone Slider template.


