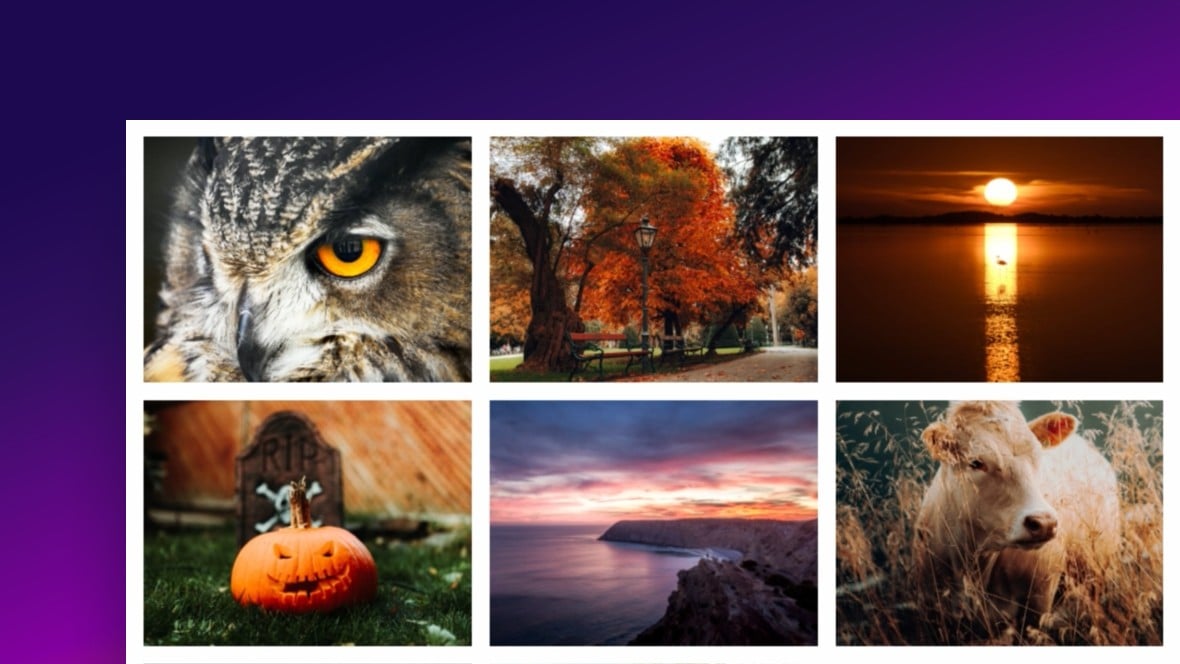
Hand Picked Content
In this Essential Grid tutorial, we’ll see how to use the content type, Custom Grid, to create a gallery of hand-picked WordPress images.
Using the Custom Grid content type allows you to fill up a grid with a mix of just about any type of content you like. In this case, we’re going to use it to showcase a selection of images chosen from the WordPress media library.
Note: If you don’t already have some nice images uploaded to your WordPress media library, you might like to add some before moving on.
Create & Edit Grid
Let’s head to the Essential Grid plugin dashboard again and create a grid from a template:

This time we’re going to choose the Babe Ruth template, currently on the second row in the gallery:
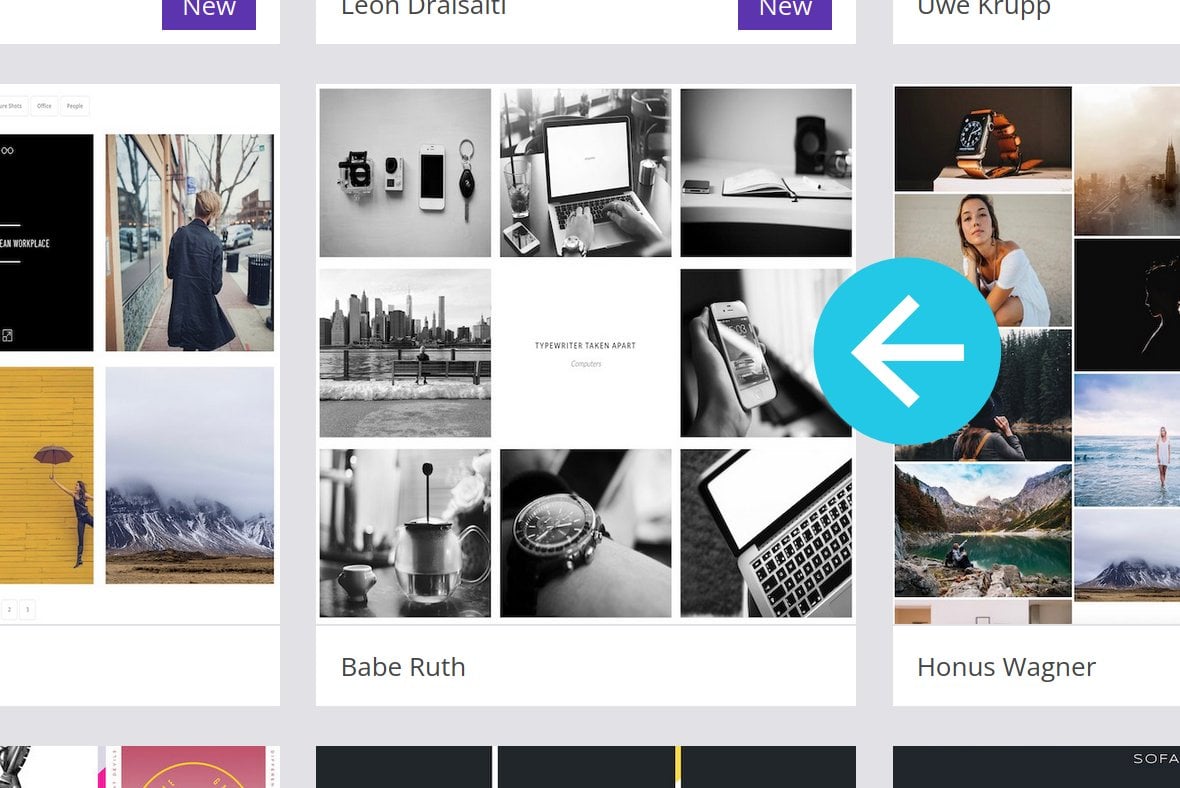
Open the new grid up for editing:
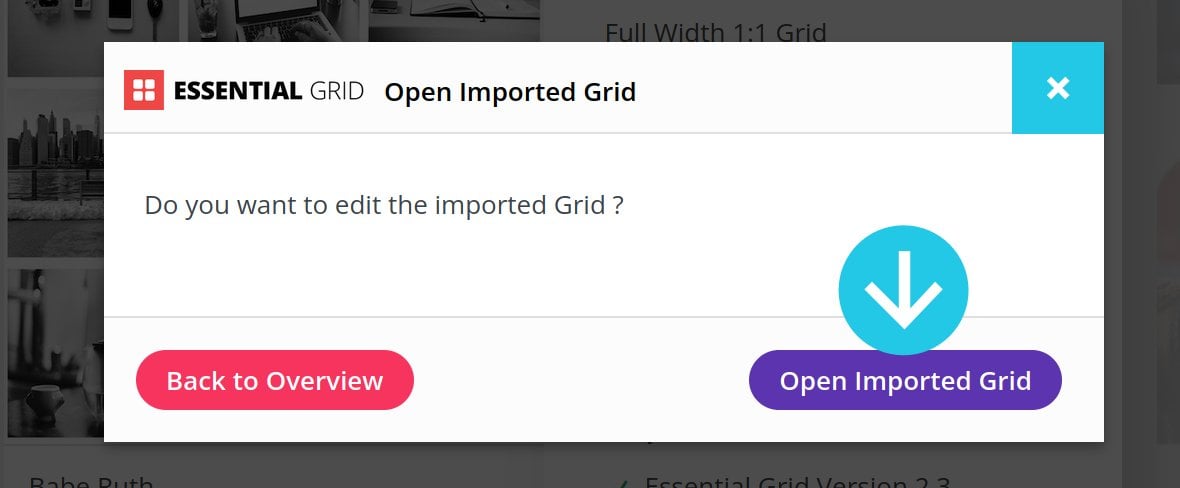
Change Source & Add Images
Switch into the Source tab, and this time set the content type to Custom Grid:

Staying in the Source tab, scroll down to the Add Items sub-section at the bottom:

Click the purple Image(s) button:

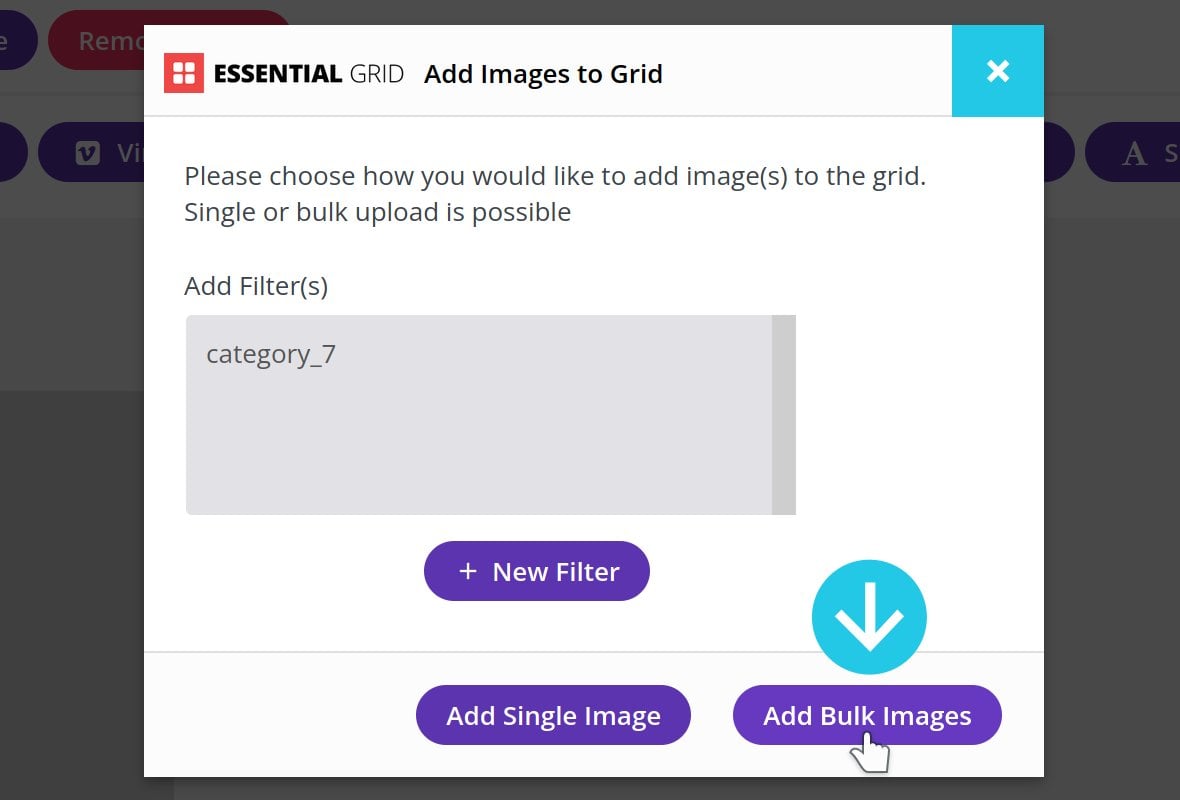
A dialogue box titled Add Images to Grid will appear. At the bottom right of that box, click the Add Bulk Images button:
The WordPress media library will open up. Hold down your CTRL / CMD key, click each of the images you’d like to add to the grid, then click the Choose Images button at the bottom right corner:
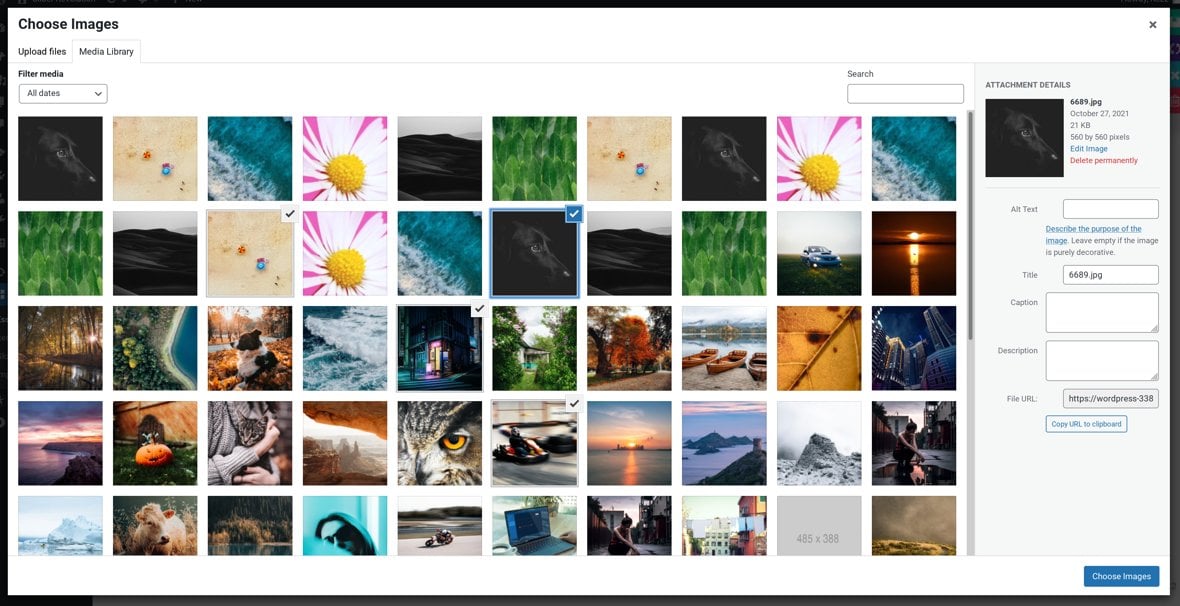
Your selection of images will be added into the grid, and it’s now ready to publish.
Save & Publish Your Grid
Just as we did in the last two tutorials, save the grid, make a new WordPress page, add an Essential Grid block to it and select the new grid:

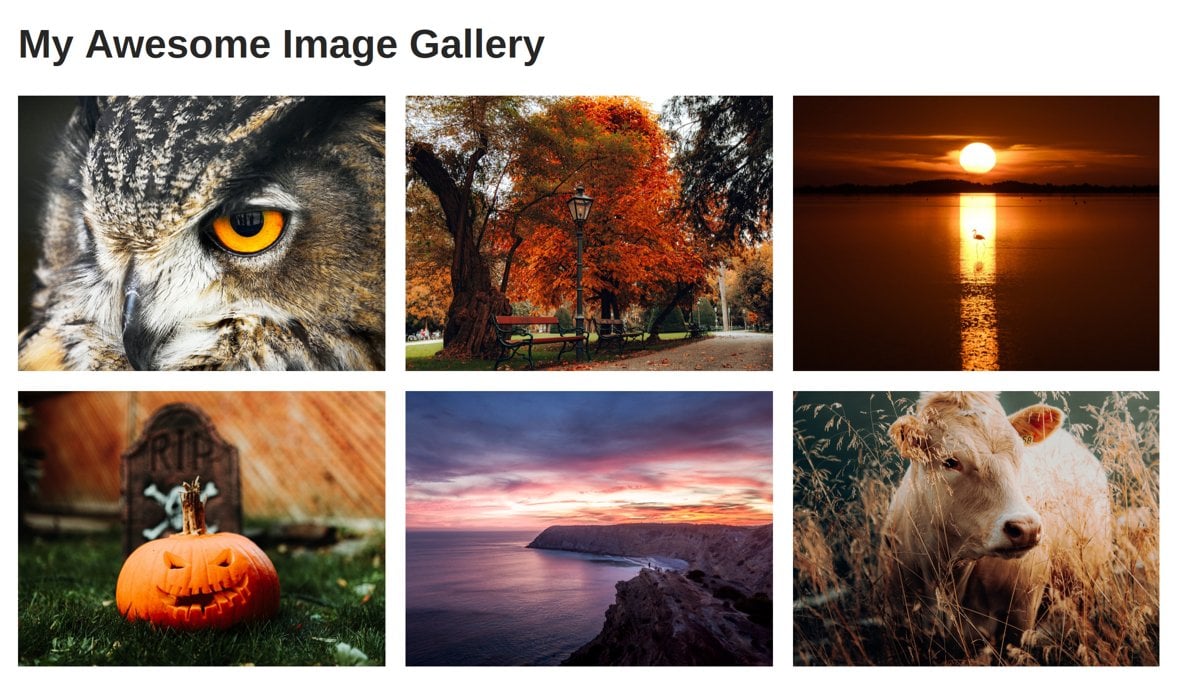
Publish the page and enjoy the showcase of your hand-picked images:
Explore The Power of Essential Grid
That wraps up the Quick Demo Grids section of our Getting Started guide to Essential Grid.
We’ve seen how, even while barely scratching the surface of what Essential Grid is capable of, we’ve been able to rapidly create three awesome looking grids.
Make sure to explore all of our 50+ demo grids that are included with Essential Grid.

