Table of Content
Support
Weatherbit in no way endorses or provides support for Slider Revolution or the Slider Revolution Weather add-on. Please click on the button below for help from our experts at https://support.sliderrevolution.com.
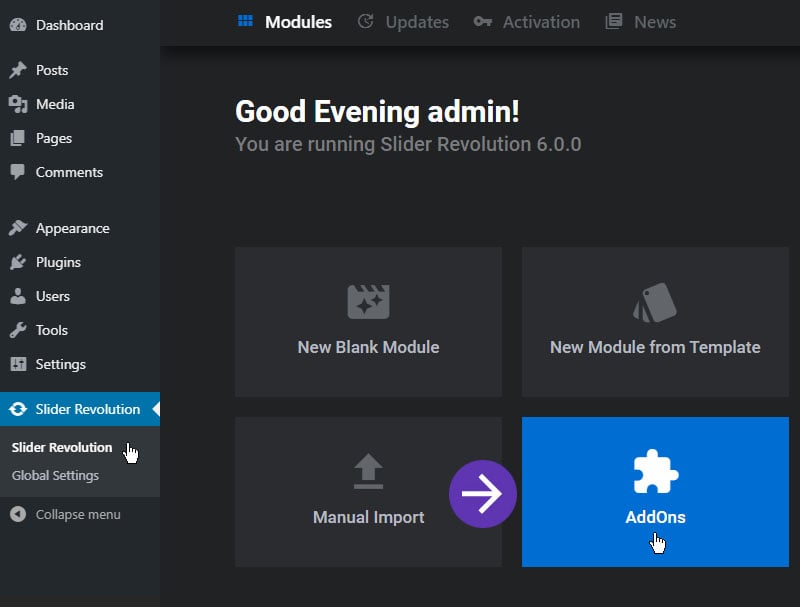
Step 1: To get started, Install and Activate the AddOn from the plugin’s main admin page
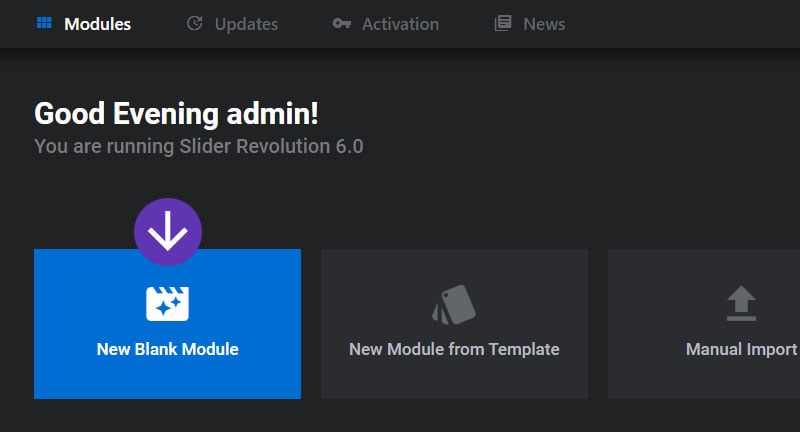
Step 2: Create a new Module
And give it a name of “My Posts Slider” (the Module can be named anything you wish).
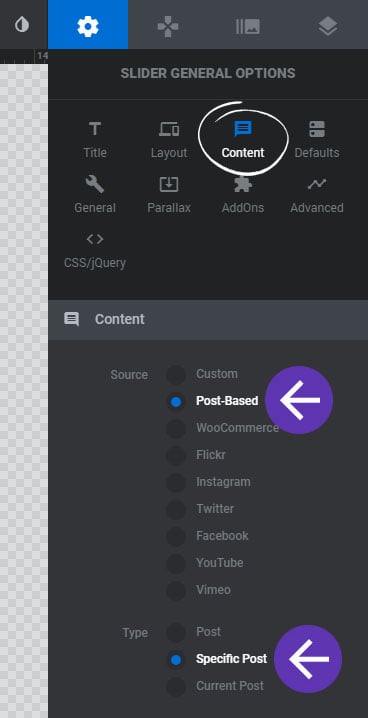
And then choose “Post-Based” and “Specific Post” as the Module’s Content Source
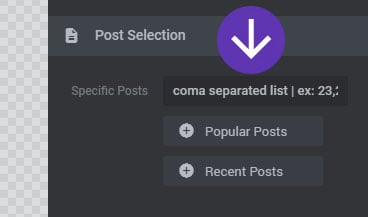
And then leave the “Specific Posts” list blank, as this will automatically be populated with your Gallery’s images.
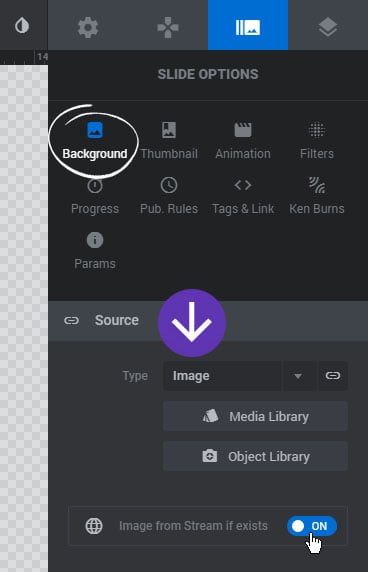
Next, set the Slide’s main background to “Image”, and enable the “Image from Stream if Exists” option.
Do not select an image from the Media/Object Library, as the image will automatically be taken from your Post’s “Featured Image” shown in #4 here.
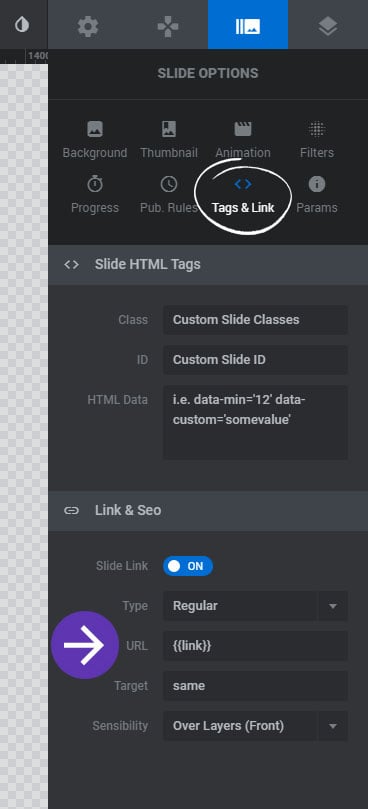
And then add {{link}} as the meta placeholder for the Slide’s Link URL
This will allow the user to visit the post when clicking on the Slide.
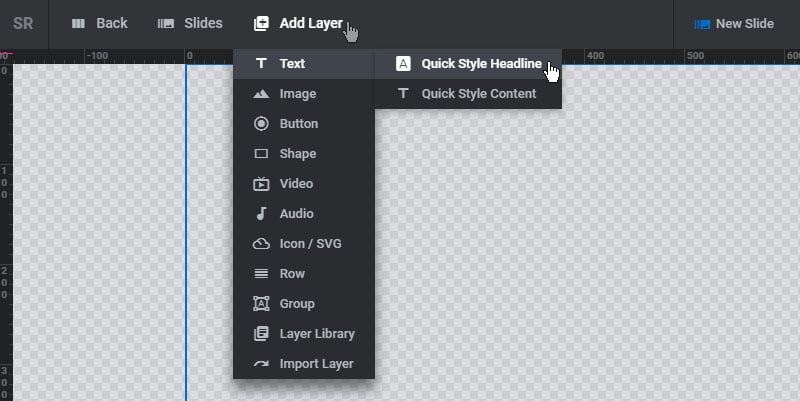
Next, add a Text Layer to the Slide, and adjust its Size/Position and Font Styles.
And then setup a special Meta Placeholder for the Layer’s content, choosing an option from the “Post” menu.
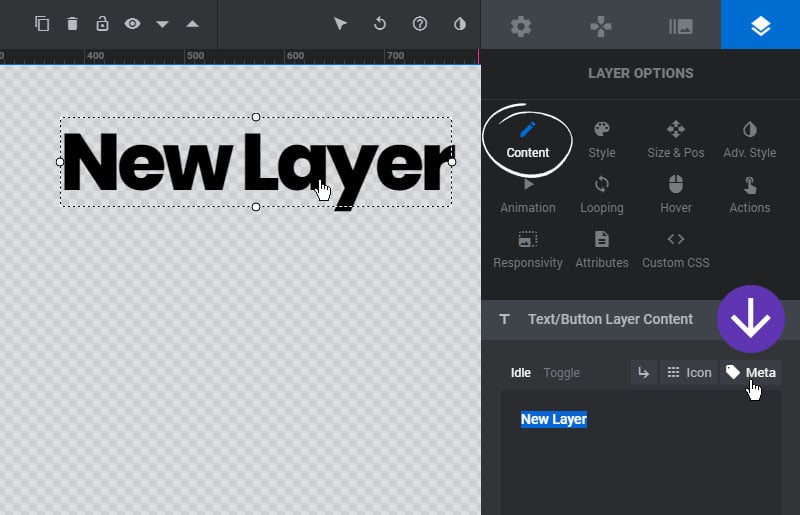
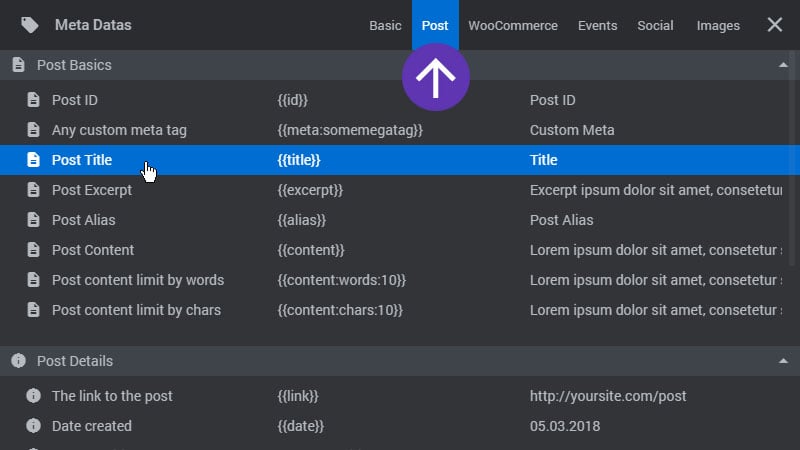
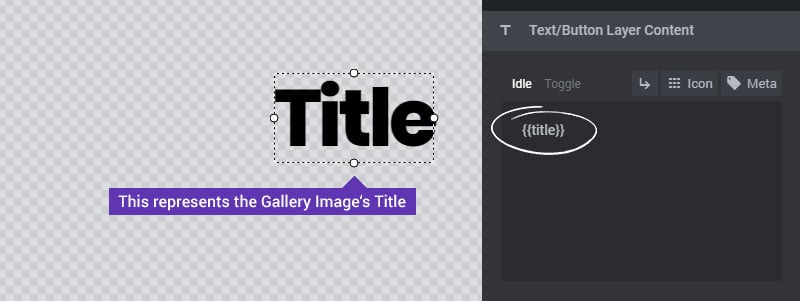
Add another Text Layer and repeat the steps above if you’d like to display the Post’s excerpt or other content as well.
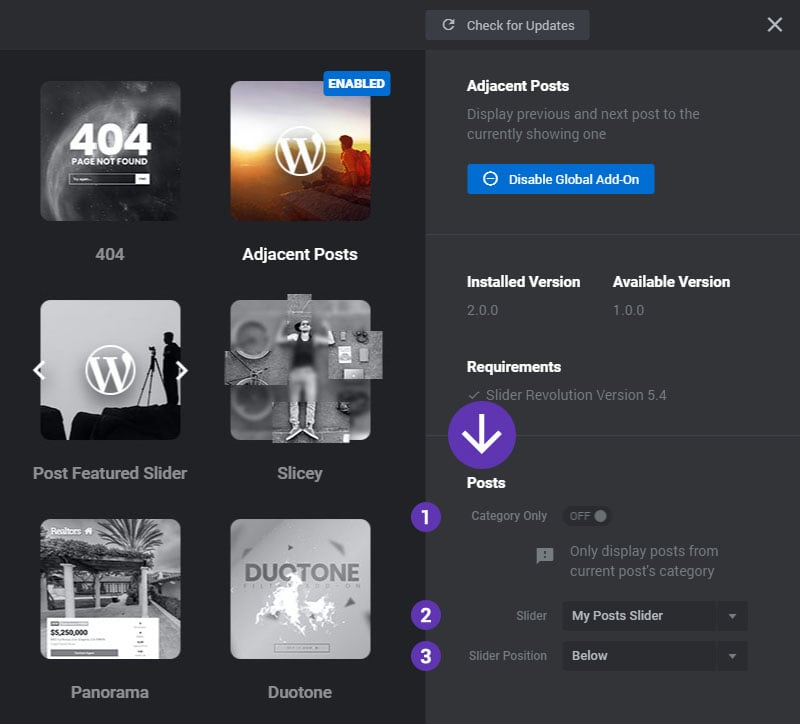
Step 3: Head back into the AddOns Modal to connect the new Posts Slider to the AddOn and also configure its settings.
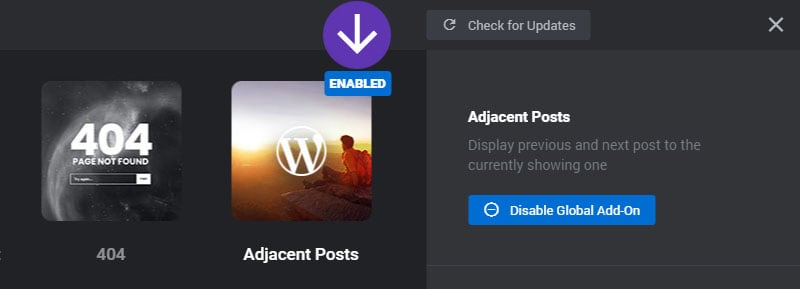
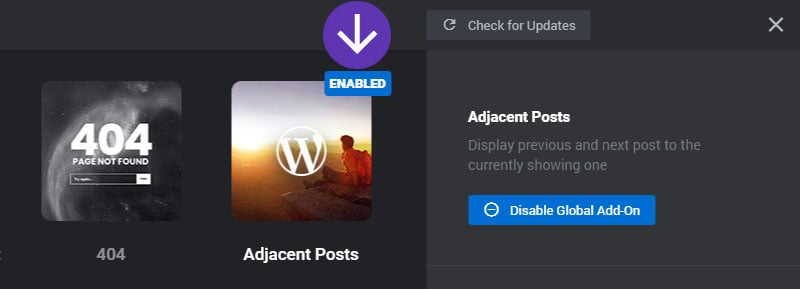
Then once the settings are completed, the Adjacent Posts Slider will automatically get added to your individual WordPress Post pages.
