

Whether you’re building an event website or promoting a one-off event like a business webinar, you need to start generating excitement ASAP. And there’s no better place to do that than on the home page.
In this tutorial, we’re going to create a hero slider section that gives potential attendees all the high-level details (and lively visuals) to get them excited for the upcoming event. We’ll use the brand-new Summer Beach Events Hero Collection template to demonstrate how to effectively sell event tickets from your home page.
Table of Contents:
- Step 1: Delete the global layers
- Step 2: Choose a slide style
- Step 3: Upload your new background imagery
- Step 4: Edit the text layers
- Step 5: Create and customize your shapes
- Step 6: Edit the slide transition effect
- Step 7: Duplicate the slide and add the rest of your content
How to create a lively hero slider that helps you sell event tickets
You’ll notice that the slides in the template we’re using more or less contain the same information:
- Name of the event
- Date
- Location
- Get Tickets button
Because of this, there’s a lot you can do with this hero collection. You can create a single hero image from the design you like best:
On the other hand, you can turn this collection into a hero slider that little by little trickles out details about the event. This way you won’t have to jam-pack a bunch of details into a single hero image to try and sell event tickets. Like the one we’re building today:
If this is your first time using Slider Revolution, quickly read up on the builder before you get started:
Step 1: Delete the global layers
Unless you’re creating a freestanding event website or landing page, you won’t need the Global Layers. Your WordPress theme will take care of the website header design for you.
To locate the Global Layers, go to the toolbar at the top of the editor, hover over “Slides”, and click on “Global Layers”:
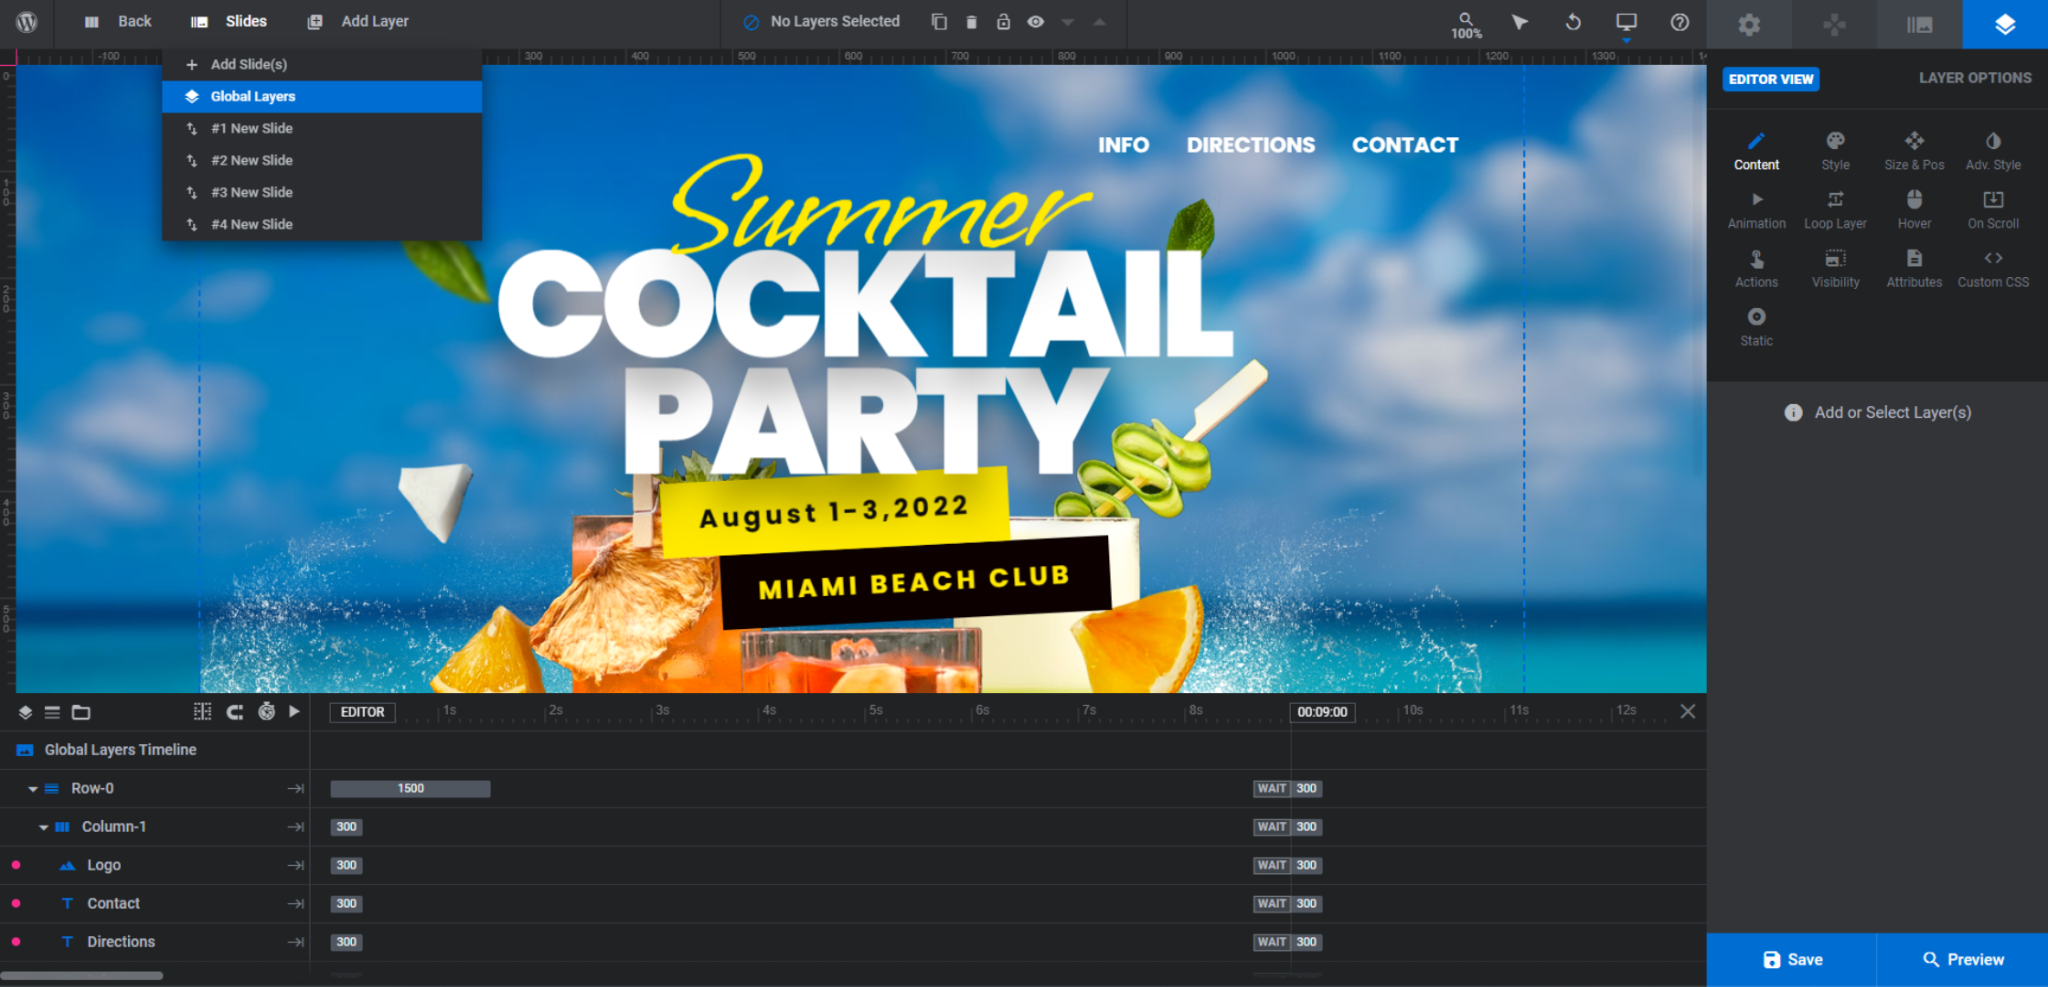
In Slider Revolution, deleting a top-level row or group will delete all of the individual layers within it. Do that here. Click on Row-0 and then hit the Backspace or delete key.
Learn more:
Step 2: Choose a slide style
There are two ways in which you can put this template to use without spending a ton of time customizing it:
The first is to create a single high-energy hero image. Any four of the slides in the template will do. You just need to figure out which of the compositions you prefer:
- Slide #1 works best to create a realistic, immersive experience from the get-go.
- Slide #2 works best if you want to show off the event’s location and activities.
- Slide #3 works best if your event’s headliners, speakers, etc. are the biggest draw.
- Slide #4 works best if you have a lot of details to share — like the agenda, location and accommodations, etc.
The other option is to create a hero slider. If you choose this option, it’ll be easiest if you find one slide style (i.e. layout and features) that you like best. Then use it to build out the slider. That’s what we’re going to do in this tutorial.
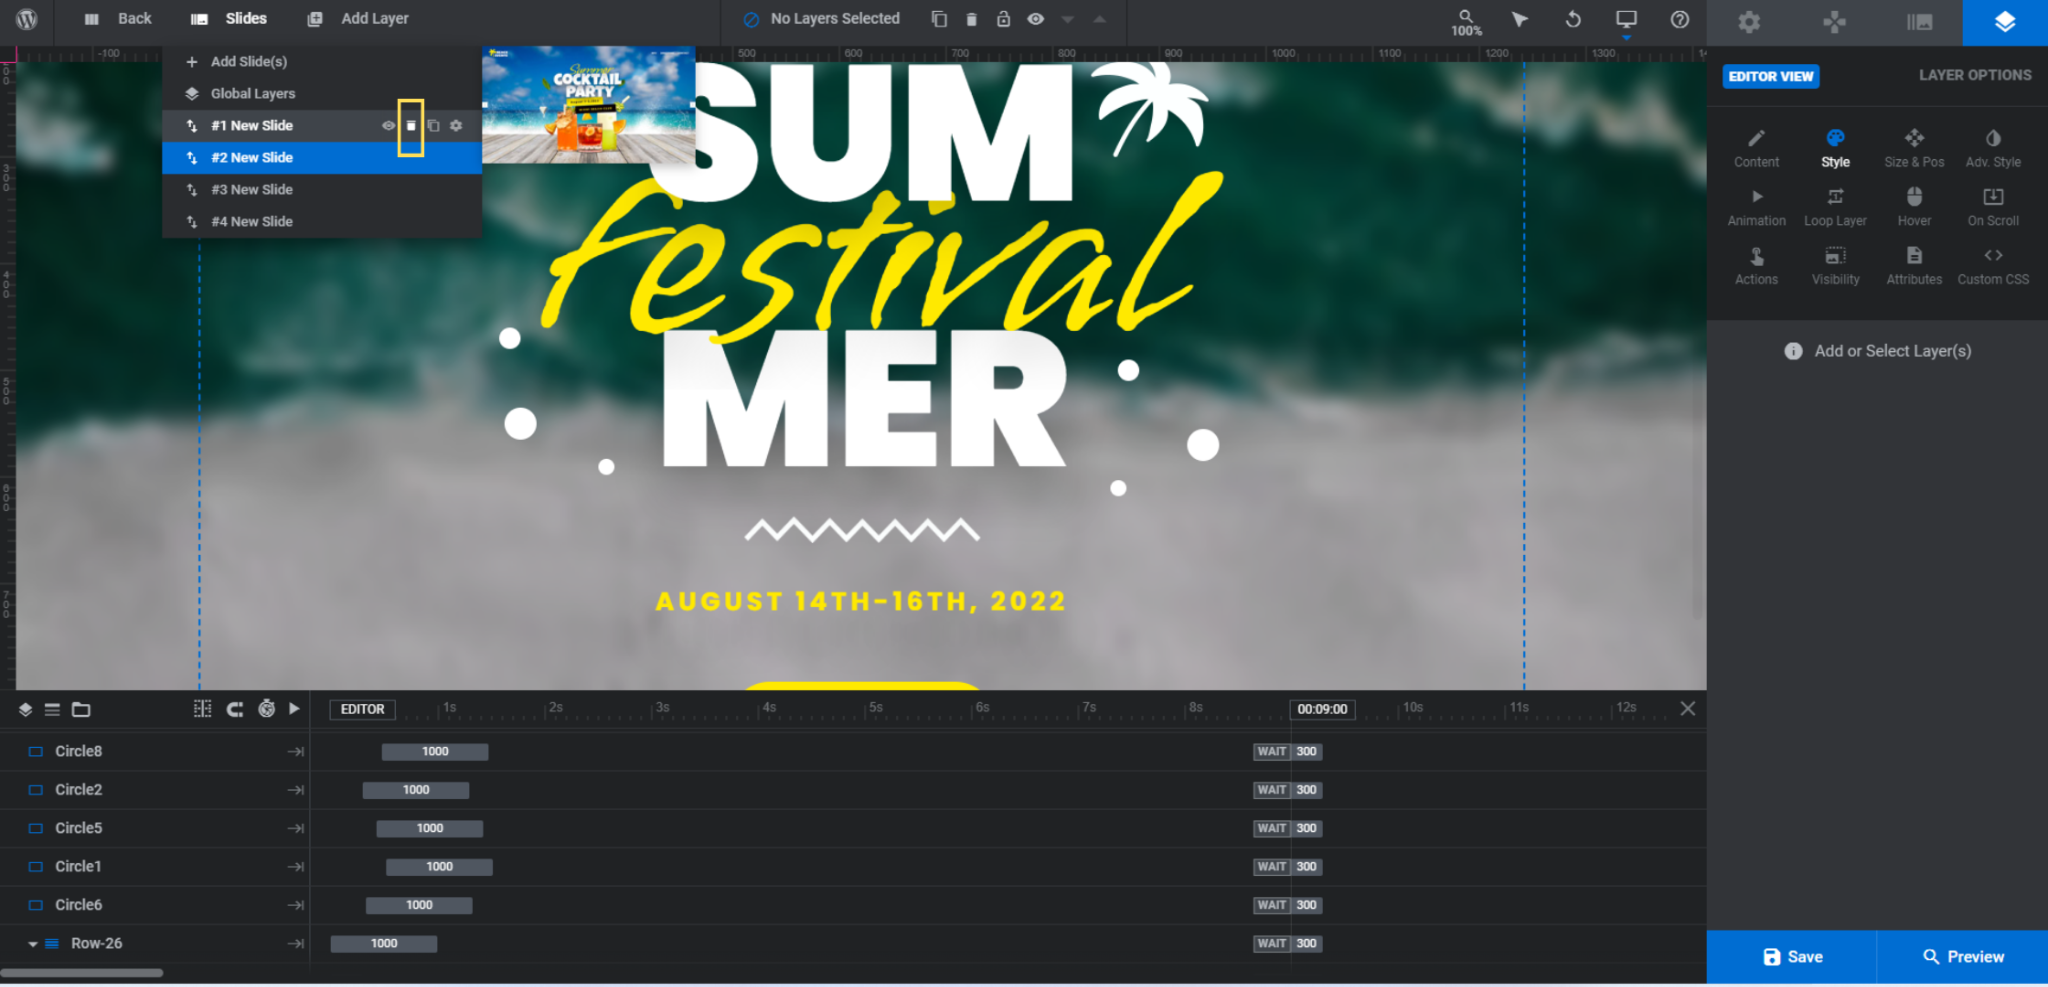
To create the slider for our writing conference, we’ll be using Slide #2 to design our slides. To delete the rest, hover over “Slides” again. Then, click on the trash can icon that appears to the right of the slides you don’t need:
We’re going to spend the next few steps customizing this slide. Once we’ve put the finishing touches on our content and styles, we’ll duplicate it and build out the rest of the slider.
Learn more:
Step 3: Upload your new background imagery
Slide #2’s background is a blurred video of ocean waves breaking on the shore. If you use this slide, figure out if you want to maintain the blurred effect. We’ll show you how to remove it or tone it down if you don’t.
To change the background video, go to “Slide Options” and “Background”. You can replace it with another video file or an image.
Note: If you want to use an image, switch the “Type” from HTML5 Video to Image before you open the Media Library.
The blurry effect applied to the video/image comes from a layer called Blur-Overlay.
In order to make it editable, you’ll need to locate it in the timeline editor, hover over it, and click on the lock:

This is a transparent shape layer. The blurry effect you see here is generated under “Animation” and “Layer Back-Drop Filter”:
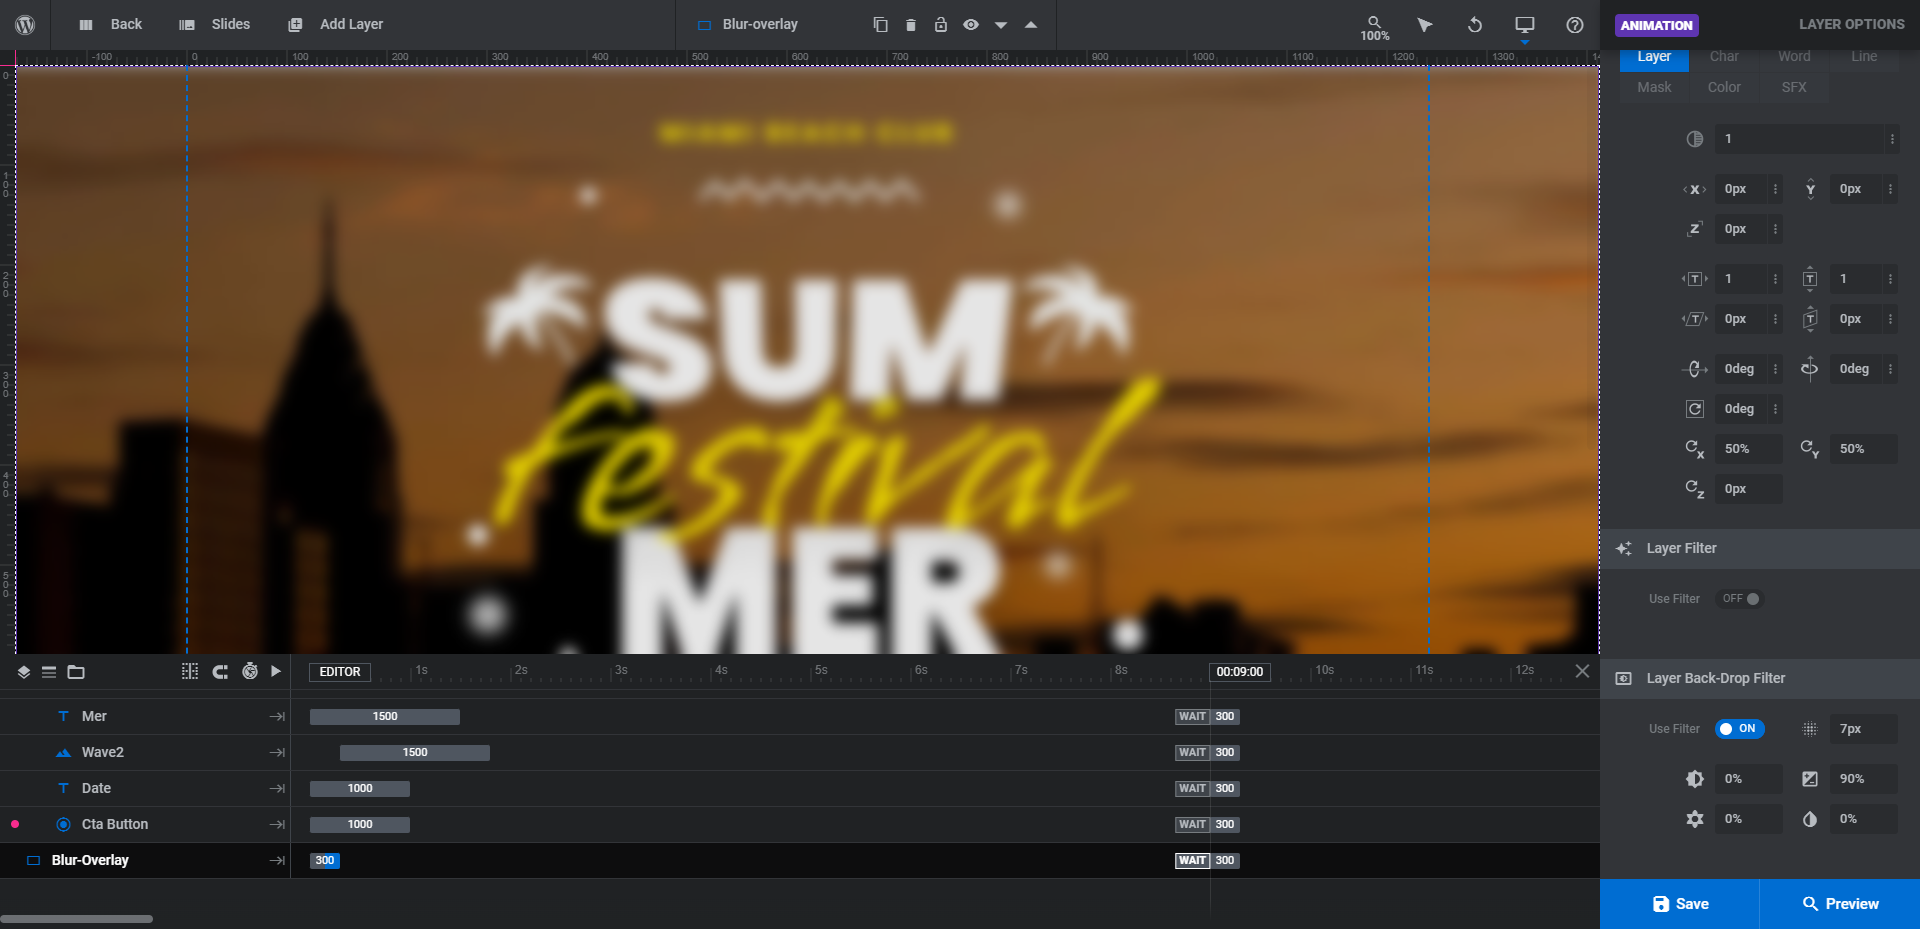
There are two settings that are configured:
- To change the density of the blurriness, edit the field that reads 7px. Increasing the pixels will make it blurrier.
- To change the brightness of the image, edit the field that reads 90%. Decreasing the percentage will make it darker.
We’re going to disable the filter altogether. We want our background visuals to provide more details about our event, so they need to be in full color and detail. If you want to do this as well, simply delete the Blur-Overlay layer.
Learn more:
Step 4: Edit the text layers
There are six text layers in this particular slide:
- Location
- Sum
- Mer
- Festival
- Date
- Cta Button
To edit what each layer says, locate it in the timeline editor. Then, go to “Layer Options” and “Content”:
When editing these layers, you can keep the text short and quippy as it is in the template. You can also split up the words in your heading the way it’s been done with “SUM” and “MER”.
You can also change up the way it’s handled. Just know that you’ll have to make additional adjustments to the style of the text as well as the surrounding object layers. (That’s what we’re going to end up doing.)
To customize the style of your text and button layers, use the rest of the “Layer Options” settings to do so:
- “Style” enables you to change the font, color (text and button background), weight, size, and more
- “Adv Style” enables you to add shadows, text strokes, rotations, and so on
- “Hover” enables you to update the button’s hover state — color, border, size, etc.
The other thing you may want to edit when it comes to text layers is the animation. In this particular slide, the main headline (SUM/MER) has a front-and-back swaying motion while the word in the center has a pulsing motion.
You’ll find the settings for this effect by going to “Layer Options” and “Loop Layer”. For the “SUM”/”MER” layers, it’s under “Effects” and Rotate. For “Festival”, it’s under Scale:
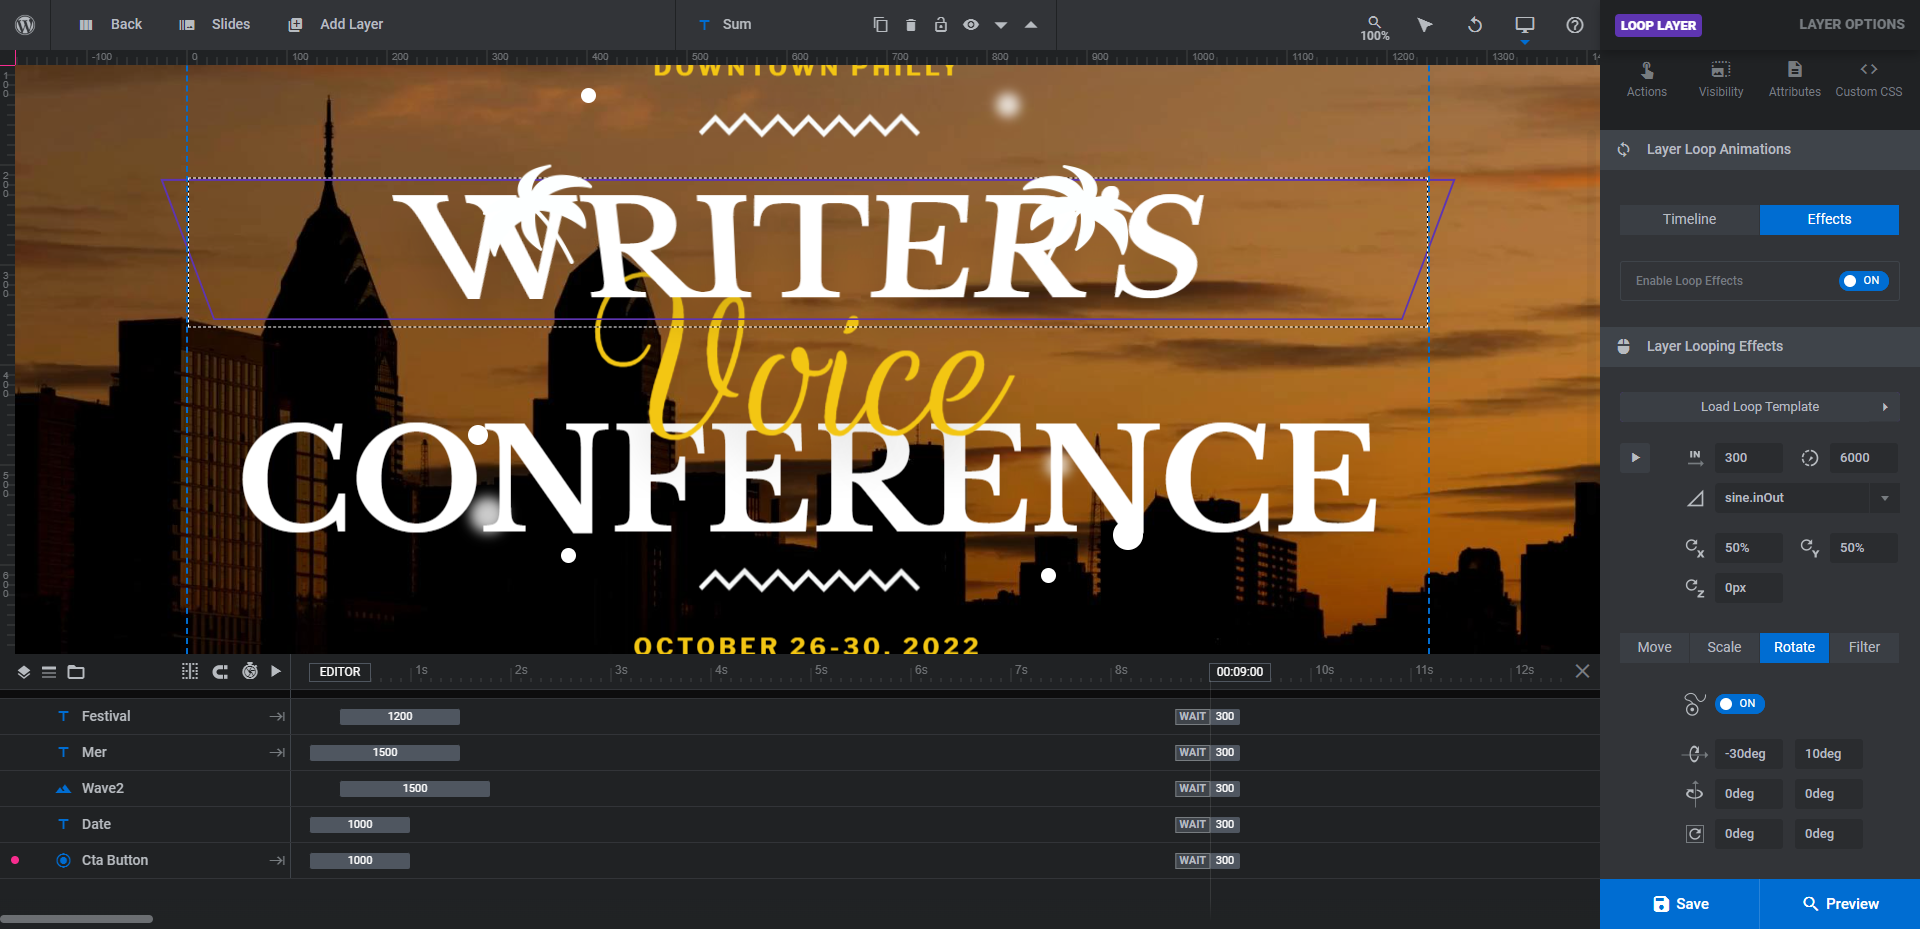
To make the effect feel less pronounced, change the degree of the rotation. You can still have a great-looking effect even if it doesn’t swing so far backwards or forwards.
Learn more:
Step 5: Create and customize your shapes
In the slide we’re customizing, there are two Palm layers and eight Circle shape layers. There is also a Wave1 and Wave2 squiggle shape that frame the headline.
You can keep as many of these layers as you like. When replacing them with your own graphics, size them as follows:
- Wave1 and Wave2: 223px x 25px
- Palm: 110px x 110px
Also be sure to export them with a transparent background so that they look like free-floating shapes.
In terms of replacing them, you’ll have to use two methods for the two types of graphics.
The waves and palm trees are images. To replace them, select them one at a time in the timeline editor, go to “Layer Options” and “Content”, then upload your new image file:
The circles are shape layers. There’s nothing to upload. The only thing you can do is modify the color and border settings under “Style” to create different shapes.
For both layer types, edit their positioning in the module by going to “Size & Pos”. Use the X setting to move the layer horizontally and the Y setting to move it vertically.
Also, if you changed the loop layer in Step 4, you may want to make a similar update to the shapes so that they’re in sync with the text.
Learn more:
Step 6: Edit the slide transition effect
Currently, the slide has a Morph Diagonal transition effect programmed into it. This is the effect you see when the slide first loads.
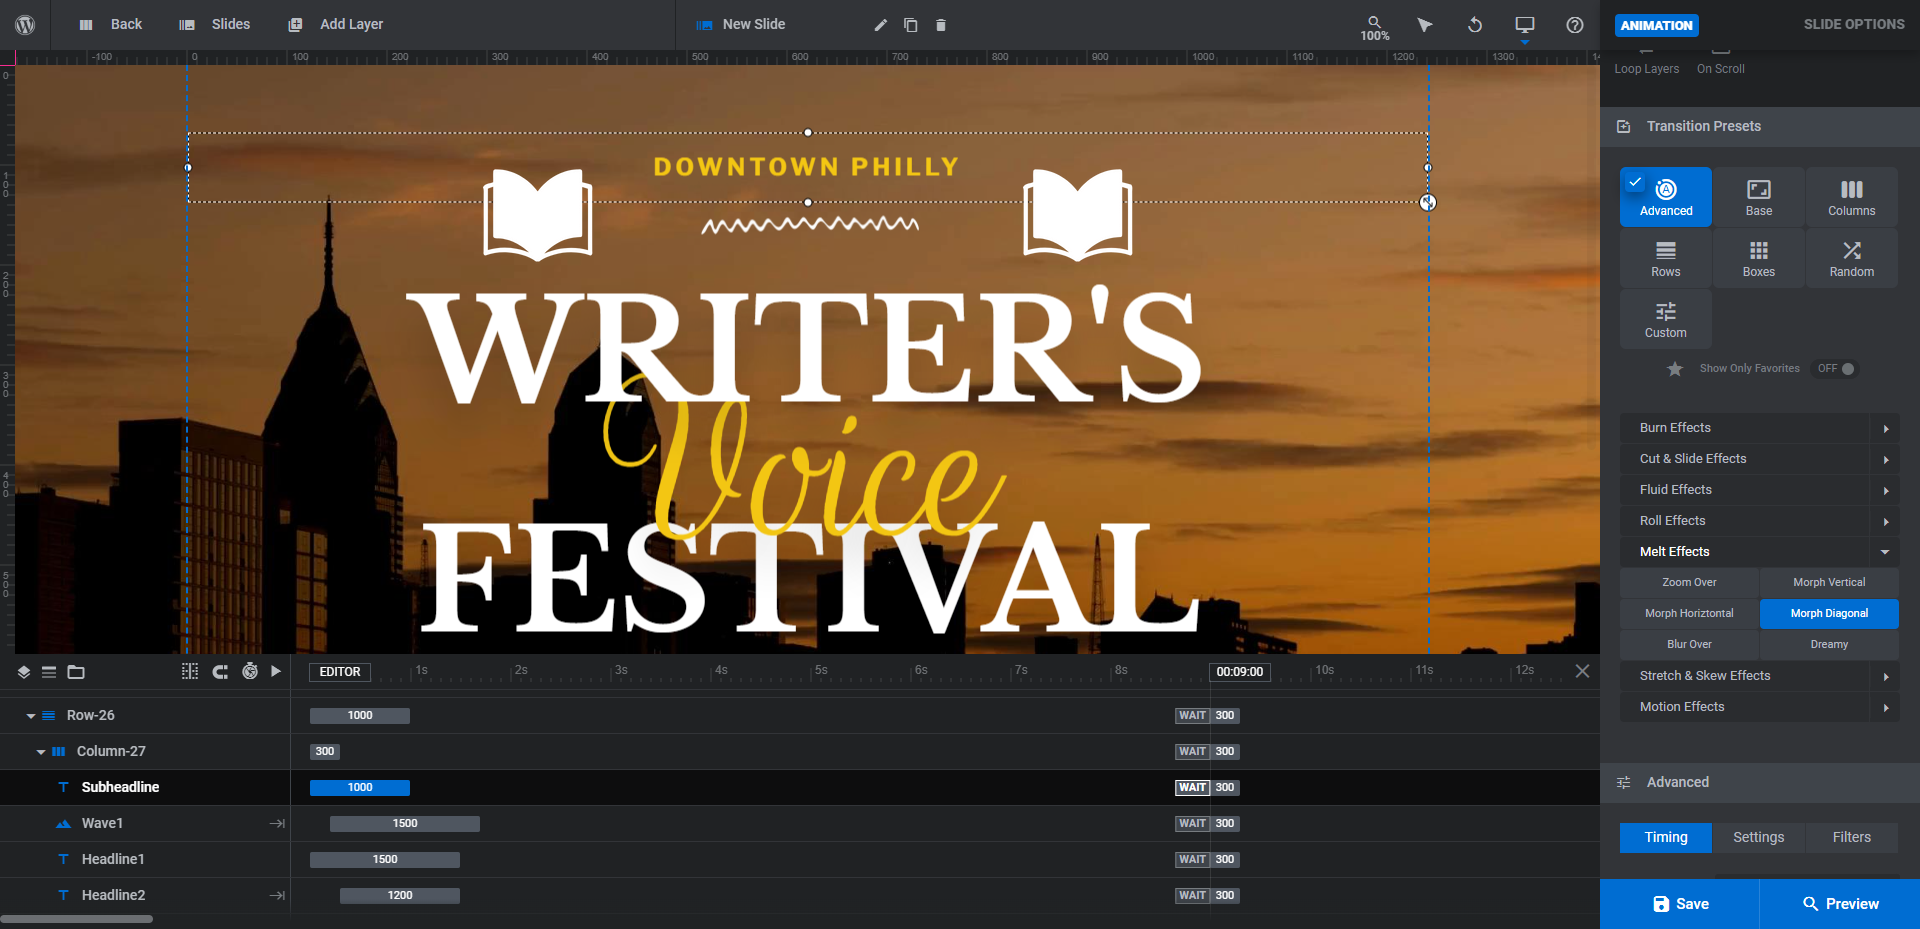
This effect looks good for our summer-themed slider. However, we want something that fits better with our literary theme.
If you’d like to test out other transition effects, go to “Slide Options” and “Animation”.
Open up the transition preset categories. Then, hover over each of the styles to see a preview of what they look like in the canvas on the left:
You can customize any of these presets or design a Custom transition effect. Just slide below the preset options to configure the advanced settings.
Learn more:
Step 7: Duplicate the slide and add the rest of your content
Before you duplicate the slide, do a responsive check to ensure that your slide customizations look good on all devices. You can do this using the variant switcher in the top toolbar:
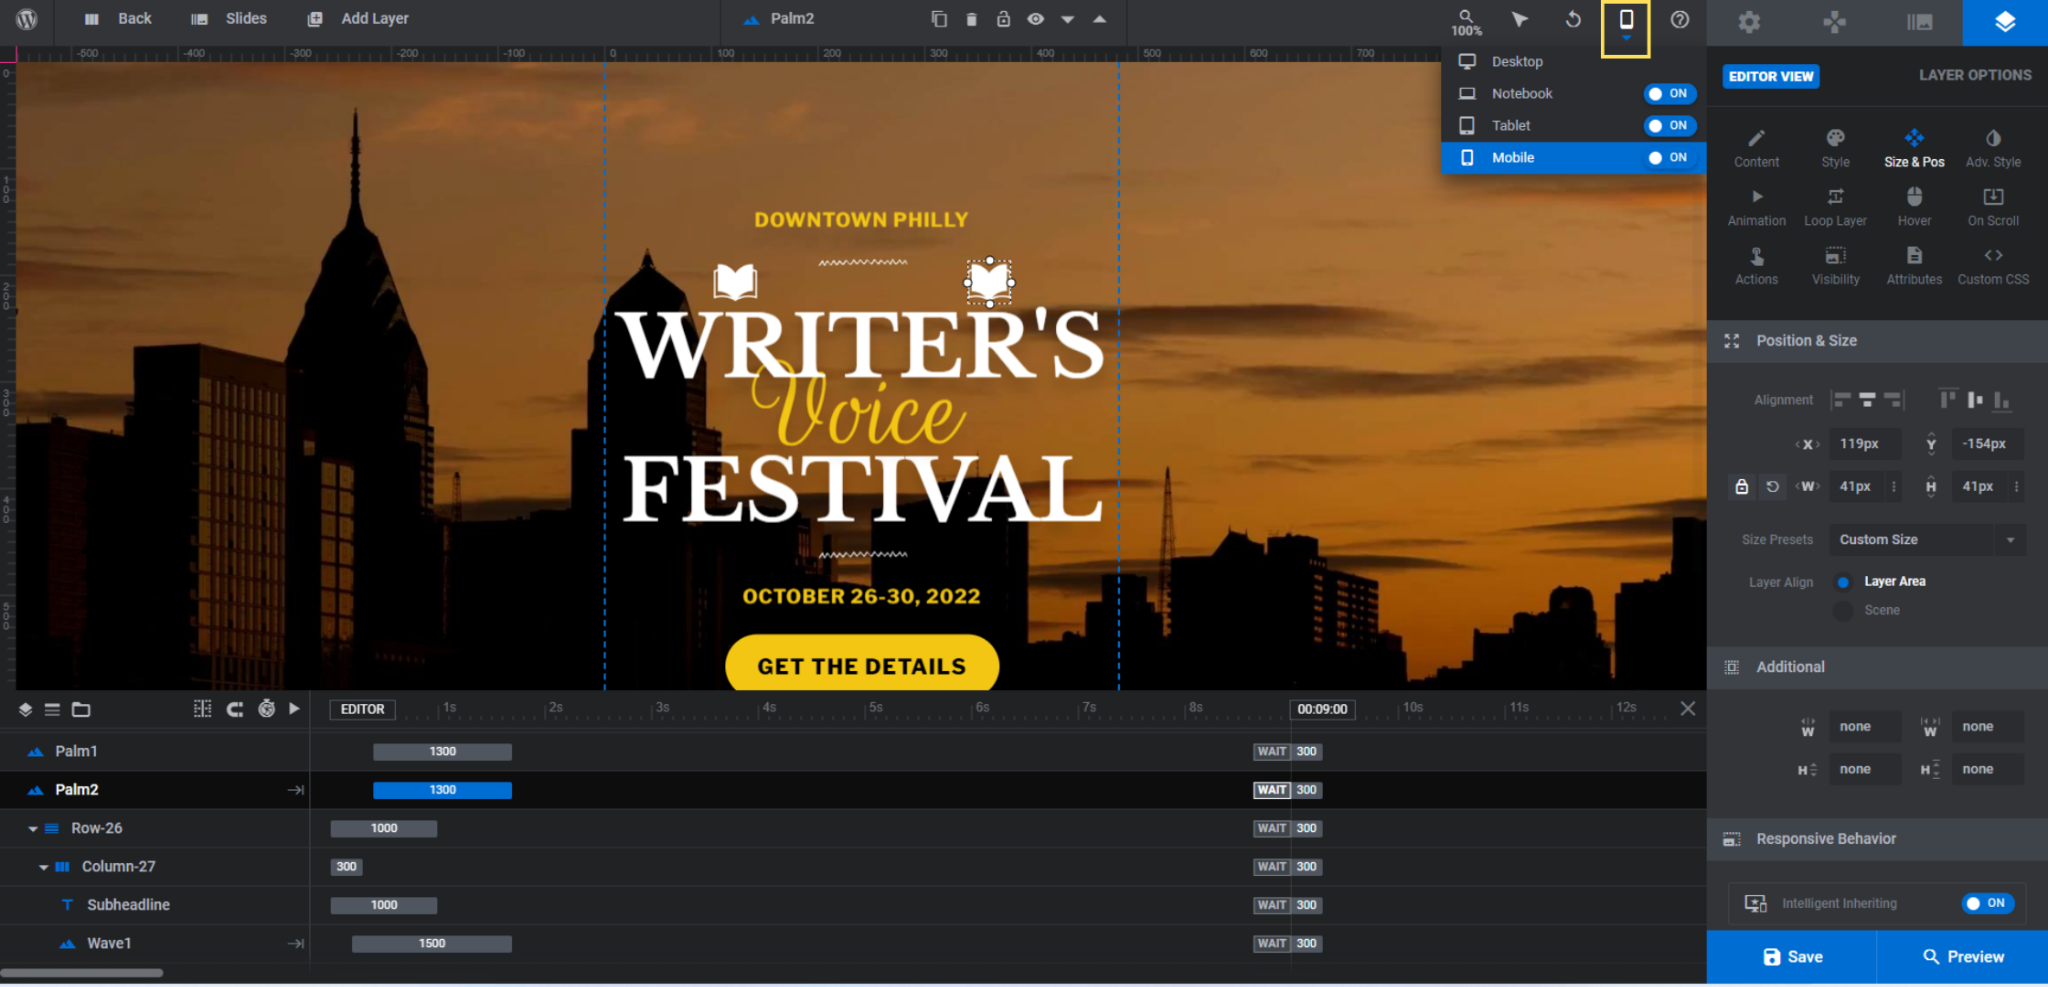
You probably won’t have much to edit in the Tablet and Mobile views, except the positioning of any shape or image layers you moved. However, if you added any extra words to the text layers, some adjustments may be needed there as well.
Note: When you edit in one of these variant views, it will not affect anything you’ve done in the main Desktop view.
When you’re happy with what you’ve done, go up to “Slides” in the toolbar and duplicate the finished slide by clicking the copy/duplicate icon:
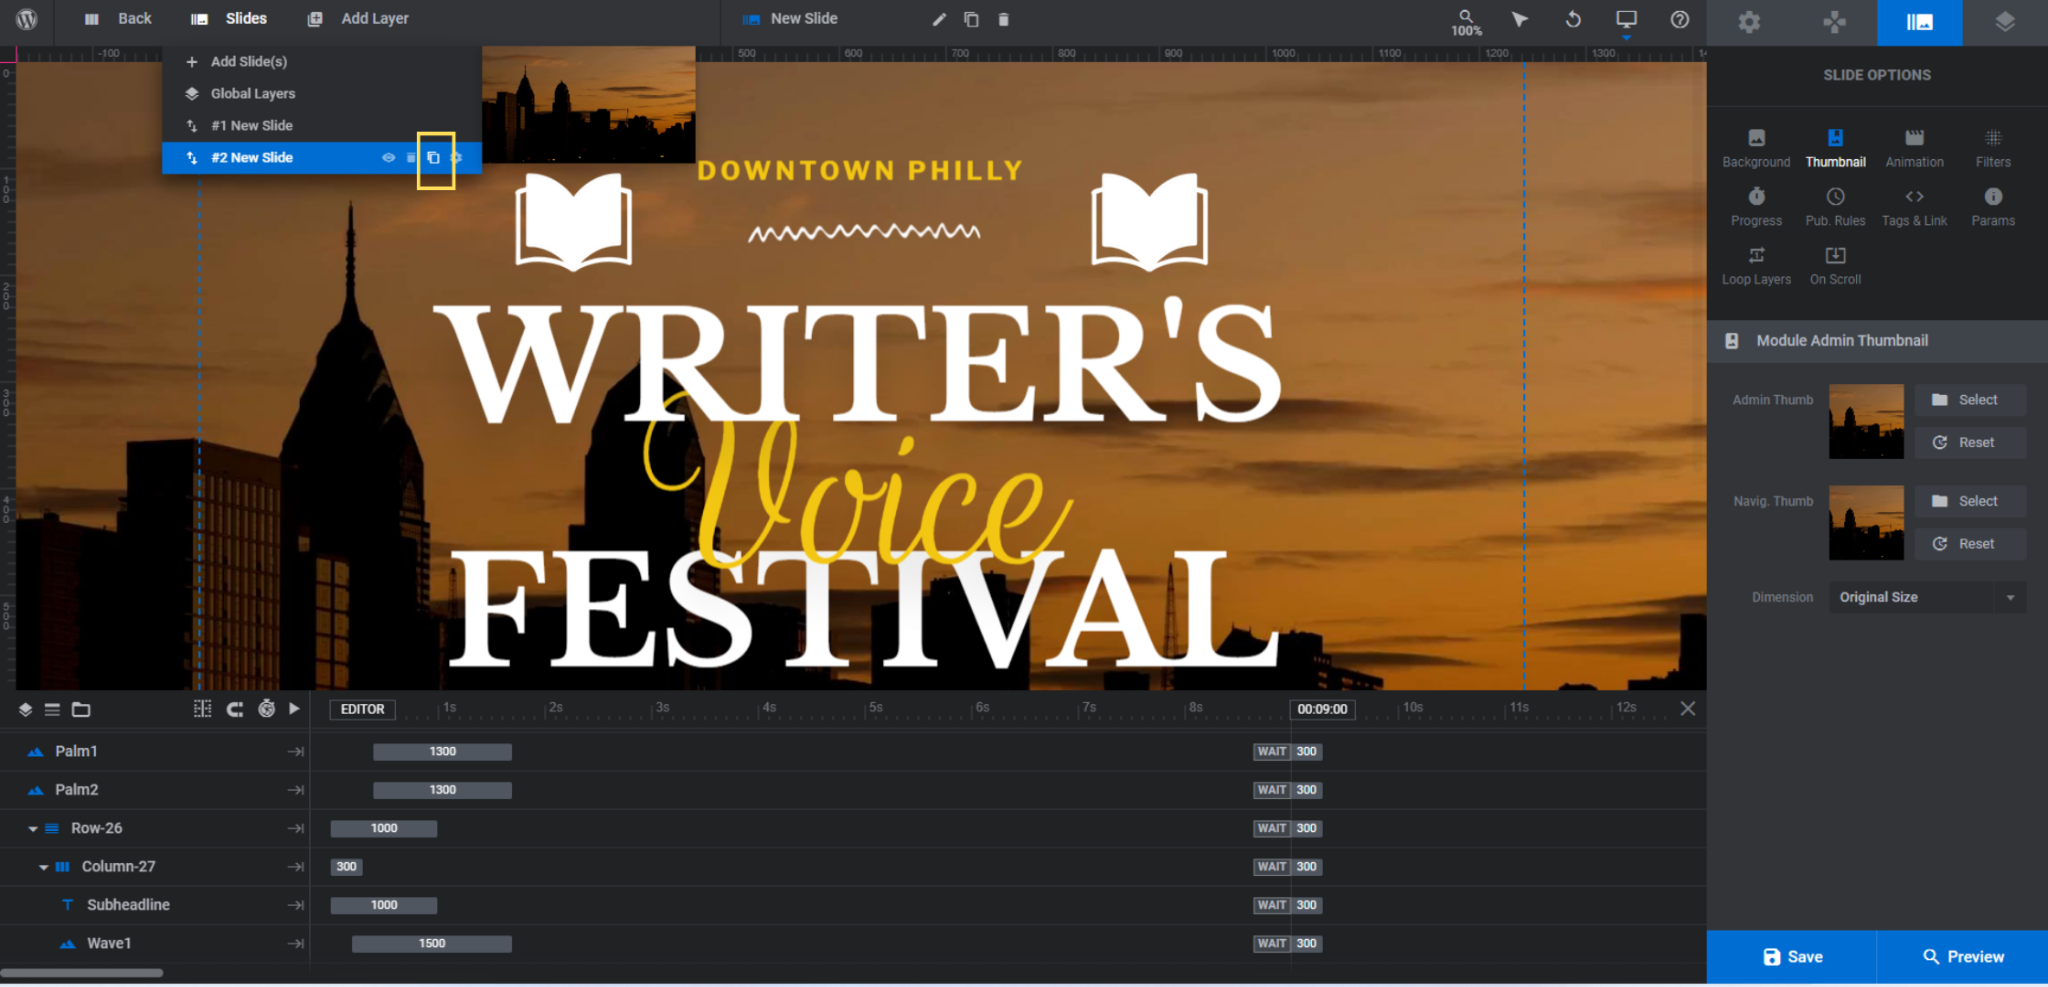
Do this for as many slides as you want to add to the slider.
You can now go ahead and customize the new slides. Most of the work has already been done with the first slide. There are just a couple things to address.
The background image or video will need to be replaced under “Slide Options”. You’ll also have to update what the text layers say under “Layer Options” and “Content”.
The only other adjustments you might want to make are to the floating graphics — if you have different themes for each slide. But that’s up to you.
Learn more:
Drum up excitement around your event and sell more tickets to it
The goal in building this hero section is to sell event tickets. Every event is different, so you’ll have to decide what sort of graphics and special effects will get your potential attendees excited about yours.
Regardless of which slide you decide to customize in the Summer Beach Events Hero Collection — or if you decide to use them all — use the tutorial above to make fast and simple edits to the designs. You’ll be surprised by how different your results are with just a handful of customizations.


