
Deep down inside, we’re all kids at heart. When we encounter something on a web page that unexpectedly responds to our touch, it’s of course going to pique our curiosity. We’re also going to feel the urge to test the limits of what that interactive element can do.
That said, you should never put an interactive component into a hero image simply for distraction or diversion reasons. It should relate to the greater message and purpose of the site.
In this tutorial, we’ll demonstrate how to take one of the interactive hero images in the AI Particle Cluster Hero template and repurpose the particle animation in a unique and thoughtful way.
Table of Contents:
- Step 1: Delete slides 2 and 3
- Step 2: Delete the extra gradient layers
- Step 3: Customize the background gradient
- Step 4: Create your particle animation cluster
- Step 5: Edit the headline and description
- Step 6: Edit the “stat” layers
- Step 7: Edit the button
- Step 8: Customize the headline gradient line
How to create an interactive particle animation hero image
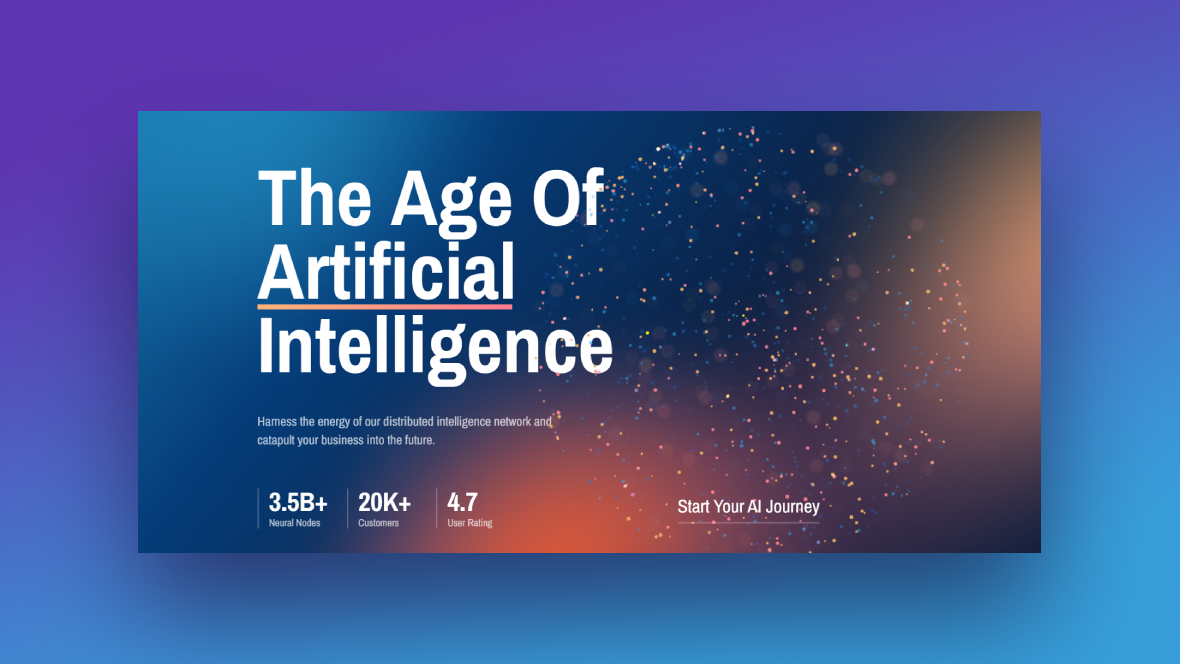
Typically, you see particle animation on tech websites. Like the AI example used in the template:
However, Slider Revolution’s cluster presets will change the way you look at particle animation.
While they still bring a high-tech shine to your design, they can be used for a wide variety of business types. It’s all about finding the right design and taking advantage of all the customizations available to create something that fits what you’re selling:

If you need an intro to the Slider Revolution editor before beginning the tutorial, read through these guides first:
Step 1: Delete slides 2 and 3
There are three slides included in the AI Particle Cluster Hero template.
Slide #1: There is a giant particle cluster orb on the right side of the design. When users hover over the orb, it moves in sync with their cursor motion.
Slide #2: There are rotating cluster rings in the background. The headline is the only part of the design that moves when users hover over the hero image.
Slide #3: The background is a particle cluster that resembles the night sky. When users move their cursors back and forth, the headline and background move along with them.
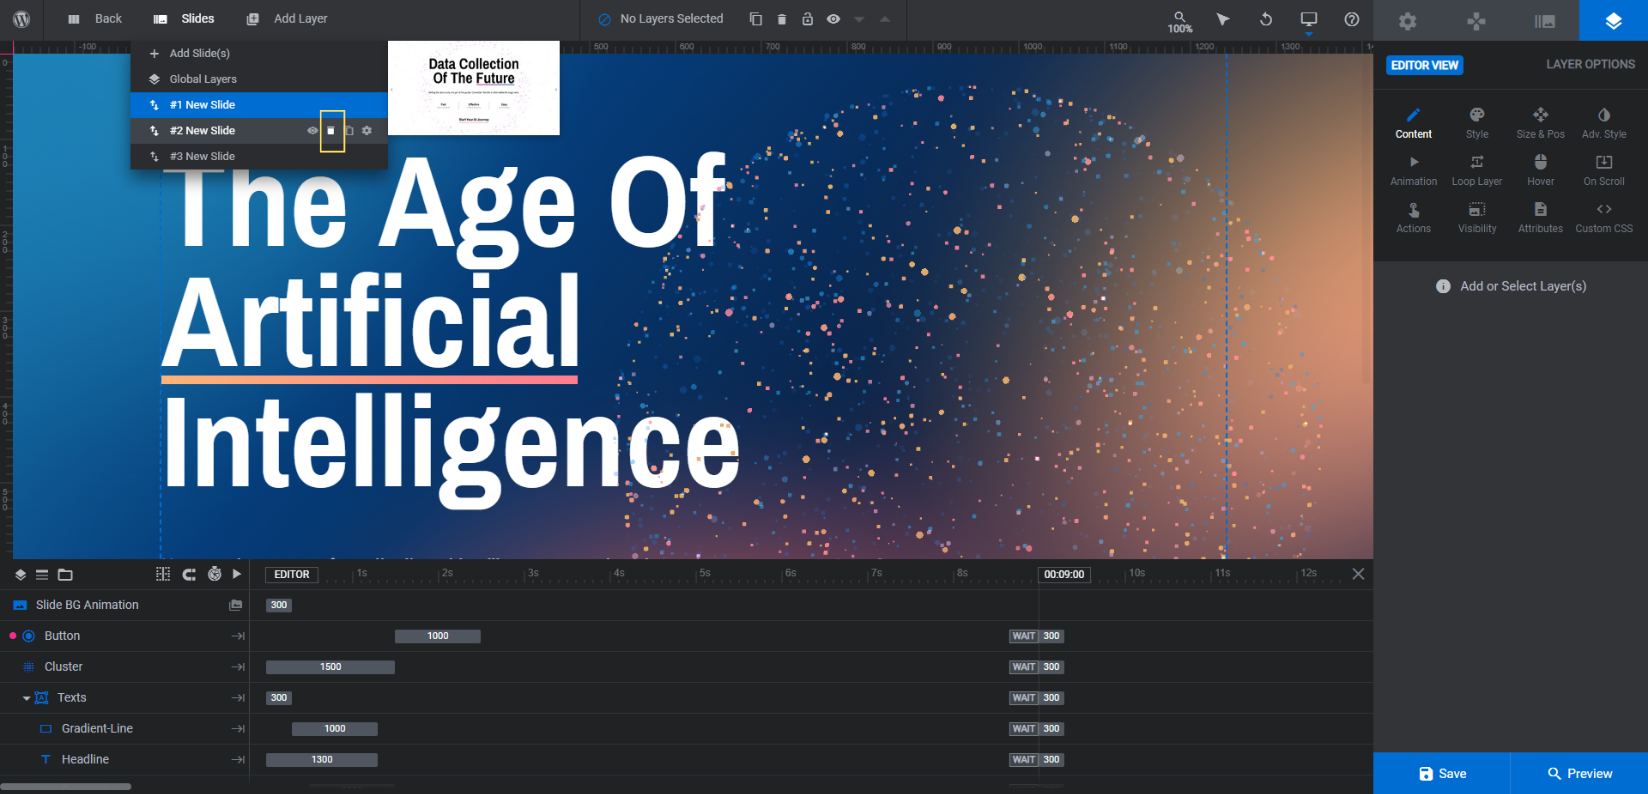
In order to increase the amount of engagement your hero image gets, choose just one of these particle animation styles. Then delete the other slides.
To do this, go to “Slides” in the toolbar. Hover over the slides you’re not going to keep and click the trash can icon that appears to the right of them:
Before you move to the next step, go to “Navigation Options” and deactivate the “Arrows” navigation setting:
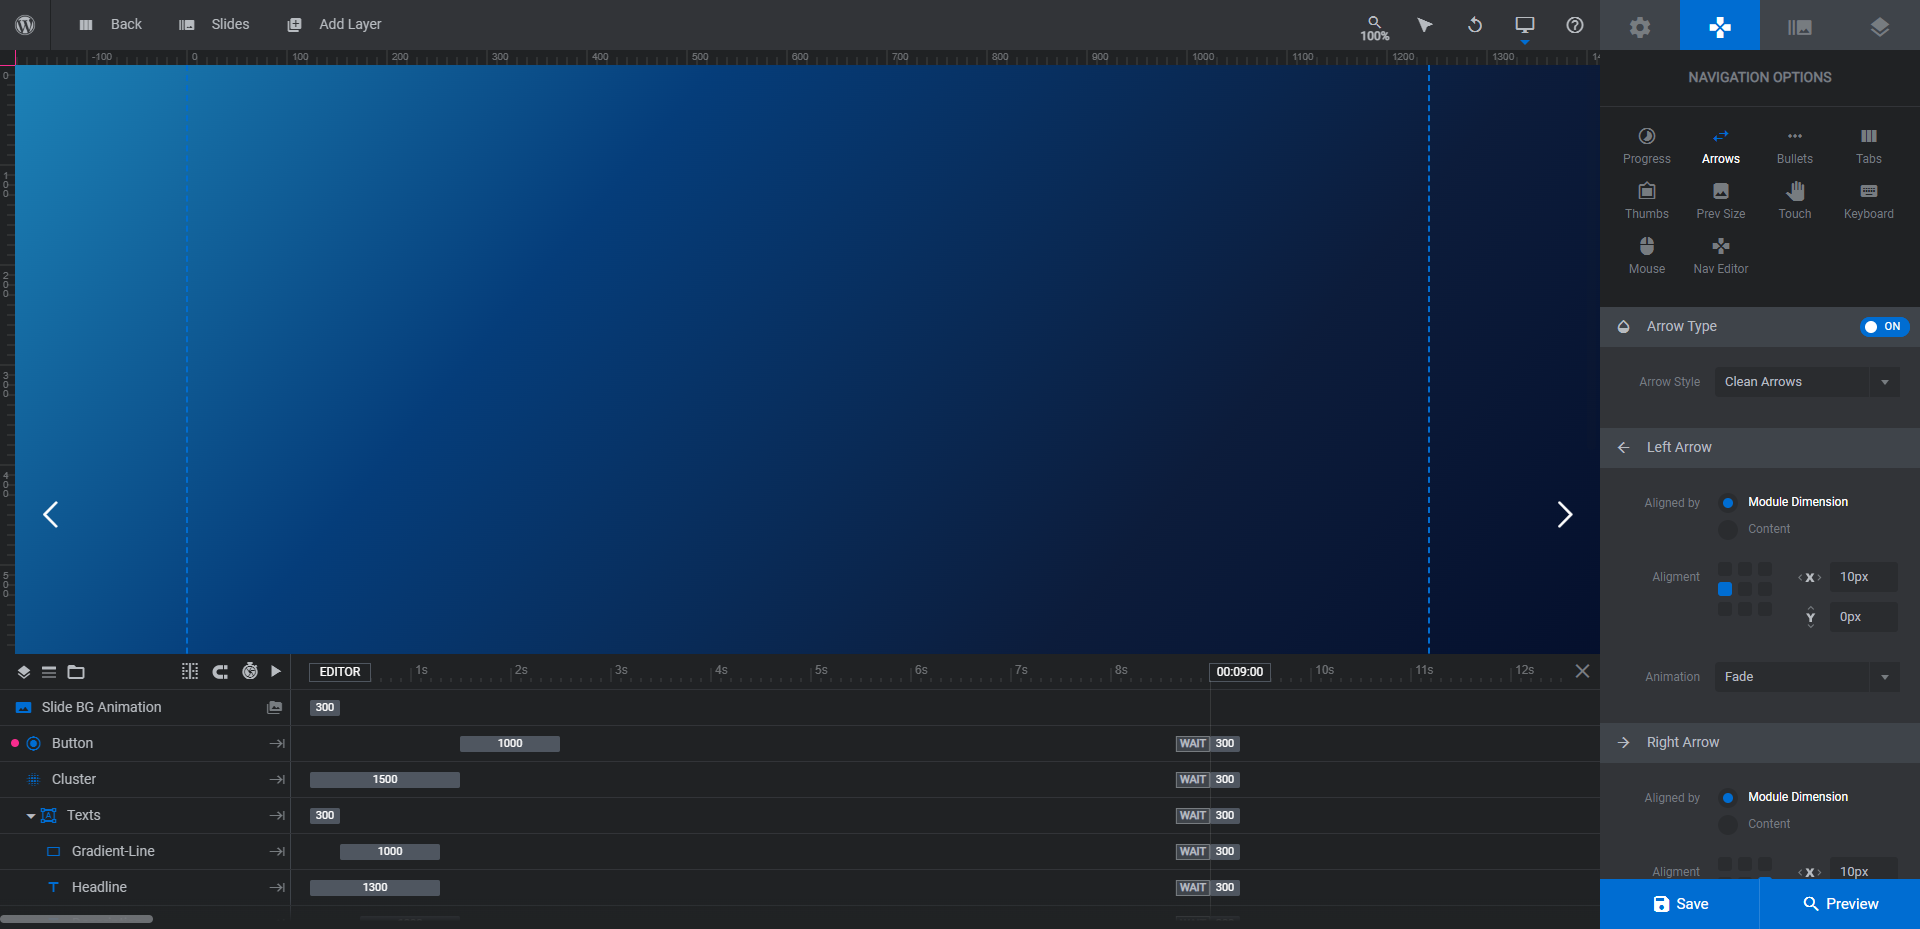
This will turn your slider into a single hero image.
Learn more:
Step 2: Delete the extra gradient layers
The original slide design has a ton of color in it thanks to a number of gradient shape layers placed around it. But in the case of our mindfulness program, we want to keep the colors on the simpler side since our particle cluster will have such a specific shape and mesmerizing movement to it.
If you decide to strip out the extra gradient layers, go to the timeline at the bottom and locate the following:
- Shape-1
- Shape-2
- Shape-3
- Cover
Alternatively, you can pick and choose which of the gradients you want to keep and which to do away with.
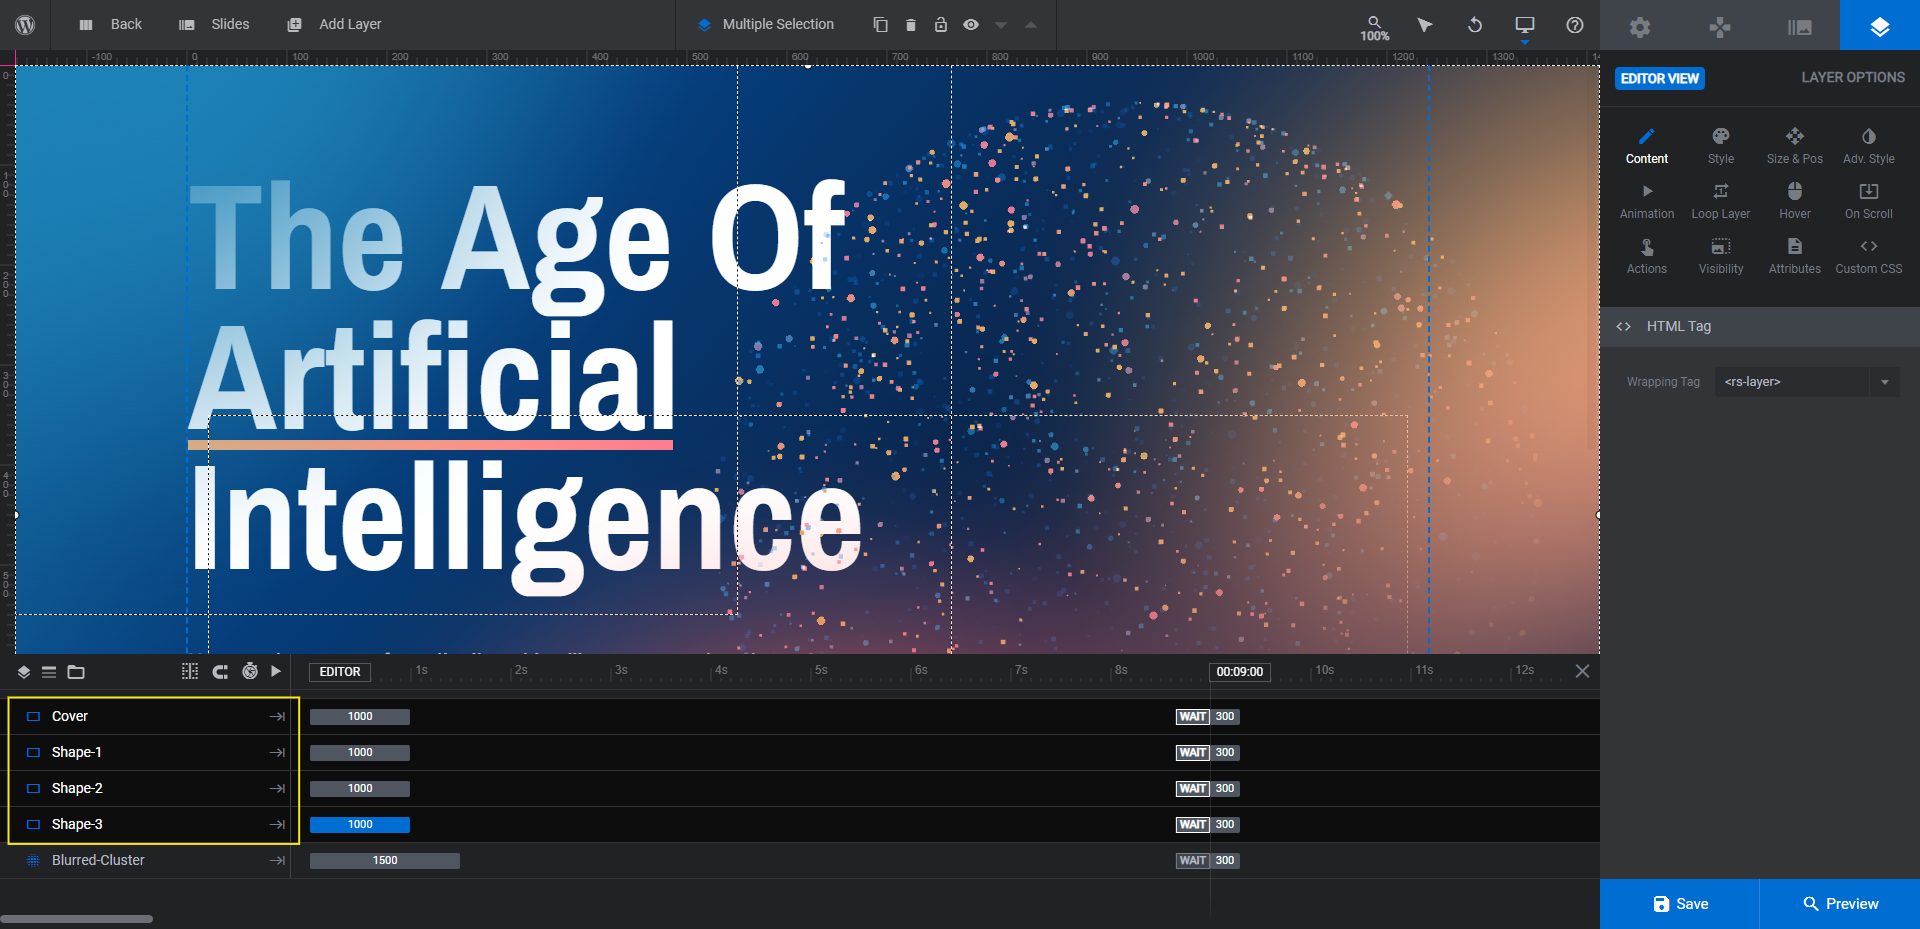
Hold down the Ctrl or command button on your keyboard and then select them one at a time. Hit the Backspace or delete key and it will remove all of these layers at once.
Learn more:
Step 3: Customize the background gradient
There will be one gradient remaining now — this one is in the background of the slide. To customize it, go to “Slide Options” and “Background”. Click on the color block next to BG Color.
The color selection dialogue will open. From here you can create a totally custom gradient using the bar in the top left corner.
Pro Tip: The all-white lettering and button is going to stand out best against darker and brighter colors. So steer clear of lighter backgrounds unless you plan to change the color of your font.
You’ll also have access to preset gradient colors in the bottom right. You can use one of them as is or you can customize the colors, gradient type, or direction and make it your own.
Learn more:
Step 4: Create your particle animation cluster
There are currently two layers that come together to form the particle animation cluster you see in this slide:
- Cluster
- Blurred-Cluster
Because we’re trying to simplify things, we’re going to delete the Blurred-Cluster layer and just focus on creating a beautiful, interactive experience with the remaining Cluster animation.
To edit the Cluster layer, click on it in the timeline or canvas. Then go to “Layer Options” and “The Cluster”.
The first thing to do is get to know the different types of particle clusters. Click the arrow next to Cluster FX Library and then again next to Default Presets:
There are some neat effects here that would be relevant for different business models, not just ones in the tech sector. For example, we’ve chosen the Mandala cluster effect as the geometric shape is often associated with focus and meditation, which works perfectly for our mindfulness website.
To customize your cluster, scroll down and work your way through the settings tabs:

Main allows you to:
- Adjust the animation speed.
- Limit the number of clusters that appear simultaneously.
- Add noise to the animation.
Scene allows you to:
- Add a visual helper so people know where to interact with it.
- Change where the center of the animation lands.
- Adjust the maximum DPR.
Gravity allows you to:
- Create centers of gravity.
Spawn allows you to:
- Configure the size and shape of the respawned cluster.
- Set a custom position for the spawned clusters.
- Change the initial direction of the animation.
Particles allows you to:
- Edit the size of the particles.
- Choose or upload a new particle shape.
- Customize the particle color or gradient.
- Update how the color blends with the background.
Movement allows you to:
- Set the scene to loop.
- Change the cluster’s behavior.
- Change the plane on which the gravity point rotates around.
Interactions allows you to:
- Enable a type of rotation or gravity.
- Adjust the rotation angle.
VFX allows you to:
- Enable a customized bokeh (blurry) effect.
When you’re done, preview your changes on the frontend to make sure the cluster looks and reacts the exact way you want it to. Then save your changes.
Learn more:
- [Note to Julian/client: If there’s a landing page for The Cluster AddOn, can you add it here?]
Step 5: Edit the headline and description
Next let’s chip away at the text layers. The first two we’ll tackle are the big Headline and the Description beneath it.
To make changes, select them in the canvas or timeline. Then go to “Layer Options” to implement your edits.
Use the “Content” tab to edit the text. If your words don’t naturally wrap to the next line, you can use the return key above the text editor to force a break or type <br /> between the words.
Note: Be mindful of what you put into the Headline field as you want it to be succinct, but not too short. There’s a gradient line embedded after the second word, so your headline should either have two and three words in order to maintain the same effect. You can always edit the position of the gradient line if need be.
If you want to make changes to the font or style of either text layer, go to “Style” to make those changes.
Learn more:
Step 6: Edit the “stat” layers
The three Stats- layers appear in a horizontal line beneath the Description layer. There are various things you can do with them.
For instance, we’re going to provide information on the number of classes and modules our program has. You can put other data here — like information on your product inventory, your team, or random facts about your company.
Note: If you don’t feel like these layers are useful, that’s fine. Just delete Stats-1, Stats-2, and Stat-3 and it will remove those three sections from the hero image.
To edit the layers, do the same thing you did in Step 5. “Content” will allow you to update the text and “Style” to customize the font and appearance of the text.
Step 7: Edit the button
The Button layer doesn’t have the physical appearance of an enclosed button. However, that’s what we want so that it doesn’t steal all the spotlight from the cluster animation.
Although the Button layer looks like a text layer, there are additional settings to pay attention to.
“Hover” is where you change how the button looks when someone hovers over it. “Actions” allows you to connect it to an internal page under Simple Link. Otherwise, leave the original setting and users will automatically scroll to the next section when they click it.
Preview your changes on the frontend to make sure the hover design and action you set up looks good.
Learn more:
Step 8: Customize the headline gradient line
The last element to edit is called Gradient-Line. It’s the line that appears in the middle of the Headline.
Select the layer. Then go to “Layer Options” and “Style” to open the color selection module:
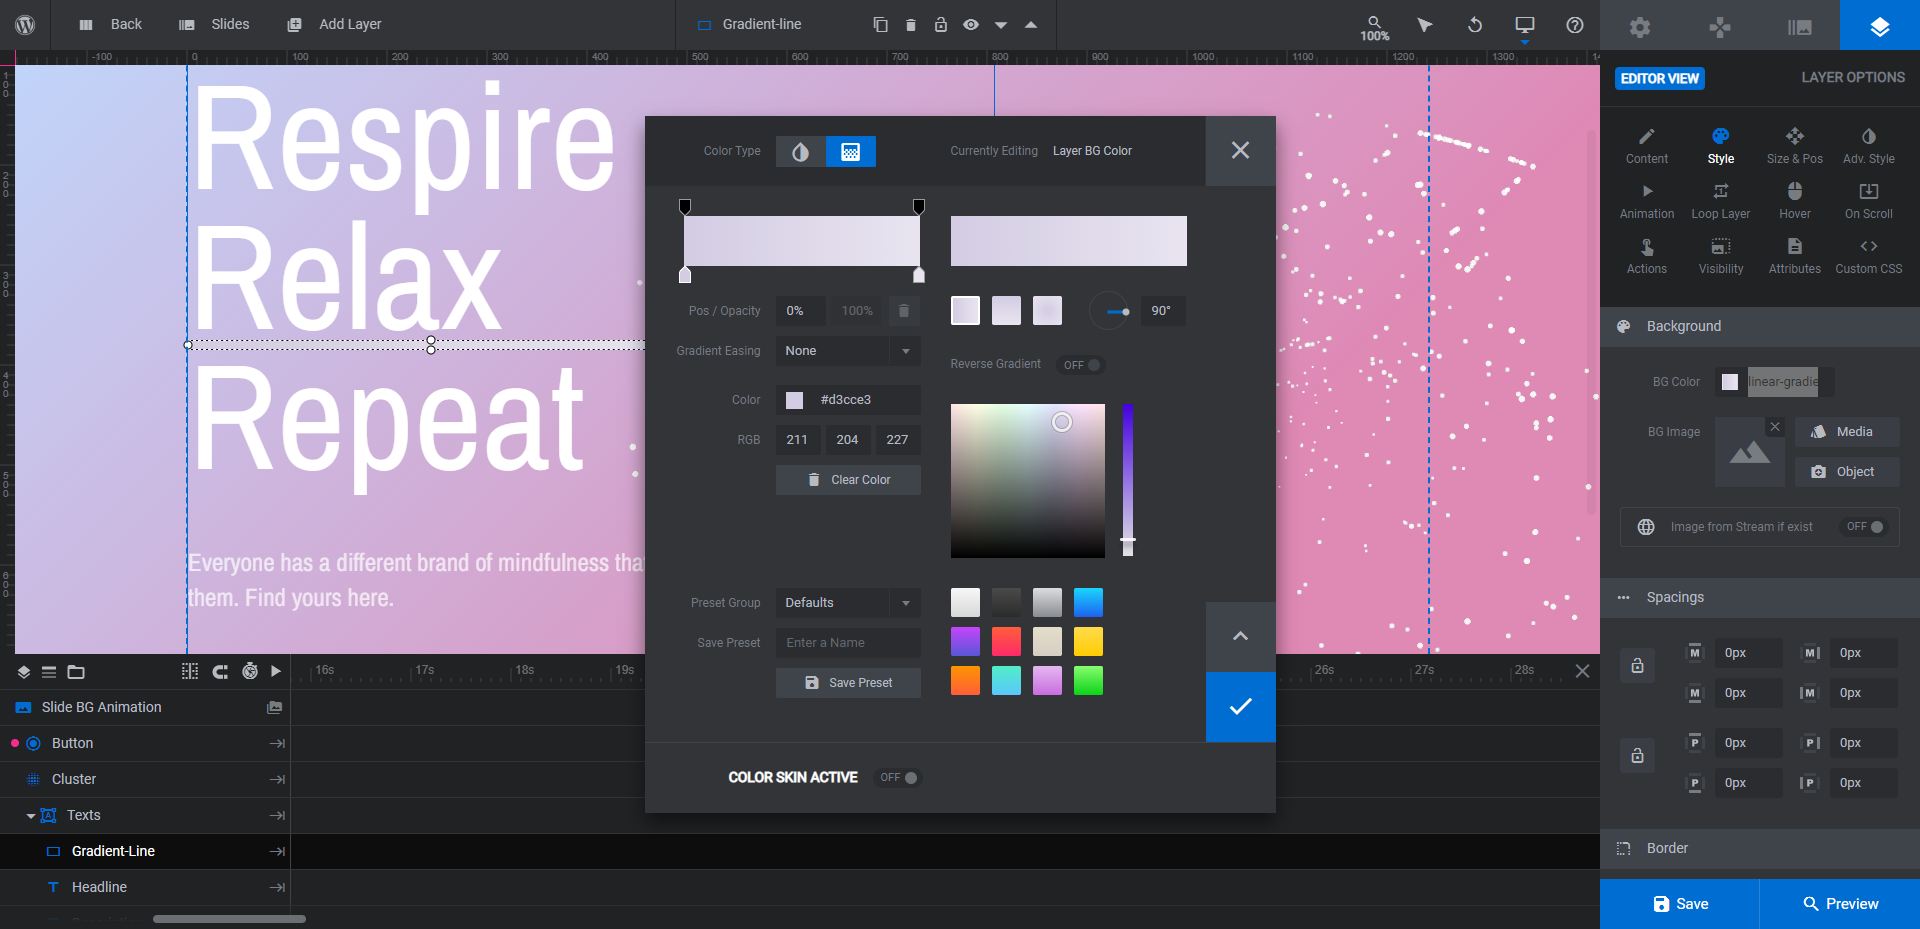
Just as you did with the gradient background of the slide, use one of Slider Revolution’s presets or create your own gradient palette.
Save your changes. Your new hero image is now ready to go.
Learn more:
Create a particle animation hero image that mesmerizes your visitors
Want your visitors to really stop and pay attention to your hero section? Then create a particle animation that responds to their movements around the page.
While particle effects are commonly used in designing hero images for high-tech companies, the AI Particle Cluster Hero template demonstrates how easy it is to create a mesmerizing effect for all kinds of websites.


