
Using Presets to Quickly Apply Animations
Presets save you from having to manually create animation states. Let’s learn how to use them.
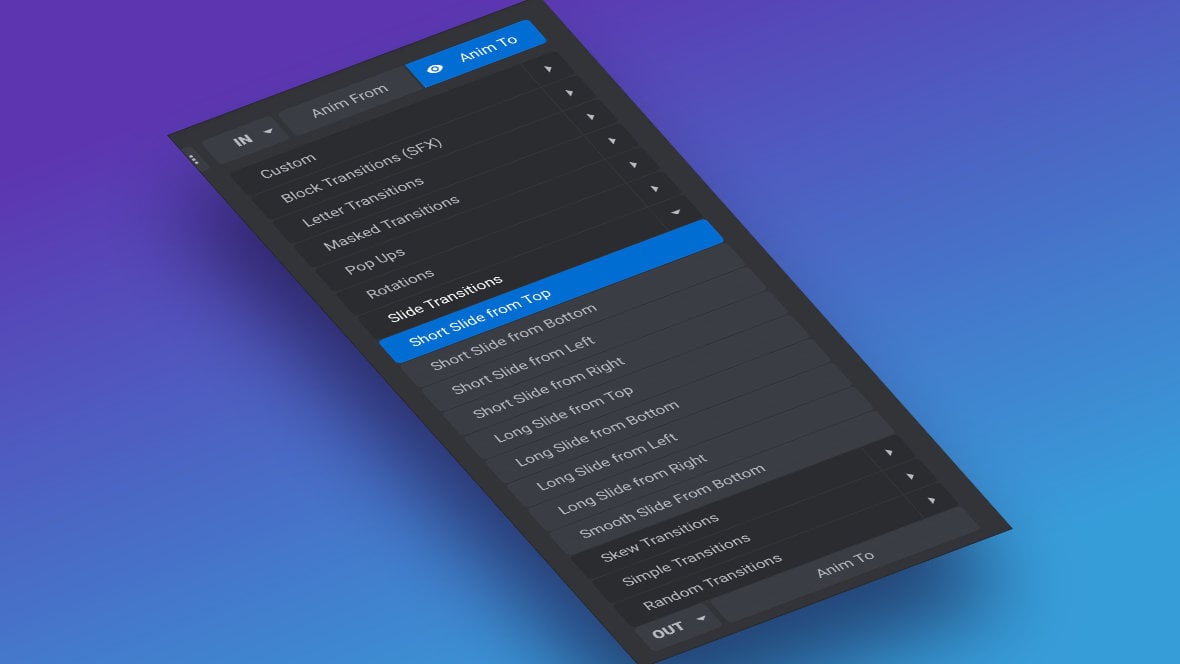
Table of Contents
The Basics of Animation (Video Tutorial)
Everything covered in the ‘Fundamentals of Animation‘ section of the manual can also be learned by watching the ‘Animation Basics’ tutorial video below. You can learn specifically about applying preset/premade animations to your IN and OUT animations at the 8:06 mark:
If you watched the above video in full you can skip the remainder of the ‘Fundamentals of Animation‘ section of the manual and proceed to Ensuring Responsiveness.
Or, continue reading to learn more about applying animation presets.
Applying Animation Presets
Rather than creating your IN and OUT animations manually, you can choose from a collection of ready to use presets to instantly create effects like fading, sliding, popping up and so on.
Presets are found in the Keyframes panel of a layer’s [?]
Layers are containers for visual, audio or layout items and are added to slides. For example, text, button, image, audio, video, group and row are all types of layers.
Layers are added to slides via the module editor. animation settings:
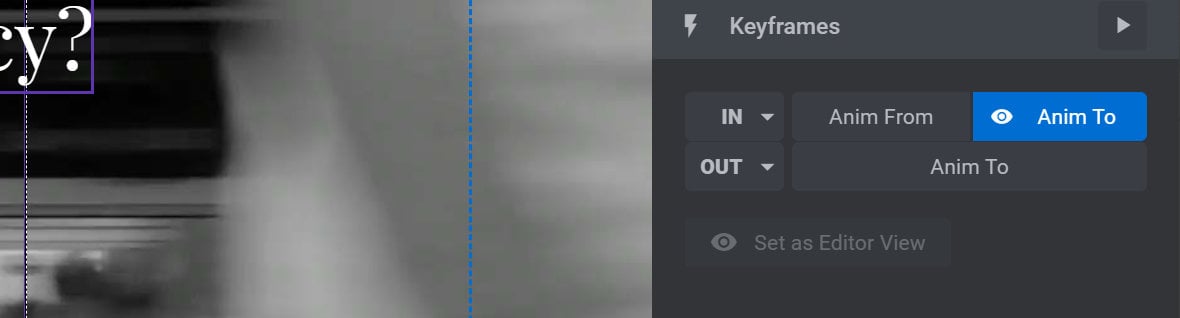
Note: Presets are available for the IN and OUT animations, but not for TO animations.
To see the presets available for the IN animation, click the dropdown arrow on the right of the IN animation button:
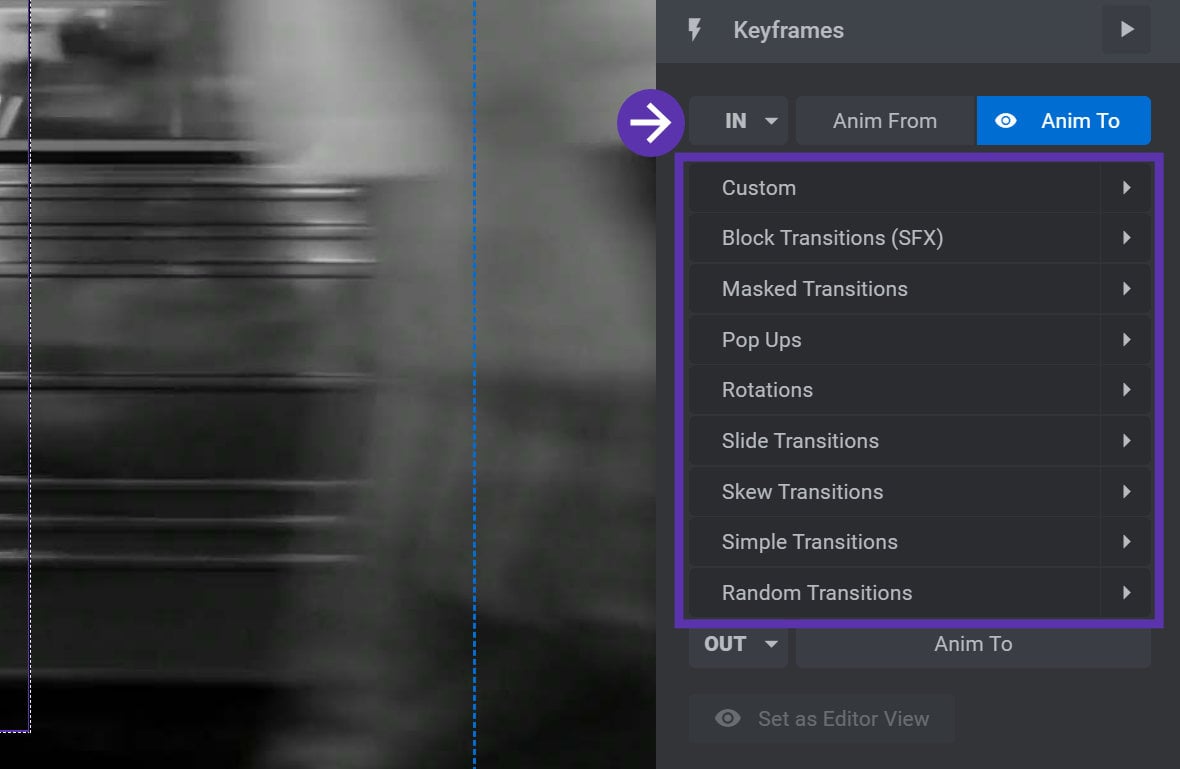
You will see several categories of animation presets, such as “Letter Transitions”, “Pop Ups”, “Slide Transitions” and so on.
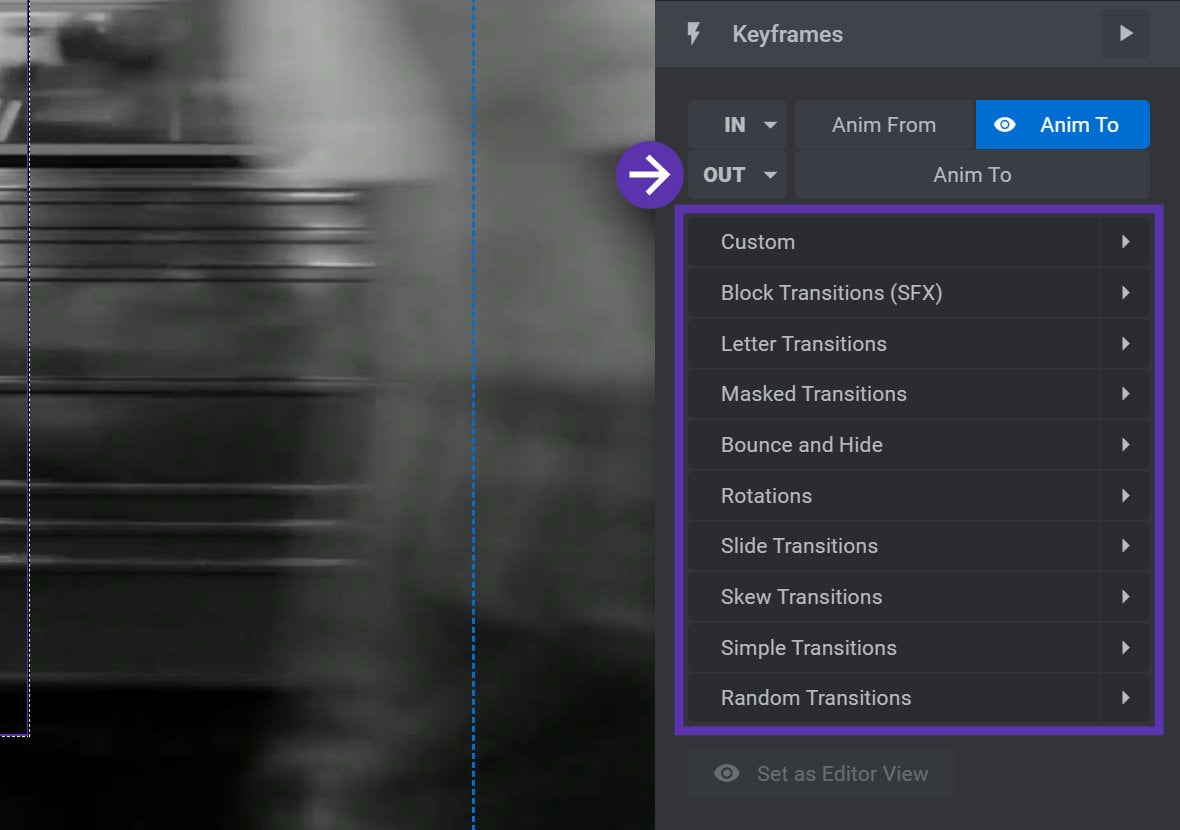
If you click the arrow on the OUT button you will see a similar list of preset categories for the OUT animation:
Clicking any of these categories will expand it and show the animation presets the category contains:
Hover over an animation preset and on your canvas you will see a preview of the animation for the selected layer.
Click an animation preset and it will be automatically applied to the selected layer. The settings in the Advanced panel will also be automatically updated to reflect the change.
This is one of the benefits of using presets, they save you from having to modify advanced settings yourself, making the task of applying different animations quick and easy.
The “No Animation” Preset
We mentioned on a previous page of the manual that the IN and OUT animations cannot be removed. However, if you want it to look like there isn’t any animation happening at all, you can instead use the “No Animation” preset.
After expanding the presets section for the IN or OUT animation, expand the ”Simple Transitions“ category. In there you will see the “No Animation” preset:
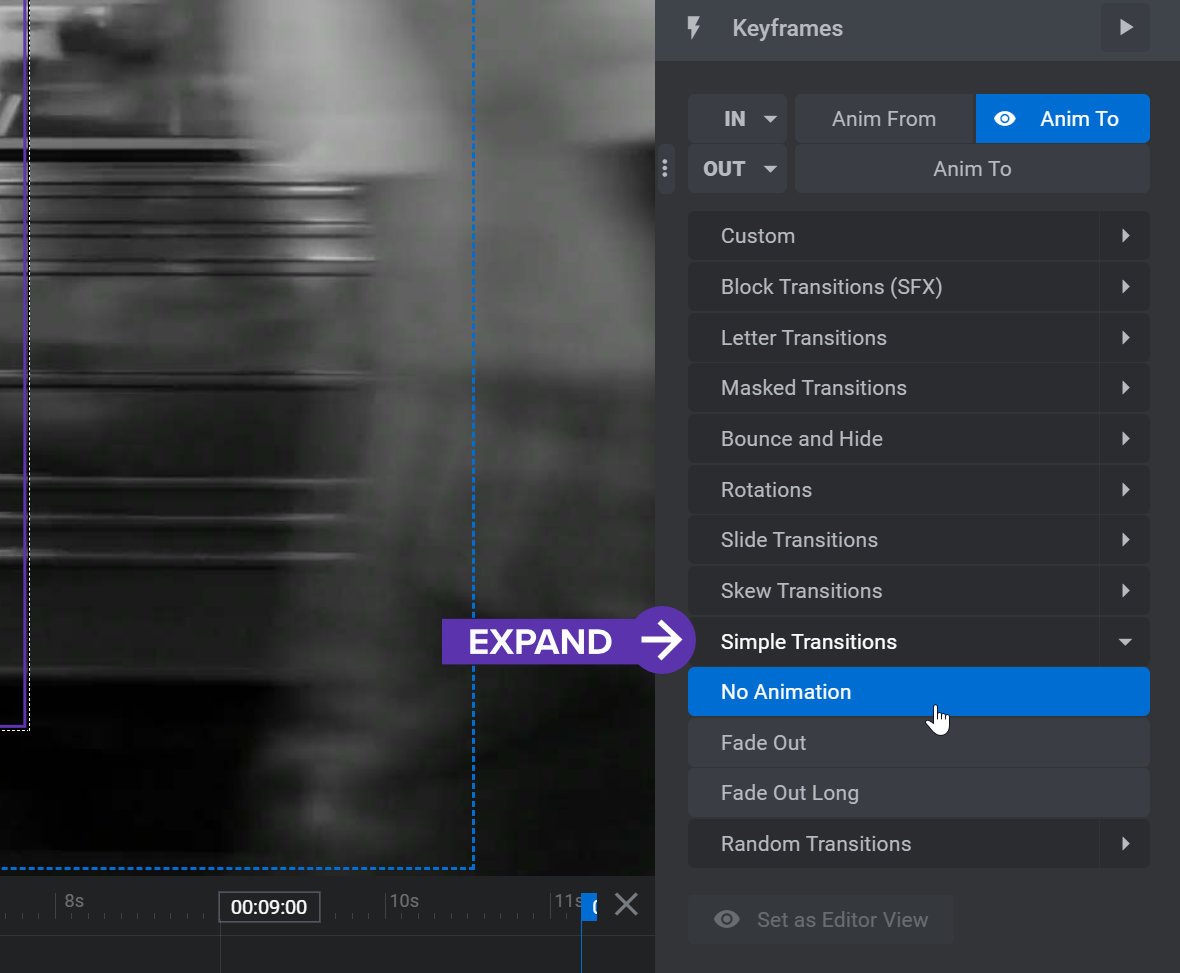
Click “No Animation” and there will no longer be any visible transitions for that animation.
Reverse “IN” Toggle
There is one more, different type of animation preset available, and that is the ability to make the OUT animation an exact replica of the IN animation – but in reverse. For example, if your IN animation makes the layer fade in while sliding to the right, your OUT animation could be made to reverse that and fade out while sliding to the left.
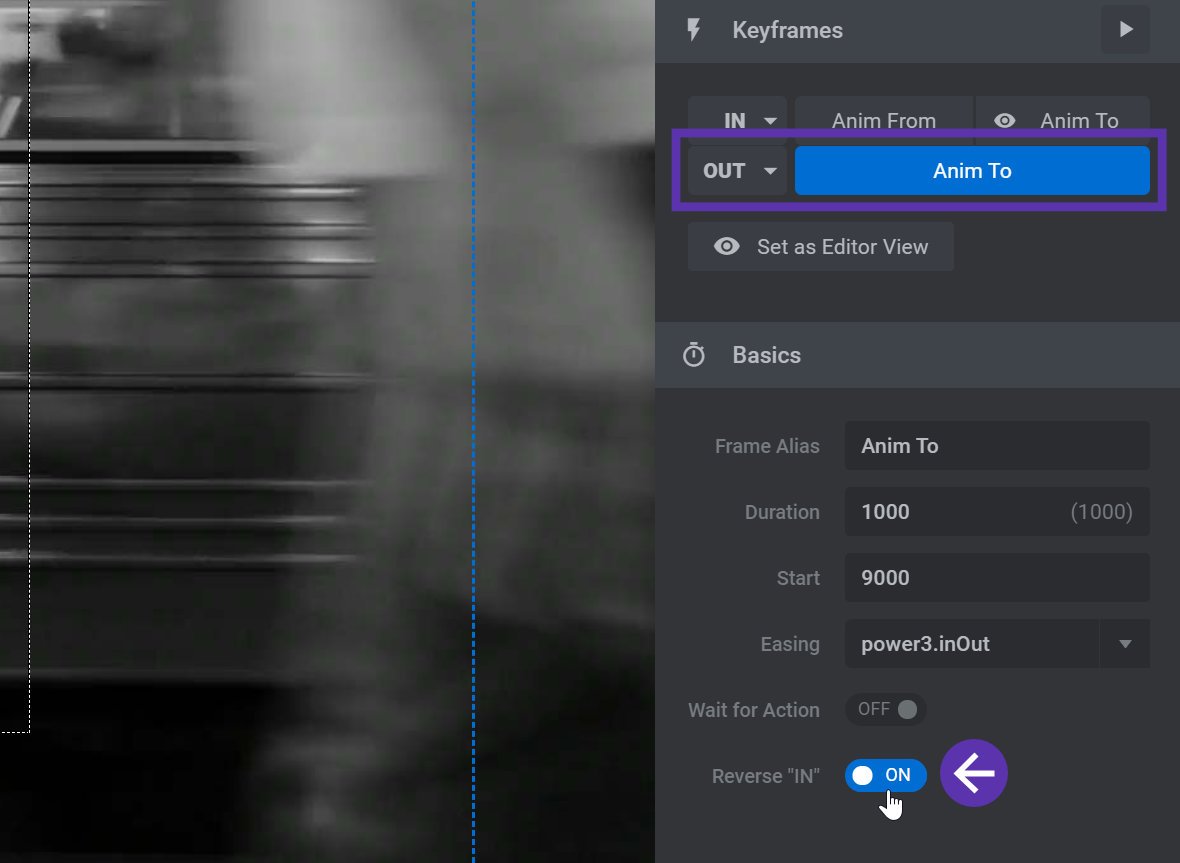
To use this functionality, select the layer’s OUT animation (either via the timeline [?]
The timeline is the section of the module editor dedicated to animation and controlling the stacking order of layers.
From this part of the editor animations can be added, adjusted and previewed. Additionally, layers can be selected from the timeline, and can be dragged and dropped up and down on the timeline to modify which appear in front and which behind.
It can be equally compared to both a timeline in a typical video editing application, and a layers panel in a typical graphic design application or the Keyframes panel), click the Anim To button, then click the Reverse “IN” toggle at the bottom of the Basics panel:
Now that you know just how easy it is to apply preset animations to your layers, on the next page of the manual we’ll take a look at how to add similar preset animations between slides.