
Adding and Configuring Shape Layers
In this guide, learn how you can use shape layers for added decorative styling and image layout control.

Table of Contents
- Introduction
- Adding a New Shape Layer
- Topic Recap: Resizing Layers
- Styling a Shape Layer
- Using Shape Layers in Practice
Introduction
Shape layers [?]
Layers are containers for visual, audio or layout items and are added to slides. For example, text, button, image, audio, video, group and row are all types of layers.
Layers are added to slides via the module editor. are resizable, rectangular elements (though they can also be made circular/elliptical), to which you can apply colors and other styling.
When stacked behind or in front of other layers, shape layers provide an excellent way to make cool looking backgrounds and overlays. They are also useful for creating image containers with predictable fixed sizes. Let’s take a look at how they work.
Adding a New Shape Layer
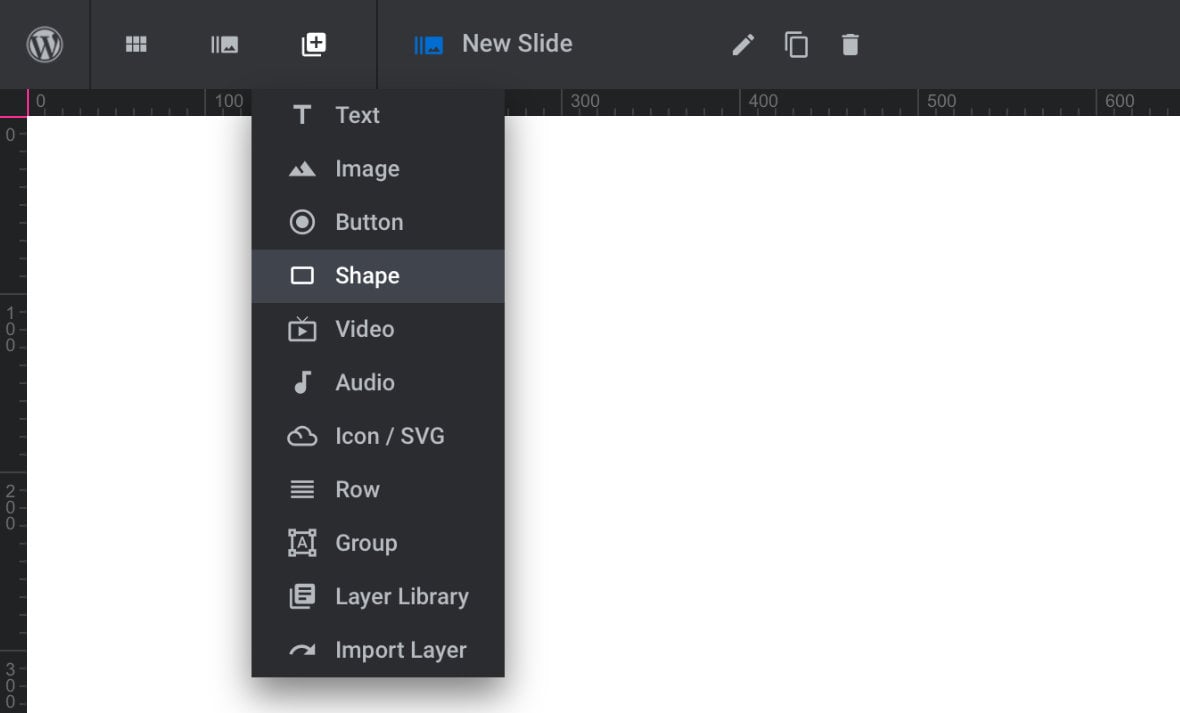
To add a new shape layer go to the Add Layer button in the top toolbar, then click the Shape button:
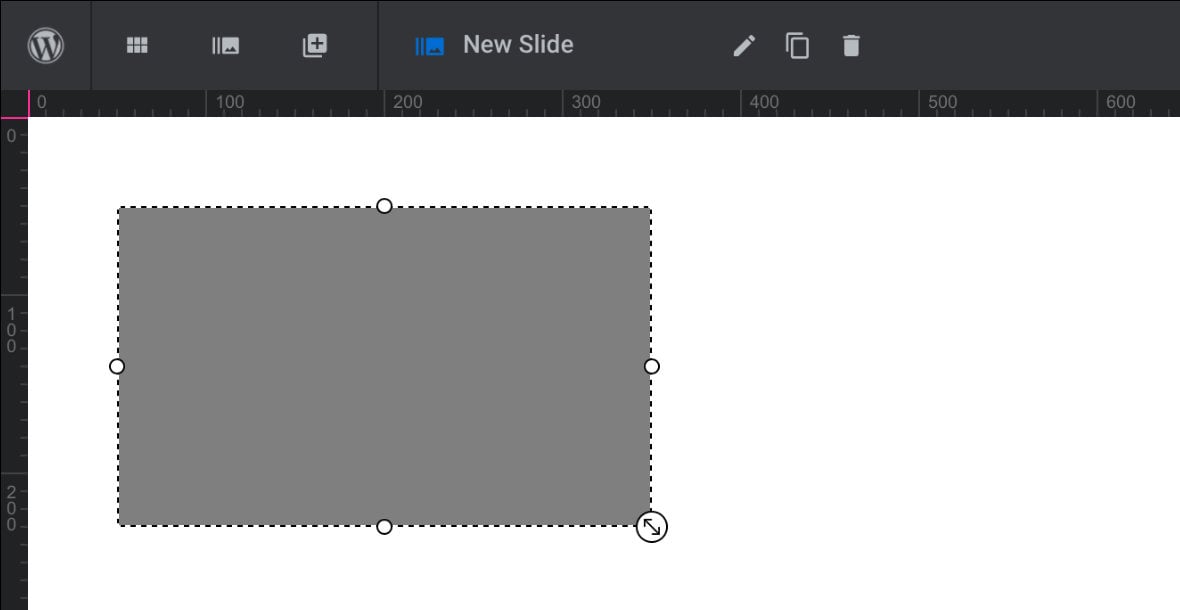
A default, empty shape layer will then appear on the canvas, ready for use:
Topic Recap: Resizing Layers
Once you’ve added a shape layer you’ll probably want to resize it.
The resizing methods for shape layers are the same as for image layers, which we’ve covered previously in the manual. To learn about this topic read the How to Resize Images section in our guide on basic image editing.
Styling a Shape Layer
The controls for styling a Shape layer are all found in it’s Style sub-section. The available options are the same as for all other layer types, with panels for styling Background, Spacings and Border.
We covered how to use these options previously in our guide on Standard Background, Spacing and Border Styling Options:
Jump to the following sections of that guide to learn about:
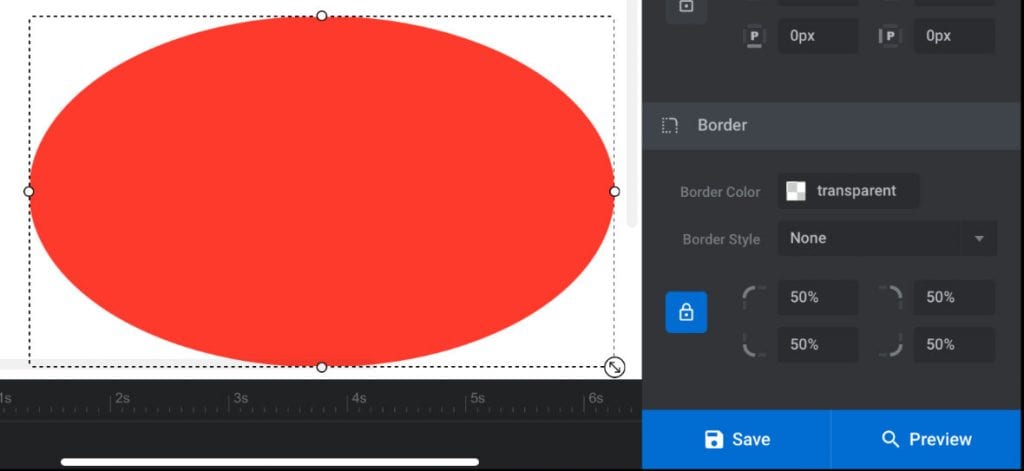
Of particular note in the styling of shape layers is the Border Radius setting, because it’s through this setting that you can turn your shape layers from rectangles into circles or ellipses. Just set all four corners to have a 50% radius:
Using Shape Layers in Practice
Shape layers appear, on face value, to be relatively basic. So what are some of the ways you can use them in your designs?
Let’s take a look at three examples of their possible use: As extra backgrounds, as overlays, and as image containers.
Shape Layer as a Background
Every layer has its own background styling options, but sometimes you may want to create additional backgrounds beyond what can be done with a single layer.
It’s possible to create styled shape layers and stack them behind other layers, creating interesting visual effects, such as this Polaroid image style:

Shape Layer as an Overlay
As well as stacking shape layers behind other layers, you can also stack them on top to create overlays.
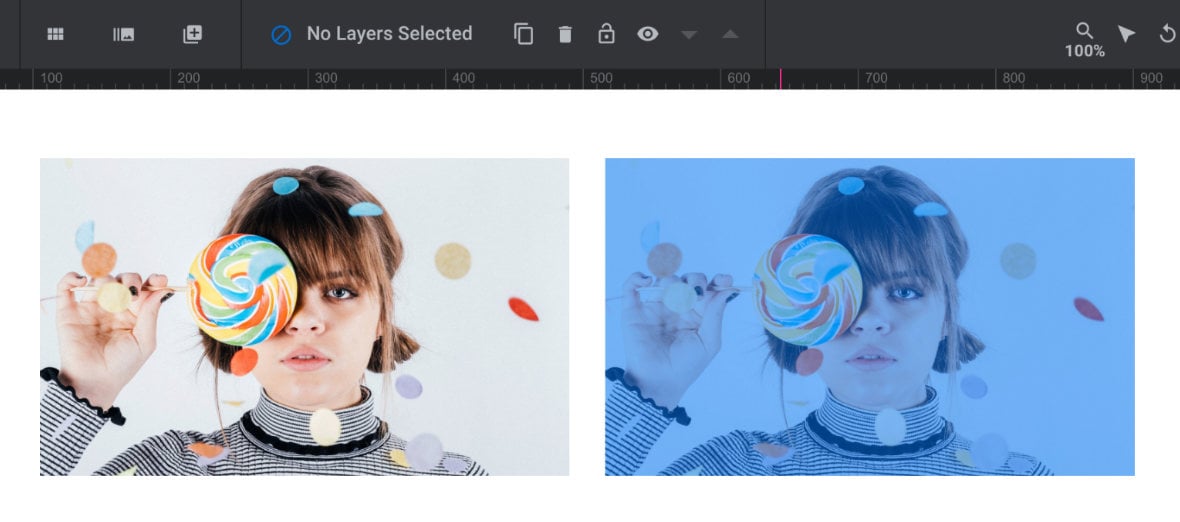
An example of how this can be utilized is creating a tint effect for an image. In the example below, a blue, semi transparent shape layer is placed over an image, making it appear tinted blue:
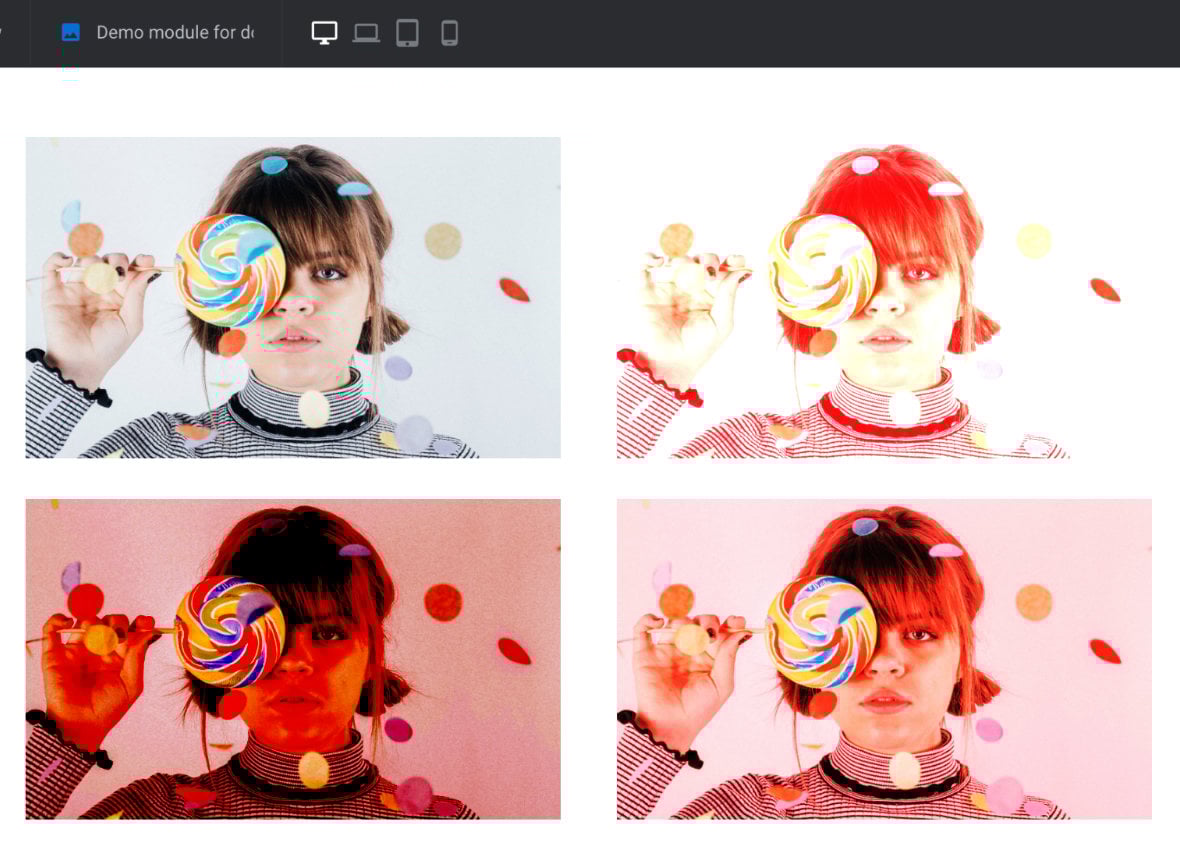
Things get even more interesting when you start to use blending modes (found under Layer Options tab, Adv. Style sub-section, Blend Mode panel), for modifying colors of the underlying image in all kinds of interesting ways. For example, below you can see the result of a red overlay with the color dodge, color burn, and overlay blend modes:
Shape Layer as an Image Container
Typically, when we want to add an image to a slide we do so via an image layer. However, in some cases it can actually be helpful to create a shape layer and set the image as its background instead.
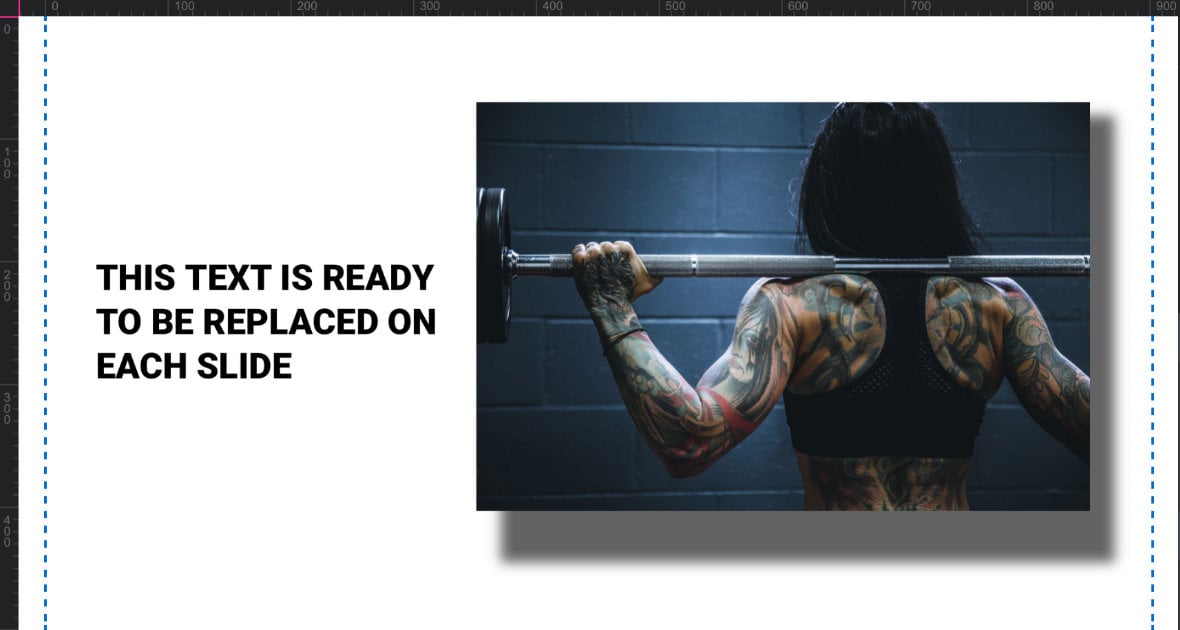
Let’s look at an example. The layout pictured below is intended to be reused across multiple slides, with the text and image replaced in each instance. Every time the layout is used the image needs to appear at the same display size in order to maintain the layout:

If a regular image layer is used, then when the layout is duplicated and the image replaced, the new image could be at an unpredictable size and aspect ratio, potentially not fitting the layout correctly. Below you can see the replacement image’s height is a little less than the original, leaving a space below it that doesn’t look quite right:
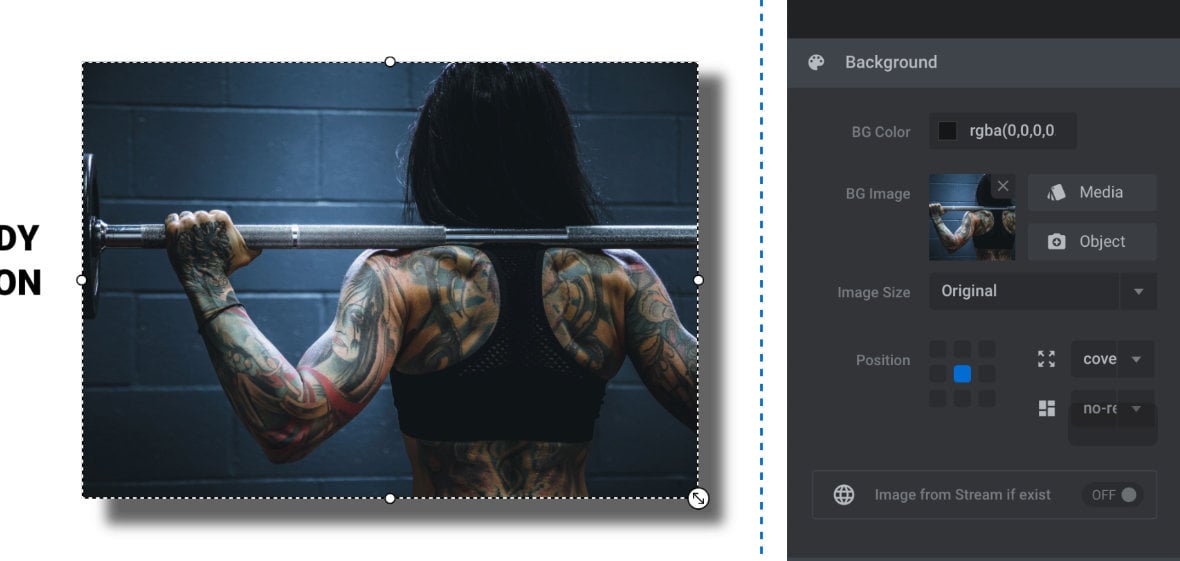
If a shape layer is used instead, and the image is set as its background with its BG Image Fit option set to cover, the image will automatically have its display size adjusted to fit the size of the shape layer. In this way it’s ensured that regardless of the new image’s size and aspect ratio, it will fit perfectly into the layout:
Next: Video Layers
The next type of layer we’re stepping through is video layers. You’ll learn about some additional media content, media poster, and advanced media settings. You’ll also learn how to create cool two tone overlays on top of your videos.
That’s all coming up in the next guide on Adding and Configuring Video Layers.