
Adding and Configuring Audio Layers
In this guide, learn how to create your own custom audio layers and configure them as you like.
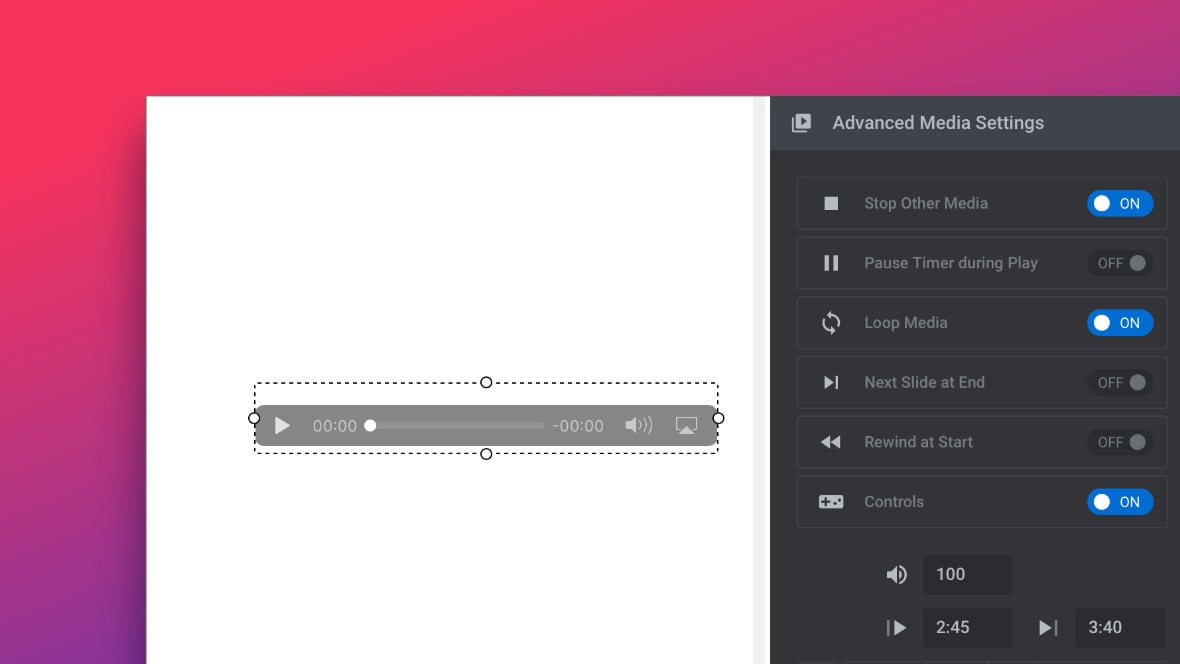
Table of Contents
Adding a New Audio Layer
To add a new audio layer [?]
Layers are containers for visual, audio or layout items and are added to slides. For example, text, button, image, audio, video, group and row are all types of layers.
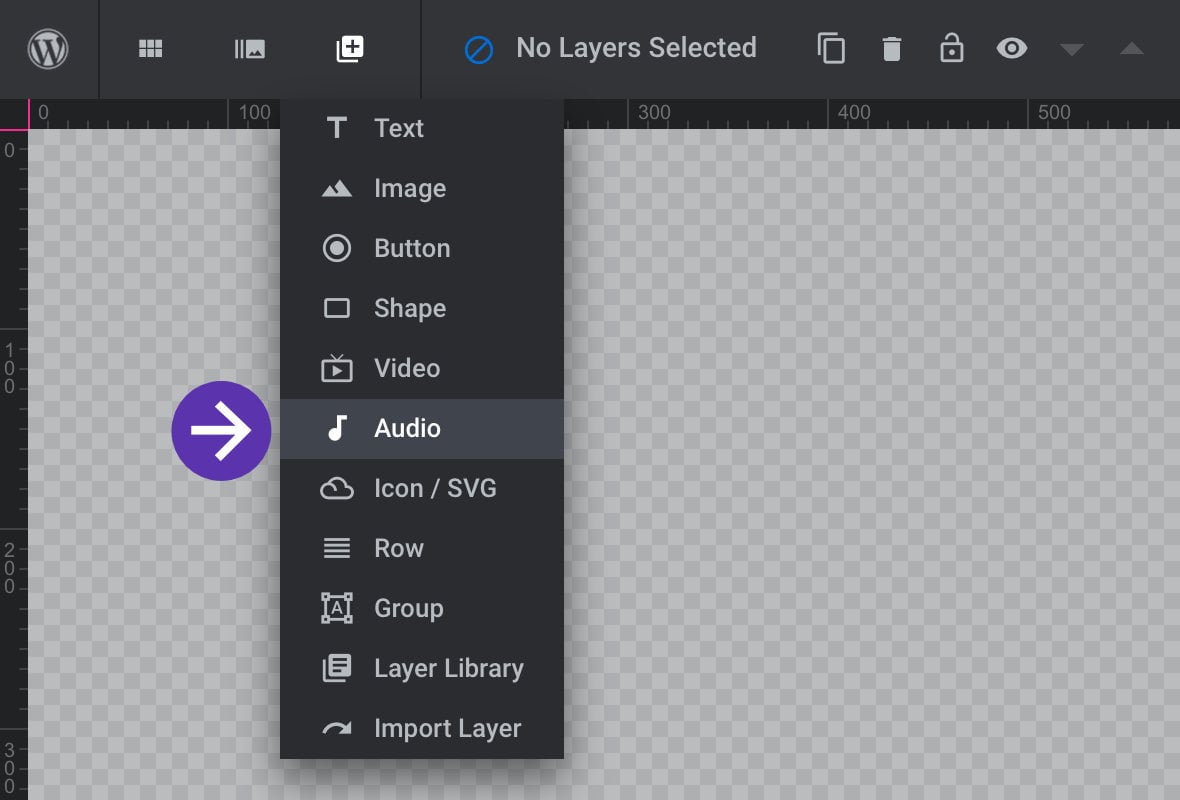
Layers are added to slides via the module editor. go to the Add Layer button in the top toolbar, then click the Audio button:
Media Content Settings
The Media Content panel, located in the audio layer’s Content sub-section, is where you’ll define which audio content you want to play, and configure some basic settings:
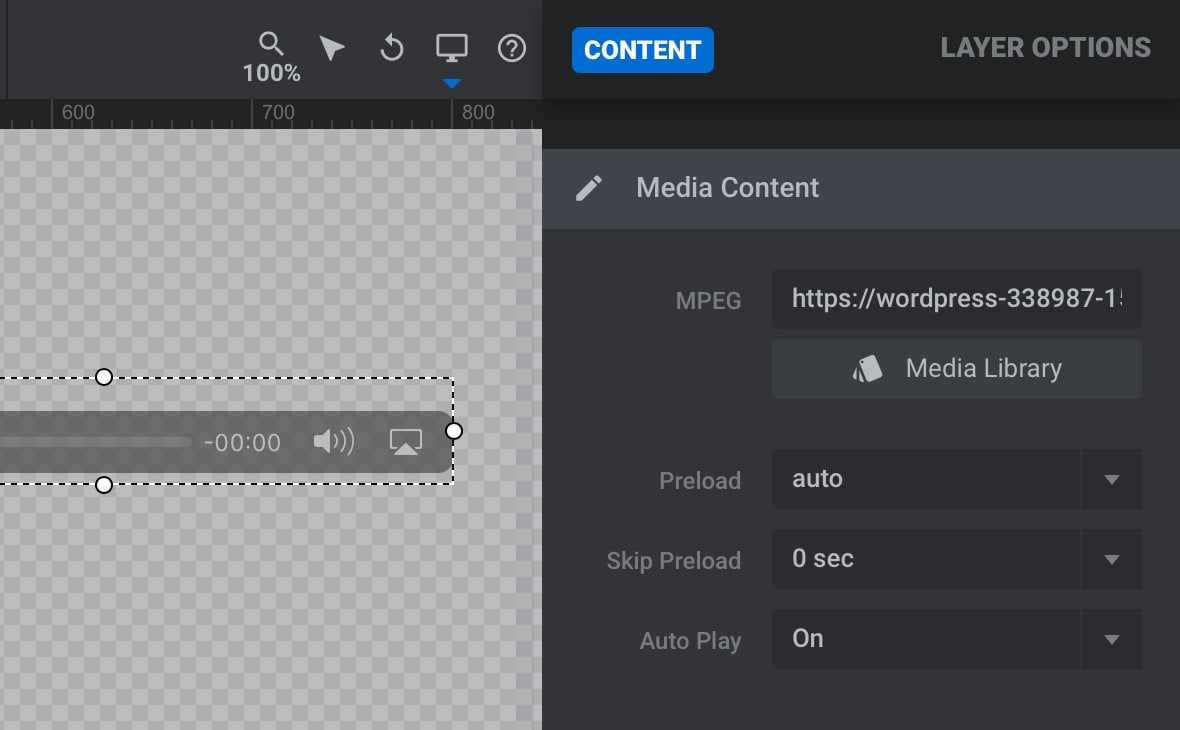
Let’s take a look at those settings now.
MPEG
The MPEG option is the field in which you specify the audio file you want the layer to play:
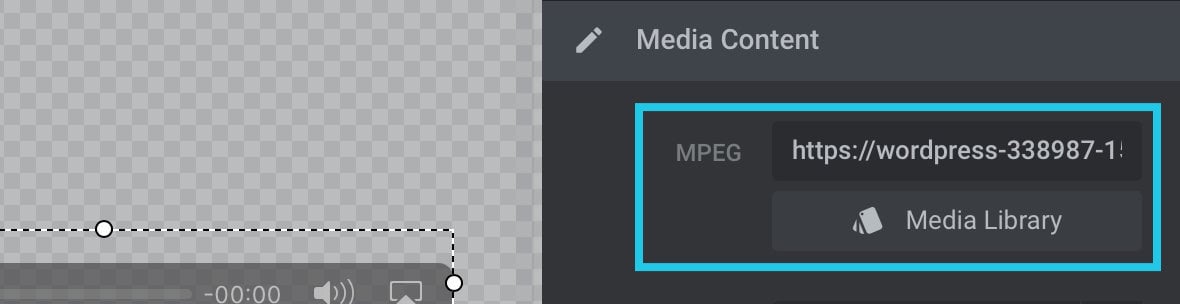
To select an audio file to use, click the Media Library button and the WordPress “Choose Video” dialogue will appear. (Ignore the fact that it says “Choose Video” not “Choose Audio”, you’re in the right place to browse for audio files):
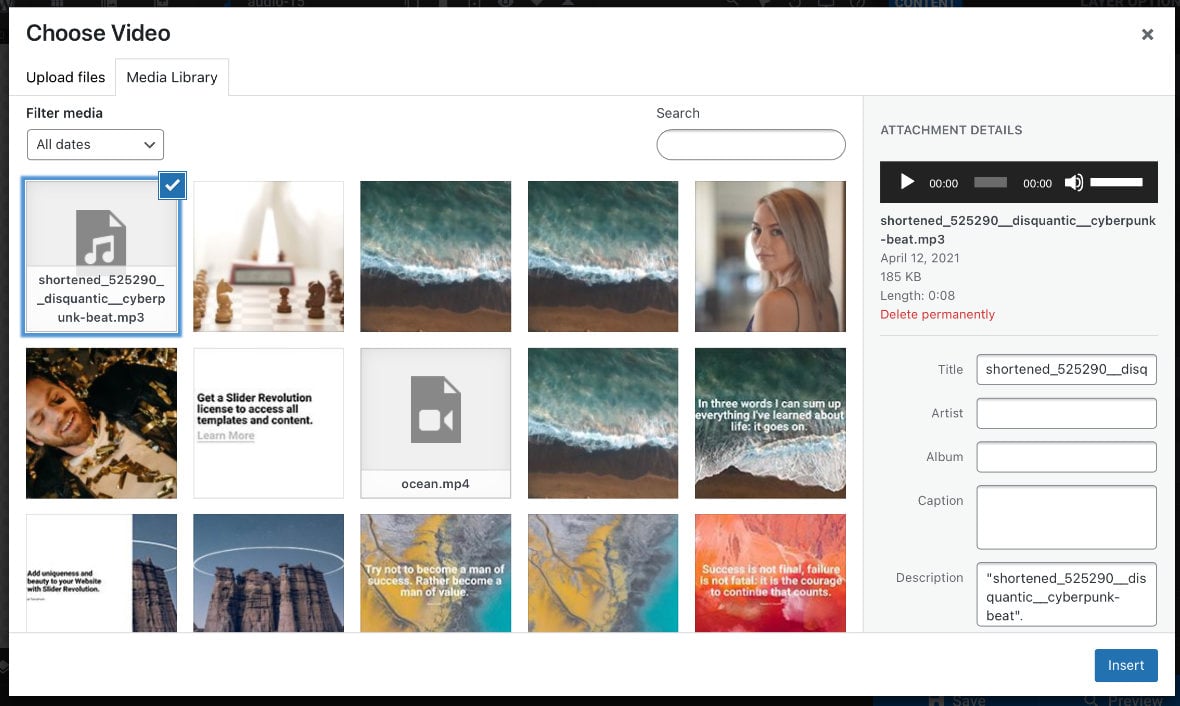
If you’ve already uploaded an audio file to your WordPress file previously, you can look for it in the Media Library tab. Once you’ve found the right file, click on it, then click the Insert button in the bottom right corner. If you need to upload a new audio file, do so in the Upload Files tab.
Once you’ve selected an audio file you’ll see it’s URL appear in the MPEG field.
Preload
This option allows you to set whether the audio or its metadata should be loaded before playback:
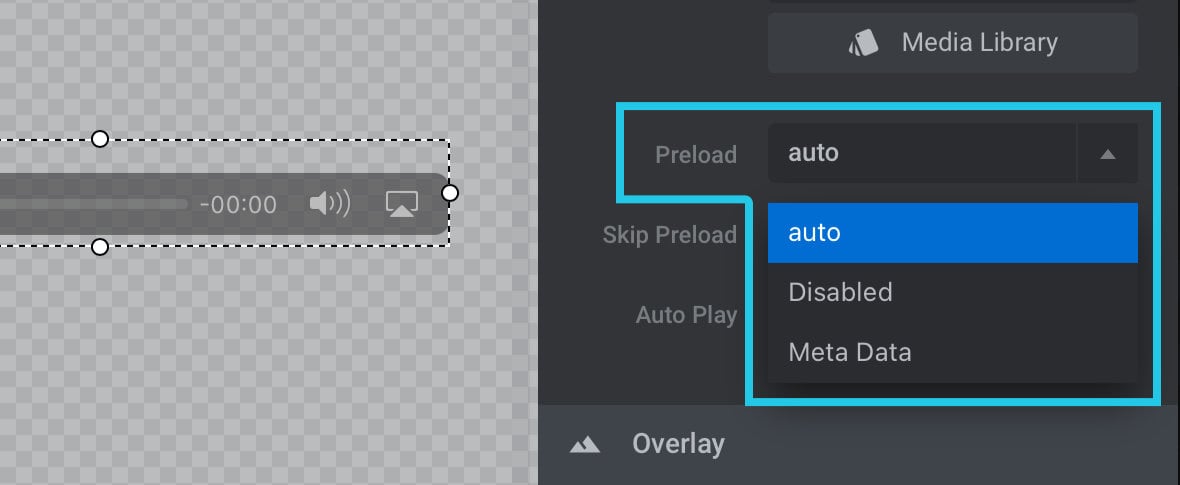
There are three available settings:
1) Auto – Loads the whole audio file in advance, even if it is never listened to.
2) Disabled – Prevents any preloading. The audio file will load only when it’s played.
3) Meta Data – Preloads meta data about the audio file, that being information such as its length. The audio file itself will still only load when played.
Skip Preload
The Skip Preload setting allows you to delay preloading of the audio file for up to 10 seconds:
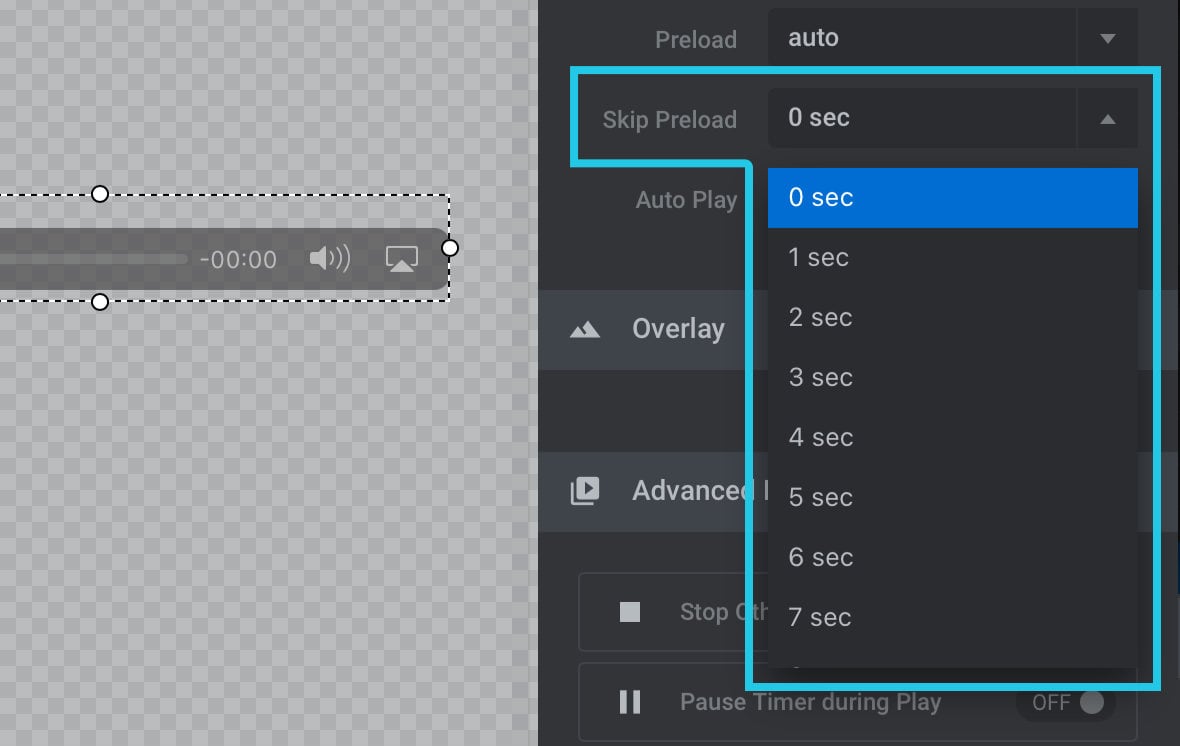
This can be a great way to allow other content files to finish their loading before the audio file starts its loading. It avoids the potential issue of content getting stuck in a loading queue behind the audio file, in turn making visitors wait before they can start interacting with the module [?]
A module in Slider Revolution acts as a container for slides, which in turn act as containers for layers. Modules are created and edited with the module editor.
A "module" is a single, self contained piece of content. You can think of this as being similar to the way a post or page in regular WordPress is a self contained piece of content.
A module can represent any kind of content Slider Revolution is capable of creating, such as a slider, carousel, hero unit, navigation menu, posts display and so on.
Multiple modules can be combined to form rich content such as complete sites and landing pages..
Auto Play

Immediate autoplay of audio without user interaction is no longer possible due to a change in the policy of web browser vendors.
This setting can still be used under certain circumstances, however. To learn how, read our guide on “Handling Sound and Control Quirks on Audio & Video Layers“.
Advanced Media Settings
The Advanced Media Settings panel gives us a collection of additional fine-grained controls over how audio layers look and behave:
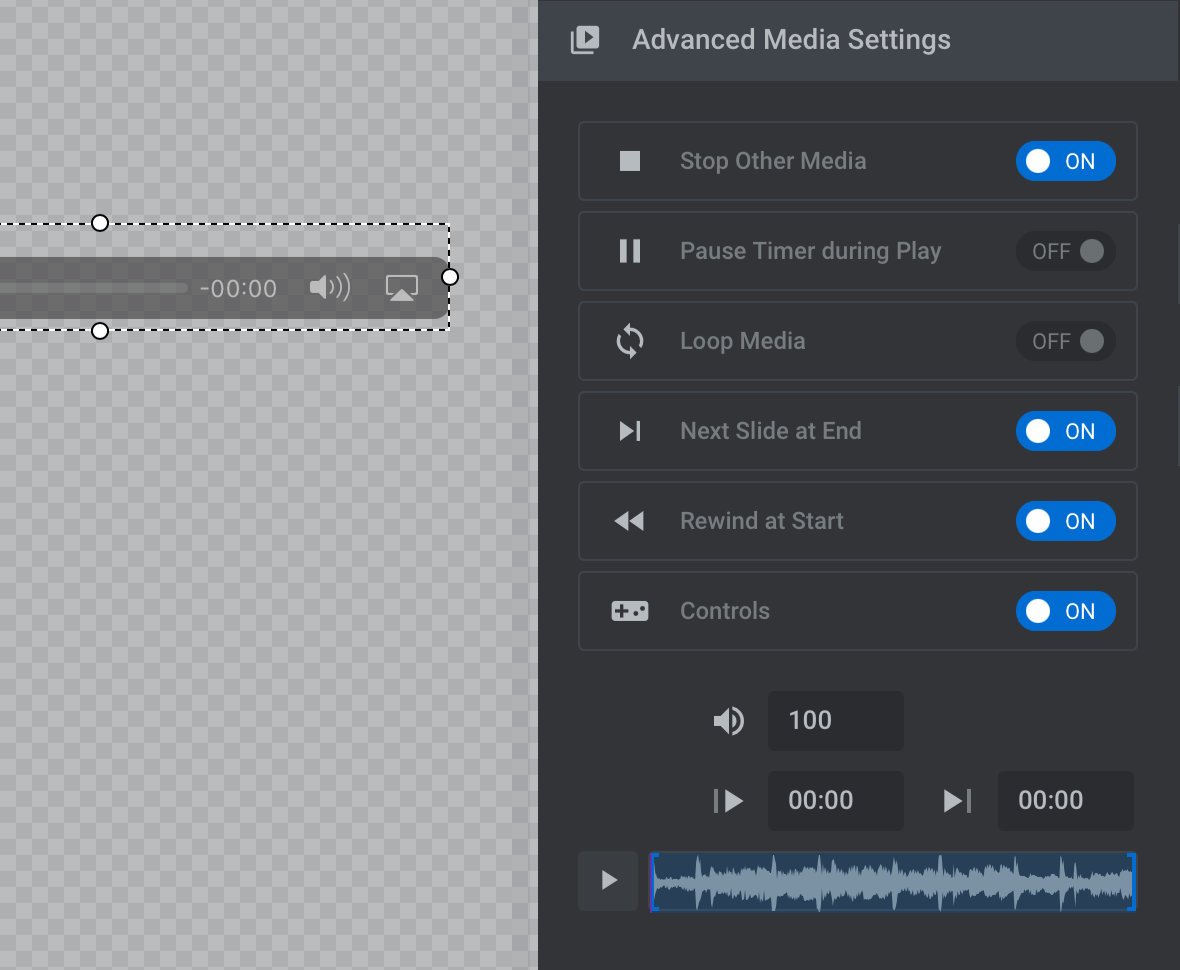
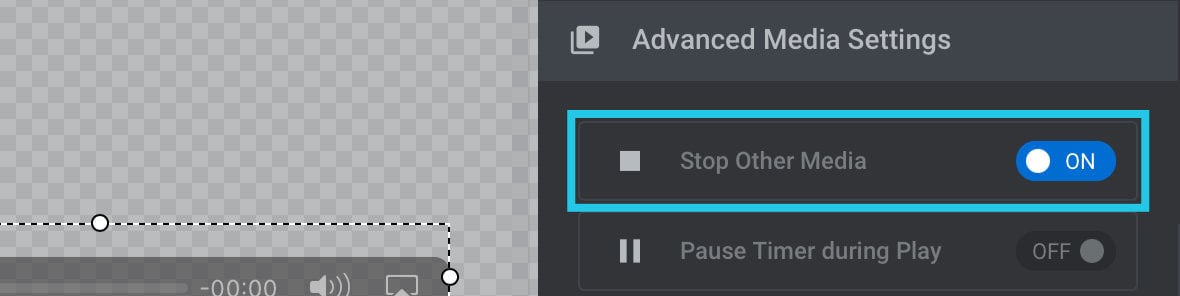
Stop Other Media
When this option is toggled to ON, any other video or audio layers in the slide [?]
A "slide" in Slider Revolution is a container into which multiple layers can be added, with layers in turn acting as containers for various forms of media such as images, text, video, audio, buttons, and special effects.
Slides are added to modules and edited via the module editor.
Within the module editor, each slide has its own animation timeline, background and collection of layers.
A single module can have one or many slides. A module with one slide is called a scene, and a module with multiple slides is called a slider or carousel. will stop once this layer’s audio begins to play:
Pause Timer During Play
This option allows the slide timer to be paused while the audio is playing:
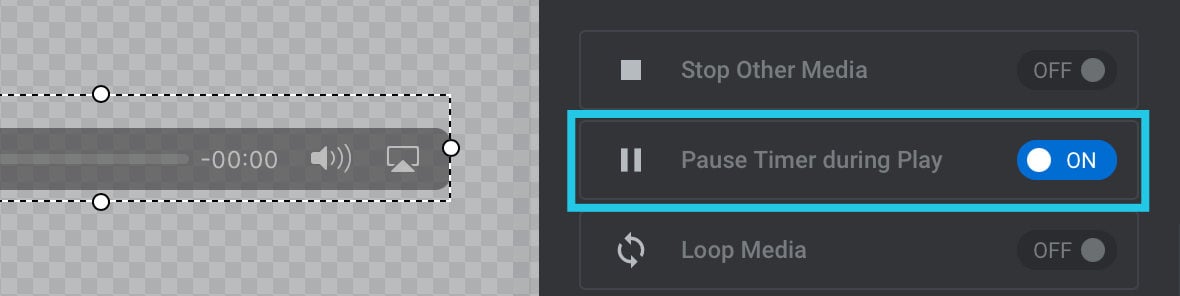
Toggling this option to ON ensures that the module won’t transition to the next slide while the user is partway through listening to the audio.
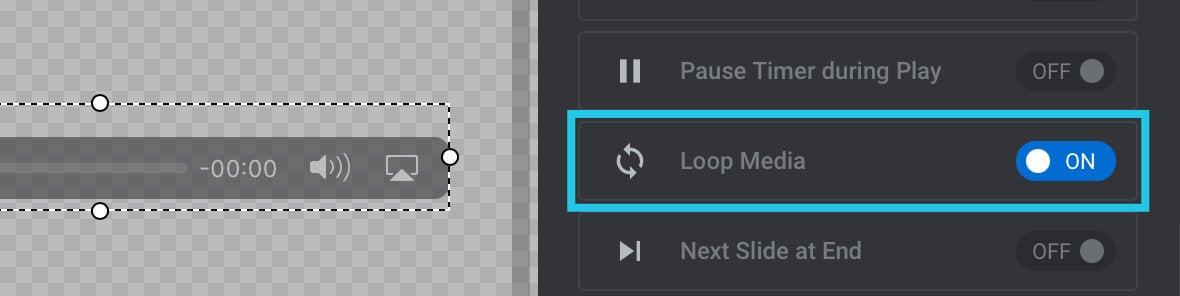
Loop Media
If this option is toggled to ON, once the audio has finished playing it will start again at the beginning:
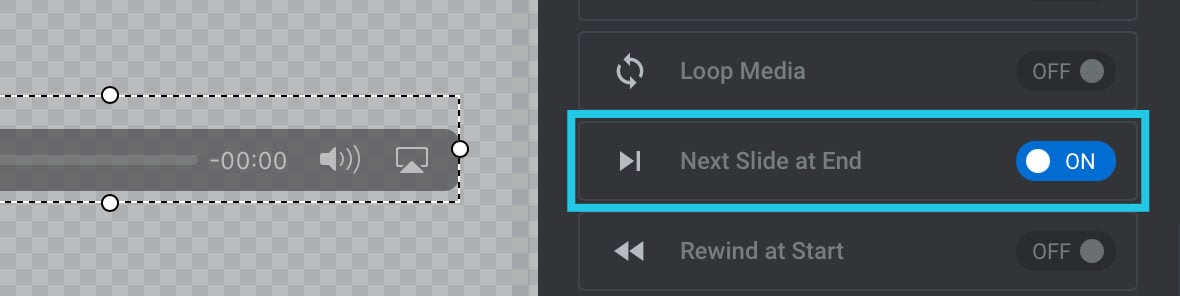
Next Slide at End
If this option is toggled to ON, once the audio has finished playing the module will transition to the next slide:
Rewind at Start
This option is useful if you expect users to cycle through all your slides multiple times:
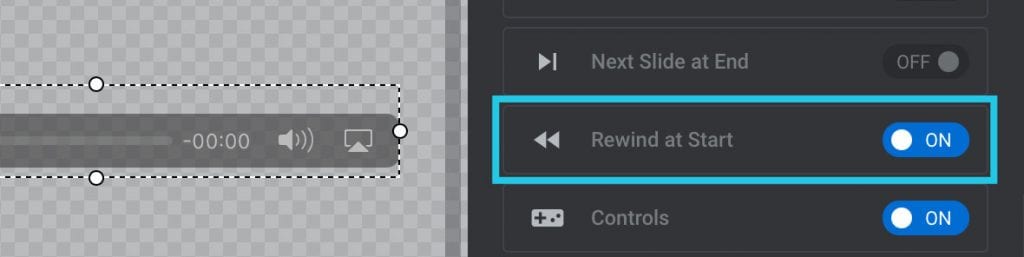
When the setting is toggled to ON, if an audio file starts playing and part way through the module transitions to the next slide, when the audio file’s slide comes back around again playback will start again at the beginning.
If the option is toggled to OFF, the audio will resume at whatever point it had previously played through to.
Controls
Toggle this option to ON if you want the user to have access to audio controls such as pause, play and so on:
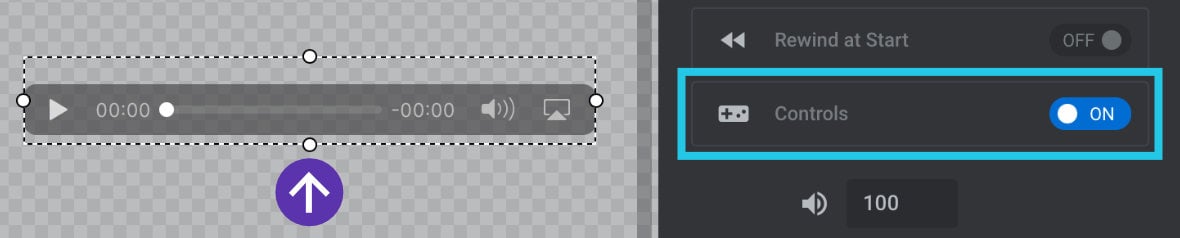
If this option is set to OFF the audio layer will be invisible to the user.
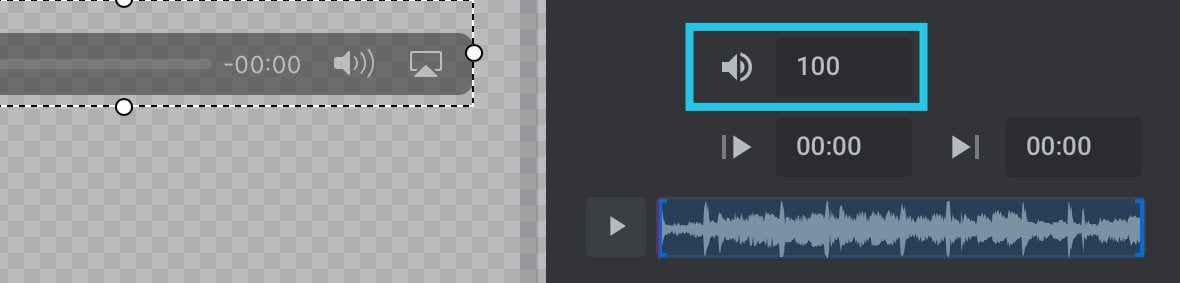
Volume
This option allows you to specify the default volume for audio, once unmuted. The value should be between 0 and 100, where 0 represents no sound and 100 represents full volume:
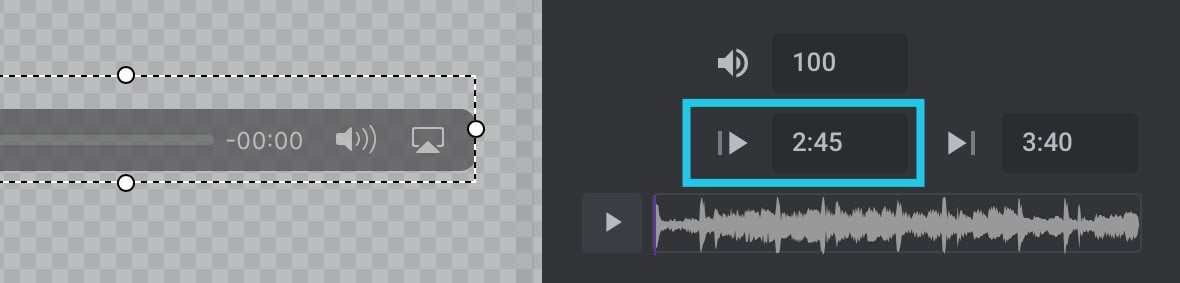
Start Time
Instead of starting playback at the beginning you can set a custom start time via this option.
The format should be in <minutes>:<seconds> format, e.g. 2:45.
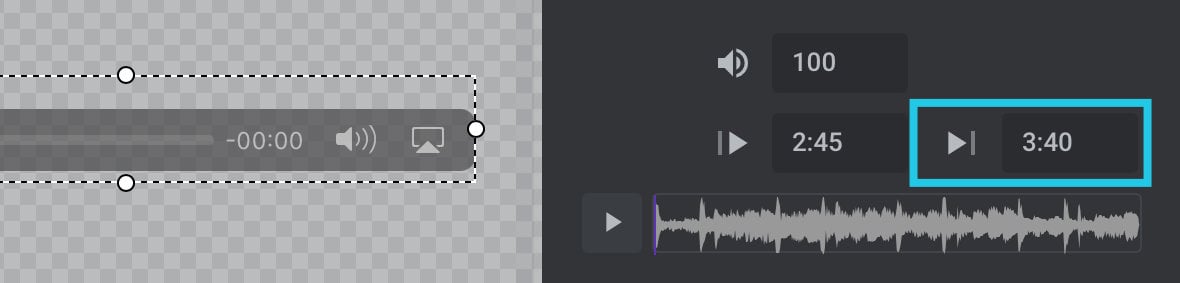
End Time
In the same way as you can set a custom start time, described above, use this option to set a custom end time at which playback will stop or loop:
Up Next: SVG and Font Icons
Slider Revolution comes with thousands of included icons all ready for use. In the next guide you’ll learn about the two types of icons available, SVG and font based, which to choose and for what reasons, as well as how configure and style each type.
That’s coming up in Adding and Configuring Icon and SVG Layers.